Introduction
Welcome to our first lesson on Raspberry Pi. Unlike popular control board such as Arduino, Raspberry Pi is a REAL personal computer with Operation System(OS) like Apple iOS in MacBook and Windows in PC. This allows Raspberry Pi to do much more complicated jobs than Arduino can do.
In this lesson, we will tell you how to install and config Raspbian OS(a Debian Linux distro) in your lovely Raspberry Pi.
Hardware Preparation
1x Raspberry Pi board
1x Micro SD/TF card(no less than 8GB)
1x TF card reader
1x DC power adapter with a MicroUSB port
1x PC
Software Preparation:
Imager utility: Win32DiskImager utility
OS: Raspbian
Format Tool: SDFormatter (Optional)
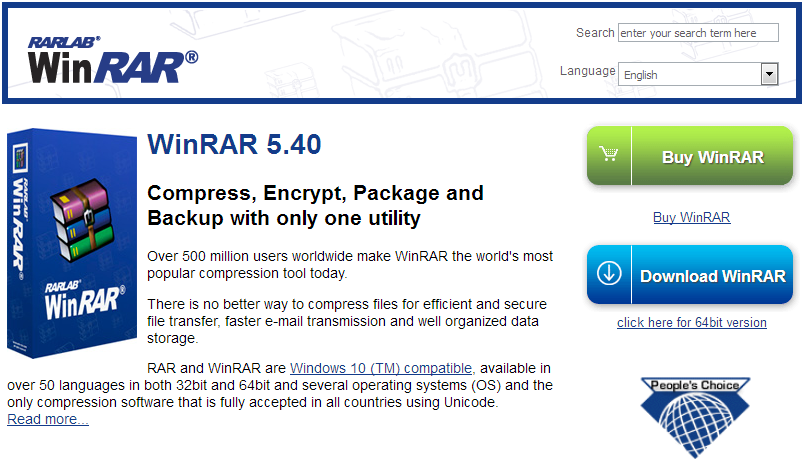
Unzip tool: WinRAR
Install Raspbian OS in your raspberry Pi
Step 1: Download Raspbian Stretch with desktop (recommended for beginners) in your PC
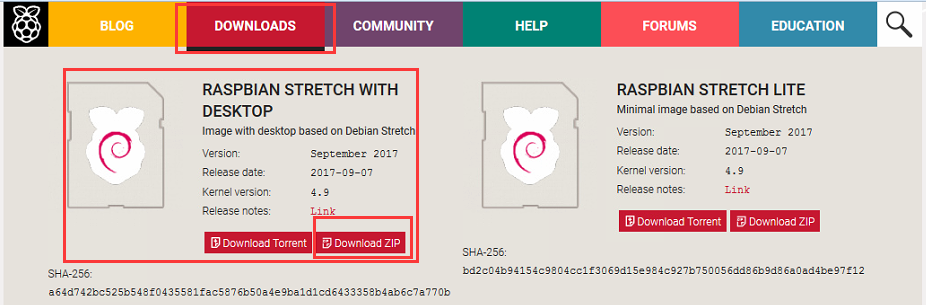
Note: You can select any version of RASPBIAN system on the official website: https://downloads.raspberrypi.org/raspbian/images/
Step 2: Using WinRAR to unzip the folder downloaded from step 1, and you will get an image file(such as file: 2017-03-02-raspbian-jessie.img). If you don’t have WinRAR, please download from WinRAR official website: http://www.win-rar.com/start.html?&L=0
Step 3: Prepare an new MicroSD memory card(TF card) with USB microSD card reader, recommend sizes are 8G, 16G, 32G.
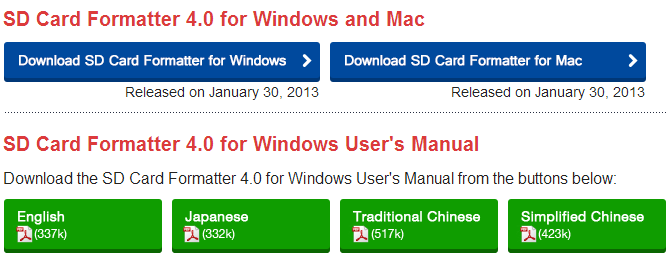
Note: If your microSD card isn’t new, please format MicroSD card.
1) please download SDFormatter from: https://www.sdcard.org/downloads/formatter_4/.
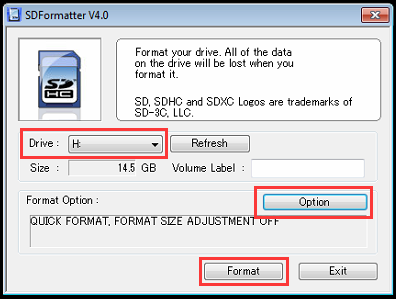
2) Please open SDformatter tool. Choose device which you want to formate and click option to choose formated type, at last, click “format” to complete format.
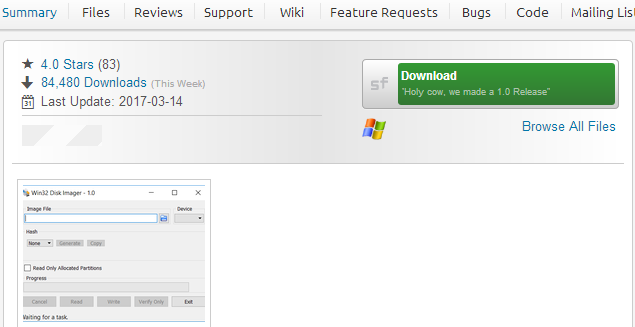
Step 4: Download the Win32DiskImager utility to write the raspbian image in your SD cardfrom Sourceforge: https://sourceforge.net/projects/win32diskimager/
Step 5: Run the Win32DiskImager utility. You may need to run the utility as administrator. Right-click on the file, and select Run as administrator.
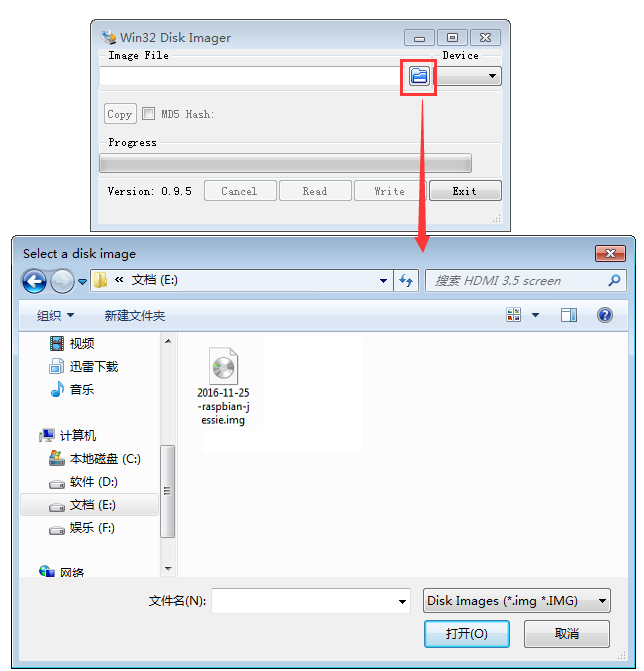
Step 6: Browse the unzip driver image file from Step 2:
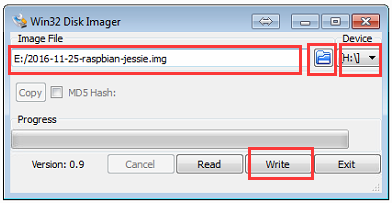
Step 7: Select correct device you prepared and click “write” to burn the driver image file (from Step 3) into MicroSD card. Note: Please confirm you choose the correct SD card, or you’ll damage the files in your device
Step 8: Insert MicroSD card from step 8 into your raspberry pi and power it up, and then you can start your raspberry pi experiment.


