Authorized Online Retailers:
| Buy from US |
Buy from UK |
Buy from DE |
Buy from IT |
Buy from FR |
Buy from ES |
Buy from JP |
 |
 |
 |
 |
 |
 |
 |
Authorized Online Retailers:
1. Overview
In lesson 1 , we have learned how to use OSOYOO Basic board to make simple web server and display “Hello World” in your remote browser. In this lesson we will make a little more complicated project. We ’ll learn how to use remote browser to to send signal to OSOYOO Basic board through Internet and turn on/off an LED .
2.Parts and Devices ListOSOYOO Basic board
| Parts |
quantity |
| OSOYOO Basic board |
1 |
| Ethernet Shield W5100 |
1 |
| USB cable |
1 |
| LED |
1 |
| 200 ohm resistor |
1 |
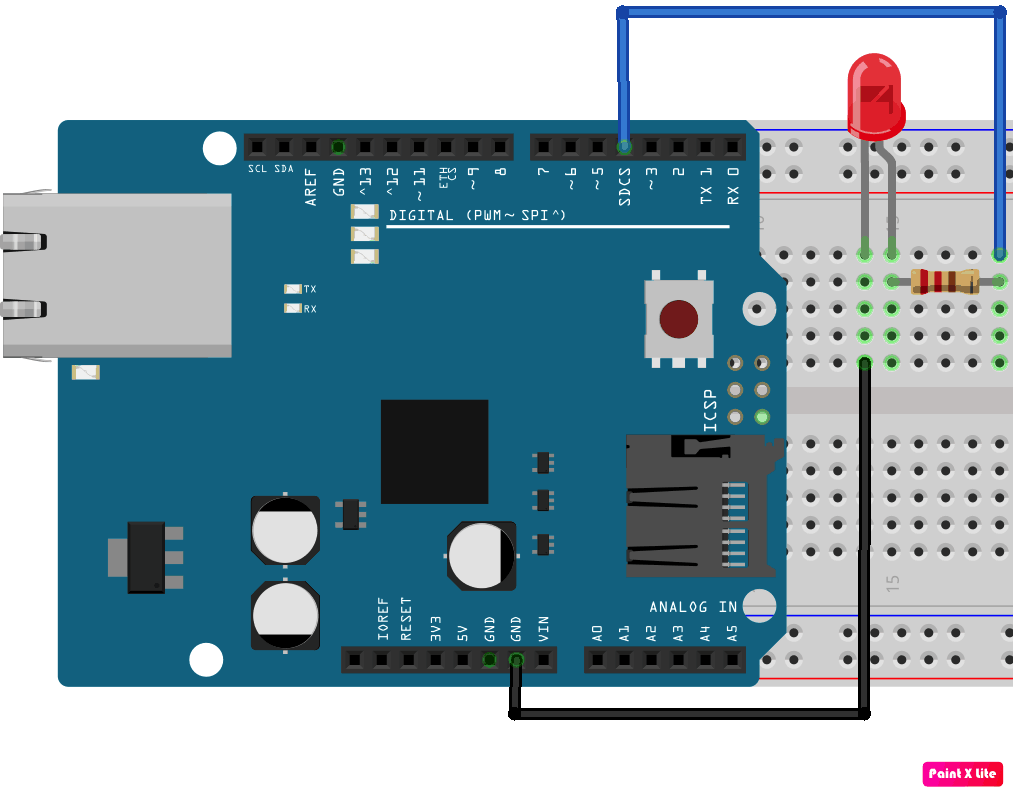
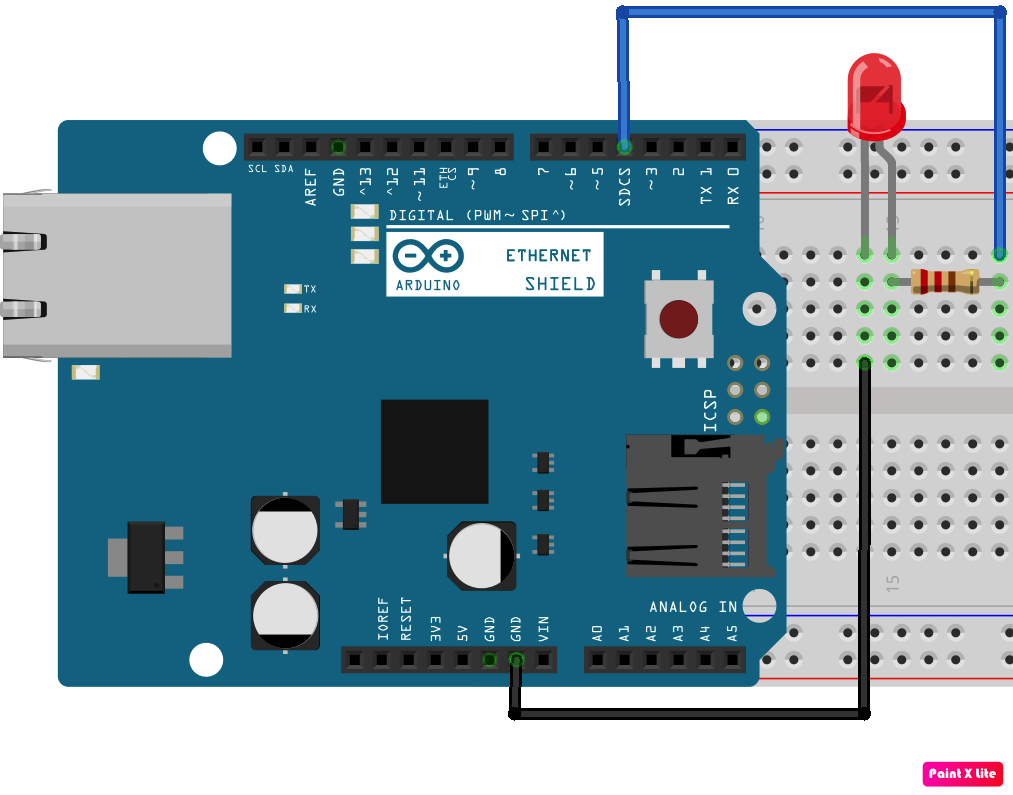
3)Circuit Graph:
First, please insert the W5100 Ethernet Shield into your mainboard, then use an RJ45 ethernet cable to connect your W5100 shield to your Router.
Then connect the LED long pin to D4 in W5100 shield through a 200 ohm resistor, LED short pin to GND , circuit is as below:
4)Software Installation:
Download the sketch file from : https://osoyoo.com/driver/ethernet_iot/lesson2/w5100-lesson2.zip
Unzip the download file and enter the folder W5100-lesson2, double click the w5100-lesson2.ino file, upload the sketch to your mainboard. Open your Serial Monitor, you can see your router will assign an IP address to your mainboard as following:
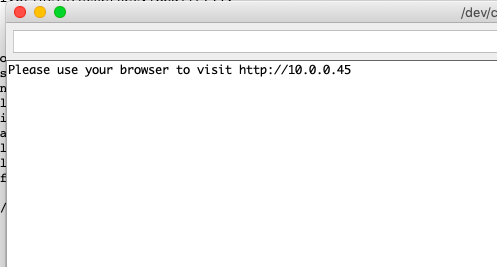
In above example, 10.0.0.45 is the IP address of my mainboard.
Now use another computer or your cell phone’s browser to visit url : http://10.0.0.45
Your browser will show following result:
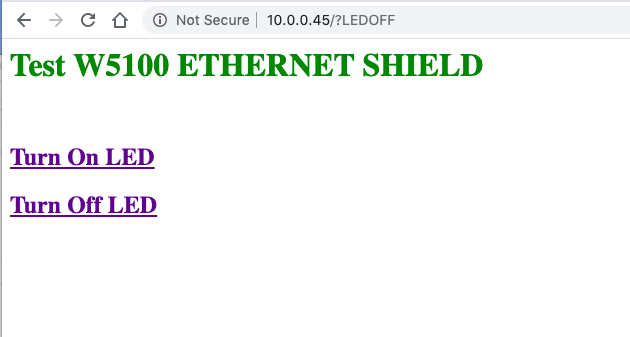
5)Make a Test:
Click Turn On LED link, your LED will be turn on , then click Turn Off LED link, your LED will be turn off.


Are you sure the circuit diagram is correct? I can’t get it to work.
Although it can operate from a personal computer, it can not be done from a smartphone.
The supplied DVD and HP, circuit pin numbers are different. It’s wrong.
For example,
Sketch Virtual 15 Pin 3
Circuit Arduino_pin 3
The basic explanation is missing.
I can not operate on smartphone.
Sketch Virtual 15 Pin 3
Circuit Arduino_pin 3
Machine translation
Only the personal computer was able to operate.
Sketch Virtual 15 Pin 3
Circuit Arduino_pin 3
We hope to improve the overall course explanation of the product.