Overview
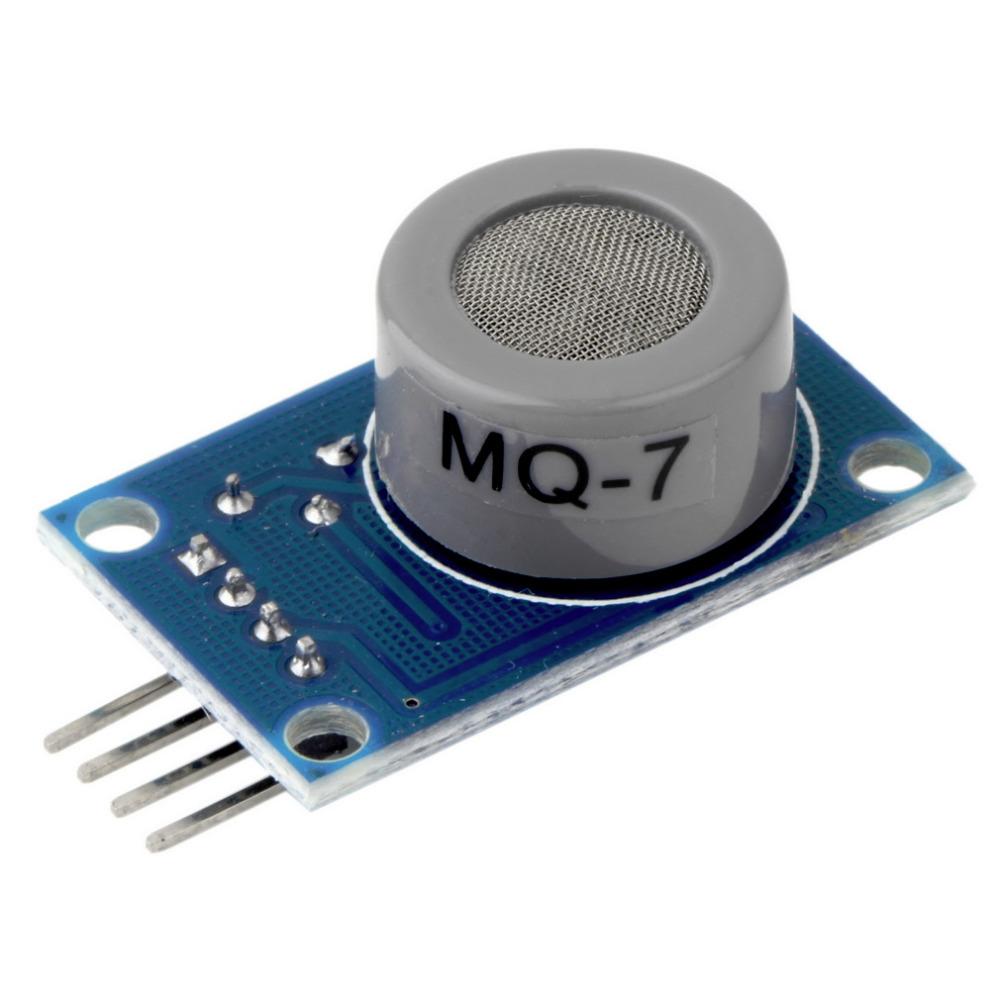
This tutorial is to design a CO gas detector through a raspberry pi board and MQ-7CO sensor. It can detect the concentration of the CO gas in the environment.The gas-sensing materials the MQ-7 sensor used is SnO2 material,which is lower conductivity in clear air, the conductivity of sensor would go up with the increase of the CO gas concentration.The sensor can convert the different conductivity to the correspondent output signal of the CO gas concentration.The MQ-7 gas sensor has high sensitivity and a variety of application in low price.
Hardware
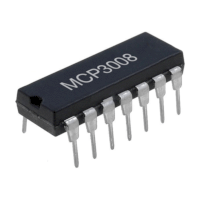
As only the digital signal can be processed by raspberry pi, we need to add a analog to digital converter (ADC) to process the analog signal from MQ-7 sensor.It can detect the CO gas concentration according to the valtage value.MCP3008 as ADC chip is very common and recommended highly.
The MQ-7 sensor can output the analog and digital signal when the work voltage is 5V. When the CO gas is detected by snesor, the signal light turns on and the digital signal output the low-level valtage. In additon, there is a adjustable resistor to change the sensor sensitivity.
The schematic diagram is as follows:
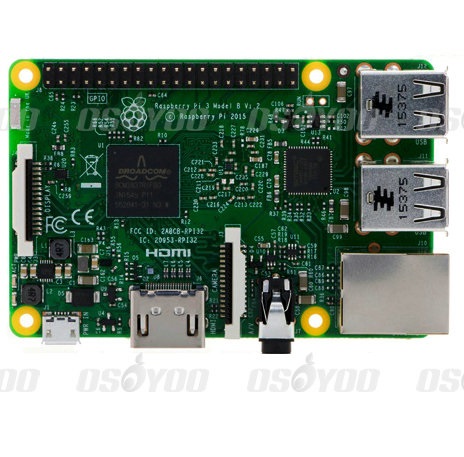
Pay more attention to the anode and cathode, otherwise it would burnout your raspberry pi board and sensor.You can connect the GND of the sensor to OV, VCC to 5V. You could visit the article for your referenc if you want to learn more about the raspberry pi IO port. : How to read Raspberry Pi i/o pin diagram (GPIO pin graph)
Parts
本项目将用到如下器件
|
|
|
|
|
MQ-7 sensor x1 |
|
|
MCP3008 convert x1 |
|
|
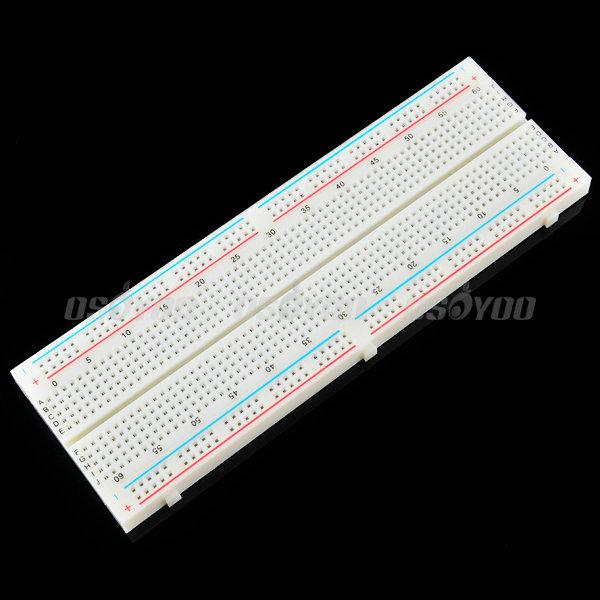
Breadbooard x1 |
|
|
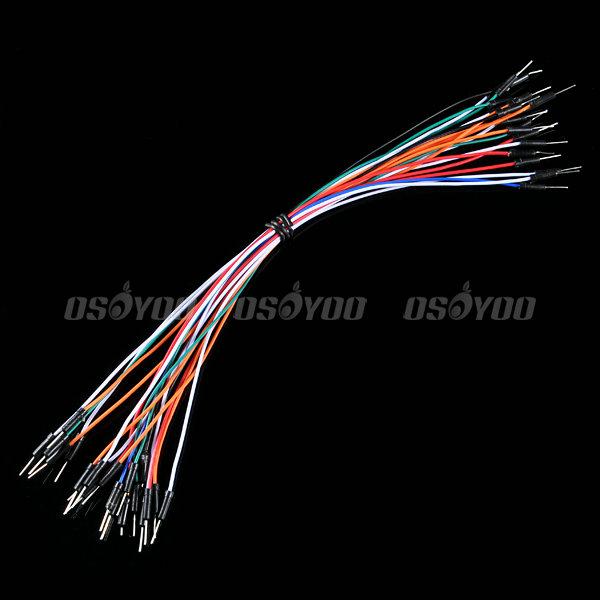
Male to male Jumper wires |
|
|
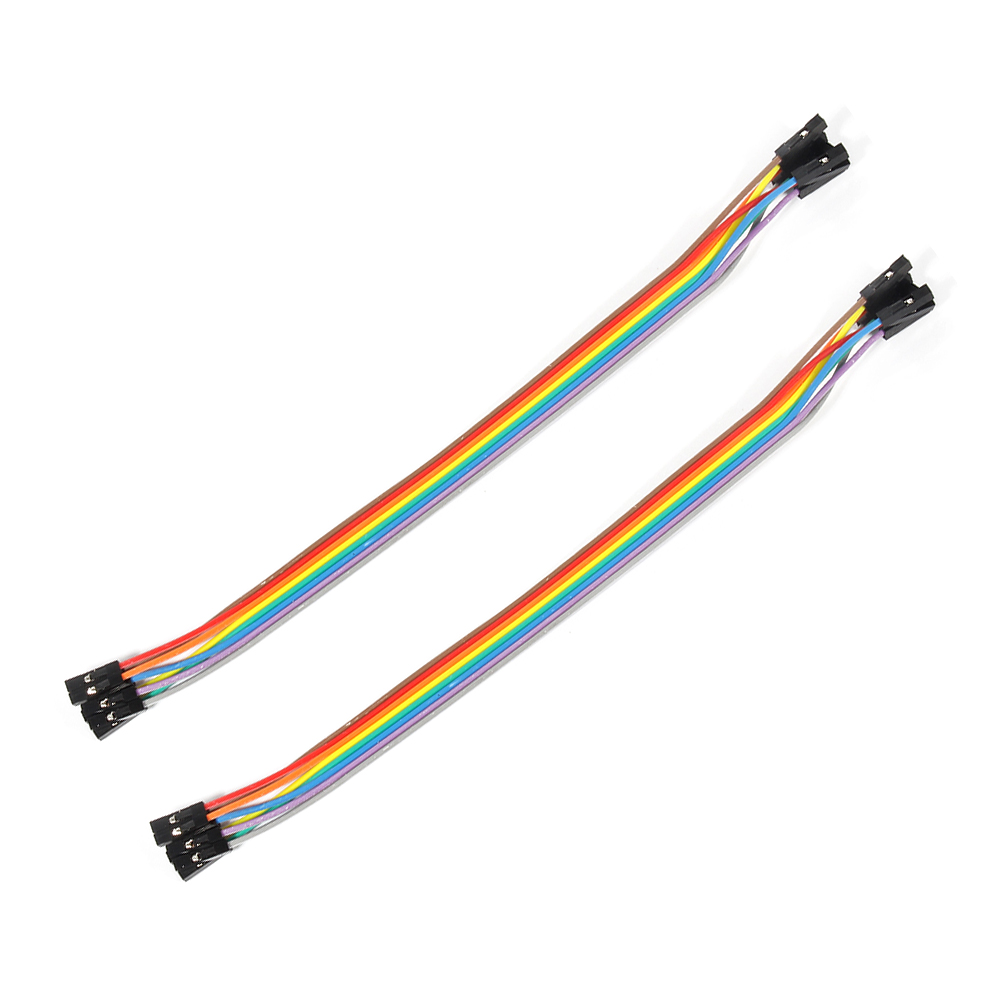
Male to female Jumper wires |
Hardware
As only the digital signal can be processed by raspberry pi, we need to add a analog to digital converter (ADC) to process the analog signal from MQ-7 sensor.It can detect the CO gas concentration according to the valtage value.MCP3008 as ADC chip is very common and recommended highly.
The MQ-7 sensor can output the analog and digital signal when the work voltage is 5V. When the CO gas is detected by snesor, the signal light turns on and the digital signal output the low-level valtage. In additon, there is a adjustable resistor to change the sensor sensitivity.
The schematic diagram is as follows:
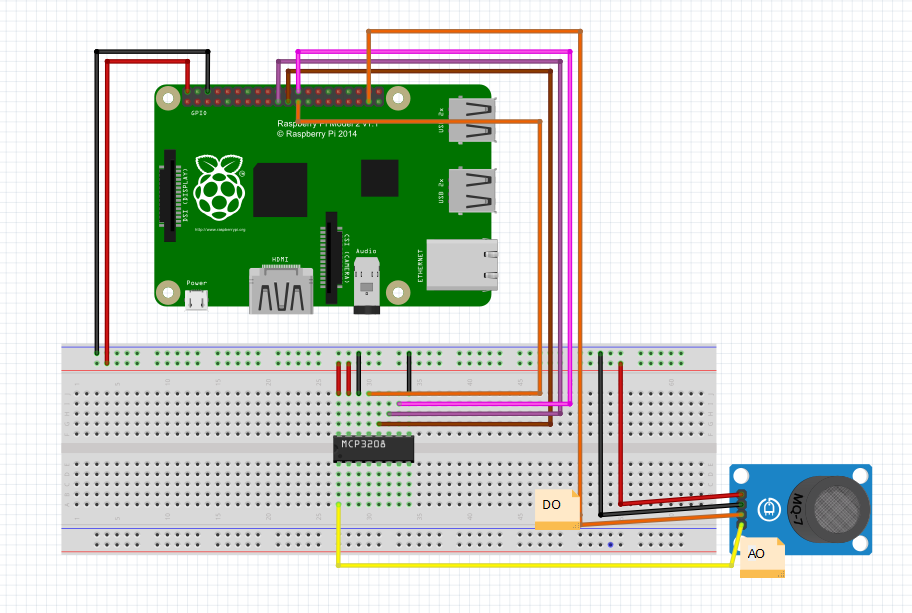
Pay more attention to the anode and cathode, otherwise it would burnout your raspberry pi board and sensor.You can connect the GND of the sensor to OV, VCC to 5V. You could visit the article for your referenc if you want to learn more about the raspberry pi IO port. :How to read Raspberry Pi i/o pin diagram (GPIO pin graph)
Software
You could choose the connect the raspberry pi to monitor, or login in pi via SSH.
1)Write the code
Add new file named mq-7.py under home file (the name is arbitrary)
sudo nano mq-7.py
Write the sample code in new file, the code can be obtained by executing shell commands
sudo wget --no-check-certificate http://osoyoo.com/driver/mq-7.py
2)Execute python program
sudo python ./mq-7.py
3)Test
When the programme start, there is no signal output within 20s.The sensor would preheat 20s firstly,then output after the data remain stable.It is normal for sensor to stay hot slightly.It can produce the CO gas using the lighter. When you light the lighter in front of sensor,there is a signal output of CO is detected and the valtage value, the signal light turns on. If these the phenomenon above doesn’t appear, you could swing clockwise to adjust the resistor until the above phenomenon appear.