

Authorized Online Retailers:
Purchase from US Purchase from Japan


Introduction
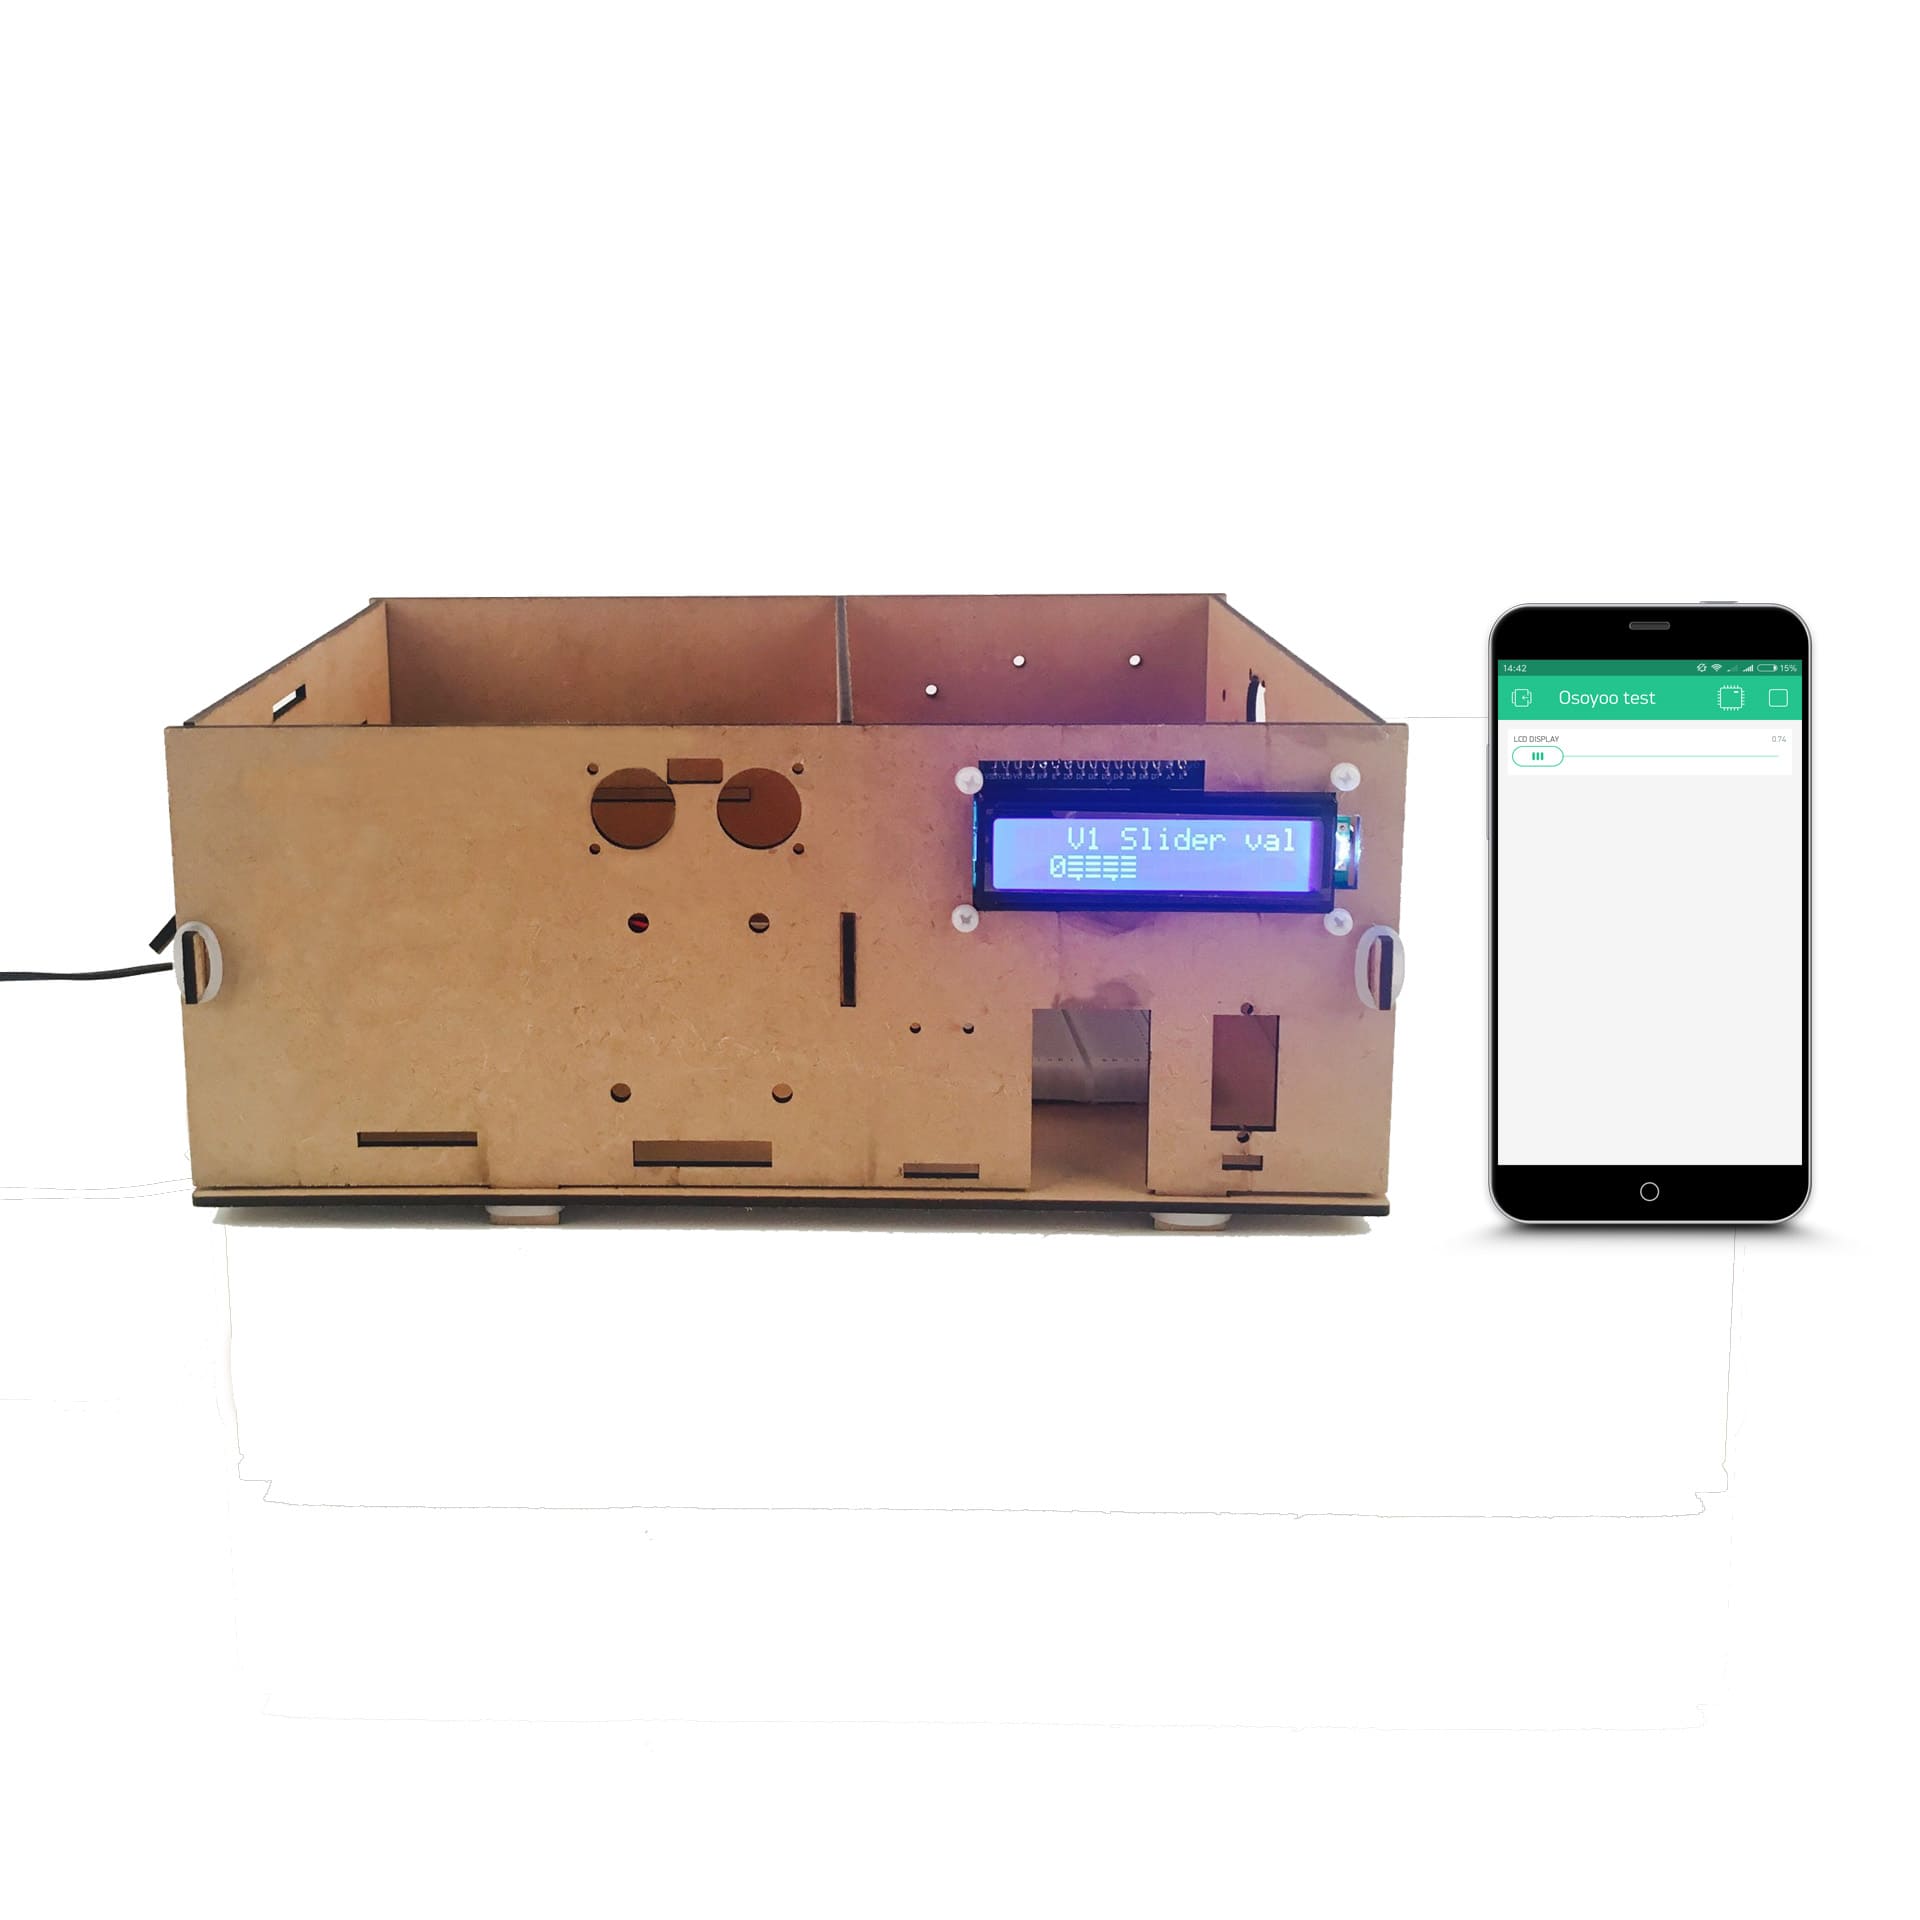
In this lesson, we will show how to use the Osoyoo Mega2560+Yun Shield with the I2C 1602 LCD Display. Before starting this lesson, you can get more information about the I2C 1602 LCD display from this link.
HARDWARE
- Arduino(Osoyoo Mega2560 here) x 1
- Dragino Yun Shield x 1
- I2C 1602 LCD Display x 1
- Jumpers
SOFTWARE
Connection
Build the circuit as below:

| I2C 1602 LCD Display |
Osoyoo Mega 2560 |
| VCC |
5V |
| GND |
GND |
| SCL |
D21(SCL) |
| SDA |
D20(SDA) |
Code Program
After above operations are completed, make sure that the Yun Shield is on the same network with the computer. Open the Arduino IDE and choose corresponding board type and port type for you project. Then load up the following sketch onto your Arduino.
#define BLYNK_PRINT Serial

#include <Wire.h>
#include <LiquidCrystal_I2C.h>
#include <Bridge.h>
#include <BlynkSimpleYun.h>

// You should get Auth Token in the Blynk App.
// Go to the Project Settings (nut icon).
char auth[] = "Your Auth Token";
LiquidCrystal_I2C lcd(0x27,16,2);
// This function will be called every time Slider Widget
// in Blynk app writes values to the Virtual Pin 1
BLYNK_WRITE(V10)
{
  int pinValue = param.asInt(); // assigning incoming value from pin V1 to a variable
  // You can also use:
  // String i = param.asStr();
  // double d = param.asDouble();
 lcd.setCursor(3,0);
  lcd.print("V1 Slider value is: ");
    lcd.setCursor(2,1);
  lcd.println(pinValue);
}

void setup()
{
  // Debug console
  //Serial.begin(9600);
  Bridge.begin();
 lcd.init(); //initialize the lcd
  lcd.backlight(); //open the backlight
  Blynk.begin(auth);
  // You can also specify server:
  //Blynk.begin(auth, "blynk-cloud.com", 8442);
  //Blynk.begin(auth, IPAddress(192,168,1,100), 8442);
}

void loop()
{
  Blynk.run();
}
In this example sketch, find this line:
char auth[] =”YourAuthToken”;
This is the Auth Token that you emailed yourself. Please check your email and copy it, then paste it inside the quotation marks.
It should look similar to this:
char auth[] = “f45626c103a94983b469637978b0c78a”;
Upload the sketch to the board. Wait until you see something like this:
avrdude done. Thank you.
Congrats! You are all set! Now your hardware is connected to the Blynk Cloud!
Add a Widget
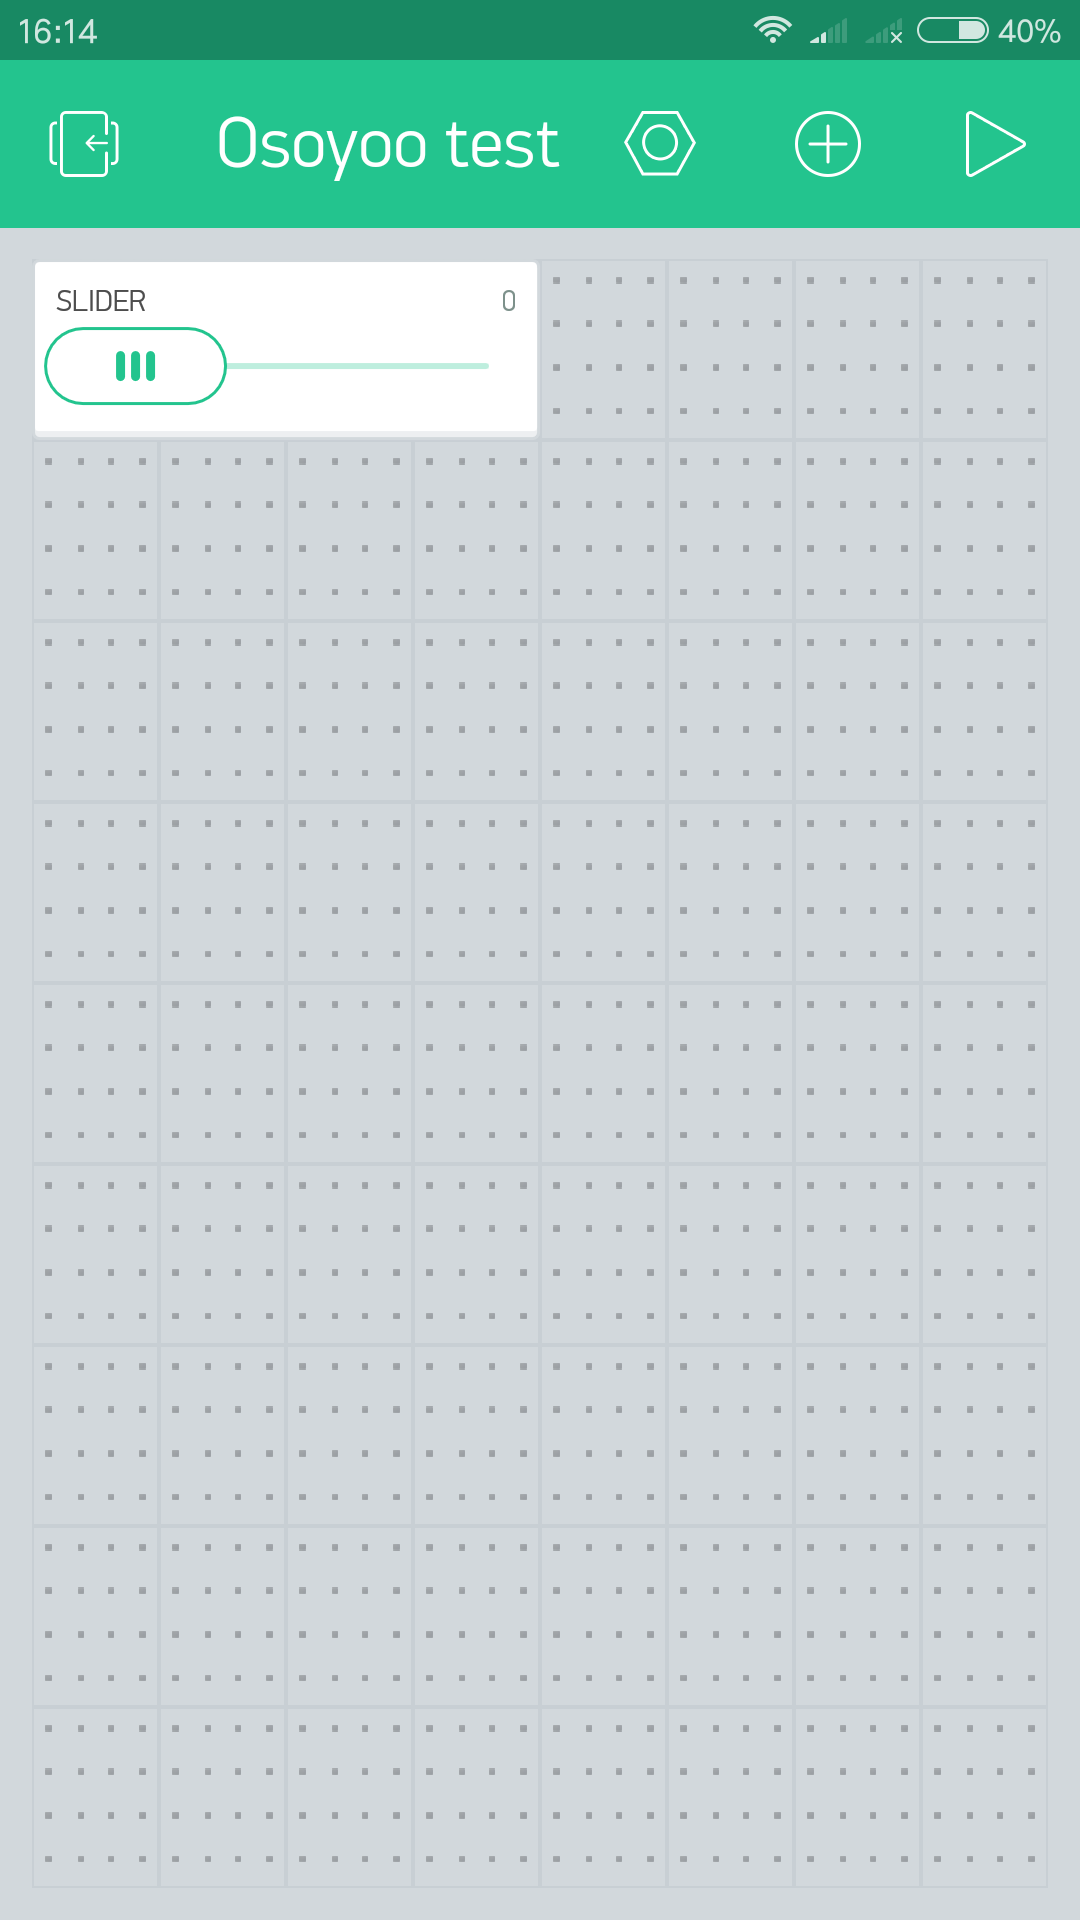
In this project, we need to add a Slider widget
Tap anywhere on the canvas to open the widget box. All the available widgets are located here. Now pick a Slider.
Drag-n-Drop – Tap and hold the Widget to drag it to the new position.
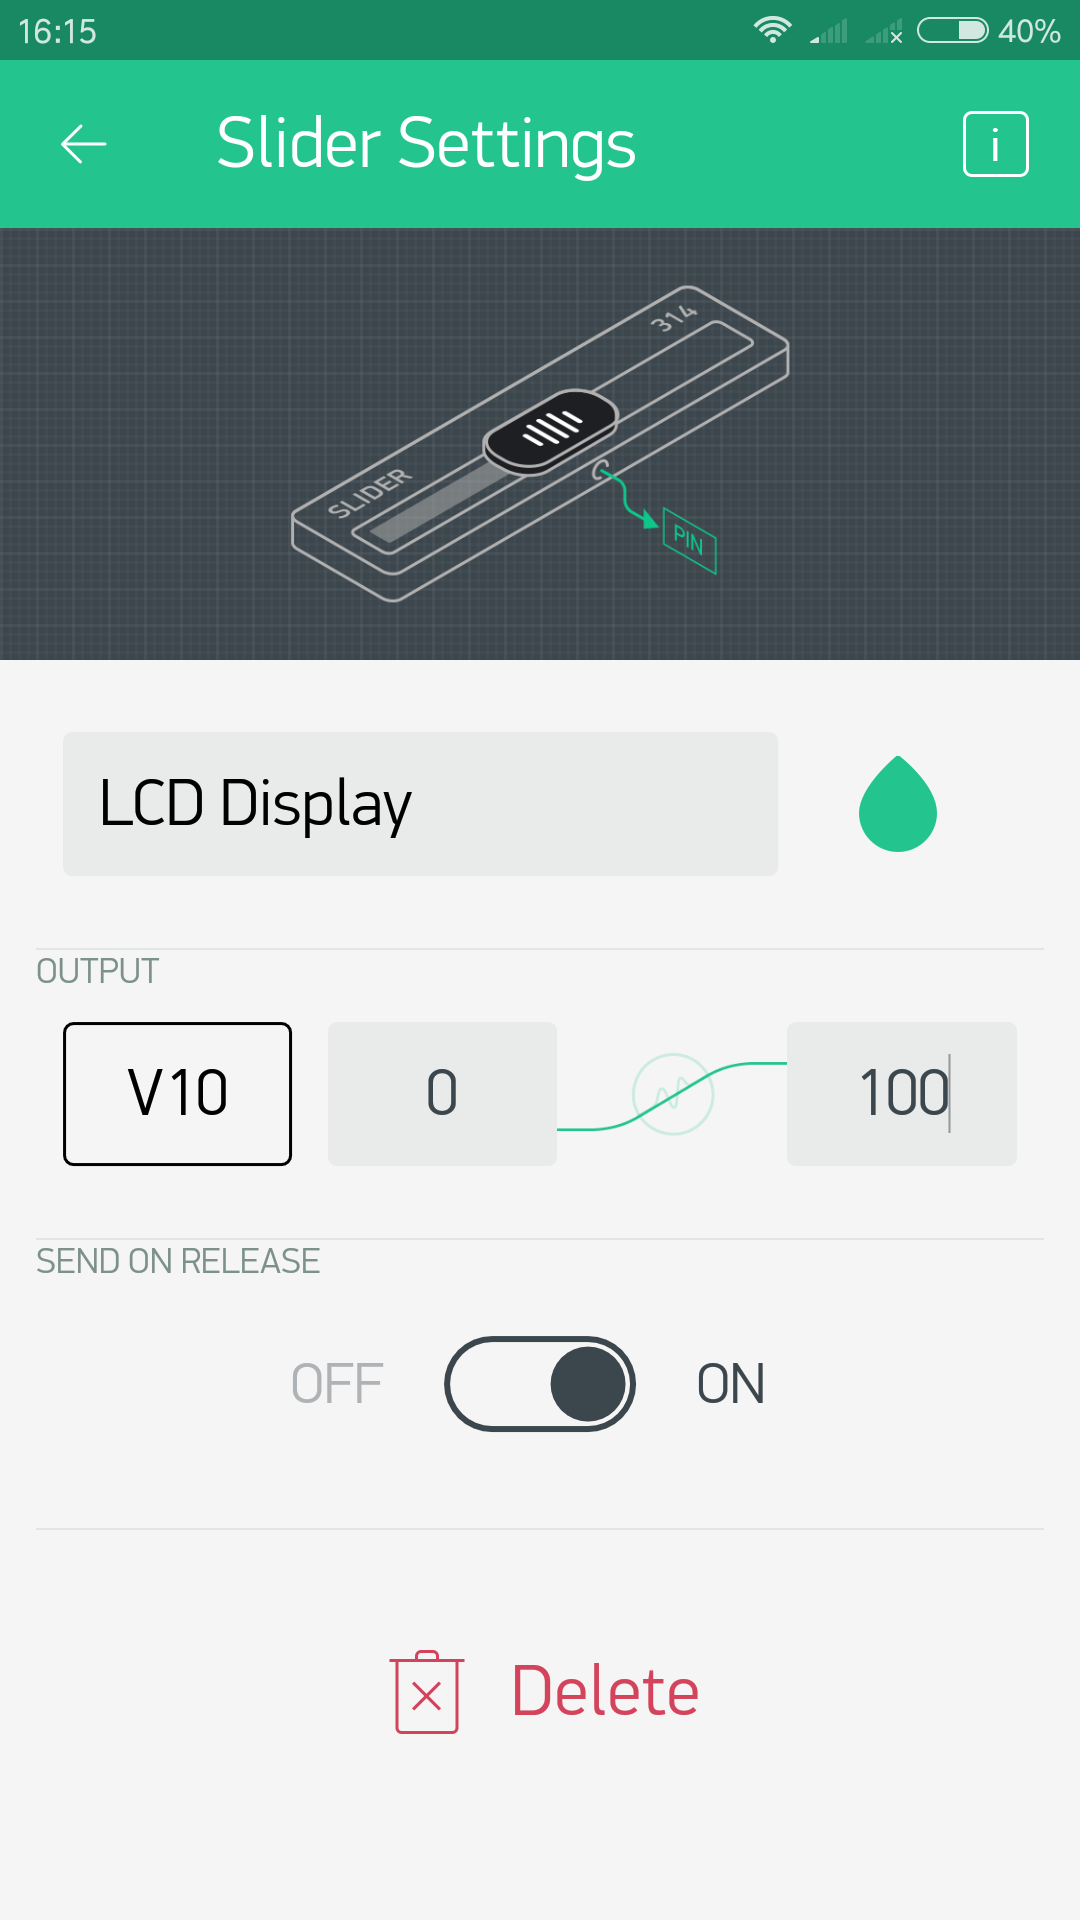
Widget Settings – Each Widget has it’s own settings. Tap on the widget to get to them.
App project setup:
Slider widget (0…100) on V10
Running Result
Open the Serial Monitor and you will see the network connection state.You can use this sketch as a debug tool that prints all incoming values sent by a widget connected to a Virtual Pin 10 in the Blynk App.