- Internet of Things
- OSOYOO Hardware Program learning Kit for Raspberry Pi
- OSOYOO Hardware Programming Learning Kit
- OSOYOO Robot Car Kit A series
- Sensors & Accessories
- Single Board
- Tutorial & eBook
- Uncategorized
- Building Blocks
- mBlock Graphic Programming
- Micro:bit
- Raspberry Pi Pico
- Tutorial & Examples
- 测试
- OSOYOO ESP8266 Wifi Module
- OSOYOO W5100 Ethernet IoT learning Kit
- OSOYOO Wifi IoT Learning Kit
- Smart House V2.0 Blynk Control
- Blynk IoT Learning Kit
- LoRa Related
- NodeMCU IoT Kit
- Smart Home Iot Kit
- Smart Home V2.0 UDP APP control
- Project for Raspberry Pi
- FlexiRover Robot Car for Raspberry Pi/Arduino
- IOT kit for raspberry Pi
- Mecanum Wheel Car
- OSOYOO basic kit for Raspberry pi zero
- OSOYOO Robot Car V1 for Raspberry Pi
- OSOYOO Robot Car V2 for Raspberry Pi
- OSOYOO Starter Kit V1 for Raspberry Pi
- OSOYOO Starter Kit V2 for Raspberry Pi
- Screen for Raspberry Pi
- Tank Car for Raspberry Pi
- OSOYOO V4.0 Robot Car for Raspberry Pi
- LilyPad Sewing electronic Kit
- NodeMCU Garden Watering Kit
- OSOYOO 3D Printer Kit
- OSOYOO Advanced Hardware Programming Learning Kit
- OSOYOO Basic Programming Learning Kit
- OSOYOO Cayenne IOT Learning Kit
- OSOYOO Graphical Programming Kit
- Osoyoo Hardware Programming Starter Kit
- OSOYOO IoT Smarthome Kit V0.1
- OSOYOO PNP Programming Learning Kit
- OSOYOO RFID Programming Learning Kit
- Osoyoo Sensor Modules Kit
- OSOYOO Smart Home IoT Kit
- OSOYOO Ultimate Hardware Programming kit
- OSOYOO v3 advanced learning kits
- 16+1 Sensor kit
- Smart Car Kit
- Balance car kit
- Blue Mecanum Wheel Robotic for Arduino Mega2560
- Blue Mecanum Wheel Robotic for Raspberry Pi
- M1.0 Mecanum Wheel Metal Chassis Robotic
- M2.0 Mecanum Wheel Metal Chassis Robotic
- Mars Explorer Mecanum Wheel Robot Kit
- Tank Car Kit V1.0
- Tank Car Kit V2.0
- 2WD Robot Car Starter Kit
- Espro All_In_One Robot Drive board
- Model-3 V2.0 Robot Car
- OSOYOO Model-3 Robot Learning Kit
- OSOYOO Model-T Robot Car
- OSOYOO Robot Car Starter Kit Tutorial
- OSOYOO Servo Steering Car V3.0 for Arduino MEGA2560
- P3 Servo Steering Robot Car
- SG90 Servo Steering Robot Car
- V2.0 Robot Car kit
- V2.1 Robot car kit
- Sewing eletronic widgets
- Breadboard
- Buzzer
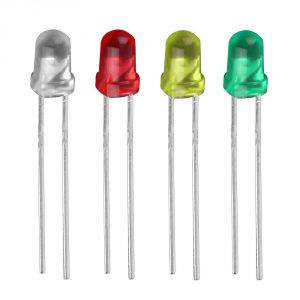
- LED
- Resistor
- Screen
- Sensors
- Temperature sensor
- USB cable
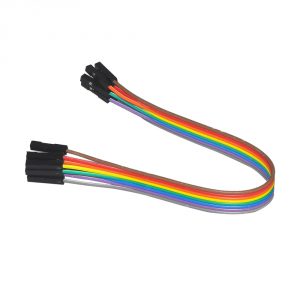
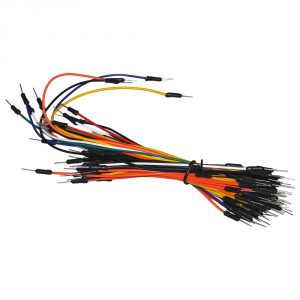
- Wires
- IO-breakout-board-for-ardino-UNO
- IO-breakout-board-for-arduino-nano
- IO-breakout-board-for-arduino-pro-micro
- IO-breakout-board-for-esp32&esp8266
- IO-breakout-board-for-raspberry-pico
- Nano for arduino
- LTG-Nano for Arduino
- Motor driver board
- NodeMCU
- Pro micro for Arduino
- PWM HAT for Rapberry Pi
- Basic Tutorial about Arduino
- Graphical Programming Tutorial Serie A
- Parts & Projects for Arduino Open Source IDE