Location: Home » Uncategorized » Lesson 2: Getting started with Digital Output – Blinking LED
Lesson 2: Getting started with Digital Output – Blinking LED
Post Time: 2020-10-03 15:10:28
Category: Uncategorized
Buy from US
Buy from UK
Buy from DE
Buy from IT
Buy from FR
Buy from ES
Buy from JP
Computer can do many complicated jobs. One of these most basic job is I/O (Input/Output). I/O means computer exchange data and signal with other devices.
In this project, You will write a short Arduino code and make Arduino UNO board keep sending High and Low voltage signal to an LED and make it blinking.
Osoyoo UNO Board (Fully compatible with Arduino UNO rev.3) x 1
USB Cable x 1
A laptop or Desktop PC which has installed Arduino IDE software
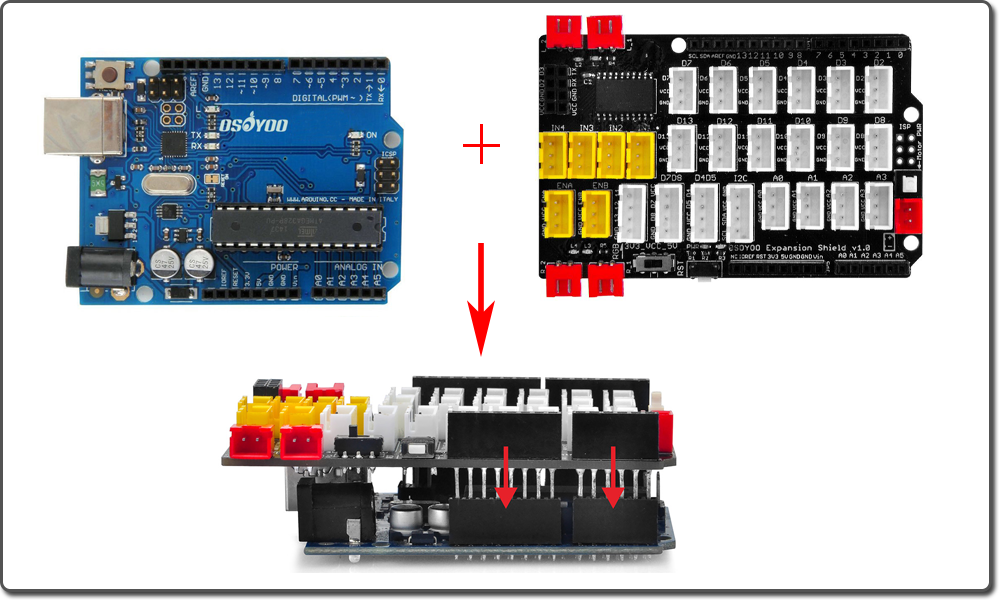
First, please plug Osoyoo Magic I/O shield into UNO board:
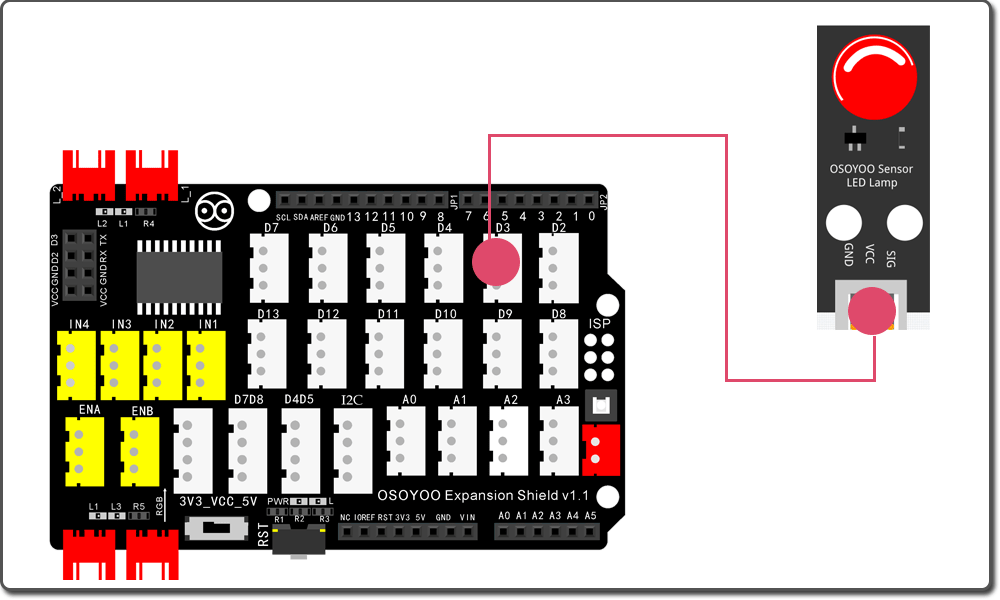
Then connect the LED module to the D3 port of the Magic I/O shield with a 3-pin PNP cable as below:
Notice:
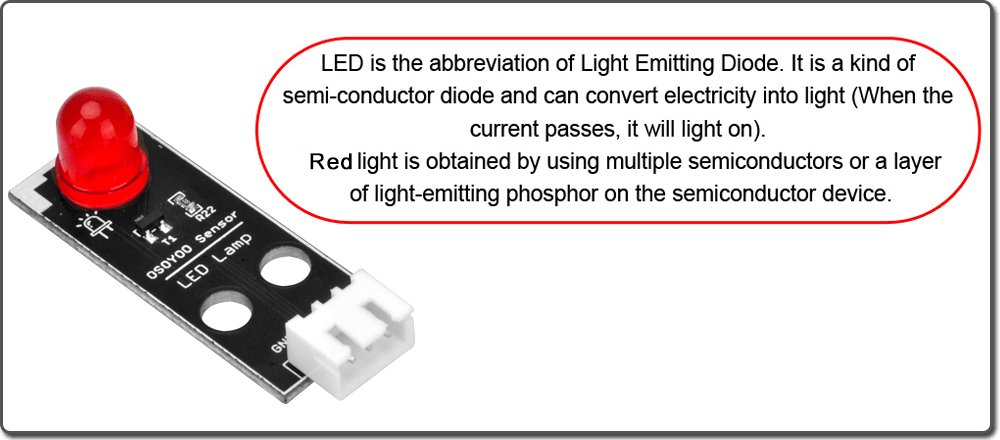
DO NOT directly connect a LED to a battery or voltage source. First, because the LED has a positive and a negative lead and will not light if they are the wrong way around; Secondly, a LED must be used with a resistor to limit or ‘choke’ the amount of current flowing through the LED – otherwise the LED may be burn out!
Unzip above file, you will see a folder all-in-one-lesson1, Open this folder and double click file all-in-one-lesson1.ino , your Arduino IDE will open this sketch file, you will see following code:
#define LED_PIN 3 //define LED pin in D3  slot

void setup(){
  pinMode(LED_PIN, OUTPUT); //set  LED_PIN work as output mode
}

void loop(){
  digitalWrite(LED_PIN,HIGH); // send high voltage to LED_PIN, turn on LED
  delay(1000); // delay 1000ms (one second)
  digitalWrite(LED_PIN,LOW);  // turn off LED
  delay(1000); // delay 1000ms (one second)
}
Brief Explanation About Arduino Program Code Structure:
Arduino Sketch code must have two important code blocks : setup() {…} and loop() {…}
In C++ language, we call them functions.
The codes inside setup() function only run once when the Arduino just starts.
The codes inside loop() functions are running again and again as long as your Arduino power is on.
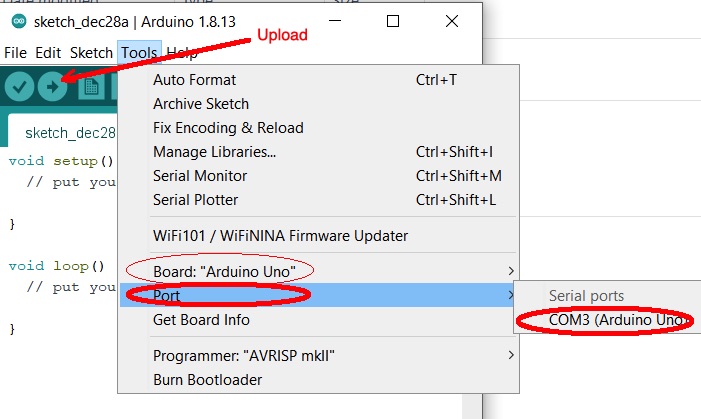
Before running the code, you need select the board type to Arduino UNO and also select correct Port.
The selection can made from Top Menu->Tools as following, picture, then click Upload button(right arrow)
Now let’s try to make LED blink faster. As you might have guessed, we can do this by changing the value in the function delay(1000) in line 9 and line 11.
The delay period is in milliseconds, and if you want the LED to blink twice as fast, reduce delay time from 1000 ms to 500 ms . So the code in line 9 and line 11 should be :
delay(500);
Here, we see two very common module functions- digitalWrite(pin) and delay(time)
digitalWrite(pin) lets Arduino send digital signals(voltage) to a specific pin number delay(time) is very straight forward, it just makes Arduino keep current status for a specific time period.
Now we can explain the sample codes in detail:
Line 1 : We just tell Arduino we will use LED_PIN to standard for pin 3
Line 4: We tell Arduino that pin 3 is used as an output pin
Line 8 sends a HIGH voltage to pin 3. Pin 3 is connected our LED. therefore the LED is turned on.
Line 9 keeps previous status for 1000ms(one second), so the LED keeps turning on for 1 second.
Line 10 sends a LOW voltage to pin 3. therefore the LED is turned off.
Line 11 keeps previous status for 1000ms(one second), so the LED keeps turning off for 1 second.
After line 11 is executed , loop() function will go back to line 8 code and run these code again and again.
Therefore the loop() function makes LED blinking.
Now you have completed this simple LED flashing project. We hope have got some basic idea on how works on Arduino. Let’s go to next lesson to explore new topics on Arduino programming.