I.Objective
II.Parts and Devices
III.Hardware Installation
IV.Circuit Connection
V.Software Installation
VI.Test

| Buy from US |
Buy from UK |
Buy from DE |
Buy from IT |
Buy from FR |
Buy from ES |
ここでご購入を! |
 |
 |
 |
 |
 |
 |
 |

In this Lesson 4, we have learnt how to use OSOYOO IOT UDP APP to control our robot car. In Lesson 6, we have learnt how to use browser to control this car with web camera.
In this lesson, we will combine lesson 4 and lesson 6, instead of using browser, we will use cell phone APP to watch the web camera video and control the car.

| No. |
Picture |
Device |
Qty. |
Accessories |
Link |
| 1 |
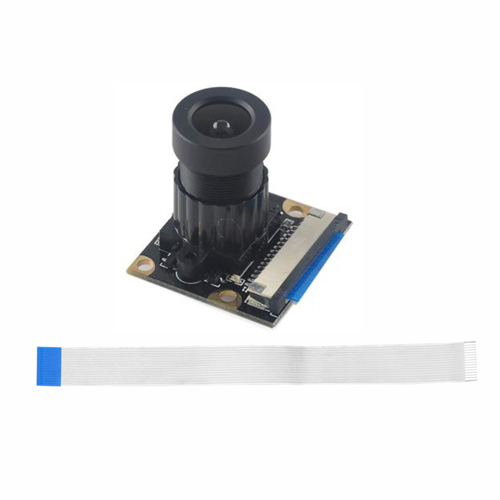 |
CSI camera for Raspberry Pi 2/3/4 |
1 |
M2 push pin rivets x 4 |
Click here to buy |
| 1 |
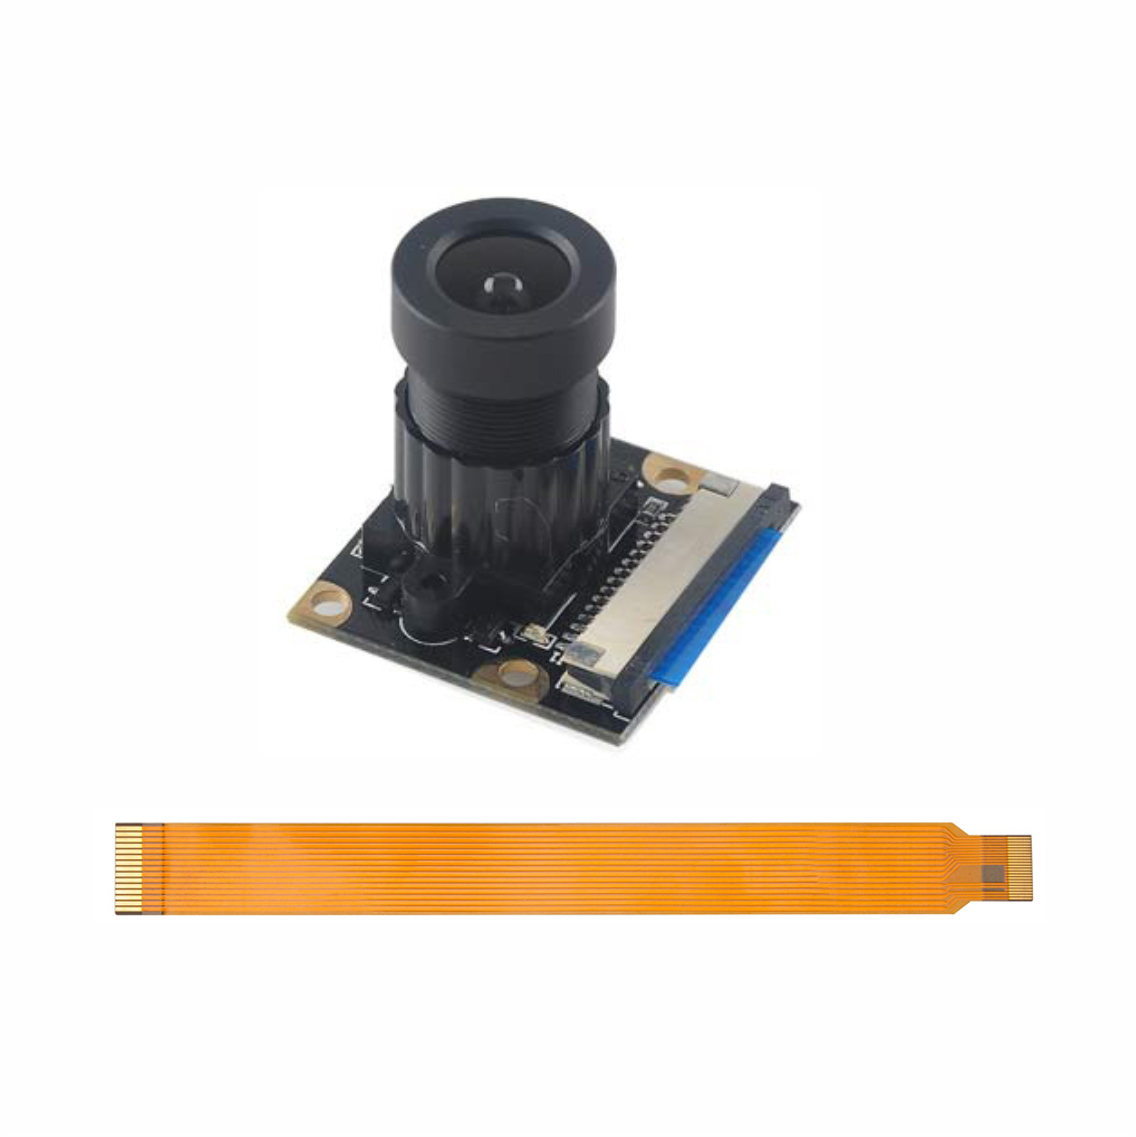 |
CSI camera for Raspberry Pi 5/Zero |
1 |
M2 push pin rivets x 4 |
Click here to buy |
| 2 |
 |
Servo Motor |
1 |
M2.2*8 Self Tapping Screw x 2
M2*4 Self Tapping Screw x 1 |
Click here to buy |
| 3 |
 |
Mount Holder for Ultrasonic Sensor |
1 |
M1.4*8 Screw x 4
M1.4 Nut x 4
M2*4 Self Tapping Screw x 1 |
Click here to buy |
| 4 |
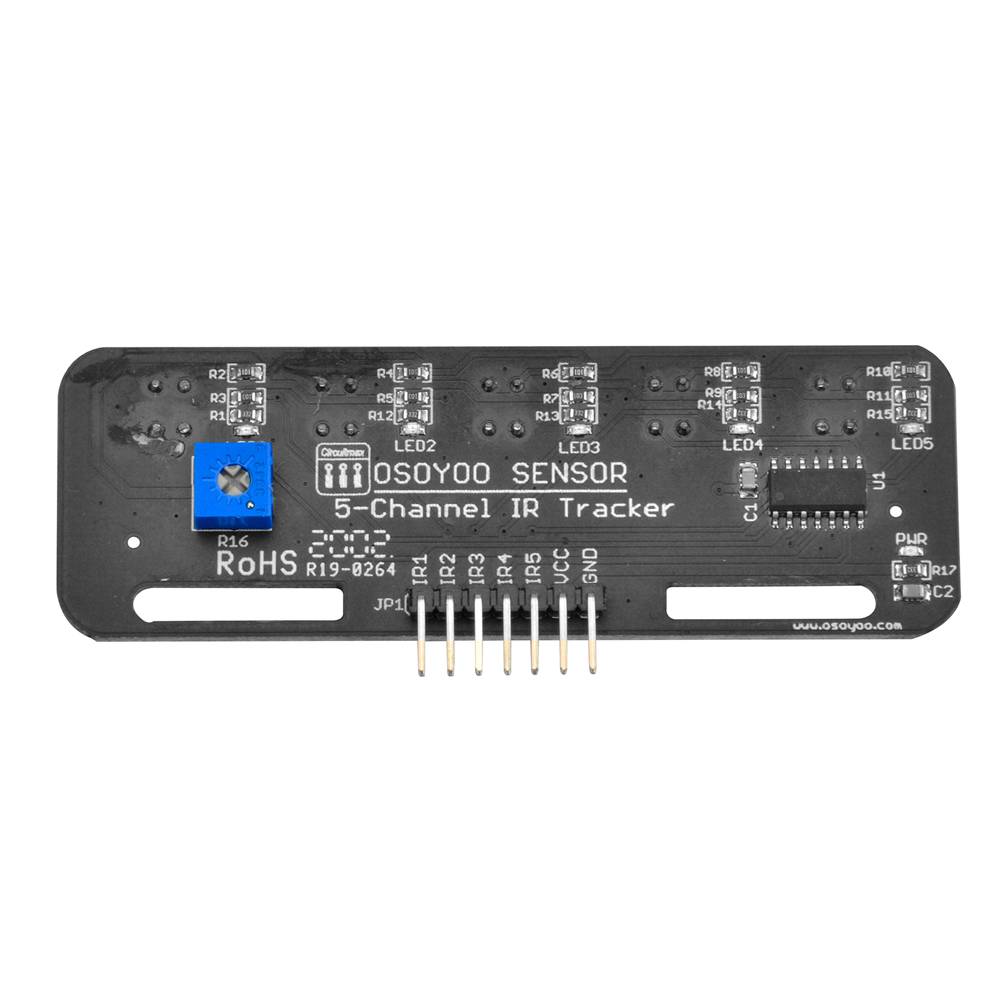 |
Tracking sensor module |
1 |
M2.5 Plastic Screw x 2
M2.5 Plastic Nut x2
M2.5 Plastic Pillar x 2 |
Click here to buy |
| 5 |
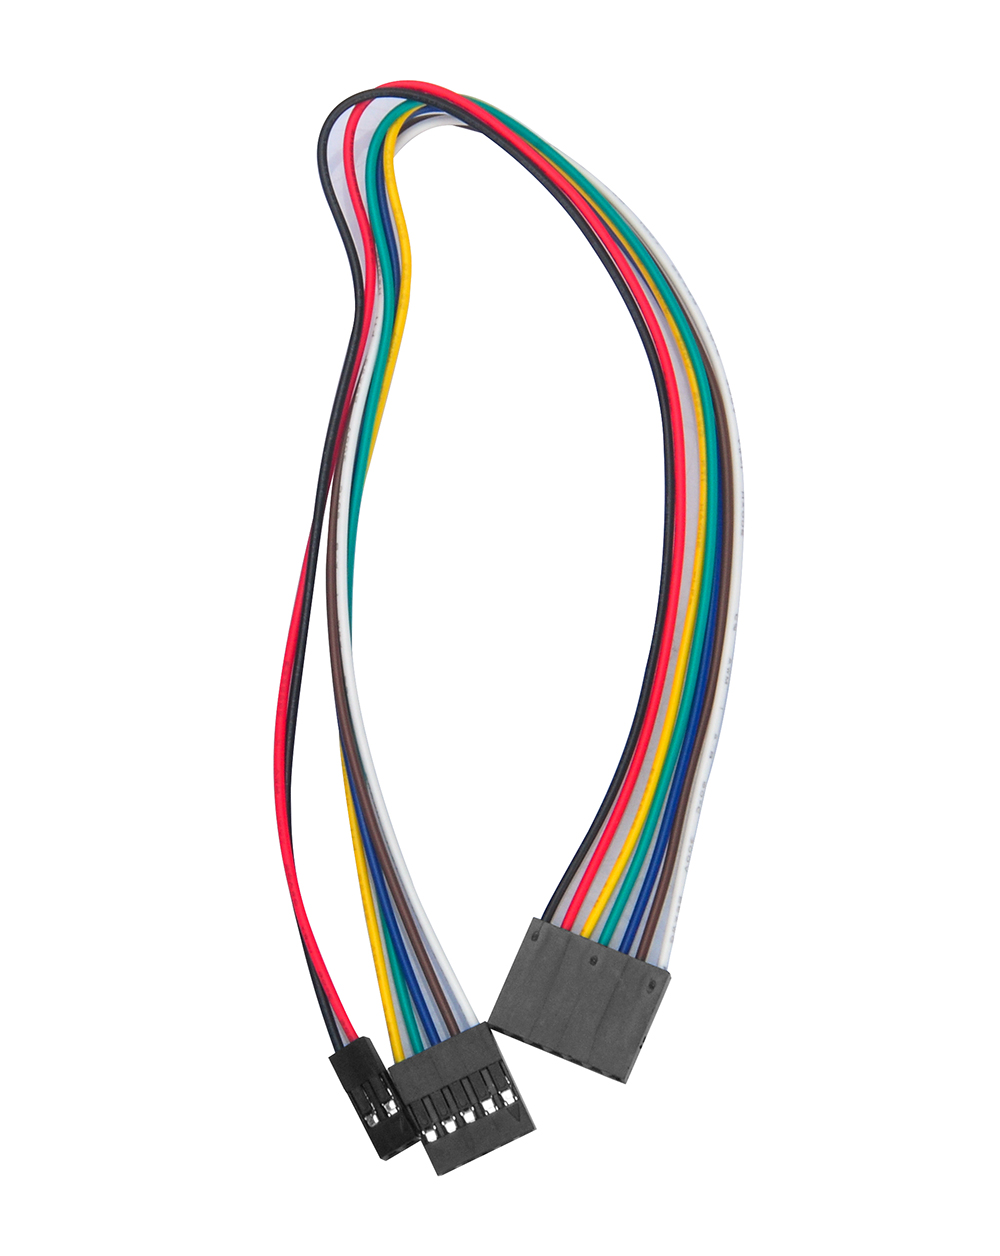 |
7pin 25cm Female to Female Cable |
1 |
|
Click here to buy |
| 6 |
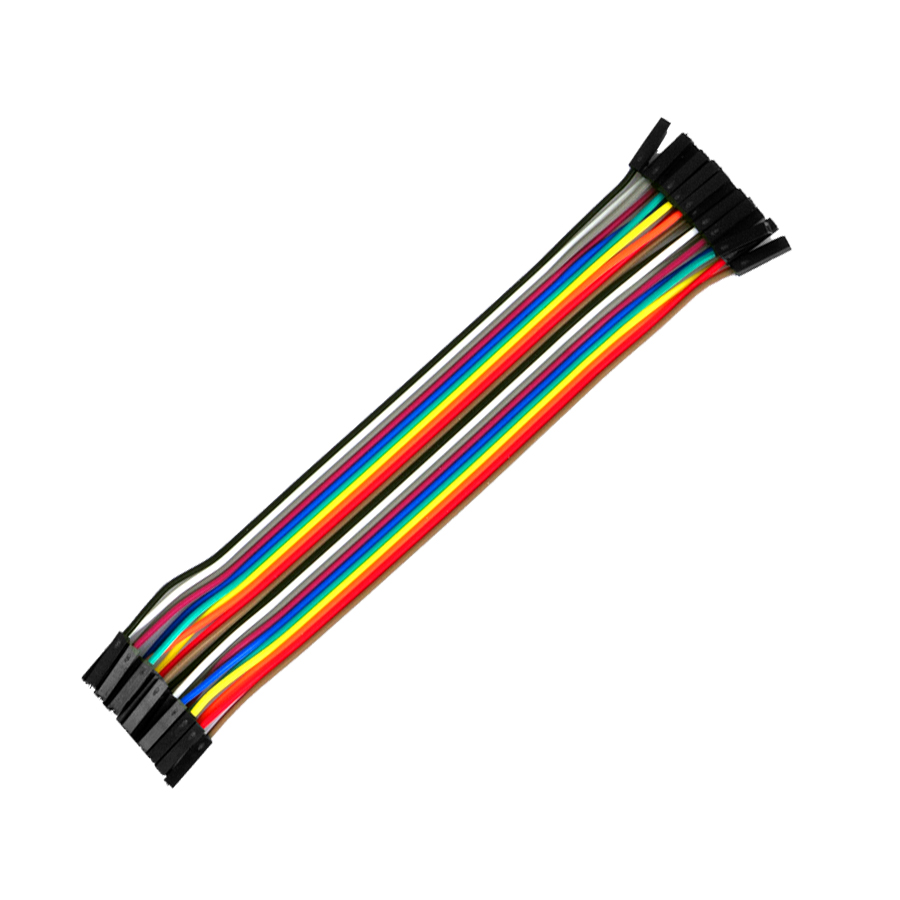 |
20Pin jumper wire female to female 20cm |
some |
|
|
| 7 |
 |
Philips screwdriver |
1 |
|
Click here to buy |

Step 1: Install the smart car basic frame work as per lesson 2. If you don’t install web camera, please completed camera installation in Lesson 6

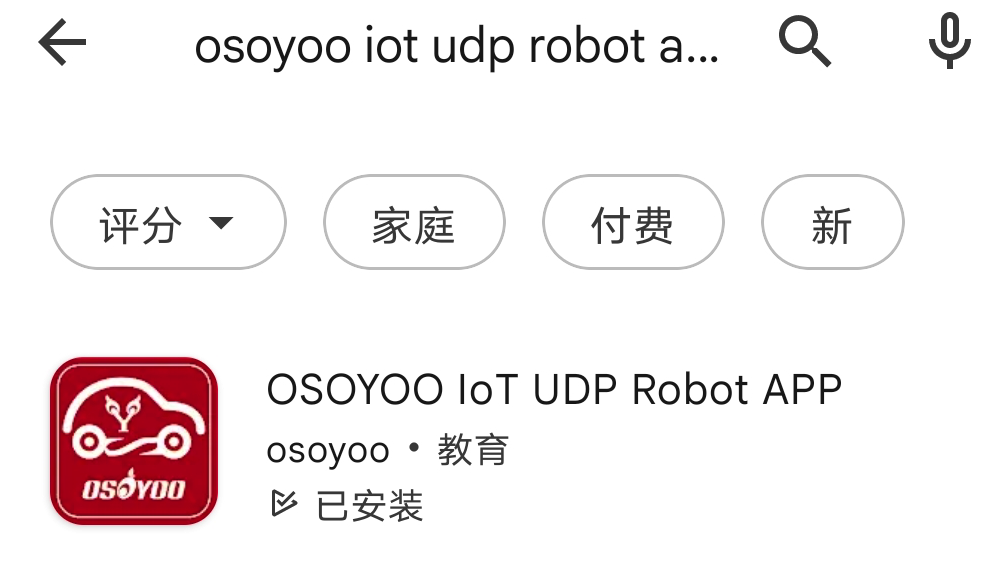
Step 1) Download OSOYOO IOT UDP Robot Car control APP
In Google Play or Apple Store, please search key words “OSOYOO IOT UDP Robot Car”, you will find an orange icon APP as following:
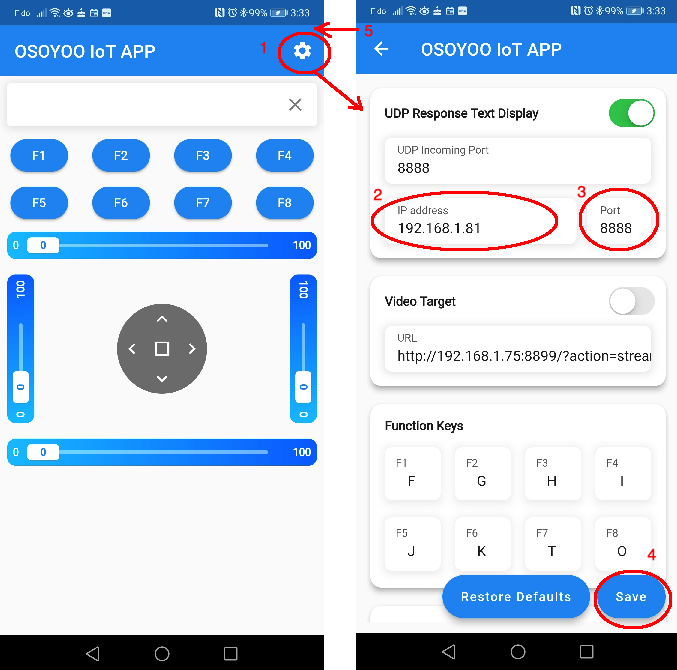
Connect your phone with the same router wifi SSID your raspberry pi use. Open the APP, click Settings, enter your Raspberry Pi IP address and Port to 8888 in settings:
Step 2) Make sure you have installed rpi.gpio and adafruit-pca9685 library in lesson 1 .
If you use python2, type following command to download the sample code:
wget http://osoyoo.com/driver/picar/picar-wifi.py
If you use python3, type following command to download the sample code:
wget http://osoyoo.com/driver/picar/picar-wifi3.py
Step 3) Make sure you have installed mjpeg-streamer software, if you haven’t installed this software, please read lesson 6 .
Start mjpeg-streamer server by typing following command:
bash startcam.sh

If you see above result, it means your web camera server(mjpeg-streamer ) has started.
Step 4)
If you use python2, type following command to run the sample code:
python picar-wifi.py
If you use python3 , type following command to run the sample code:
python3 picar-wifi3.py
After above python is running, your car is waiting for command from your cell phone.
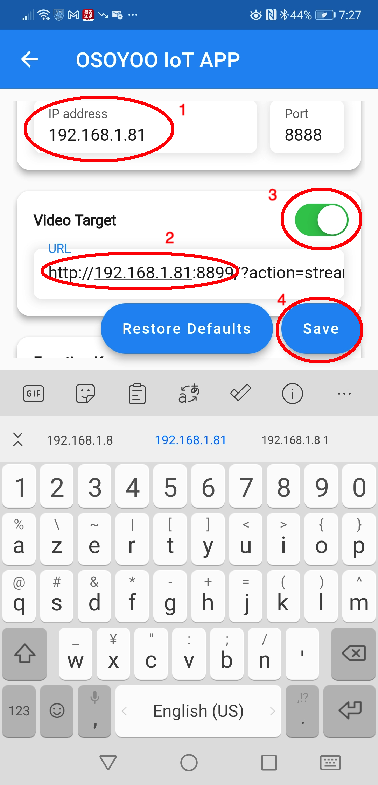
Step 5) Click Setting , then set video target IP address to match your Raspberry Pi IP address, enable the Video target, then Save.
Now go back to your APP home page, you will see a video window as following:
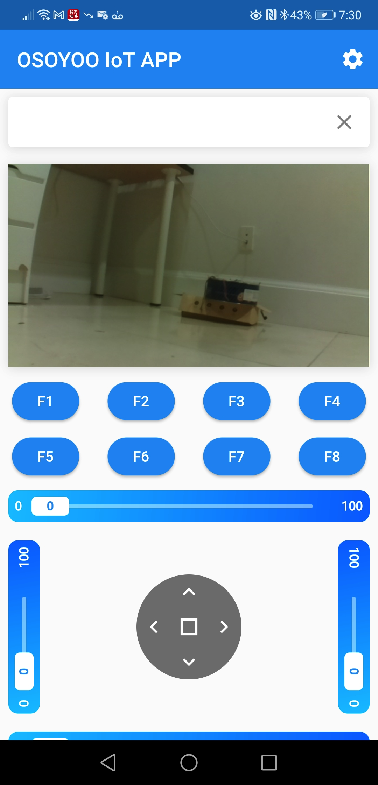
Now your can click the < > ^ v direction keys to make the car move. Use || pause key to stop the car movement.
If you click F8, the car will do link tracking auto driving similar to lesson 2
The video window will show the image from your camera.
If you move the top slider, you can actually rotate the camera servo and change its direction.
If you move the left slider, you can change the car default moving speed.
Note: F1~F6 are further development functions in the future.
FAQ about the WIFI UDP APP and sketch Code:
Q1)How to tune the robot car speed?
A: If you want change the speed performance of the robot car, please change values following parameters in line 19-21 in picar-udp-control.py file :
high_speed = 4000  # Max pulse length out of 4096
mid_speed = 2000  # Max pulse length out of 4096
low_speed = 1000  # Max pulse length out of 4096
Q 2)What happened when you press buttons in OSOYOO WiFi UDP Robot Car APP ?
A: When you press a button of the APP, APP will send a single-letter message through UDP protocol to target device Raspberry Pi
| Button |
UDP message |
| F1 |
F |
| F2 |
G |
| F3 |
H |
| F4 |
I |
| F5 |
J |
| F6 |
K |
| ▲ |
A |
| ▼ |
B |
| ► |
R |
| ◄ |
L |
| square |
E |
| F7 |
O |
| F8 |
T |
There are four sliders in the APP called SL (left slider), ST (top slider), SR (right slider) and SB(bottom Slider).
When you move a slider, you will send the slider value data by UDP to target device.
For example, when you move top slider to position 33, the the UDP message is ST=33
Q3)How does Raspberry Pi python program handle the UDP command?
Line 290 to 318 while loop receives UDP data from APP and give it to viable cur_status, ticker function in line 266 – 280 handle the cur_status :
def ticker():
    if cur_status=='R':
    	turnRight(high_speed,0)
    if cur_status=='L':
    	turnLeft(0,high_speed)
    if cur_status=='A':
    	forward(mid_speed,mid_speed)
    if cur_status=='B':
    	backward(mid_speed,mid_speed)
    if cur_status=='E':
    	stopcar()
    if cur_status=='T':
    	line_tracking()
    if cur_status=='O':
    	obstacle_avoid()
For example , when APP ▲ key is pressed , cur_status value is A , then ticker() function call forward(mid_speed,mid_speed) function to make car moving forward.