Objective
In this lesson, we will use this IoT kit to remotely monitor the home environmental temperature and humidity, and display the data to the OSOYOO IoT APP.
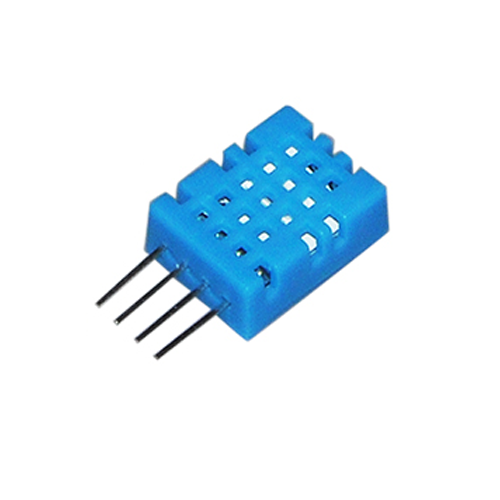
The DHT11 is a basic, ultra low-cost digital temperature and humidity sensor. It uses a capacitive humidity sensor and a thermistor to measure the surrounding air, and spits out a digital signal on the data pin (no analog input pins needed). Its fairly simple to use, but requires careful timing to grab data. The only real downside of this sensor is you can only get new data from it once every 2 seconds, so when using our library, sensor readings can be up to 2 seconds old.
SPECIFICATION
| Items |
Conditions |
Min |
Norm |
Max |
Unit |
| VCC |
DC |
3.3 |
5.0 |
5.5 |
Volts |
| Measuring Range |
Humidity |
20% |
– |
90% |
RH |
| Temperature |
0; |
– |
50 |
°C |
| Sensitivity |
Humidity |
– |
– |
±1% |
RH |
| Temperature |
– |
– |
±1 |
°C |
| Signal Collecting Period |
– |
– |
2 |
– |
S |
HARDWARE
- OSOYOO NodeMCU board
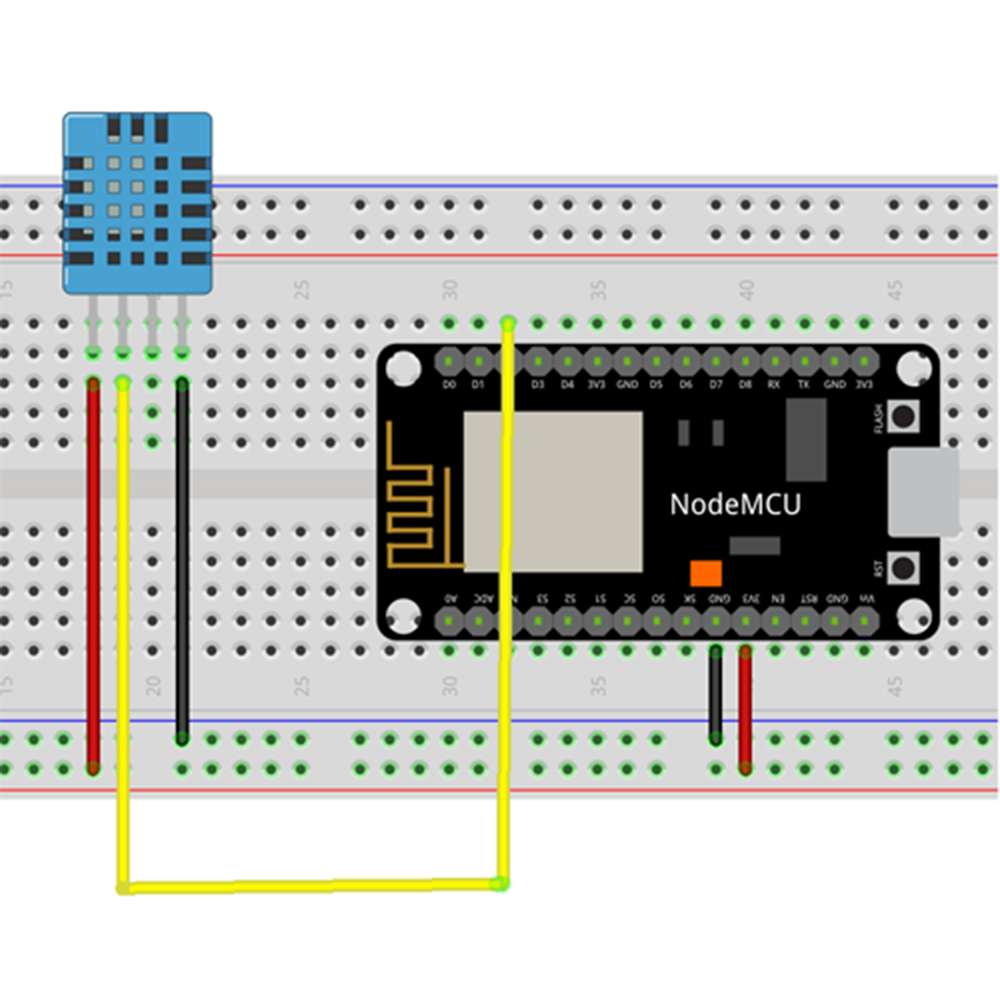
- DHT11 Temperature/Humidity Sensor
- Breadboard and Jumper wires
SOFTWARE
In Arduino IDE, click Sketch->Include Library ->Add .ZIP library and upload above library zip files to the IDE. Download and Edit Lesson2-3 Arduino Code
- Step 1 ) After installing above library, please download the code from following link, unzip it:
https://osoyoo.com/driver/nodemcu/nodemcu-dht11.zip
- Step 2 )Double click nodemcu-dht11.ino file to open the sketch file
Replace line 15, 16 with your own wifi ssid and password
const char* ssid = "***"; //replace *** with your wifi ssid
const char* password = "***"; //replace *** with your wifi password
Step 3 )Upload the code to Arduino board, then open Arduino Serial monitor in the upper right corner.

Now please set your Baud Rate to 115200
you will see NodeMCU IP address as following:

In above example, 192.168.1.158 is the IP address of my NodeMCU, We will sent the NodeMCU IP address in our APP in next step.
APP Installation and Setting:
Step 1) If you haven’t installed OSOYOO IoT Robot APP, please search OSOYOO IoT Robot Car APP in Google Play or Apple Store to install this APP.
You read following tutorial link for more information about APP install :
https://osoyoo.com/2022/02/06/smart-house-iot-learning-kit-v2-0-lesson-1-wireless-lighting-control/#installapp
Step 2):Make sure your Cell phone is in the same Local Network of Arduino. Open the APP, click Settings, enter your NodeMCU IP address from Step F and Port to 8888 in settings:
For example, if your NodeMCU IP address is 192.168.1.81, then set the IP as per following picture.

Running Result
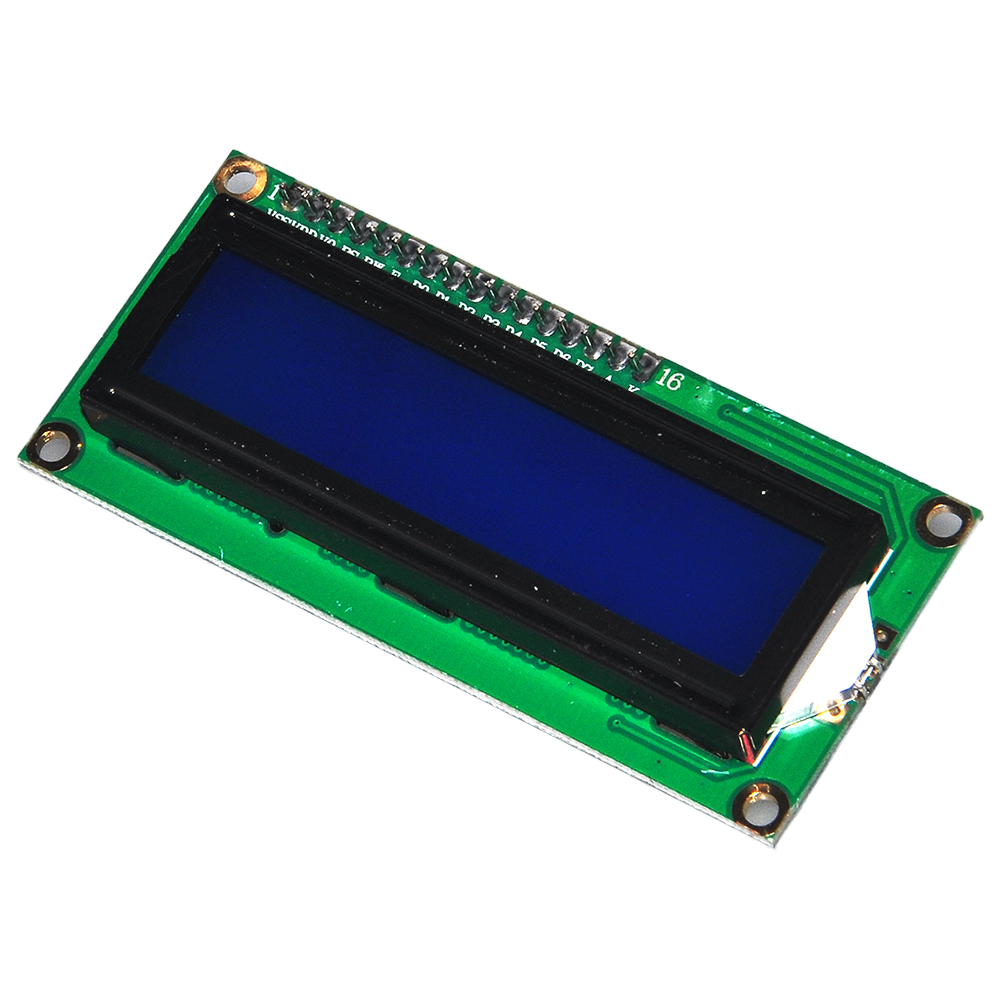
- Now you can see the LCD will display the temperature value and Humidity value. In your APP , you will also see the temperature value and Humidity value in the text field as following picture. If you can’t see the data, press F1 key and check again.
-
Part details
SKU: DKRK100700


