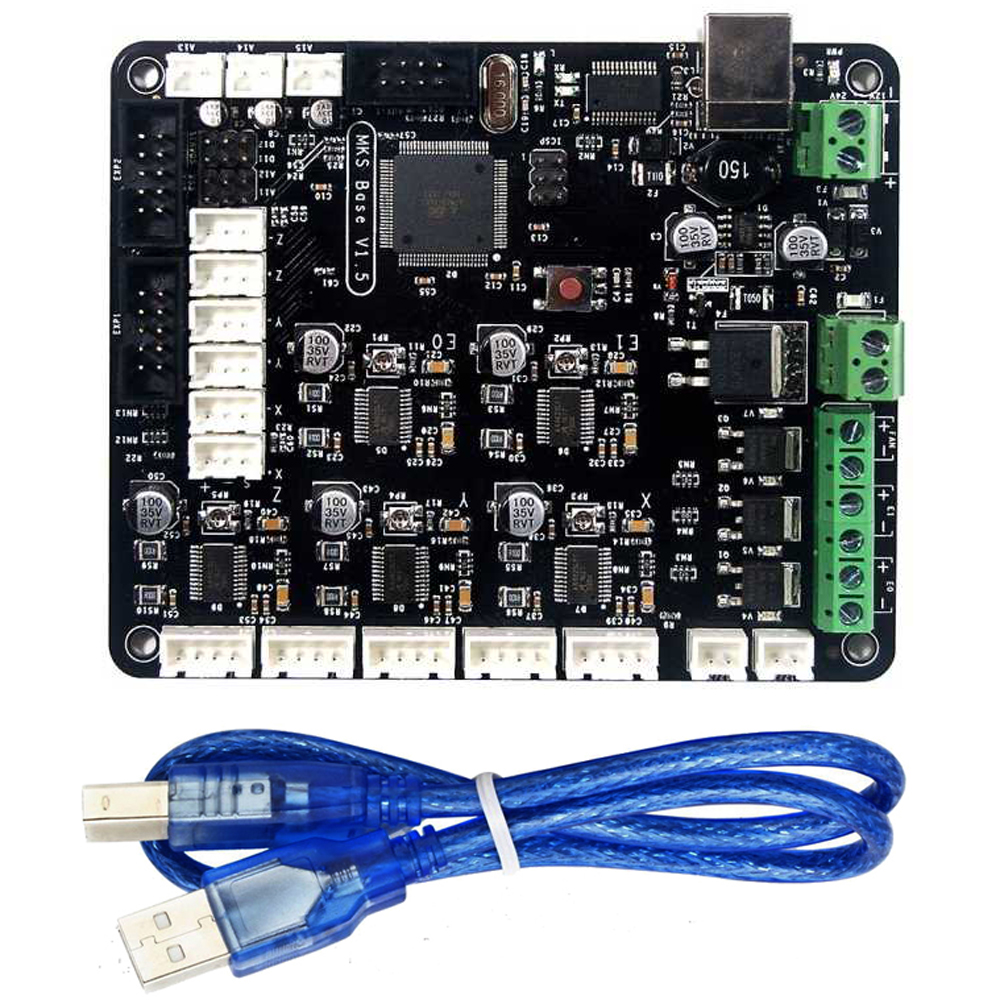
MKS 1.4 はRepRap Prusa i3 3D 互換プリンタのダッシュボードとして、Arduino Mega2560ボードとRamps1.4制御ボードに付いますので、回路の組み立は以前より、簡単になりました。
MKS 1.4 は下記の2版があります:
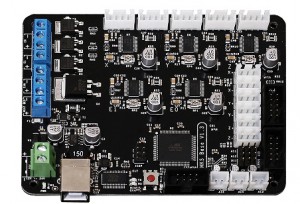
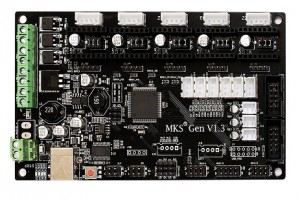
MKS Base ボードとMKS Gen 1.4ボードの区別、MKS Base ボードに 5 サーボ制御モデルを搭載しますが、MKS Gen 1.4ボードにありません。 その他仕様はすべて同じですので、Marlinファームウェアをインストールも同じです。
ファームウェアをインストール方法:
準備:
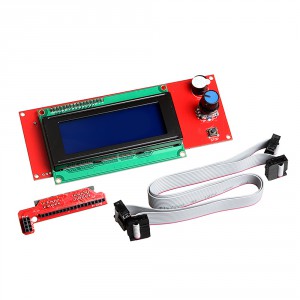
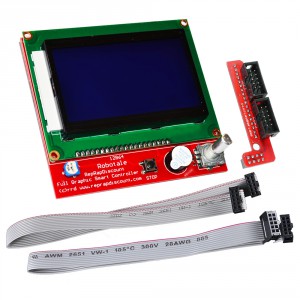
MKS 1.4 ボード、LCD 制御パネルと3D プリンターを接続してくださいませ。(回路図はこちら !).
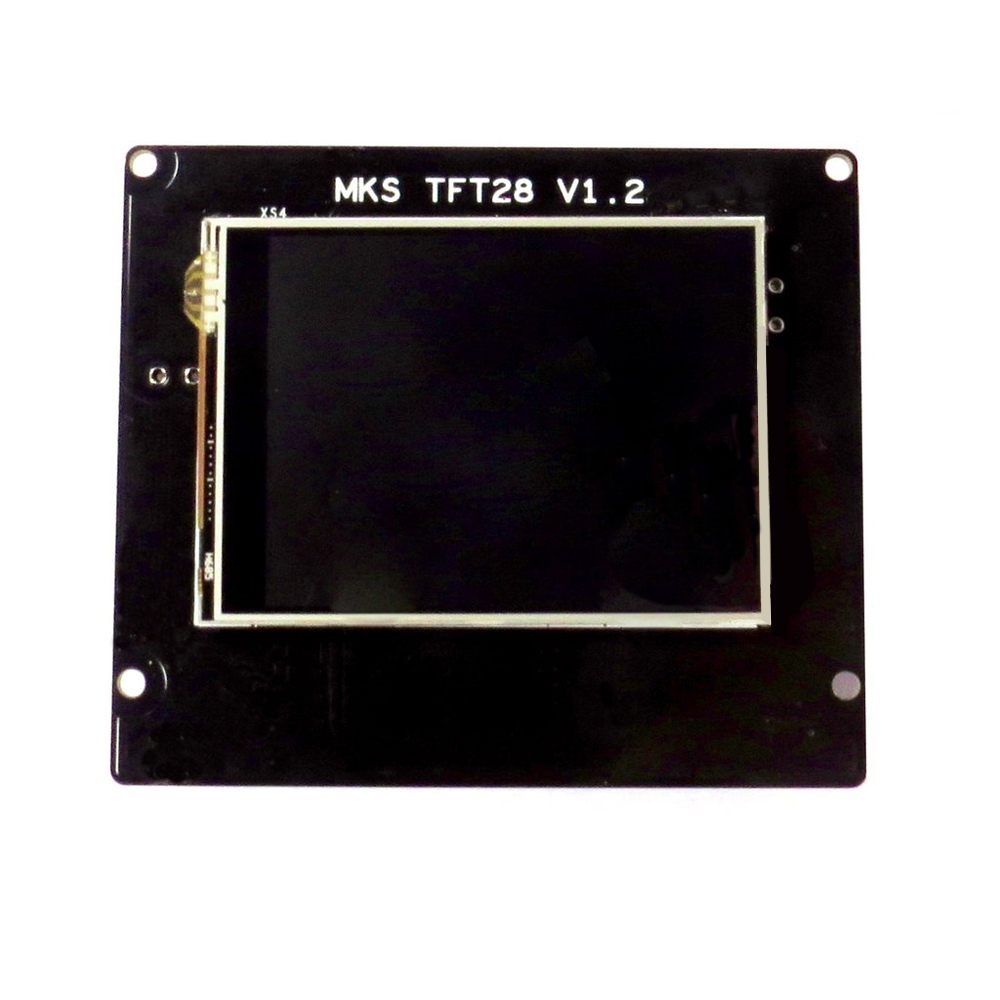
MKS TFT 2.8″ と3.2″ タッチスクリーン使用案内
MKS ボードのZ軸サーボコントローラのインストールは下記の内容をご参照:
MKS Base V1.4 ボードの場合:
1個のZ軸サーボを使用の場合、Z_MOT スロットに接続してくださいませ。, 2個のZ軸サーボを使用の場合、Z_MOT スロットと E1_MOTスロットを使用してください。
MKS Gen V1.4 ボードの場合:
1個のZ軸サーボを使用の場合、Z スロットに接続してくださいませ。, 2個のZ軸サーボを使用の場合、Z_MOT スロットと E1スロットを使用してください。
注意(デバイスの損害を回避のため、必ずご確認ください): 通電の状態でデバイスの抜くと接続は禁止です。静電荷がありますので、直接に手をデバイスに触らないようお願い致します(手を金属家具などを触って、静電荷取り除いてください)。電源の接続をしっかり検査してください。
Step 1)次のリンク(必ず1.5.4以前のバージョンを使用して下さい。)でArduino IDEをダウンロードし、インストールしてくださいませ。
Step 2) USBケーブルでMKS V1.4 ボードとPC(インタネット接続済み)を接続して、自動的にボードのドライバーをインストールします。
ドライバーが自動的にインストールできない場合、下記のURLのソフトダウンロードして、解凍して、インストールしてください:
osoyoo.com/driver/FAT 232 driver.rar
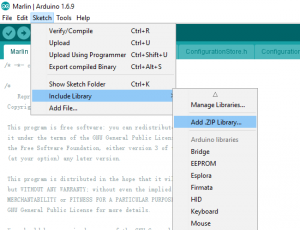
Step 3)U8glib libraryをArduino IDEにロードしてください。
First: U8glib library をダウンロードして、Arduino IDE ->Sketch->Include Library->Add Zip Library でダウンロードしたファイルを選択して、ロードします。(画像をクリックして拡大イメージを表示)
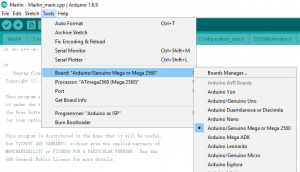
Step 4) Arduino IDE->Tools->BoardでArduino Mega 2560を選択して下さい。(画像をクリックして拡大イメージを表示)
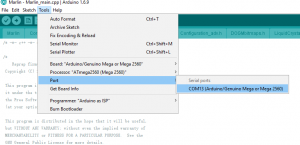
Tools->PortでArduino Mega2560のCOM portを選択してください。 (画像をクリックして拡大イメージを表示)
Step 5)LCDの型番によって、Marlinファームウェアをダウンロードして下さい。
ダウンロードして、解凍したら、 “Marlin”と言うフォルダが見えます。
下記の説明を十分注意くださいませ。
ダウンロードしたの「Marline」フォルダに「Configuration.h」と言うファイルがあり、このファイルで非常に重要なハードウェア設定値があります。
下記の内容を確認して、「Configuration.h」と「configuration_adv.h」ファイルを必要な編集をして下さい~
A)2つのZ軸サーボモータとMKSジェン/ベースボードを接続した場合、下記のように編集して下さい~
「configuration.h」の248行~253行:
#define INVERT_X_DIR false // for Mendel set to false, for Orca set to true
#define INVERT_Y_DIR true // for Mendel set to true, for Orca set to false
#define INVERT_Z_DIR false // for Mendel set to false, for Orca set to true
#define INVERT_E0_DIR false // for direct drive extruder v9 set to true, for geared extruder set to false
#define INVERT_E1_DIR false // for direct drive extruder v9 set to true, for geared extruder set to false
#define INVERT_E2_DIR false // for direct drive extruder v9 set to true, for geared extruder set to false
「configuration_adv.h」148行:
#define Z_DUAL_STEPPER_DRIVERS // disable this line if you have only one Z motor
B)一つのZ軸サーボモータとMKSジェン/ベースボードを接続した場合、下記のように編集して下さい~
「configuration.h」の248行~253行:
#define INVERT_X_DIR false // for Mendel set to false, for Orca set to true
#define INVERT_Y_DIR true // for Mendel set to true, for Orca set to false
#define INVERT_Z_DIR false // for Mendel set to false, for Orca set to true
#define INVERT_E0_DIR false // for direct drive extruder v9 set to true, for geared extruder set to false
#define INVERT_E1_DIR false // for direct drive extruder v9 set to true, for geared extruder set to false
#define INVERT_E2_DIR false // for direct drive extruder v9 set to true, for geared extruder set to false
「configuration_adv.h」148行:
//#define Z_DUAL_STEPPER_DRIVERS // disable this line if you have only one Z motor
Step 6)Arduino IDE->File->Openで「Marlin]を選択して、Marlin.inoを開いて、Mega2560ボードにロードしてくださいませ。ロード完了したら、LCDでメニューが表示します。(画像をクリックして拡大イメージを表示)
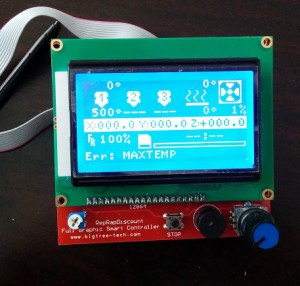
いまから、LCDコントロールパネルでプリンターを制御しできます。







I have bought MKS base 1.5.
I need to install Repetier firmware with linux.
Any information how to do it?
Thanks
Hi. use a mks gene v1.4 and a 12864 LCD full graphic smart controller
After following the steps I have a problem when compiling that according to step 6 you can ignore the error when compiling and it will work without problem but in my case this error “Arduino: 1.8.2 (Windows 10), Card:” Arduino / Genuine Mega or Mega 2560, ATmega2560 (Mega 2560)
In file included from sketch \ SdFile.h: 27: 0,
from sketch \ cardreader.h: 6,
from sketch \ Marlin_main.cpp: 37:
SdBaseFile.h: 38: error: using typedef-name ‘fpos_t’ after ‘struct’
struct fpos_t {
^
In file included from sketch \ Marlin.h: 10: 0,
from sketch \ Marlin_main.cpp: 30:
c: \ program files (x86) \ arduino \ hardware \ tools \ avr \ avr \ include \ stdio.h: 950: 33: note: ‘fpos_t’ has a previous declaration here
__extension__ typedef long long fpos_t;
^
exit status 1
using typedef-name ‘fpos_t’ after ‘struct’
This report may have more information
“Show detailed output during compilation”
option enabled in File -> Preferences.
“does not allow me to activate the printer’s firmware and display
I’d appreciate your help. Thank you
I want to buy this board to my HICTOP 3dp12, it’s compatible?
thx
David
hello …. i have 1 MKS BASE 1.5 i need help for configure marlin for the tronxy xy-08n sensor for my anet a8 please ?
has anyone figure out the auto leveling?
and filament sensor?
Hello
I have a 3D printer with 2004 LCD
I follow the instructions above but when I program the atmega2560 the LCD won’t turn on
Some have an idea to solve it.
Note: I prove the LCD with other program and it’s turn on.
Hi I have MKS Base V1.4 board as per image above.
I am using Marlin 2.0.5.4 pins_MKS_BASE_14.h pins_MKS_BASE_COMMON.h pins_RAMPS.h
Have successfully connected LCD type “A10S A13 Display” (Came with CTC A10s 300) GFX with jog wheel (button), beeper & run out pin (Con1) to EXP1 on the Mainboard.
Having great trouble enabling SPI on EXP2 (for micro SD card interface)
Have tried:
#define SDSS 53
#define MISO_PIN 50
#define MOSI_PIN 51
#define SCK_PIN 52
#define AVR_MISO_PIN 50
#define AVR_SS_PIN 53
#define AVR_MOSI_PIN 51
#define AVR_SCK_PIN 52
With Kind regards
Xander