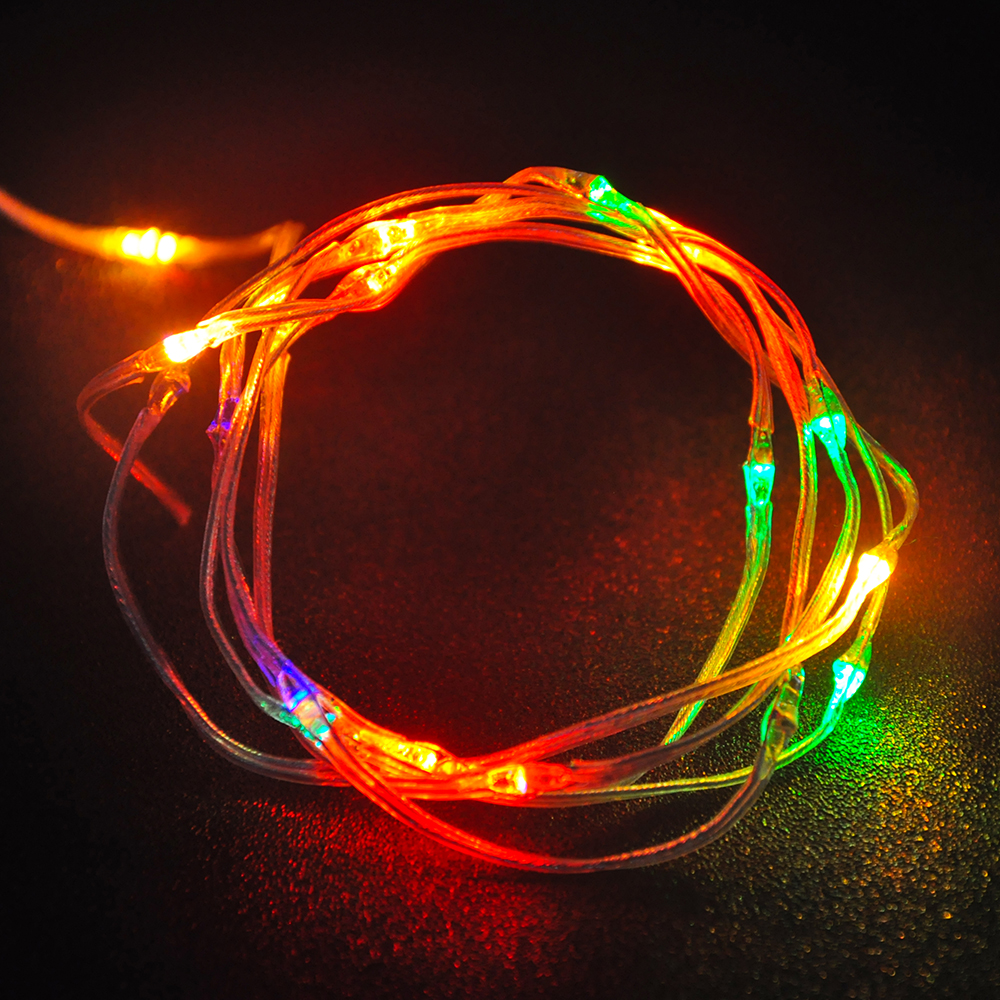
In this lesson, we will show how to use the OSOYOO IoT kit and Blynk APP to make a remote-controllable ambient light. We can change colors of the light at home through the mobile APP to make more colorful moments.
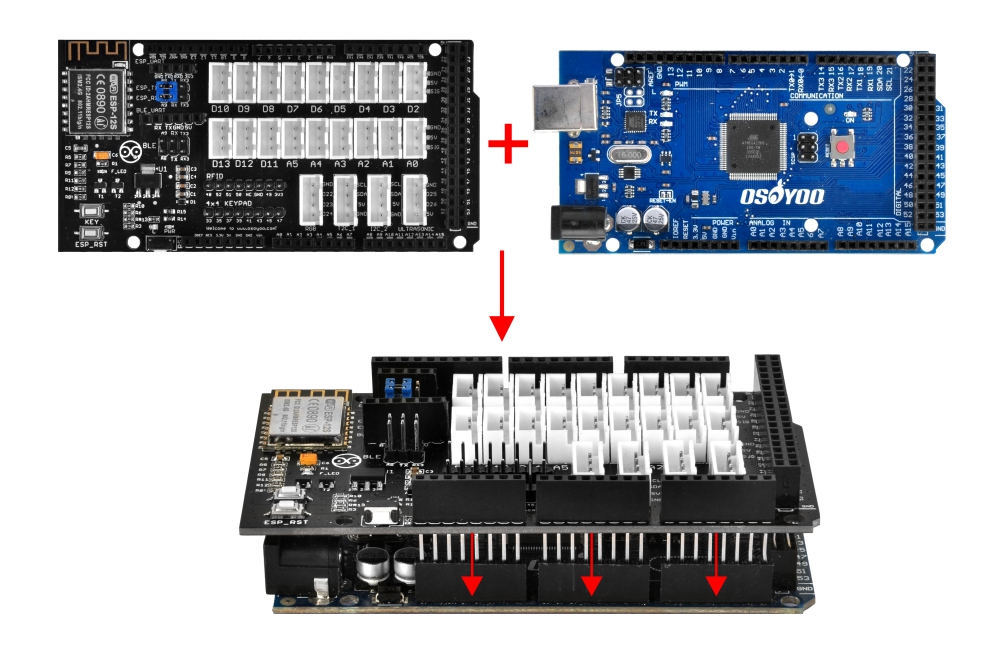
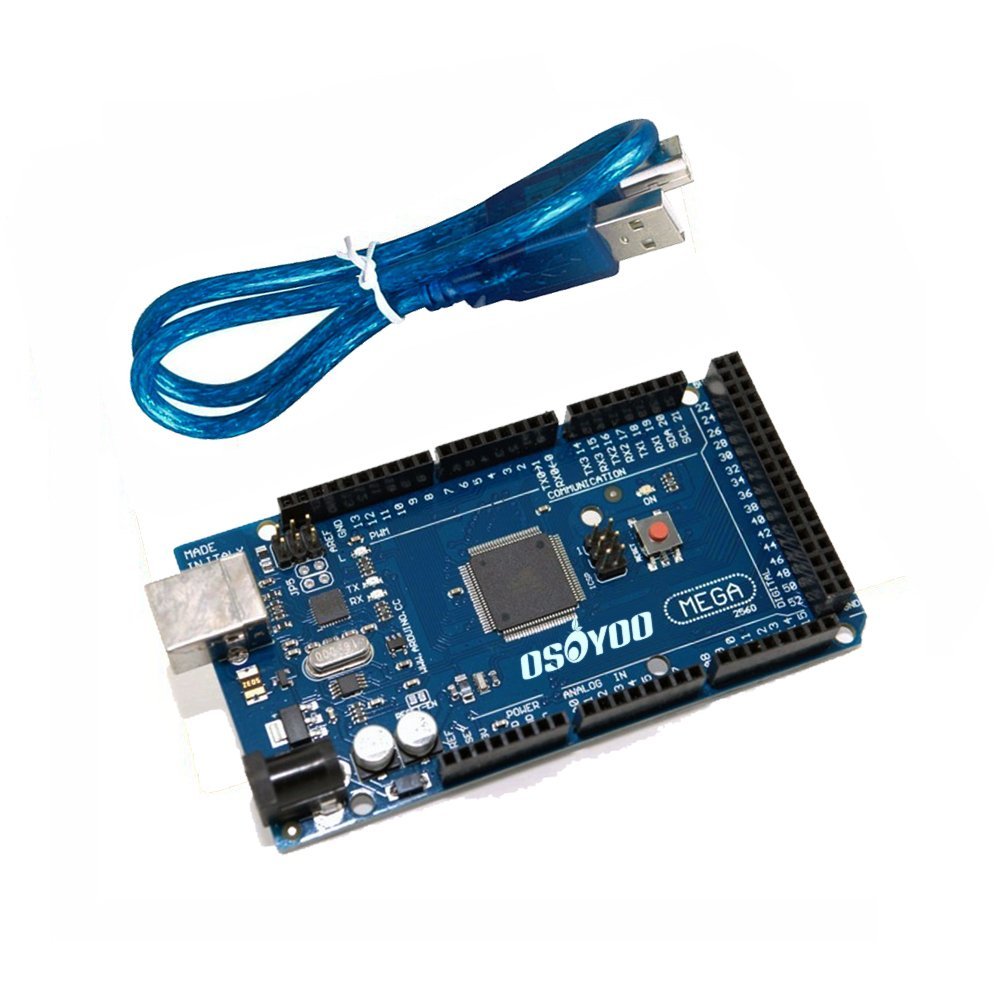
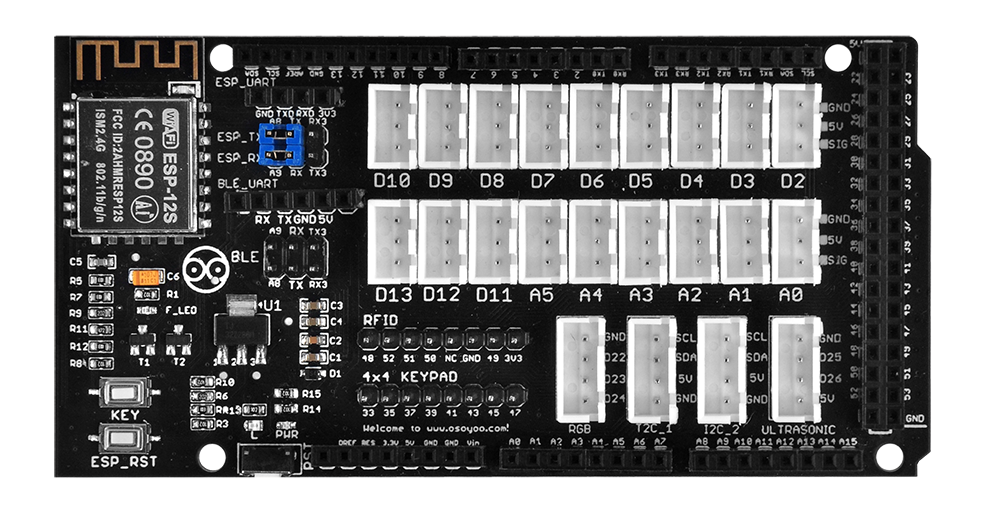
First, please plug OSOYOO MEGA-IoT Extension Board into MEGA2560 board:
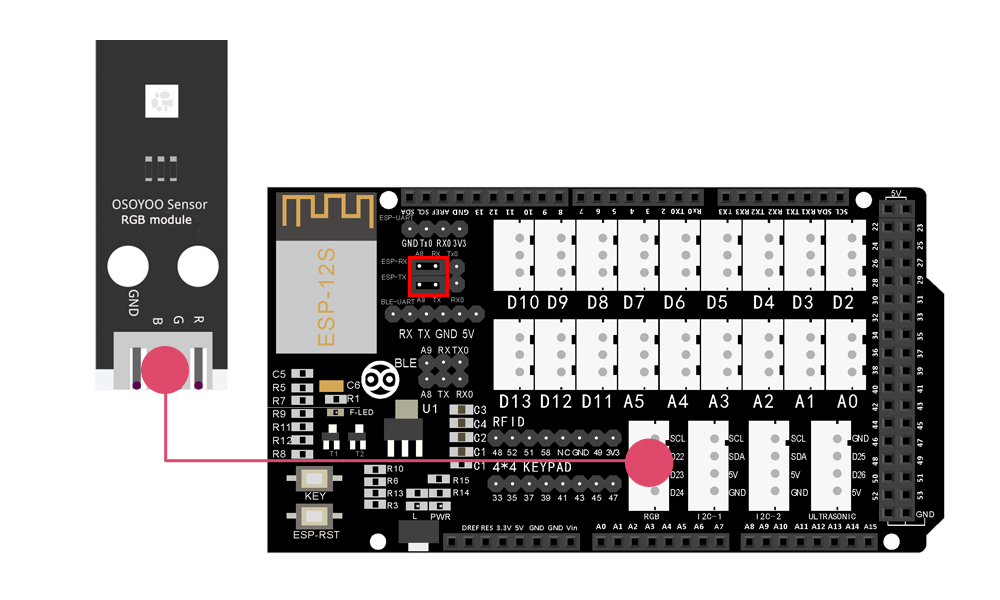
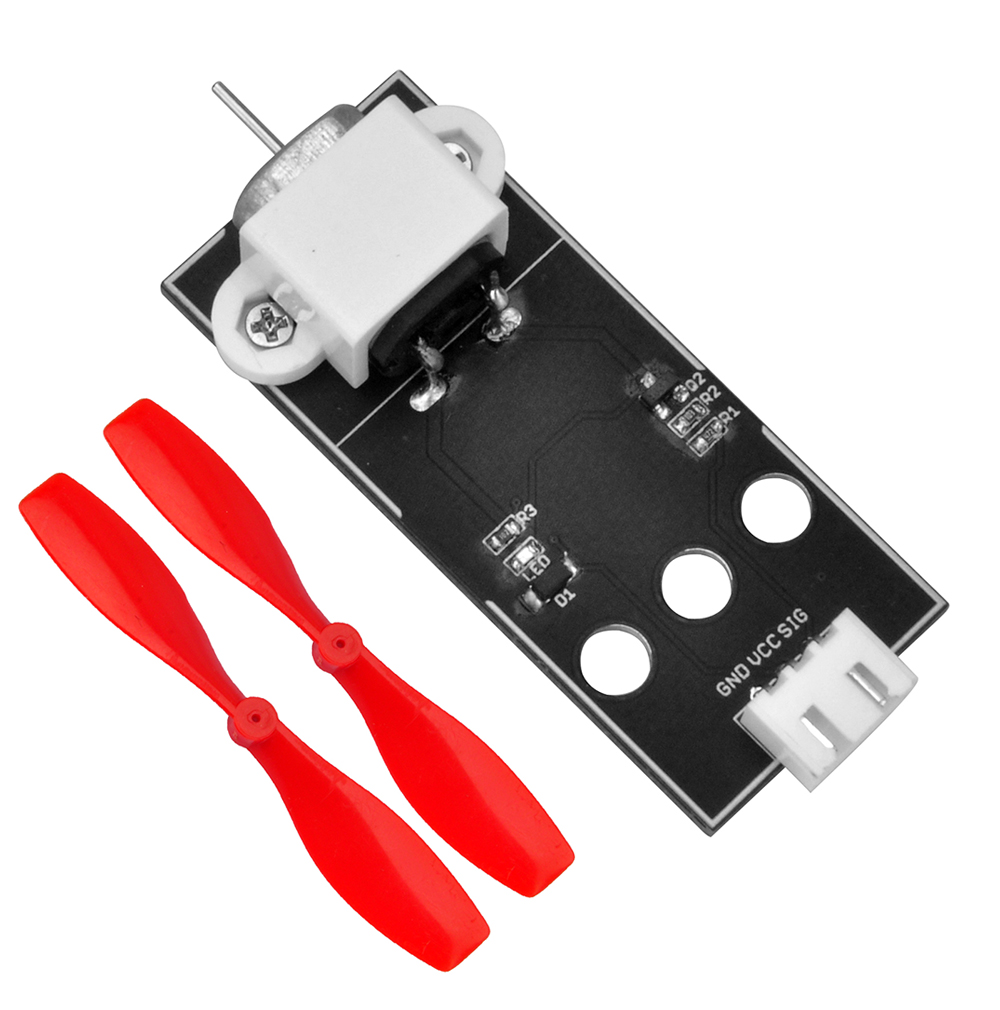
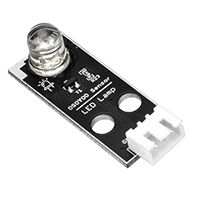
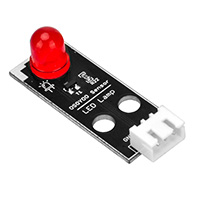
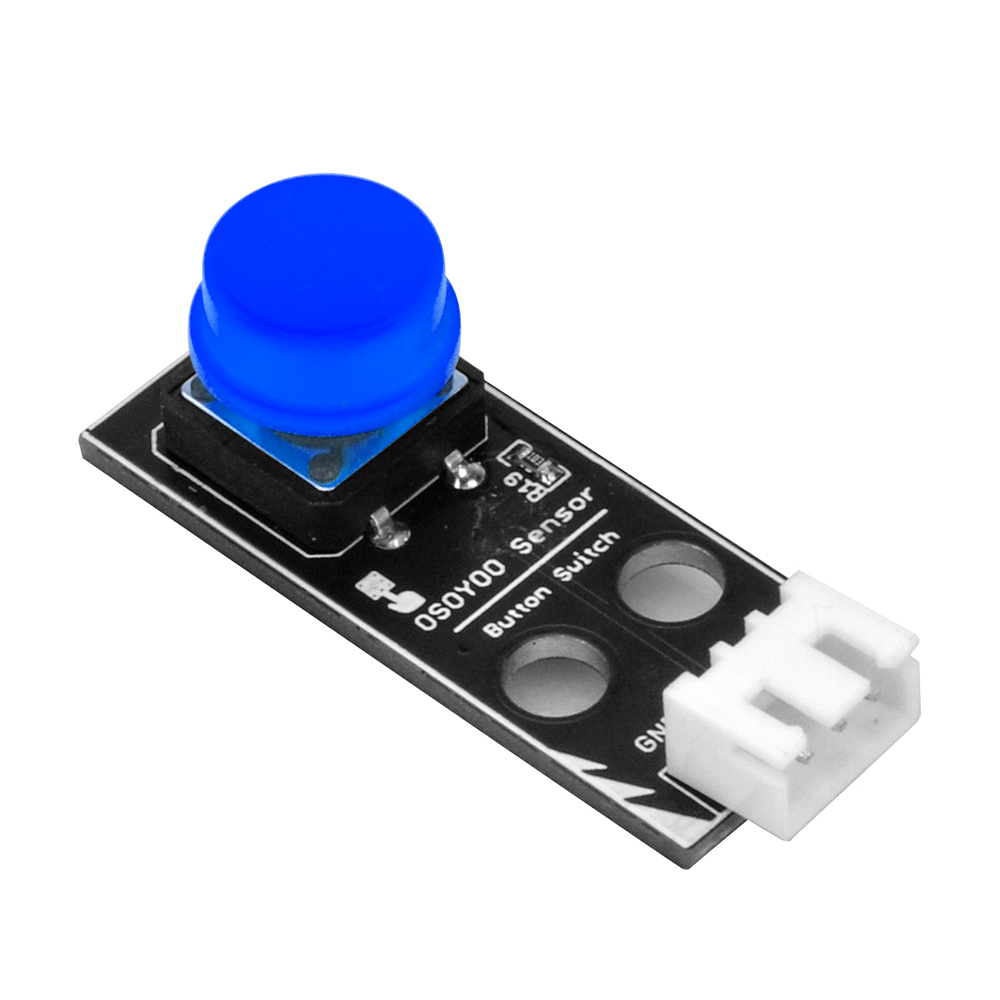
RGB module — RGB port
Prerequisite:
You need to install Local Blynk Server, Blynk APP, Arduino IDE, Blynk Libraries before running the code of this lesson. If you haven’t done these installations, please read following contents in lesson2-1 link:
Note: In the sketch, find these code in line 13,14 as following:
char auth[] =”0ByWpc50cmOJ5O6OyHMaK4OSHkDvUeI-”;
char server_ip[]=”192.168.1.81″; // replace this line with your Blynk Server IP addres;
Replace 0ByWpc50cmOJ5O6OyHMaK4OSHkDvUeI- with your local Blynk Token.
Replace 192.168.1.81 with your local Blynk Server LAN IP address.
If you don’t know how to get token and Server IP address, read this article.
In lines 18,19 and replace *** with your wifi ssid/password
char ssid[] = "***";//replace this line with your wifi ssid
char pass[] = "***"; //replace this line with your wifi password
please replace the *** with your correct wifi SSID and password, otherwise your project can not connect to Internet.
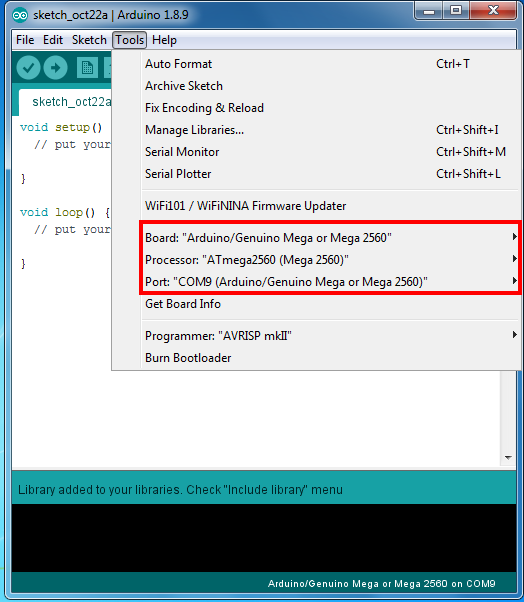
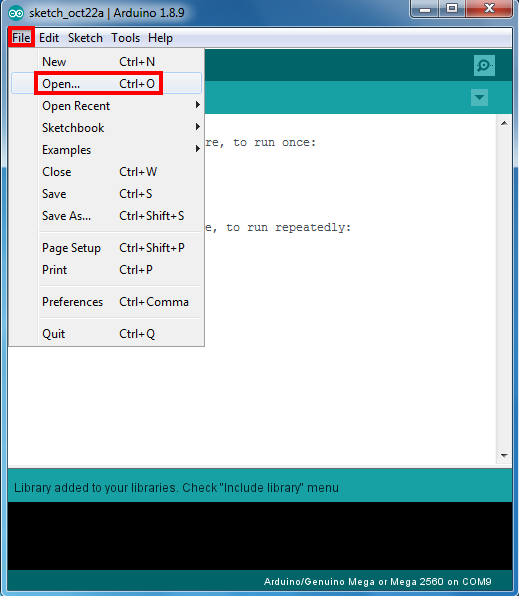
Upload the sketch to the board. Wait until you see something like this:
Done uploading
Now open your Serial Monitor, you will see Arduino is trying to talk to Blynk server. After 20 to 30 seconds, your Serial monitor will finally shows Arduino’s IP address and a “Ready (ping: 25ms)” ending message.
Congratulations! You are all ready! Your hardware is now connected to the Blynk server.
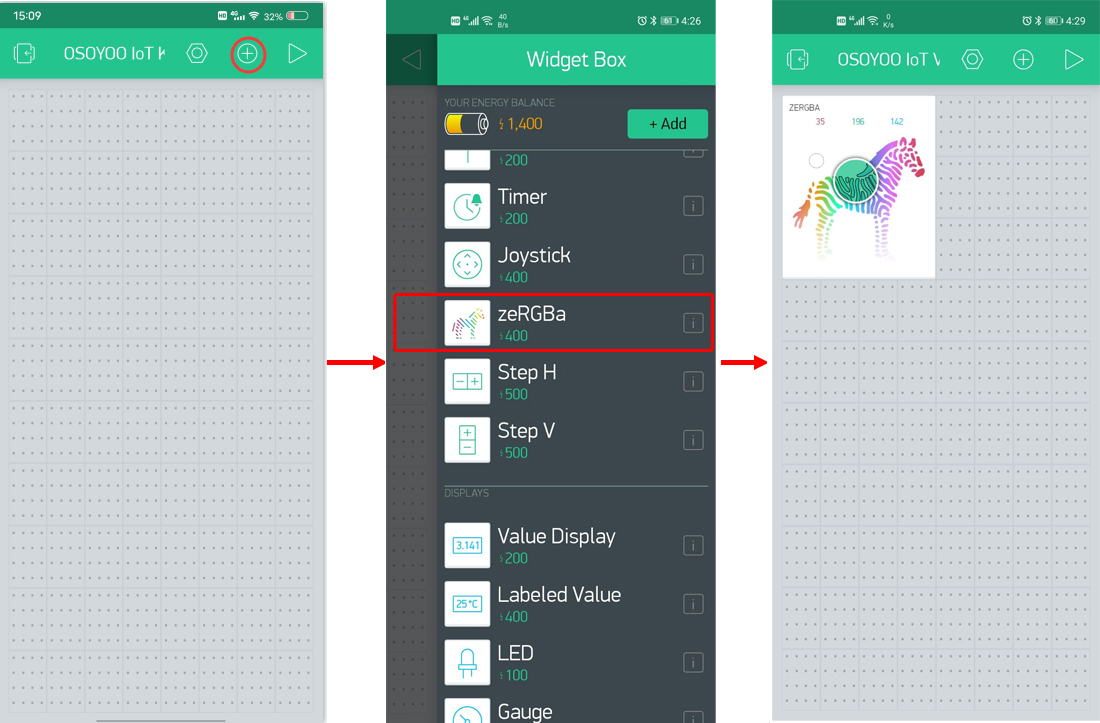
Add a Widget in Blynk legacy APP
Open the Blynk APP , Follow the next operations:
Open your project page and press the “+” button to add the “zeRGBa” Widget.
Name Column: You can name your widget, whatever you like.
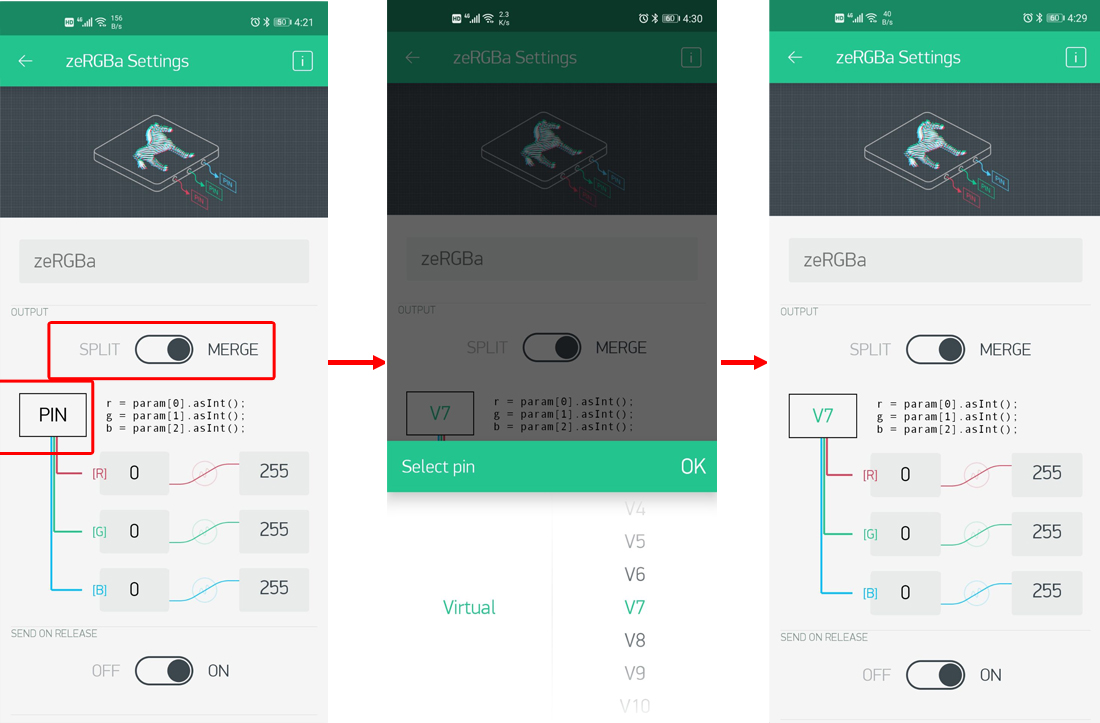
INPUT: V7
Select the “MERGE” output mode
Then back to the project page. and press the “▷” button to start your project.
Slide the floating button on the zeRGBA widget, you can see that the lighting at home changes with your settings, so that you can control the color and brightness of the lighting at home at will.
While in PLAY mode, you won’t be able to drag or set up new widgets.Press “□” and get back to EDIT mode.
If you find the device is offline, please check your code, wiring and app settings, and try again.