

Authorized Online Retailers:
Purchase from US Purchase from Japan


Introduction
In this lesson, we will show how to use the Osoyoo Yun IoT Kit to control a SG90 servo remotely.

HARDWARE
- Arduino(Osoyoo Mega2560 here) x 1
- Dragino Yun Shield x 1
- Servo x 1
- Jumpers
SOFTWARE
Connection
Build the circuit as below:

| Mega2560+Yun Shield |
SG90 Servo |
| 5 V |
VCC |
| GND |
GND |
| D2 |
Signal |
Code Program
After above operations are completed, make sure that the Yun Shield is on the same network with the computer. Open the Arduino IDE and choose corresponding board type and port type for you project. Then load up the following sketch onto your Arduino.
#define BLYNK_PRINT Console
#include "Console.h"
#include "Bridge.h"
#include "Console.h"
#include "BlynkSimpleYun.h"
#include "Servo.h"
// You should get Auth Token in the Blynk App.
// Go to the Project Settings (nut icon).
char auth[] = "Your Auth Token";

Servo myservo;

BLYNK_WRITE(V3)
{
  myservo.write(param.asInt());
}

void setup()
{
  Bridge.begin();
  Console.begin();
  Blynk.begin(auth);
  // You can also specify server:
  //Blynk.begin(auth, "blynk-cloud.com", 8442);
  //Blynk.begin(auth, IPAddress(192,168,1,100), 8442);

  myservo.attach(2);
  myservo.write(0);//back to 0 degrees
  while (!Console);{}
}

void loop()
{
  Blynk.run();
}
Add a Widget
In this example, you need to add a slider widget. Tap anywhere on the canvas to open the widget box. All the available widgets are located here. Now pick the slider widget.

Similar to potentiometer. Allows to send values between MIN and MAX.


WIGET SETTINGS
Slider widget attached to V3 (0~180), value: Servo
Running Result
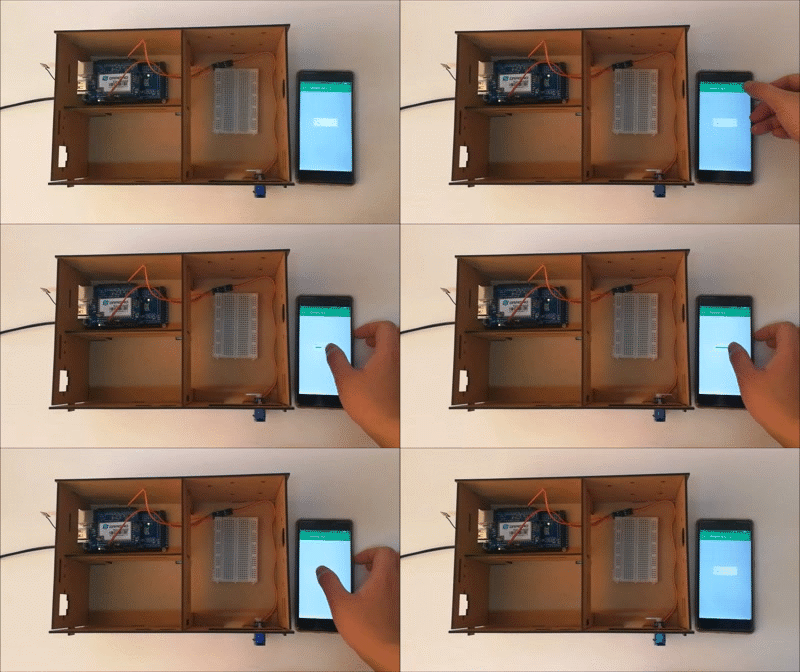
After you finished all above operations, open the Serial Monitor, then open the Blynk APP, slide the slider. This will switch you from EDIT mode to PLAY mode where you can interact with the hardware. While in PLAY mode, you won’t be able to drag or set up new widgets, press STOP and get back to EDIT mode.

Now, you’ll see the servo turning with the slide.!


