Contents
Authorized Online Retailers:
| Buy from US |
Buy from UK |
Buy from DE |
Buy from IT |
Buy from FR |
Buy from ES |
Buy from JP |
|
 |
 |
 |
 |
 |
 |
Description:
From controlling the room lights with your smart phone to scheduling events to occur automatically, home automation has taken convenience to a whole new level. Instead of using mechanical switches, you can now conveniently control all the devices in your home from your fingertips.
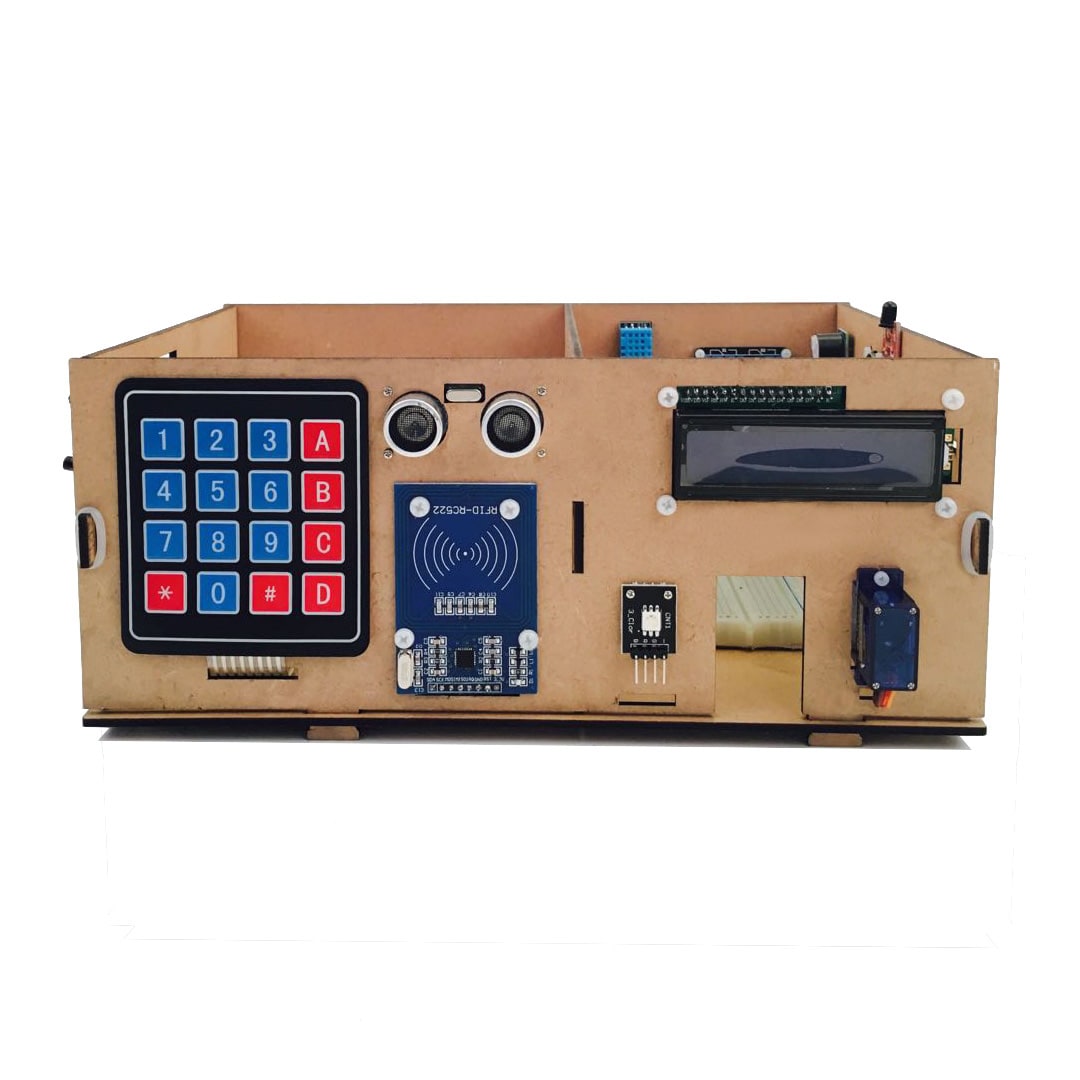
Over here, we will show you how to implement a simple DIY home automation setup using an Arduino microcontroller development kit.
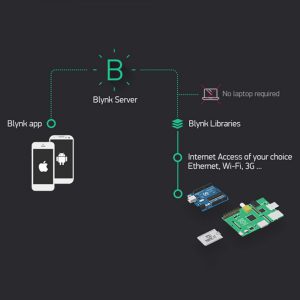
In this Smart Home system, we constantly upload temperature and humidity, light intensity, gas values, flame value, RFID status values, human pyroelectric infrared sensor status values and other data to the Blynk platform at a certain time interval.
With the controller options on the Blynk platform, you will be able to control your remote relay in real time. At the end of the setup, you will be able to turn any electrical appliance into a smart home device, and control it from your smart phone. Its principle is that the Android mobile phone via internet send instructions to make Arduino MCU control action of peripheral module, and read the periphery value of the sensor. It is because of the open source characteristics of Arduino and Android, so we have the opportunity to built future smart home fashion based on it.
Of course, here we only preliminary outline a model of smart home, mainly to provide an introduction to learning. The way to the true smart home is still long.

Parts and Devices
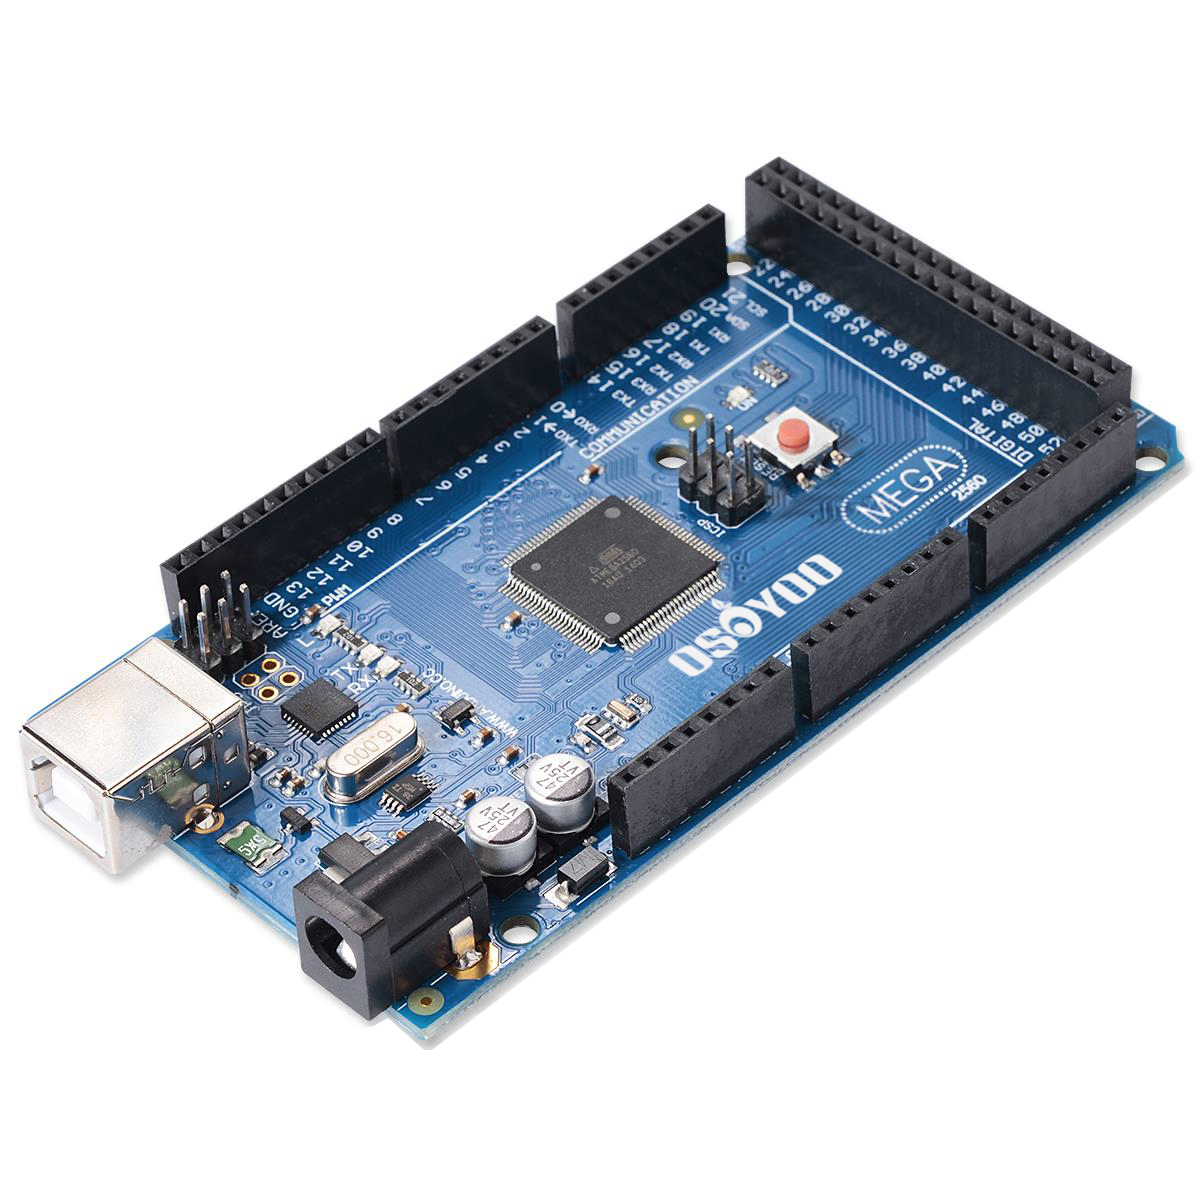
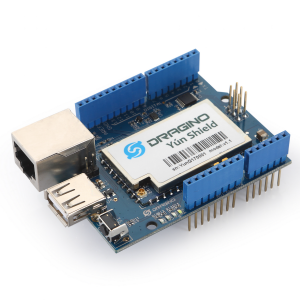
This kit includes a selection of the most common and useful electronic components as below list. The Main board included in the Kit is the OSOYOO Mega2560 board, which is totally compatible with Arduino Mega2560 R3. We use the Yun Shield as the network module, the OSOYOO mega2560+yun shield is similar to Arduino Yun board, as well there are more available pins.
| Picture |
Device |
Quantity |
Picture |
Device |
Quantity |
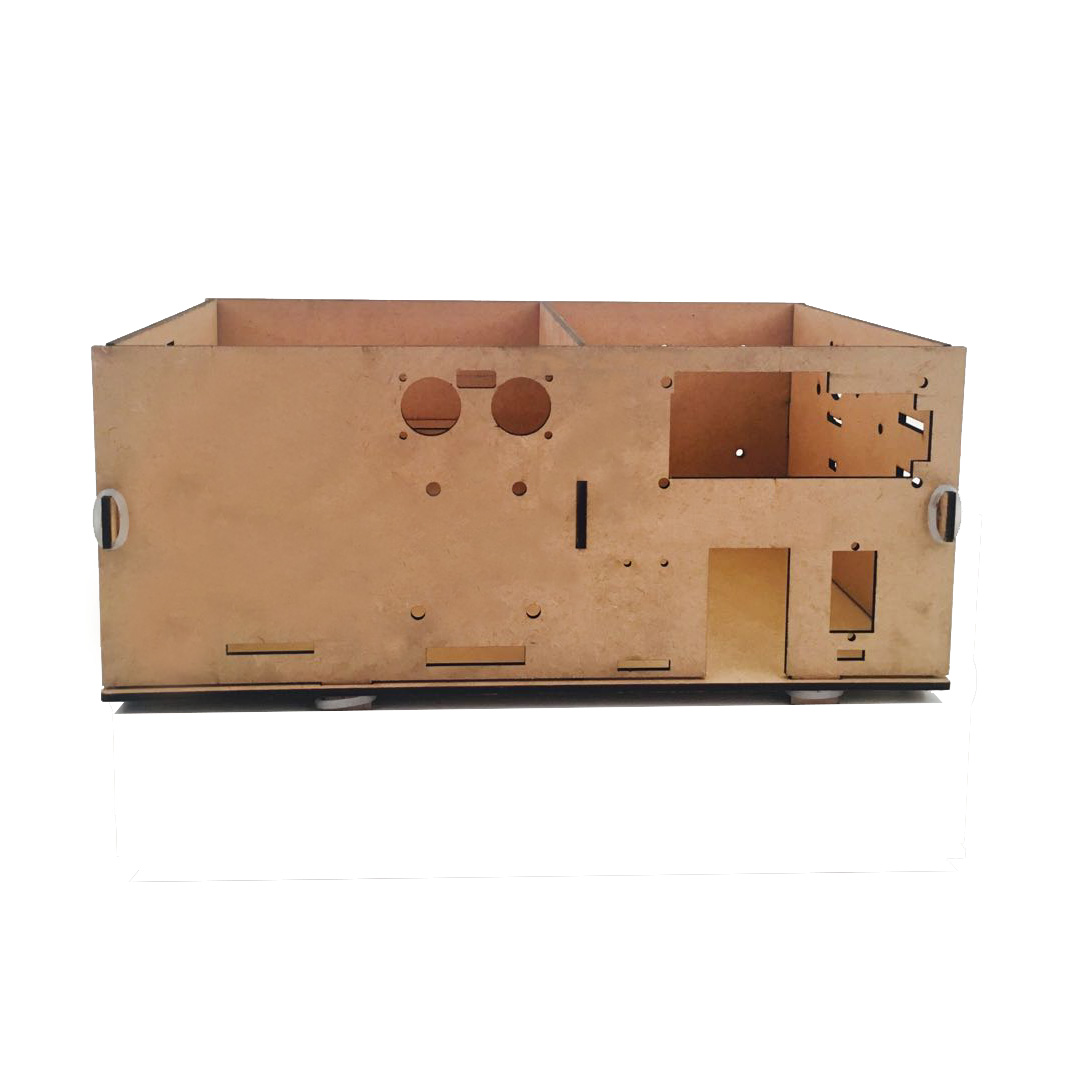 |
Wood House Model |
1 |
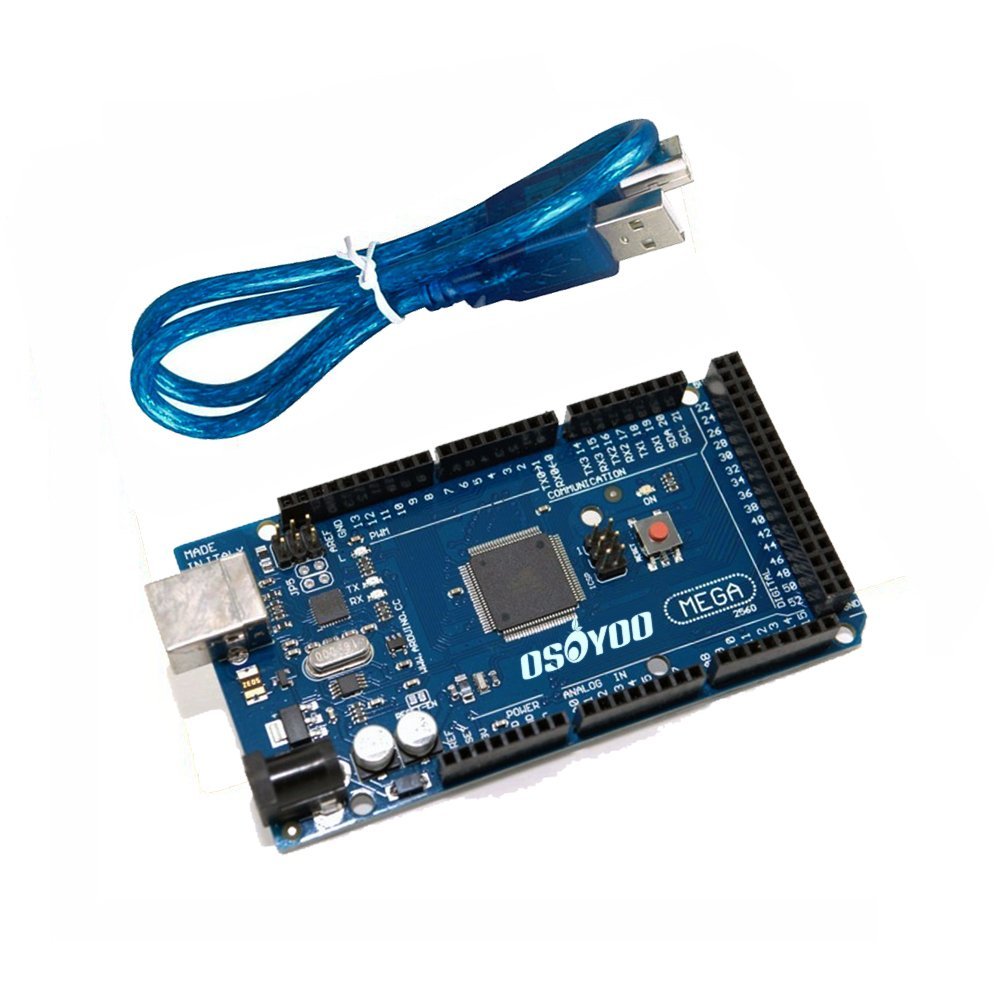 |
Osoyoo Mega2560 |
1 |
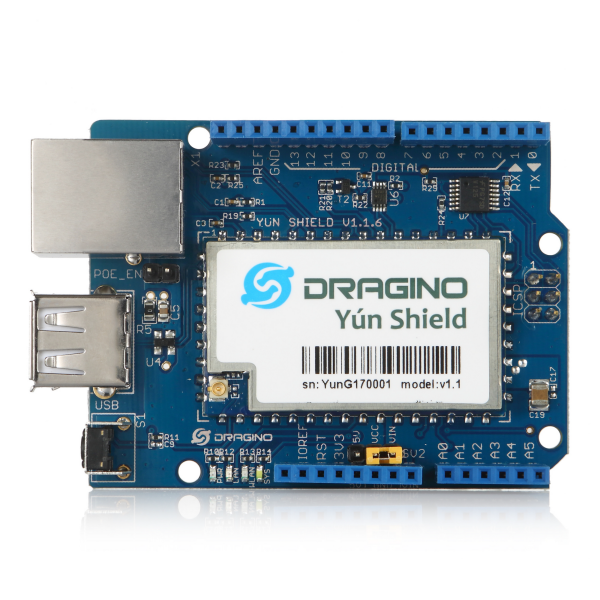 |
Yun Shield v1.1.6 |
1 |
 |
4×4 Keypad |
1 |
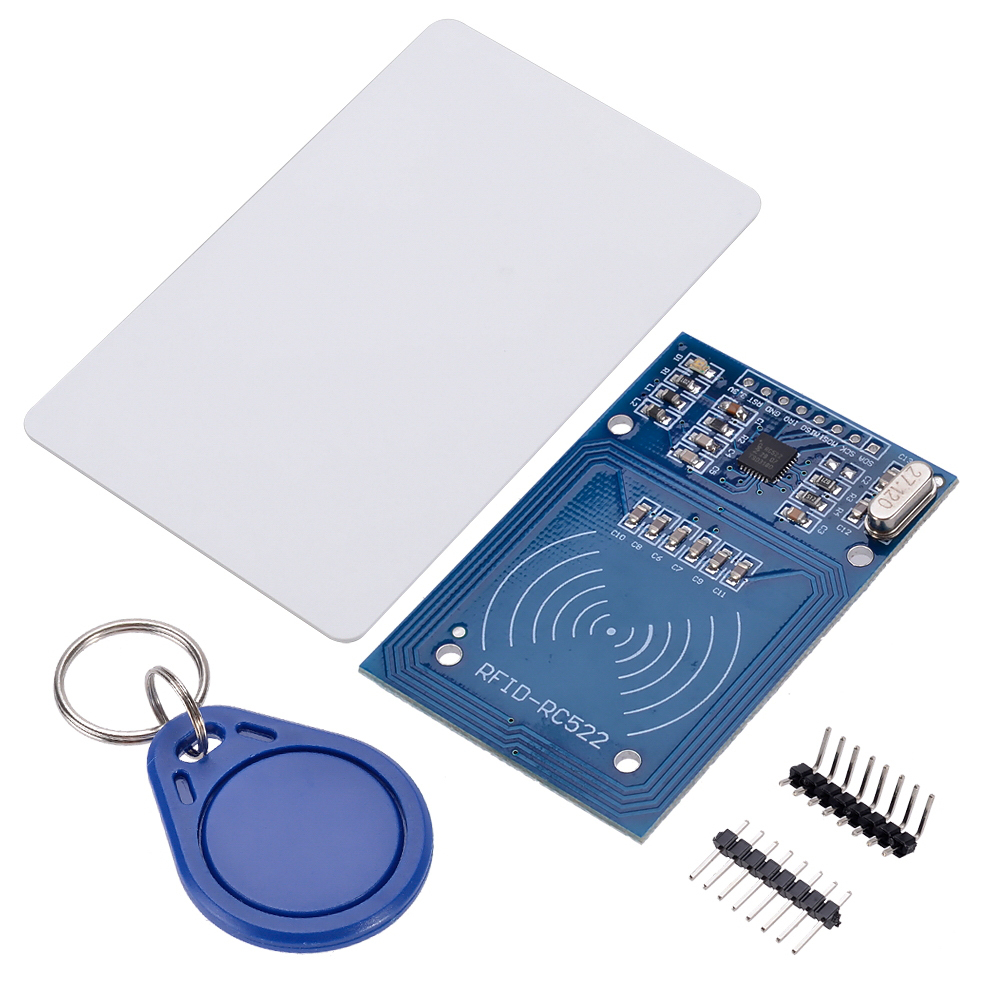 |
RFID Module |
1 |
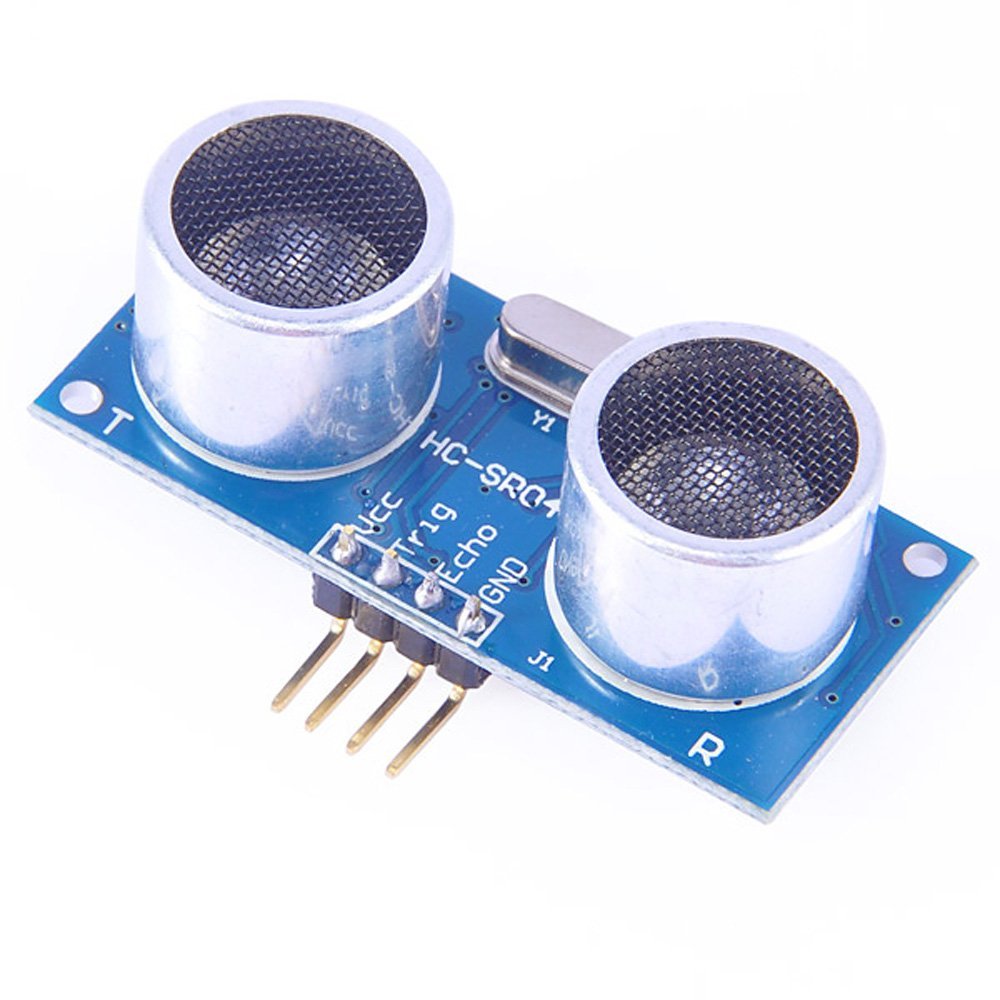 |
Ultrasonic Sensor HC-SR04 |
1 |
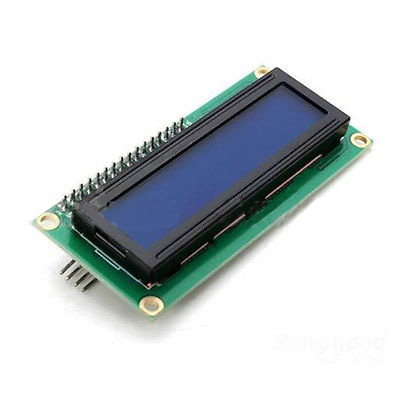 |
Alphanumeric I2C Liquid Crystal Display(16×2 LCD ) |
1 |
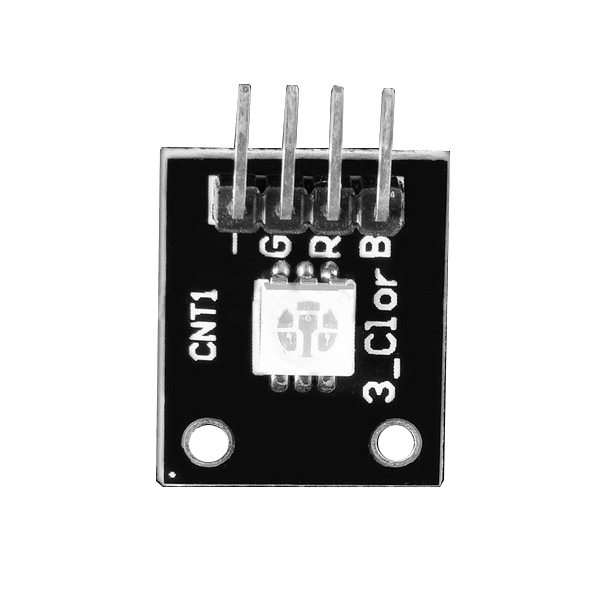 |
RGB LED Module |
2 |
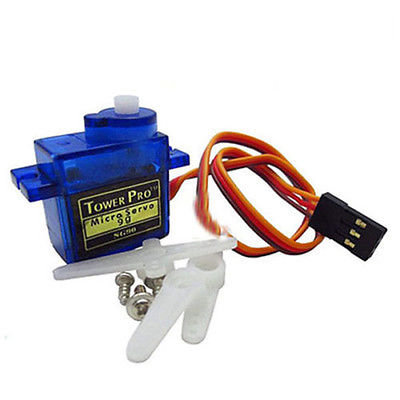 |
SG90 Micro Servo Motor |
1 |
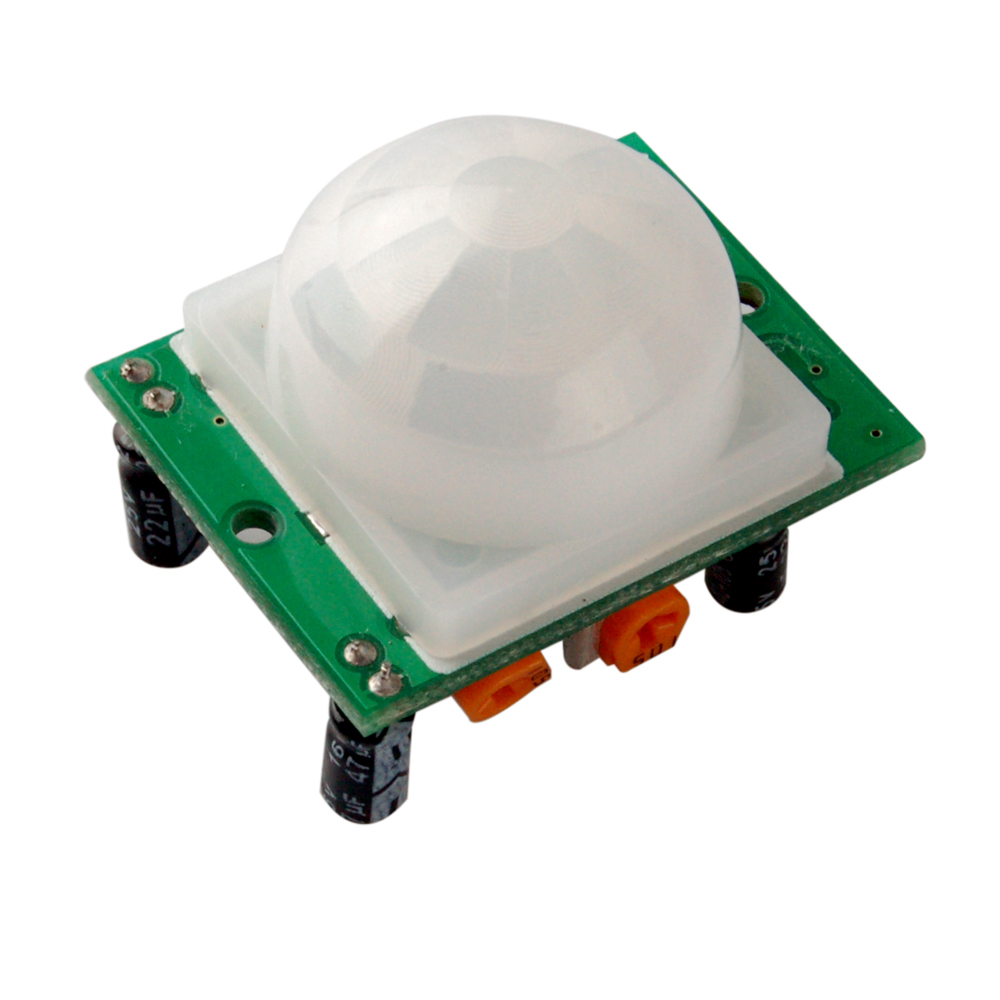 |
PIR Motion Sensor |
1 |
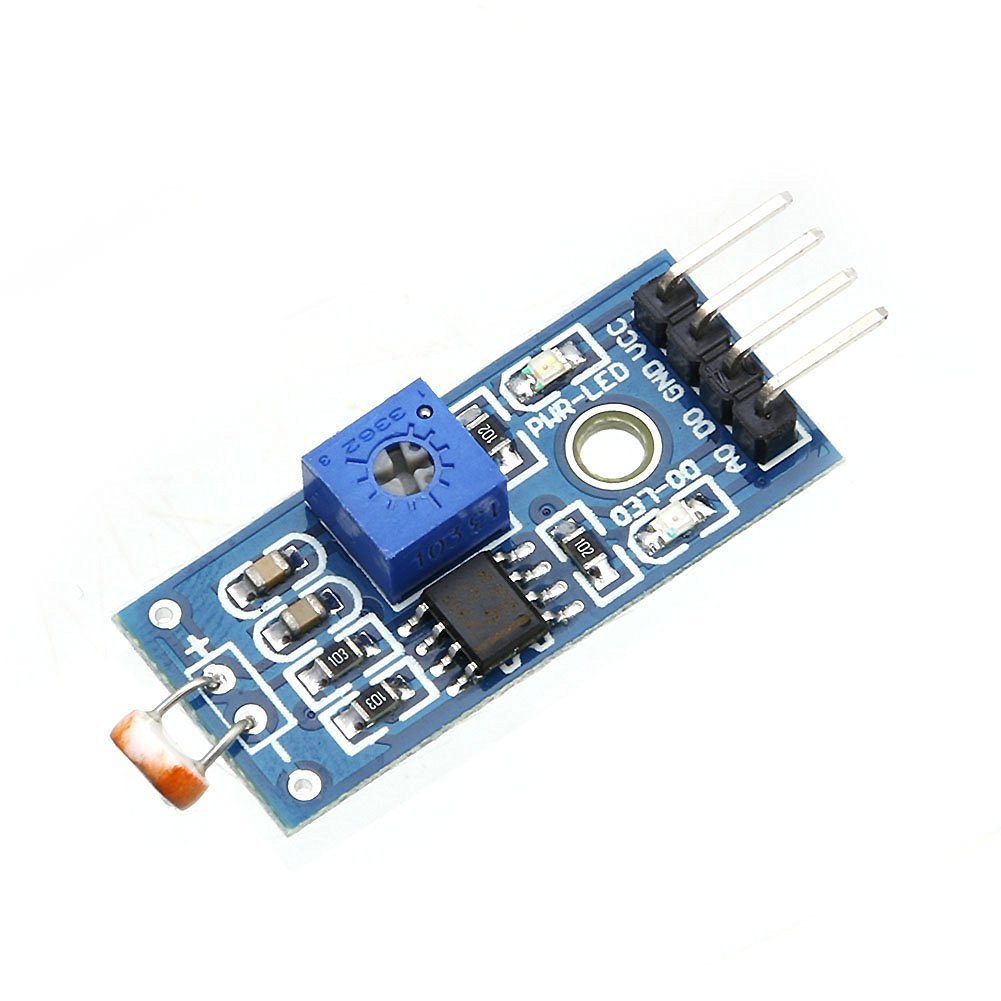 |
Photoresistor(light sensor) Module |
1 |
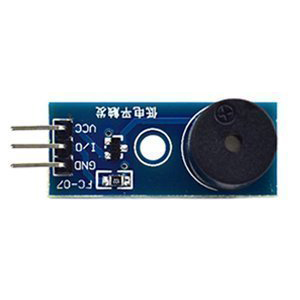 |
Positive Buzzer Module |
1 |
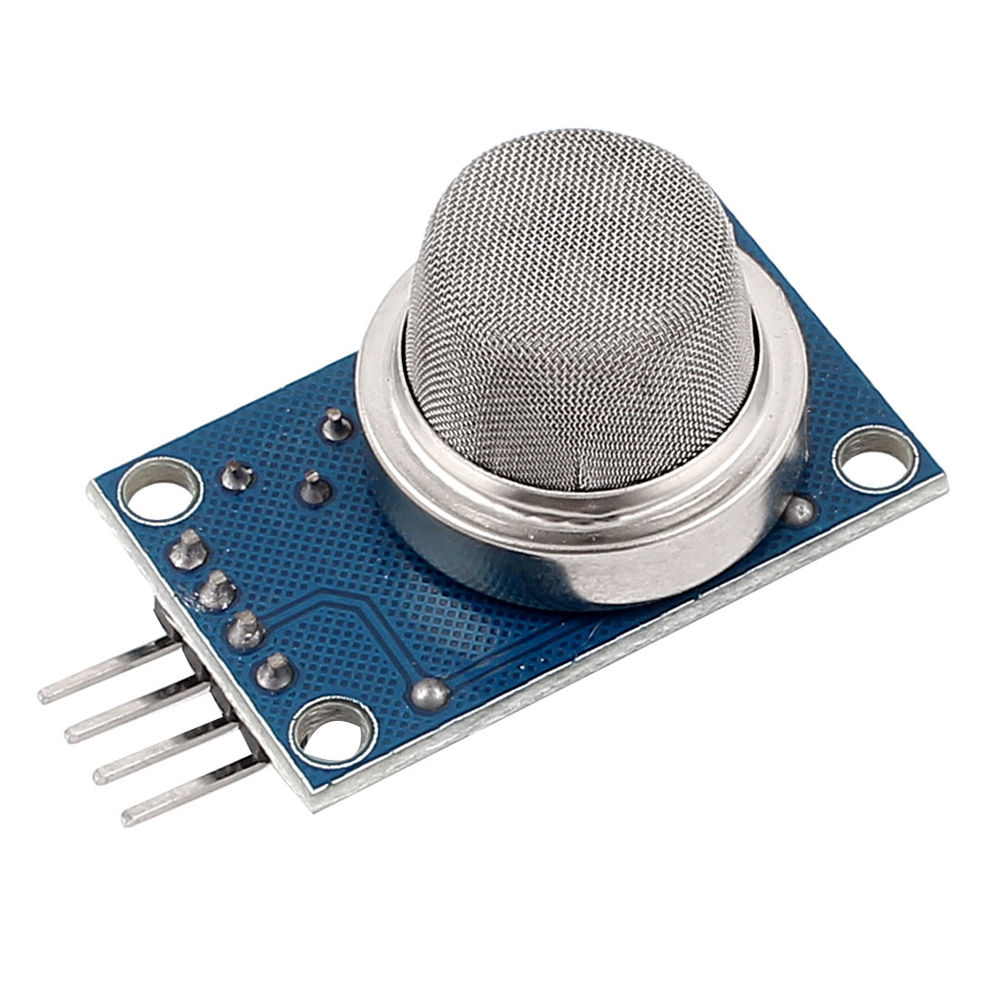 |
MQ2 Gas Module |
1 |
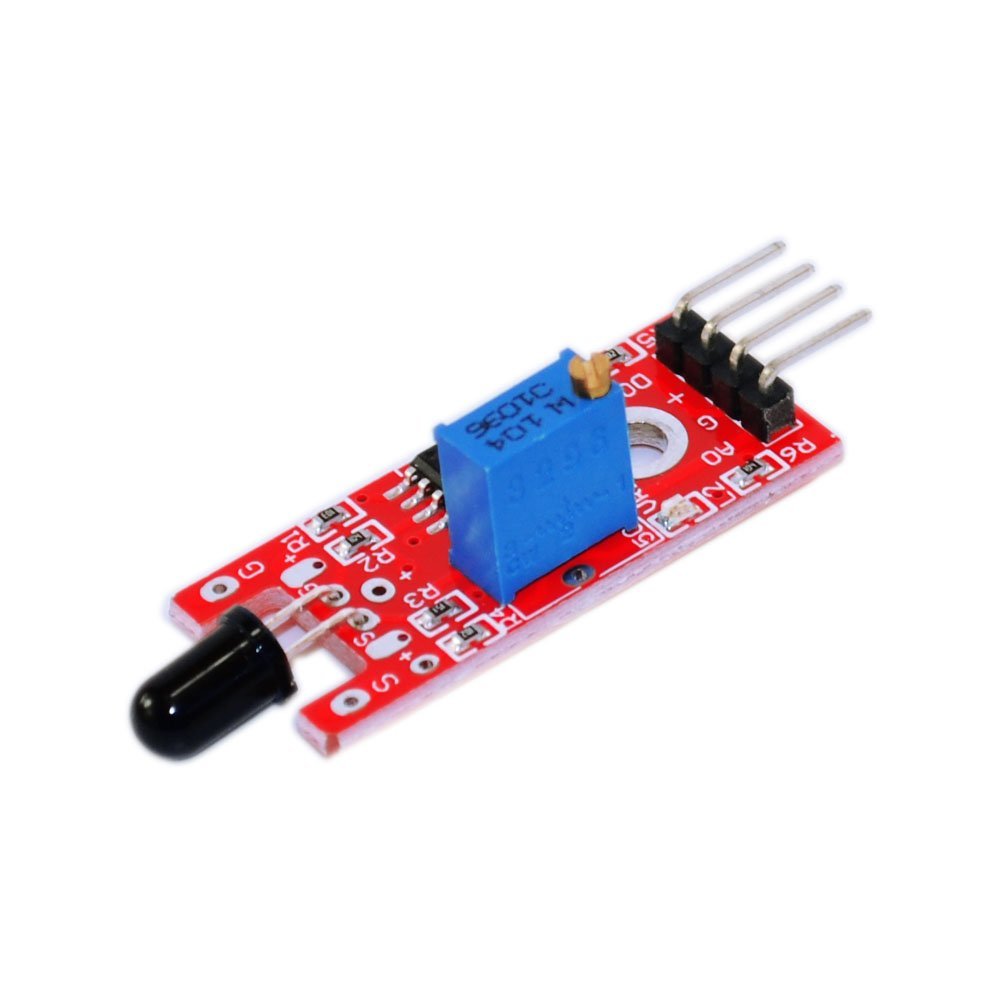 |
Flame Sensor Module |
1 |
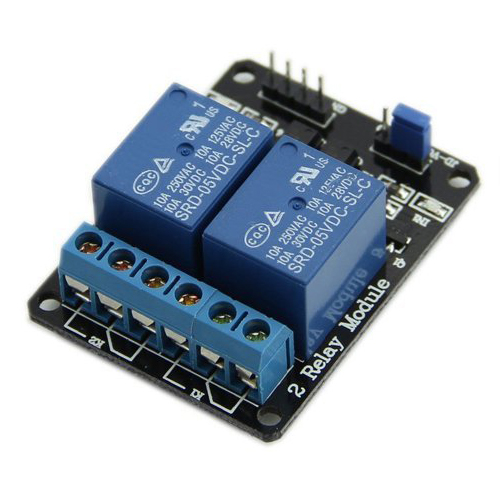 |
2-Channel Relay Module |
1 |
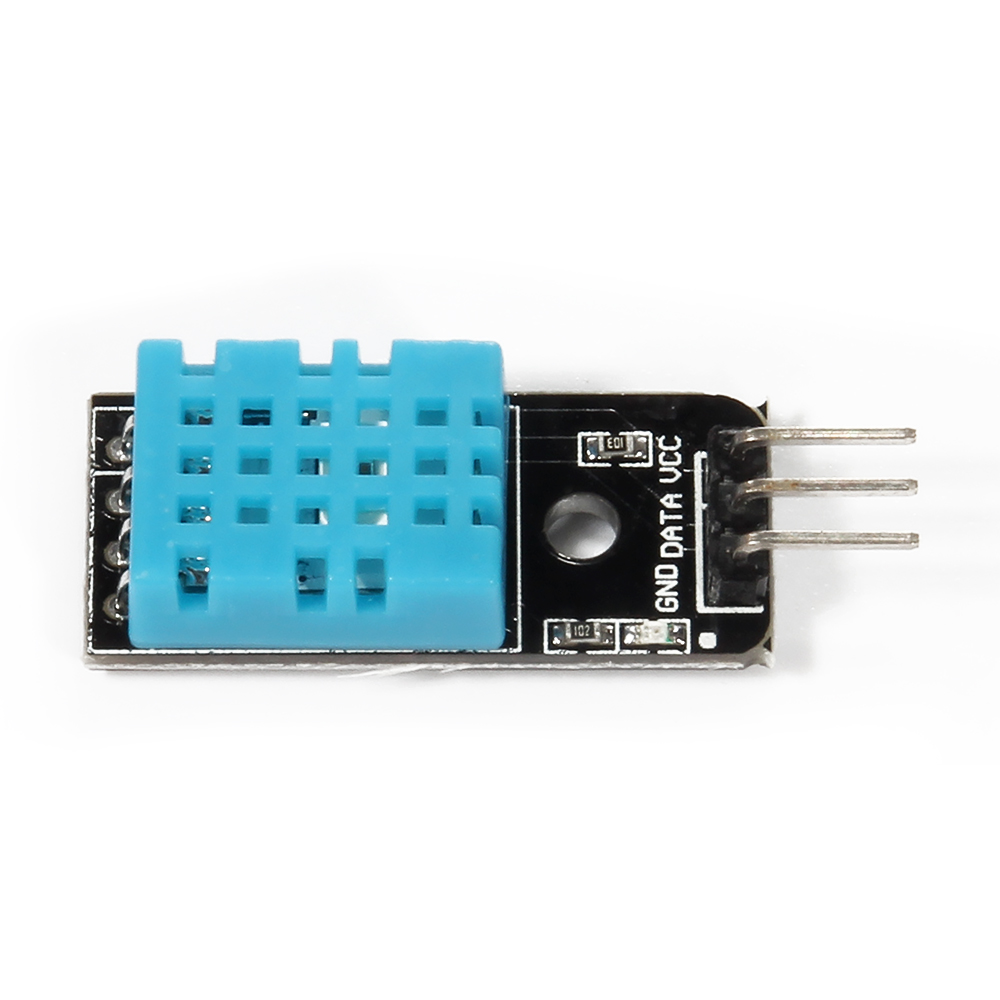 |
DHT11 Sensor Module |
1 |
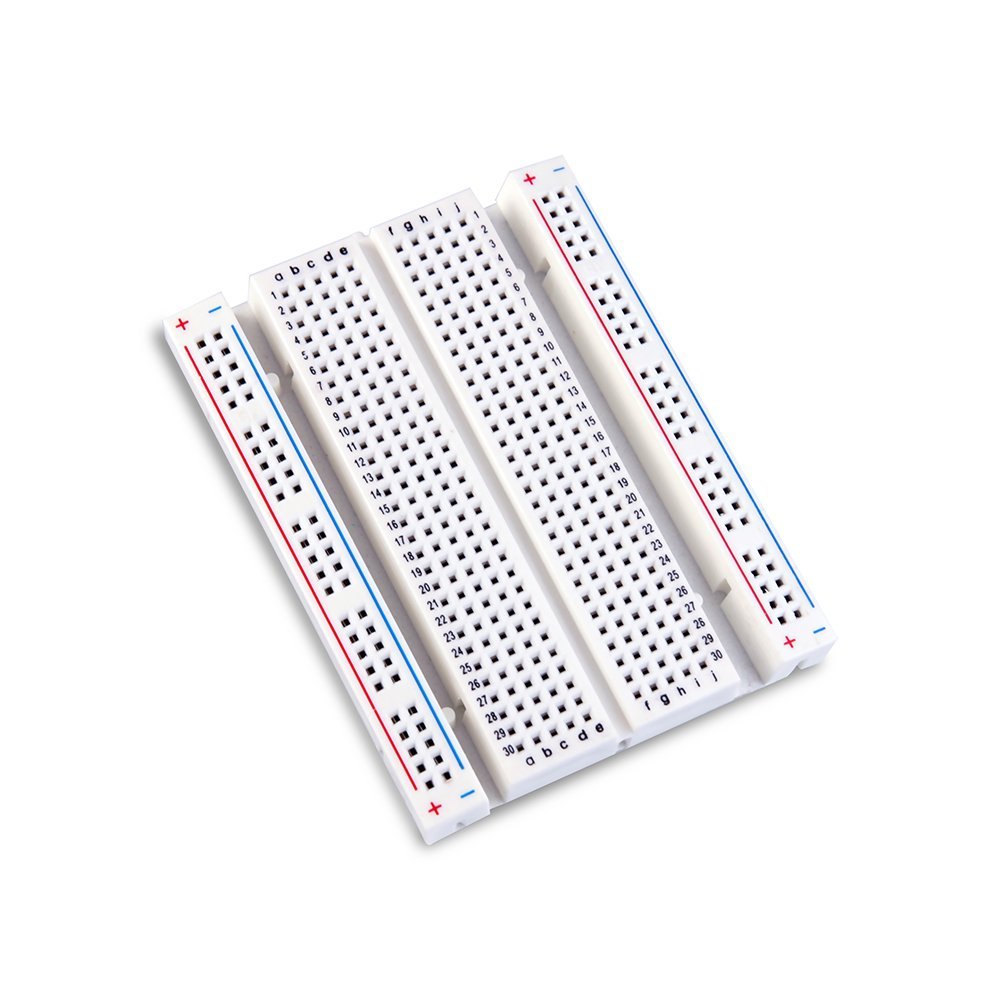 |
Half Size Breadboard |
1 |
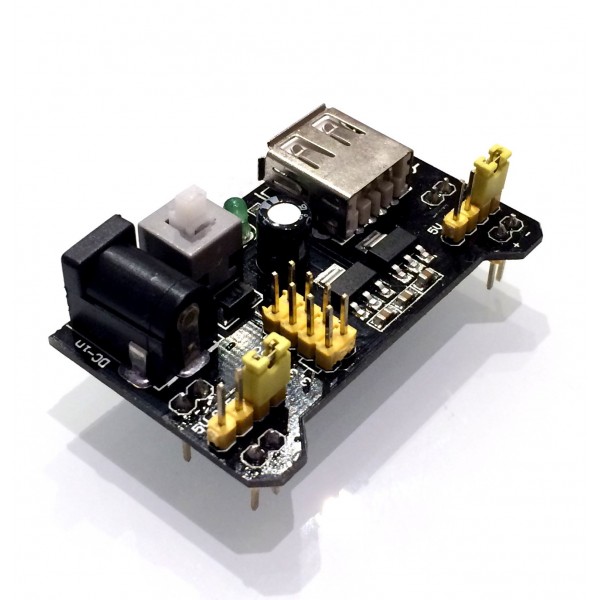 |
Breadboard Power Supply Module 3.3V & 5V |
1 |
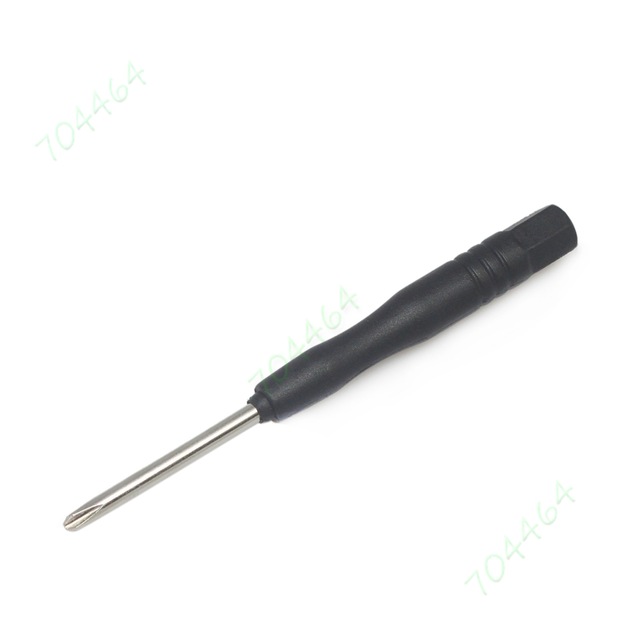 |
Phillips Screwdriver |
1 |
 |
Jumper Wires Package |
1 |
 |
Screw Package |
1 |
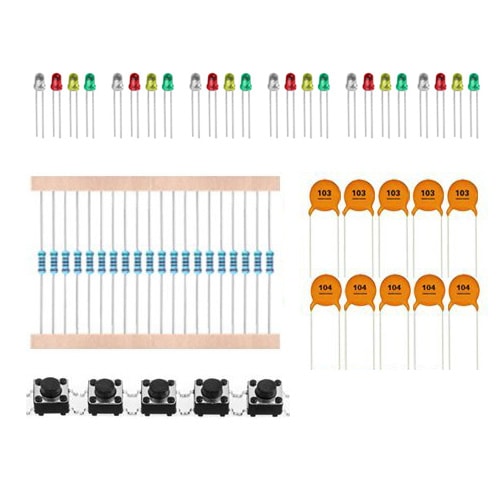 |
Complimentary Parts Package |
1 |
 |
Tutorial DVD |
1 |
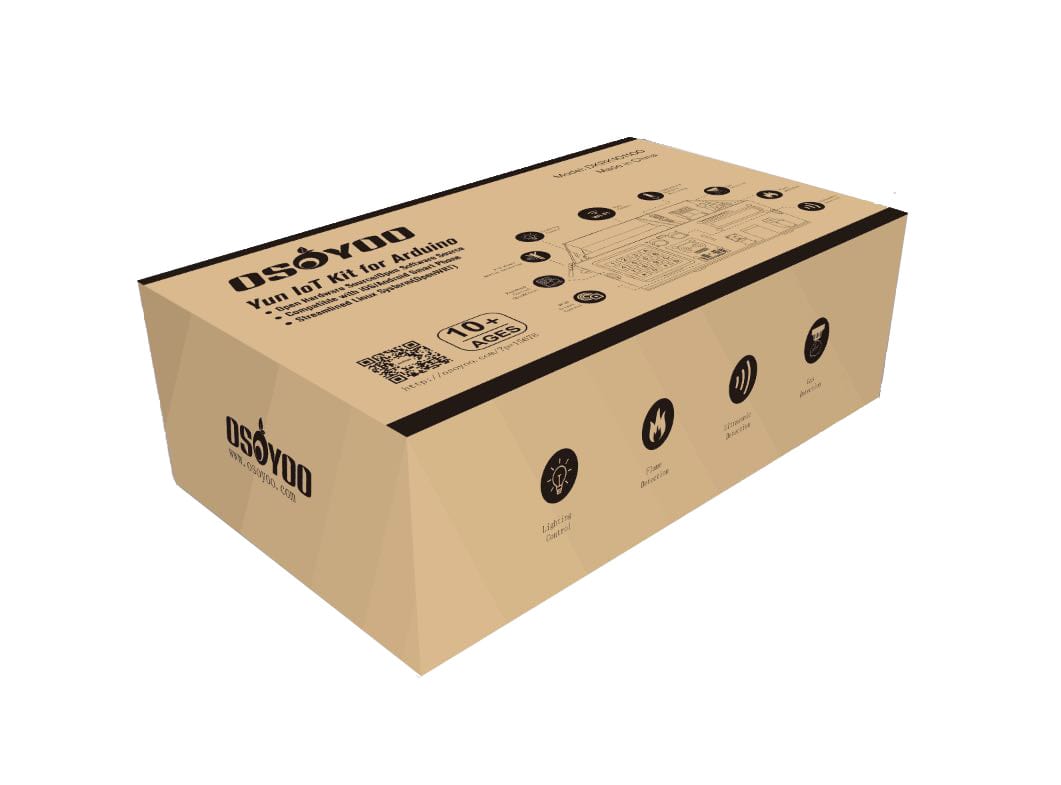 |
Storage Box |
1 |
In addition to a complete set of hardware components, the kit has a DVD provide detailed tutorials that you can follow.
Starting with some simple LED projects and then moving on to more complicated projects using different modules and sensors, this kit aims to teach users about basic electronics theory, physical computing and how to use Arduino. If you are a green hand, you can get more sensor information and usage from here.
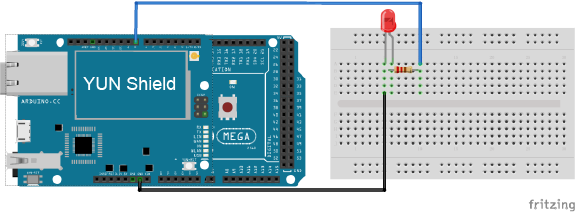
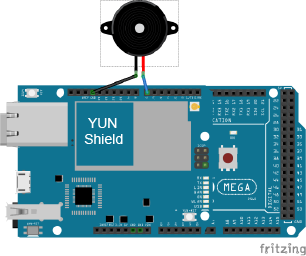
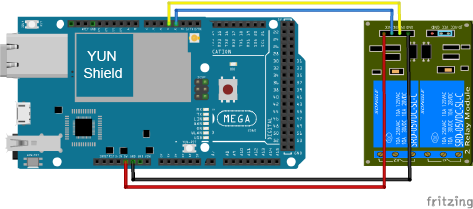
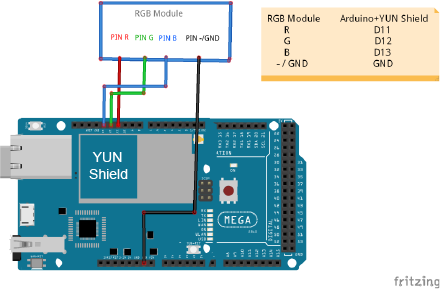
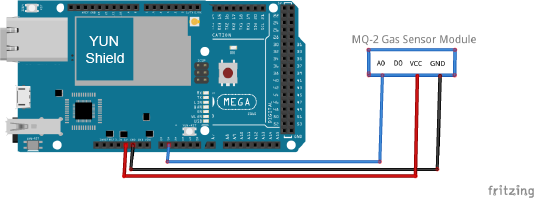
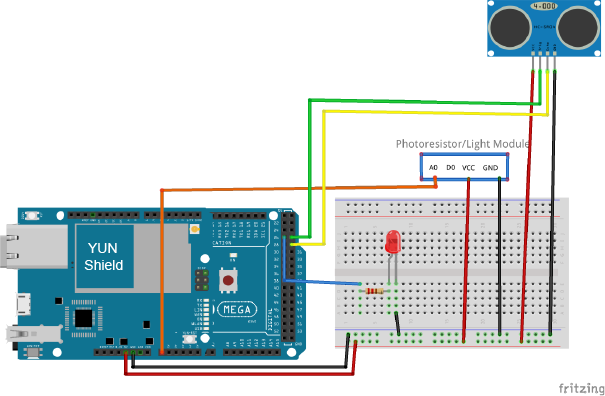
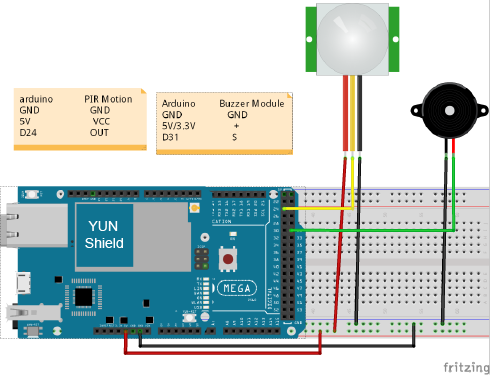
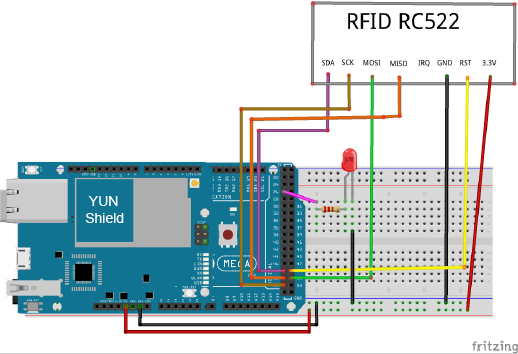
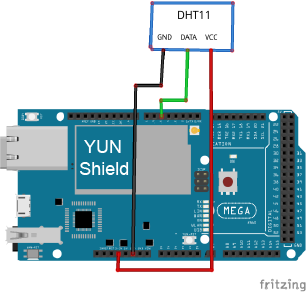
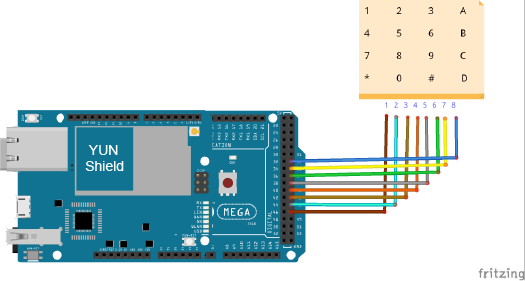
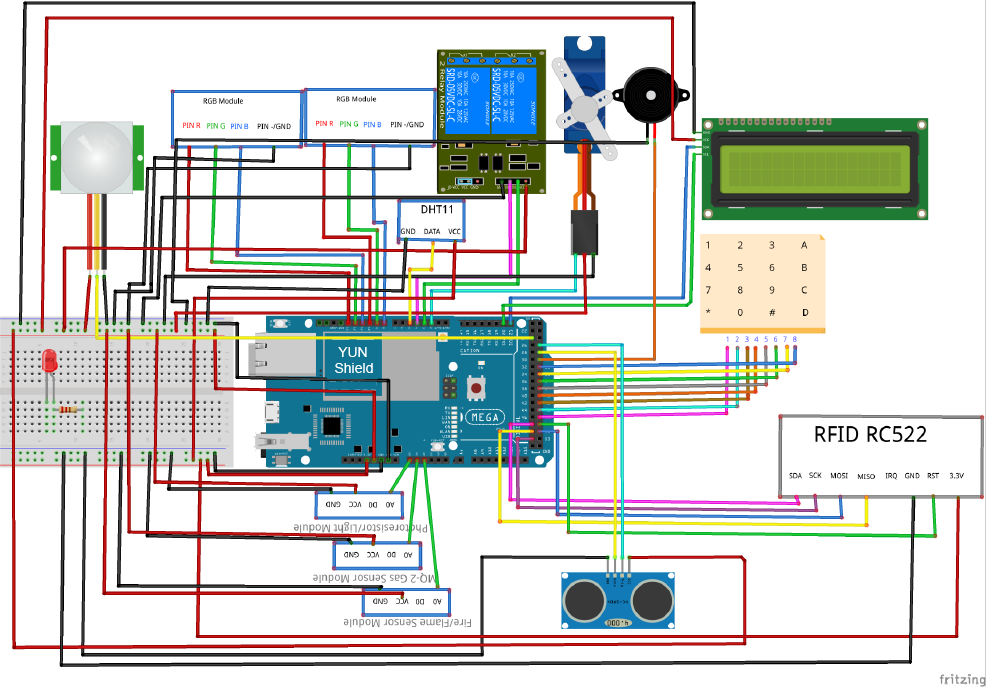
The tutorial come with fritzing diagrams of the hardware connections and sample codes. The projects progress from the easiest beginner-level tutorials to more complex tutorials for advanced users. These tutorials available on the OSOYOO website, and will provide you with enough material for your learning needs.
After you are done with the tutorials, you should be able to make your own projects using the different components the kit has.

Tutorial and Sample Projects:
We provide the above lessons for now, more lessons will be added in the future.
Last but not the least, work out what you will be doing with your kit and what things you already have. Make a list of the things you will need and how you will design your project. This is one of the most important considerations while choosing the best OSOYOO Yun IoT Smarthome Kit.


