Introduction
In this lesson, you will learn how program your Arduino to make the Arduino’s built-in LED blink.
Preparations
HARDWARE Preparation
- Osoyoo UNO Board (Fully compatible with Arduino UNO rev.3) x 1
- USB Cable x 1
- PC x 1
Notice:
Not much is needed for this lesson,make sure you’ve gone through Preparation lessons and Hello World lesson first!
Make sure you have a good quality syncing cable,do not pick a ‘charge only’ USB cable
The ‘L’ LED
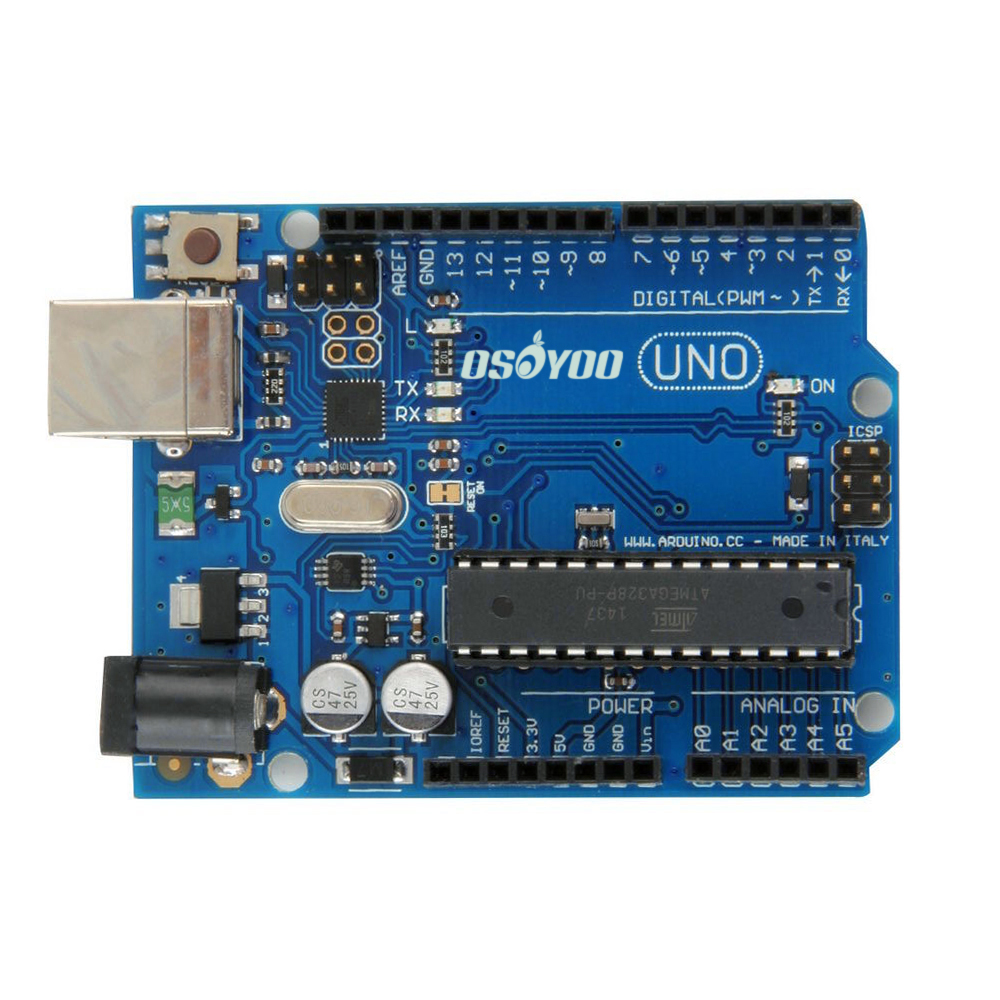
The Arduino has rows of connectors along both sides that are used to connect to electronic devices and plug-in ‘shields’ that allow the Arduino to do more.However, the Arduino also has a single LED that you can control from your sketches. This LED is built onto the Arduino board and is often referred to as the ‘L’ LED as this is how it is labelled on the board. By default, this led is connected to the D13 pin of the UNO board.
The position of this LED is circled in red on the pictures of the Arduino Uno and Leonardo below.

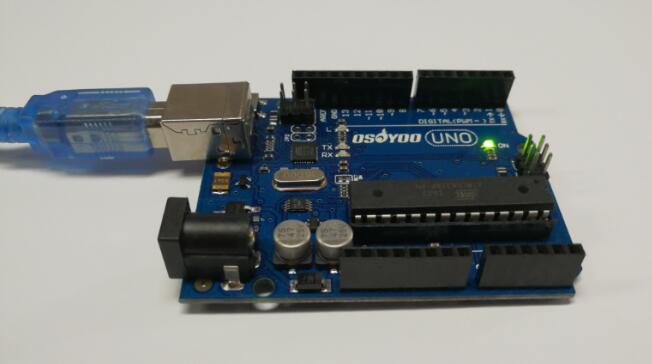
Connect the board
Connect the Arduino board to your computer using the USB cable. The green power LED (labelled PWR) should go on.
Code Program
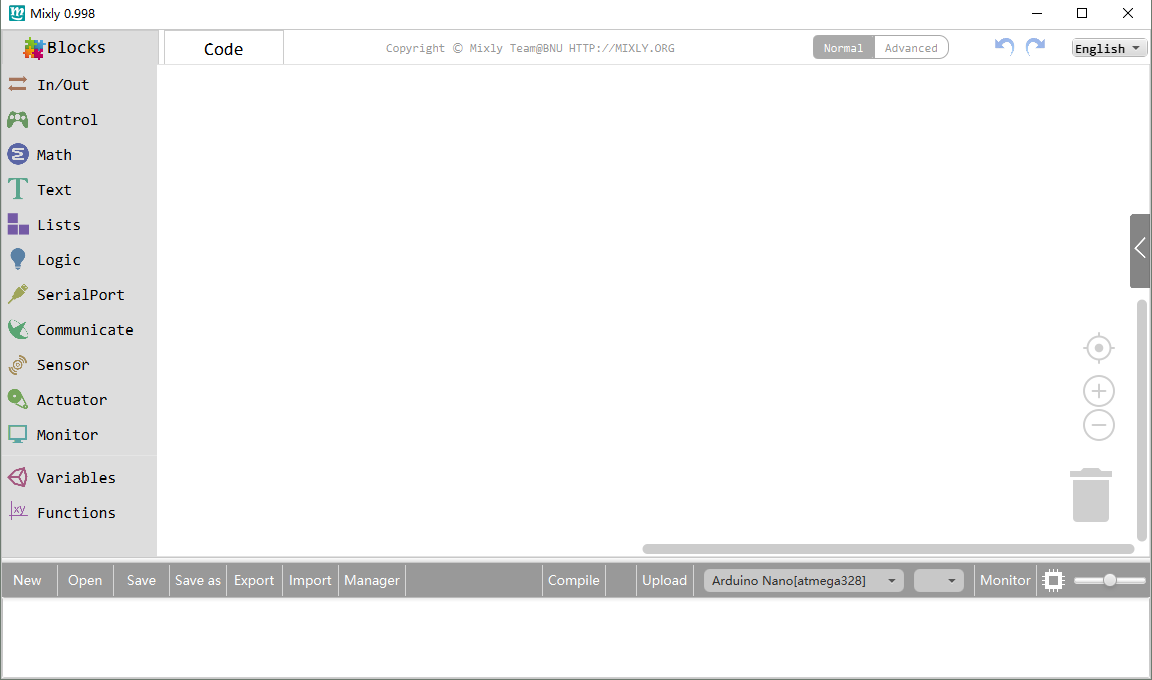
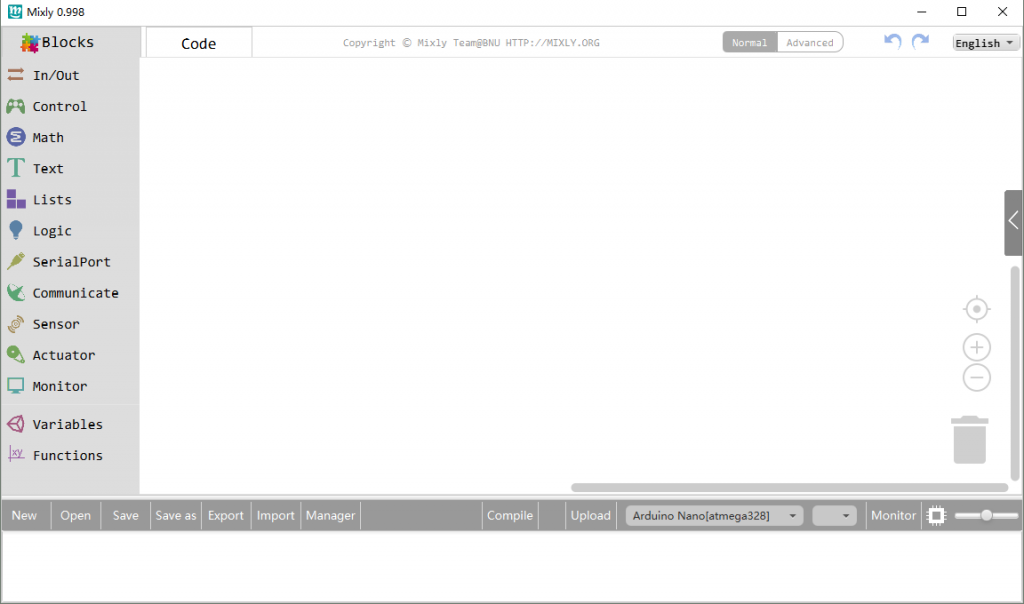
Open the Mixly software and you will see:
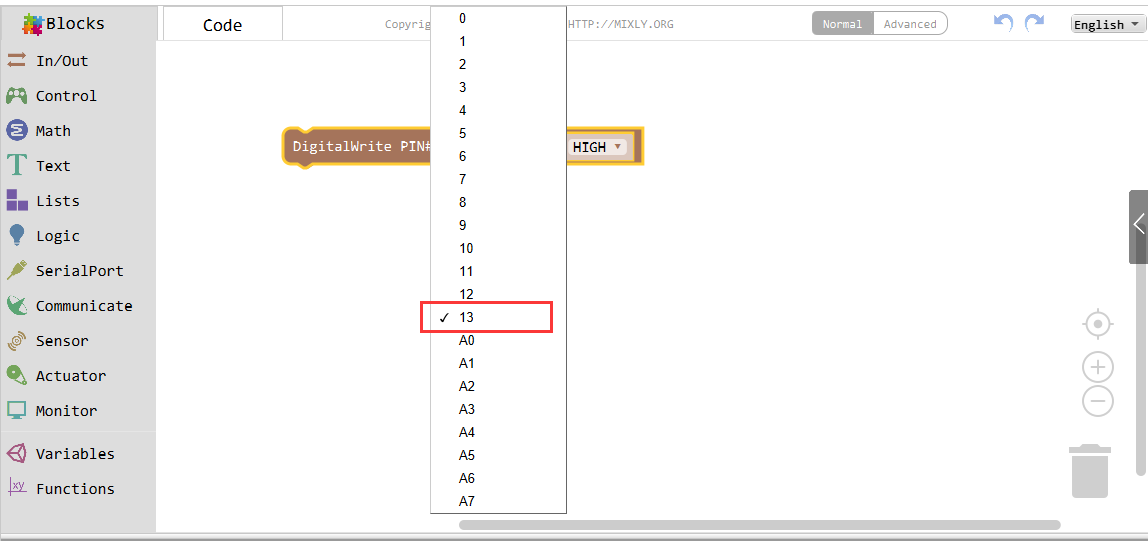
In the “In/Out” menu, find the Digital Output module,
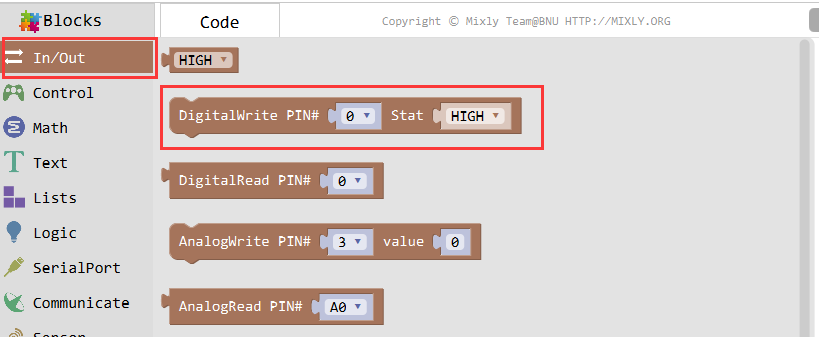
Click it and drag it to the blank,
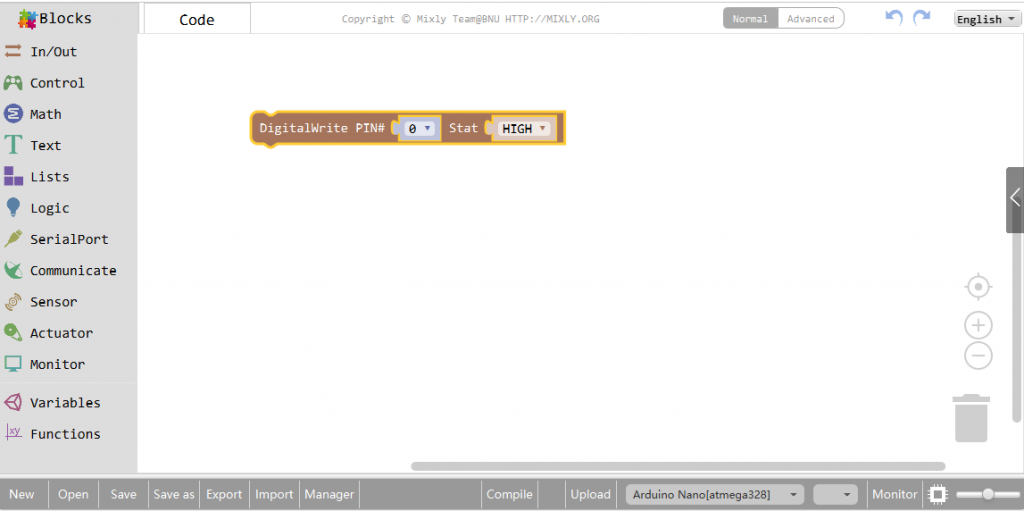
Click to select 13 in the slot of PIN # and set the stat to HIGH,

Then, drag a Delay block in the Control category to the coding area,

As default, set the delay value to 1000ms.
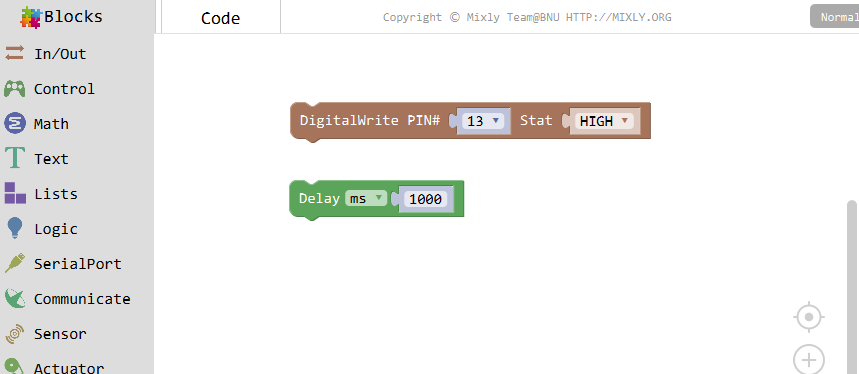
Drag the Delay block under the Digital Write one and fit the bulge and slot at the two to combine,

Drag out another Digitalwrite inIn/Out, then set the pin to 13 and Stat to LOW, drag another Delay block or just right-click it to duplicate one, and set the value to 1000ms.
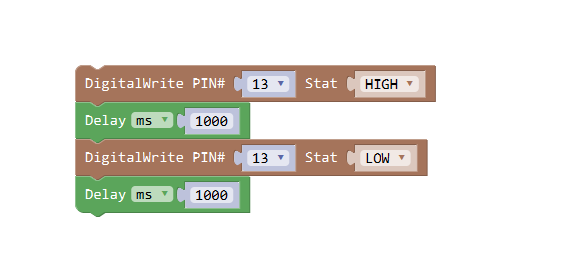
This program will give a high or low level to the LED connected pin 9 to turn it on and off, namelyinking. After programming, you can click the “<" button to check the corresponding code on the right bar.


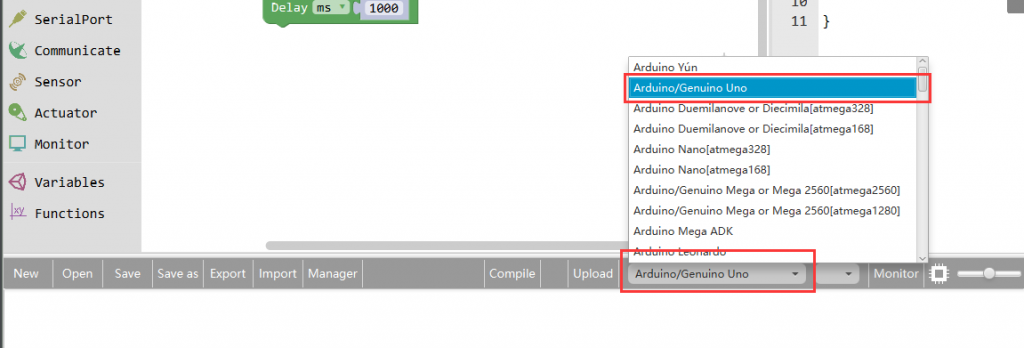
Click Save aftogramming is done. Select the board type and serial port before uploading. For instause a Uno board, just select Arduino/Genuino Uno: if you use a Mega2560, select Arduino/Genuino Mega or Mega2560.
Select the serial device of the Arduino board from the COM menu. This is likely to be COM3 or higher (COM1 and COM2 are usually reserved for hardware serial ports). To find out, you can disconnect your Arduino board and re-open the menu; the entry that disappears should be the Arduino board. Reconnect the board and select that serial port.

Next,upload the code. If the uploading fails, check and correct the code according to the prompts


Finally, the staus will change to ‘Upload success!’.

Runnig Result
If you have completed all the above steps, you will see the result as below:
Extended experiment
You are now going to make your LED blink faster.As you might have guessed, the key to this lies in changing the parameter in the blank for the ‘Delay’ block.
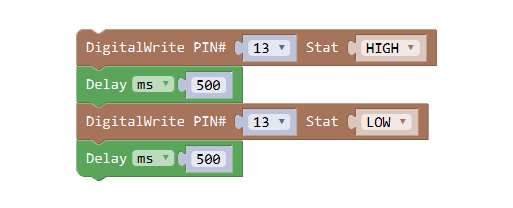
This delay period is in milliseconds, and so if you want the LED to blink twice as fast, change the value of 1000 to 500. This would then pause for half a second each delay rather than a whole second.Upload the code again and you should see the LED start to flash more quickly,you can see the program result as below :

Summary
Here, we see two very common modules – Digital Output and Delay.
Digital output is one of the control modes of the Arduino for the original parts. It transmits digital signals to the output circuit – 0 and 1. 0 means that the output level is low and the circuit will not be connected; 1 means that the output level is high and the circuit is connected.
In the above program, the digital output of pin 13 is set high, and the onboard LED lamp connected with pin 13 will be lit. After a one-second delay (in the process of delay, the hardware remains at the start of the delay until the end of the set time), the digital output changes.
For low, the lamp will go out, and then remain out for 1 second.
As you can see, the on-board LED lights re-turn on after 1 second of extinguishing, and then turn off after 1 second, so on and so on. This is because Mixly and Aduino default that the program is repeated. Without other interventions, the procedure will be repeated all the time.
And the lamp is always on for one second and off for one second, and the repetition will not change. This is because the modules of these programs are executed in the order in which they are arranged. The main board will not execute the first module first, then skip the delayed module, go directly to execute the third module, or execute in any order different from the program.