目的:
16×2 LCDとラズベリー・パイを使って、DHT11センサーを接続して、環境温度と湿度を検出し、LCDに表示するのプロジェクトです。
GPIOの知識は Raspberry Pi_GPIOピンの概要でご参照下さい。
必要なパーツ:
| 1 pc |
Raspberry Pi 2/3/zeroボード x 1 |
 |
| 1 pc |
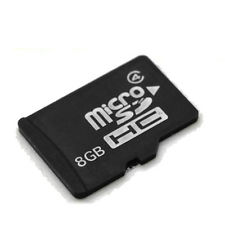
8GB メモリーカードRaspbian OSを装着済み |
 |
| 1 pc |
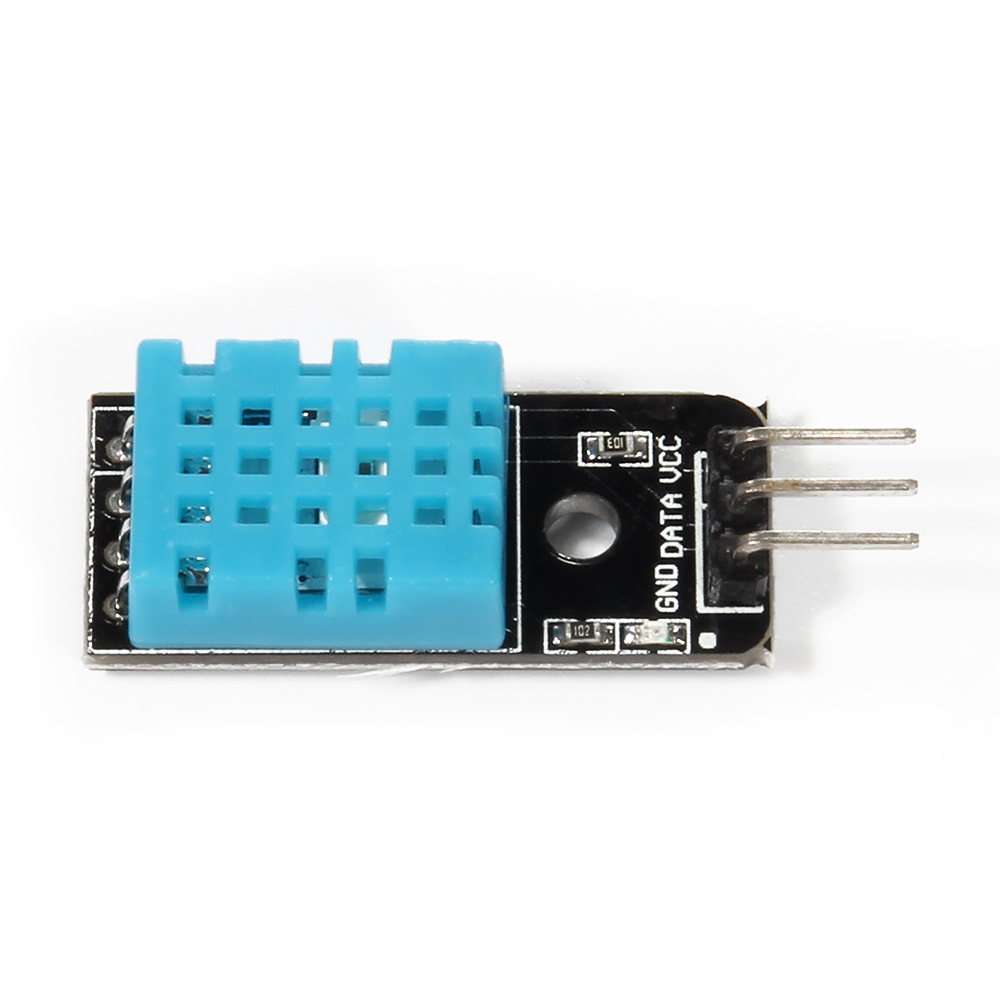
DHT11温湿度センサーモジュールx 1 |
 |
| 1 pc |
I2C 1602 LCD スクリーンx 1 |
 |
| 1 pc |
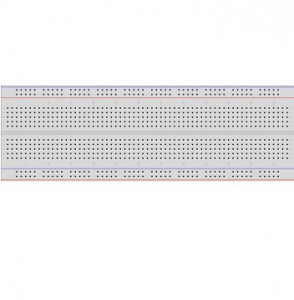
ブレッドボードx 1 |
 |
| 1 pc |
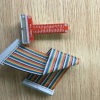
40ピンT型GPIO拡張ボードx1 40ピンリボンケーブルx1 |
 |
ソフトウェア/ハードウェアのインストールと装着
Step 1)RPI.GPIOモジュールを対応するため、Raspbianを最新版に更新して下さい。
「LXTerminal」で下記のコマンドを作動して下さい:
sudo apt-get update
sudo apt-get upgrade
Step 2)I2CとSPIを有効にする
「LXTerminal」で下記のコマンドを作動して下さい:
sudo raspi-config
「Advance Options」に入って、I2CとSPIを有効に設定して下さい。
Piを再起動したら、.モジュールの設定ファイルを編集必要です。 「LXTerminal」で下記のコマンドを作動して下さい:
sudo nano /etc/modules
モジュールファイルで下記の内容を追加して下さい:
i2c-bcm2708
i2c-dev
Ctrl+Xボダンを押して、Yを入力して、ファイルを保存して下さい。
Step 3) – smbusとi2c python libraryのインストールする
「LXTerminal」で下記のコマンドを作動して下さい:
sudo apt-get update
sudo apt-get install -y python-smbus i2c-tools
sudo reboot
Piが再起動したら、Terminalで下記のコマンドを入力して下さい:
lsmod | grep i2c
i2c_bcm2708がリストに表示されるはずです。libraryが正しくインストールしたと分かります。もし、i2c_bcm2708が見えない場合、Step2と3を再度操作して下さい。
Step 4)Raspberry Pi と 1602 LCDとDHT11センサーの接続
| LCD Pin |
Description |
Pi Function |
RasPi Pin |
| GND |
GND |
GND |
pin 6 or pin 39 |
| VCC |
+5V/3.3v |
+3.3V |
pin 2 |
| SDA |
SDA |
GPIO 02 |
pin 3 |
| SCL |
SCL |
GPIO 03 |
pin 5 |
| DHT11 DATA pin |
GPIO 14 |
pin 8 |
| DHT11 +VCC pin |
+3V |
pin 1 |
| DHT11 GND(-) |
GND |
pin 6 |
配線図(画像をクリックして拡大イメージを表示):
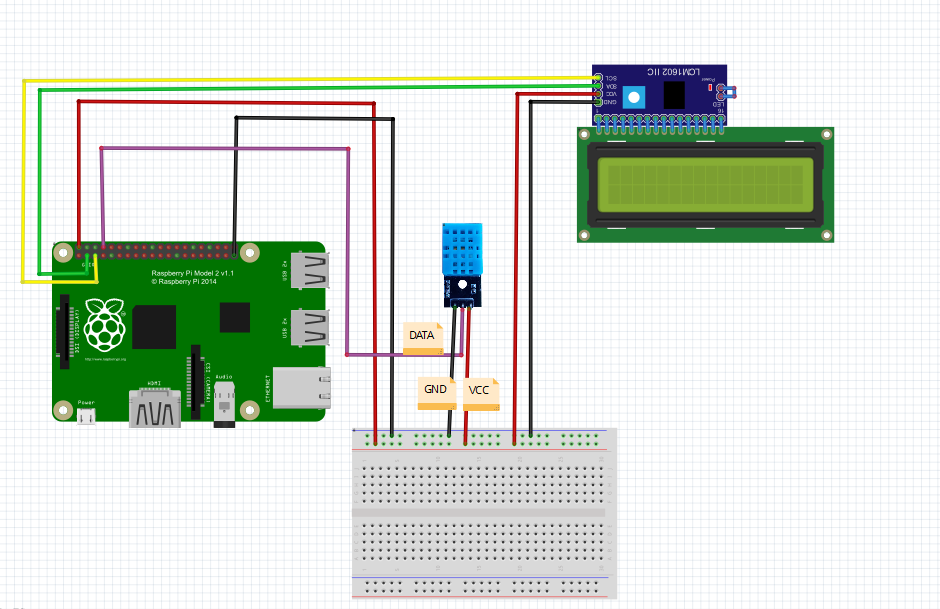
✱ Raspberry GPIO pinは3Vの電圧しか対応できません。違う電圧の場合、Piボードに損害された恐れも御座いますので、十分ご注意下さい。
Step 5) ハードウェアのテスト
Terminalで下記のコマンドを入力して下さい:
sudo i2cdetect -y 1
or
sudo i2cdetect -y 0
下記のように、表示します:
0 1 2 3 4 5 6 7 8 9 a b c d e f 00: — — — — — — — — — — — — — 10: — — — — — — — — — — — — — — — — 20: — — — — — — — — — — — — — — — — 30: — — — — — — — — — — — — — — — 3f 40: — — — — — — — — — — — — — — — — 50: — — — — — — — — — — — — — — — — 60: — — — — — — — — — — — — — — — — 70: — — — — — — — — 文字なく、唯”– — –“と表示の場合、 回路の組み立ては問題あるあるいはソフトウエアのインストールが正しくないと判明できます。 “3f” をご注意下さい。LCDのi2cアドレスと言うことです。他の数値(27、35など)の可能性もあります。
Step 6) pythonコードをダウンロードする
Terminalで下記のコマンドを入力して下さい(dht11.py):
sudo wget http://osoyoo.com/driver/dht11.py
Step 7)
a) LCDのi2c アドレスは3fの場合、 Terminalで下記のコマンドを入力して、(pi-dht11-ic2lcd.py)をダウンロードして下さい。
sudo wget http://osoyoo.com/driver/pi-dht11-i2clcd.py
b) LCDのi2c アドレスは3fでは無いの場合、 Terminalで下記のコマンドを入力して、「pi-dht11-i2clcd.py」と言うファイルを作成して下さい。
sudo nano pi-dht11-i2clcd.py
ファイルを作成したら、次のリンクのコードを「pi-dht11-i2clcd.py」ファイルにコーピーして下さい。 コード
ファイルでの(I2C_ADDR = 0x3f)を実際確認したの数値を切り替えして下さい。
Ctrl+Xボダンを押して、Yを入力して、ファイルを保存して下さい。
最後、Terminalで下記のコマンドを入力して下さい:
sudo python pi-dht11-i2clcd.py
※LCDはよく見えない場合、LCD裏のつまみを調整して見て下さい~


I was uncertain of 3V vs 5V for the LCD’s vcc connector. It says the Pi function is 3V but should be connected to pin 2 which is 5V. I selected pin 1 which has 3.3V to be safe. LCD had a very weak contrast even if adjusted to maximum.
The LCD gets much better contrast when connected to 5V and it appears not to damage the Pi board.
The LCD need to work with 5V GPIO.
k well having issues. Was successful in previous module in getting LCD to display text. So figured when I came here it would be a piece of cake. But for some reason I get nothing on the LCD. It lights but no text from the DHT11. Changed the one line to 0x27 instead of 0x3f as my address query came up with 27. So I am stumped as to why the DHT11 is not communicating
k so just went thru and made sure the DHT11 was good and was able to get text to SSH with Temp and Humidity readings.
So there is a disconnect somewhere.
Note: did not change any wiring on the breadboard or GPIO. also this is being done on a PI 3 don’t know if that is some of the cause as I have heard and foundout that there is discrepencies between calls in Pi2 and Pi3.
Just saying! Gonna take a break for a while. Head is spinning thinking about what could be going on or not going on.
okay figured it out. had used GPIO 4 instead of GPIO 14 works great now. Only need to look at code and see where I can add conversion function to get Farenheit instead of Celsius
This me too. Did ya figure out how to get to Fahrenheit?
I keep getting the error no module named dht11 … Any ideas?
Hi,
Thanks for providing this code, it was nice to actually get it working the first try. I downloaded everything and got it working good. Then I tried changing the Lcd code portion of the python code I downloaded (big mistake but not really if I can learn something from this) and then I started to get unrecognisable charters on the Lcd. So then I put ‘sudo python pi-dht11-i2clcd.py’ into terminal and enter and it would/does work properly for a minute or so then it’ll scramble the text again.
So what I did was to edit the text of the python code by entering ‘sudo nano pi-dht11-i2clcd.py’ and I erased all the code there and re-pasted the program back into terminal but am still getting the same results? Does anyone know what could be happening? And do I have to go through the whole process again and re-download everything? I don’t know what to do next.
If I do start all over again what do I have to get rid of before re-installing everything again?
Any help will be very much appreciated.
Thanks
jessey
It’s kind of useless to post anything here. There’s no support here by the looks of it. That’s a shame…