Objective
In this lesson, we’ll introduce the installation and wire connections of the basic framework of the whole OSOYOO 2WD Robot Car Starter Kit.
Parts and Devices
|
Device
|
Picture
|
Qty.
|
Accessories
|
|
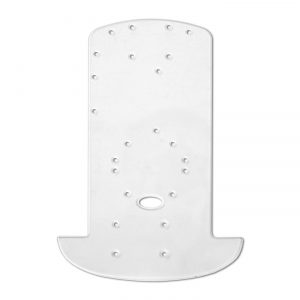
Car Chassis
|
 |
1
|
|
|
|
 |
|
??? |
|
|
|
1 |
M3*12 Double Pass Copper Pillar x 4
M3*5 Screw x 8 |
|
|
 |
|
|
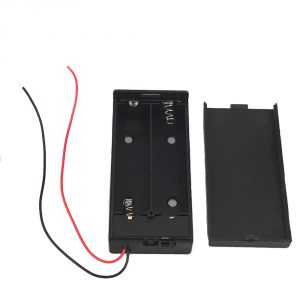
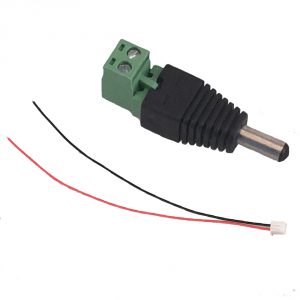
Box for 18650 3.7V battery+
|
 |
1 |
M3*10 Screw x 4
M3*10 Nut x 4 |
|
|
 |
1 |
M3*6 Plastic Screw x 3
M3 Plastic Nut x 4
M3*5+6 Plastic Pillar x 4 |
OSOYOO Model-X Motor Driver Module
|
 |
1 |
M3*6 Plastic Screw x 4
M3 Plastic Nut x 4
M3*5+6 Plastic Pillar x 4 |
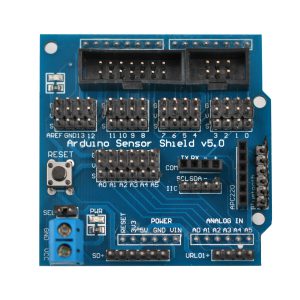
UNO Sensor Expansion Board V5.0
|
 |
|
|
|
|
 |
|
|
| Jumper wires(male-male,male-female) |
 |
some |
|
Installation
Remove the protective film from the chassis.
Please pay attention:
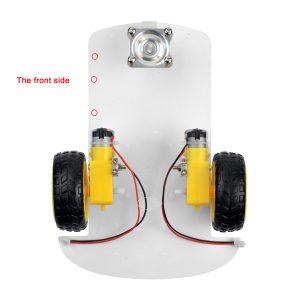
The chassis has front side and back side, please pay attention to the front side as the picture shows:
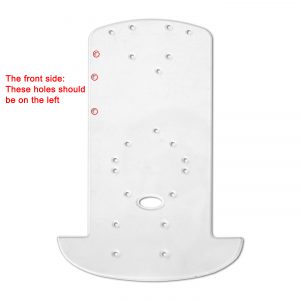
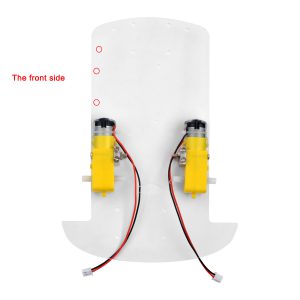
1 Motors
Accessories:
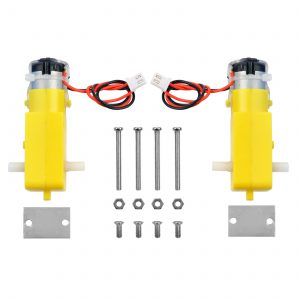
Connect 2 motors on the chassis with screw M3*30 screws and nuts
2 Universal Wheel and Wheels
Accessories:
- M3*12 Double Pass Copper Pillar x 4
- M3*5 Screw x 8
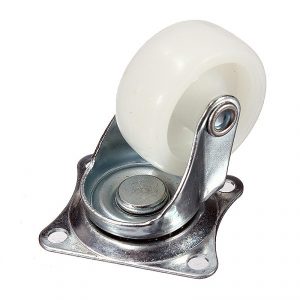
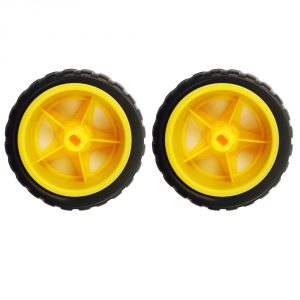
Install the wheel on the chassis with M3*12 Double Pass Copper Pillars and M3*5 Screws(please install the Copper Pillar on the chassis first), then install the two wheels into the motors.
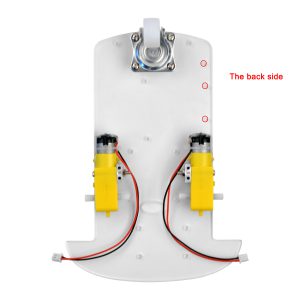
3 Battery Box
Accessories:
- M3*10 Screw x 4
- M3*10 Nut x 4
Fixed the battery box on the surface of the chassis with the M3 screws and nuts


