
注意: すべてのOSOYOO Arduino製品はサードパーティ製ボードであり、Arduinoと完全互換です
目次
認定オンライン小売業者
Shopify

Amazon

目的
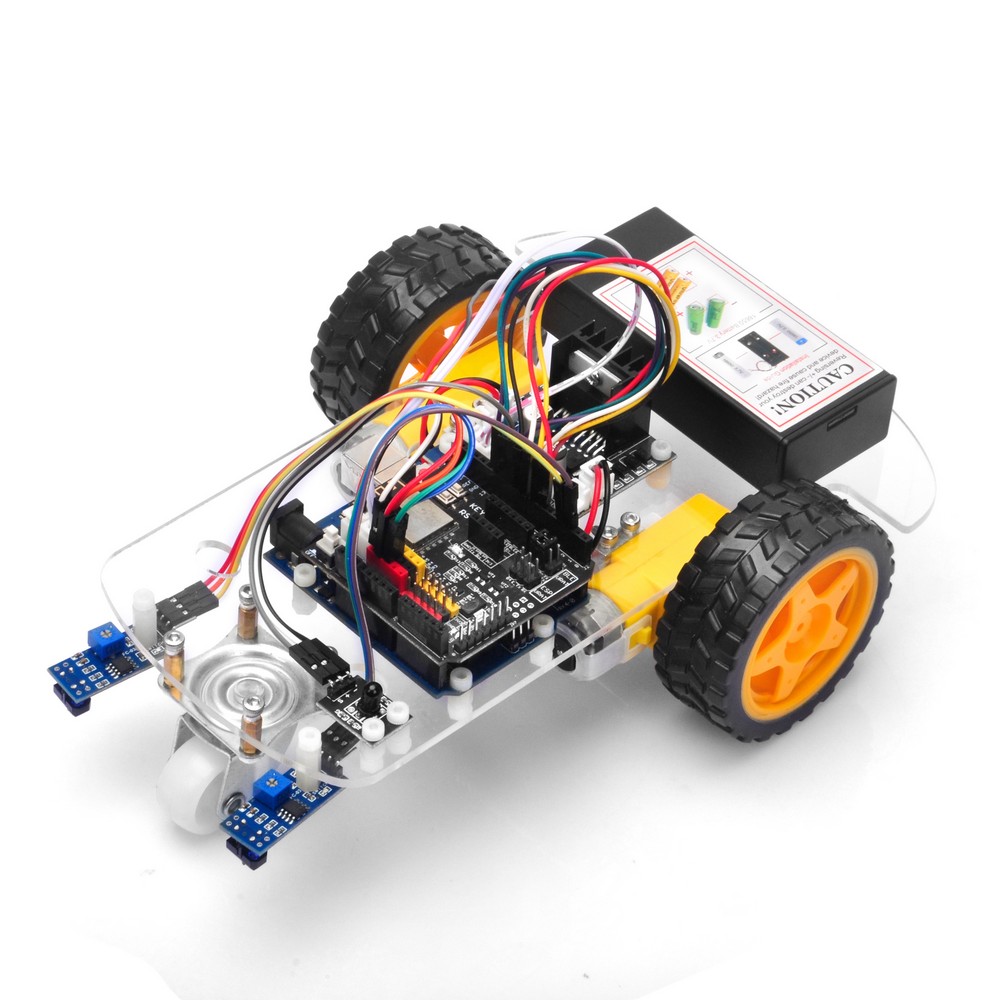
このレッスンでは、モバイルアプリを使用してESP8266 Wi-Fiチップを介して2WDロボットカーを制御します。ESPWebmasterライブラリのインストール方法、ArduinoボードのWifiネットワークIPアドレスの取得方法、シリアルポートを介したArduinoボードとWi-Fiネット間の通信方法について学びます。

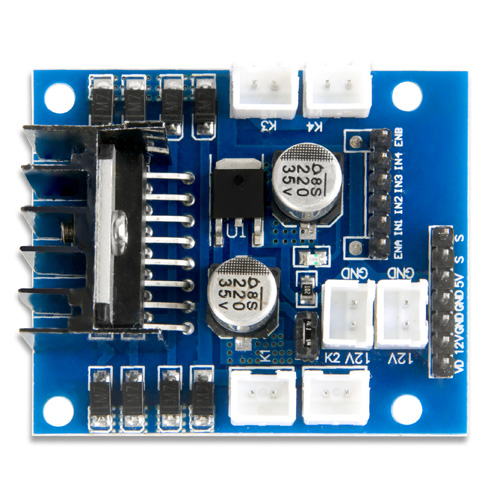
ハードウェアの取り付けとモーター接続はレッスン1と全く同じです。レッスン1のプロジェクトが正常に動作することを確認する必要があります。そうでない場合、このプロジェクトは成功しません。
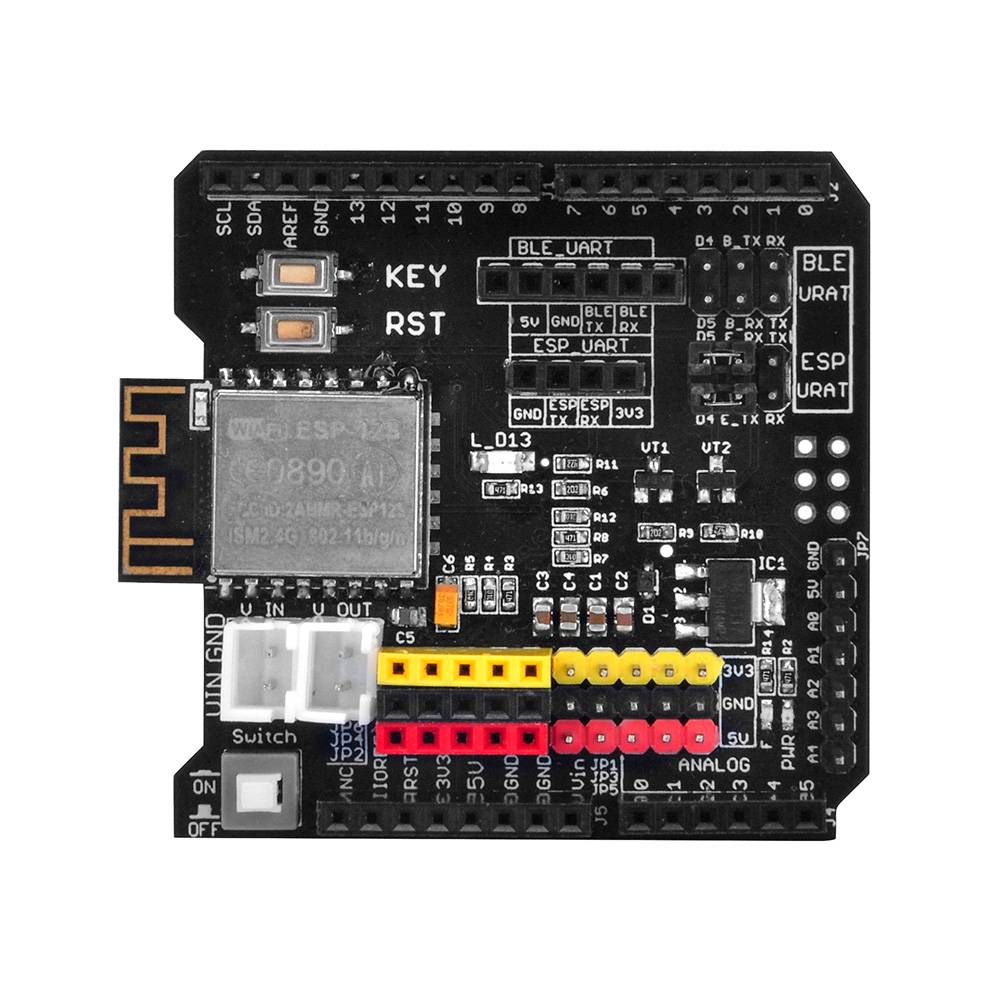
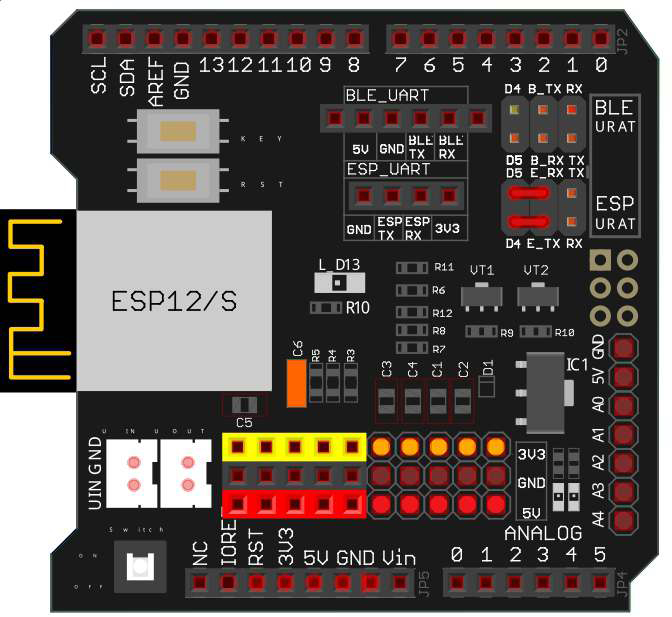
また、以下の図の赤いジャンパーキャップアイコンで示されたジャンパーキャップを通じて、ESP_TXをD4に、ESP_RXをD5に接続する必要があります:
(注意: 当社のOSOYOO Uart WiFiシールドV1.3は、デフォルトでジャンパーキャップを使用してBLE URAT TX/RXポートをD4,D5に接続しています。BLE URAT TX/RXポートが接続されている場合は、これらのジャンパーキャップを取り外し、ESP URAT E-TXをD4に、E-RXをD5に接続するように変更する必要があります)
ESP URAT:
D4 – E-TX
D5 – E-RX
ソフトウェアのインストール
ステップ 1)
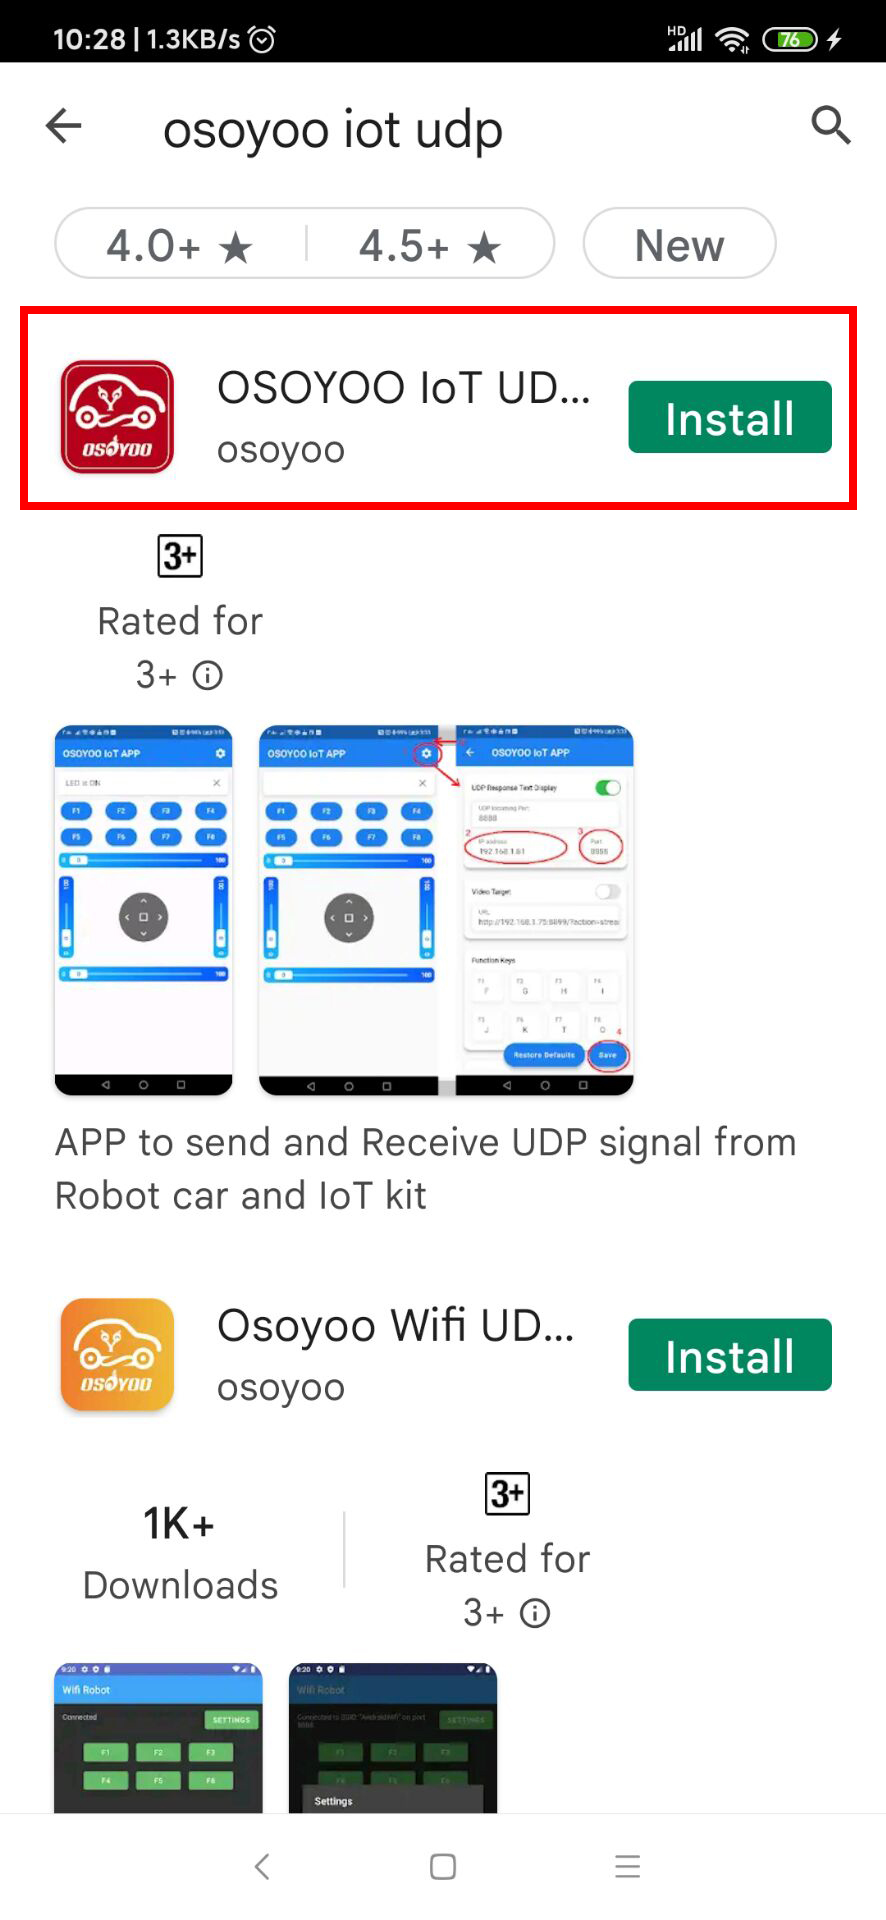
OSOYOO Wi-Fi UDPロボットカーコントロールアプリをダウンロードしてください
Google PlayまたはApple Storeで、「OSOYOO IoT UDP Robot Car」というキーワードを検索してください。以下のような赤いアイコンのアプリが見つかります(注意: Google Playでこのアプリが見つからない場合は、以下のリンクから直接アプリをダウンロードできます: https://osoyoo.com/driver/udp-app.apk ):
ステップ 2) WifiESP-Masterライブラリのzipファイルをhttps://osoyoo.com/driver/WiFiEsp-master.zipからダウンロードしてください
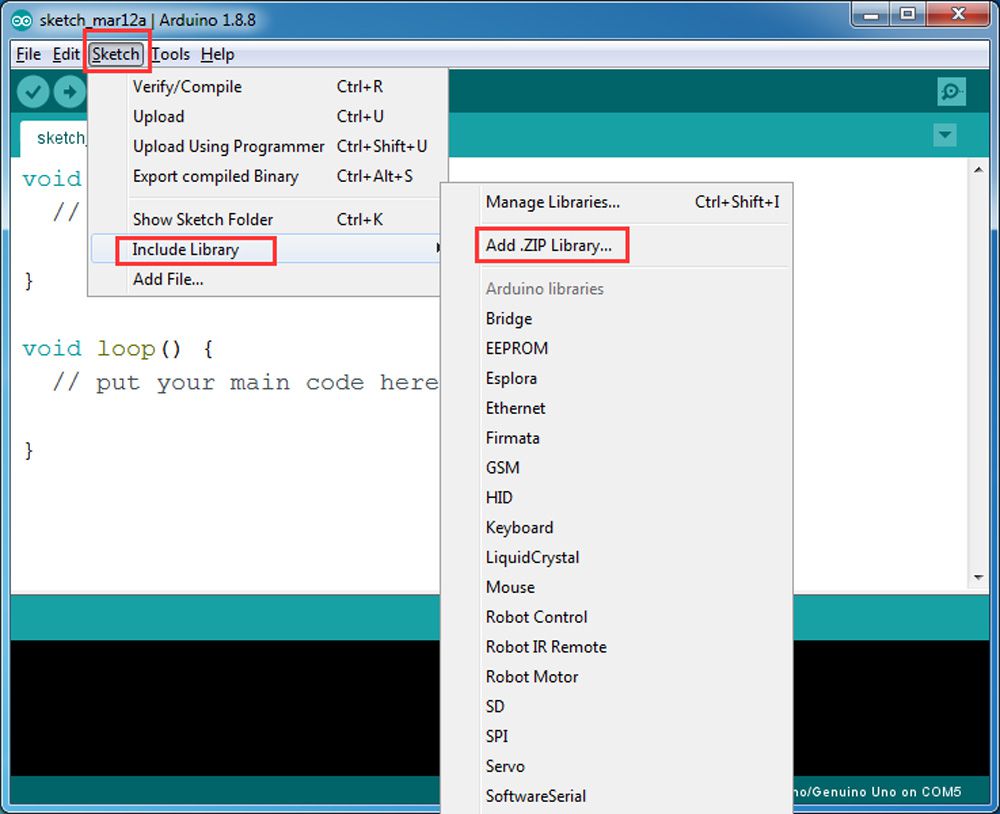
Arduino IDEを開く→スケッチ→ライブラリをインクルード→.ZIPライブラリを追加、然后将上述两个zip文件加载到OSOYOO Arduino用基本ボードに。
ステップ 3) STAモードのスケッチコードをhttps://osoyoo.com/driver/2wd/lesson5.zipからダウンロードしてください。ファイルを解凍すると、「lesson5」というフォルダが表示されます。Arduino IDEを開く→ファイル→開く→上記フォルダ内の「lesson5.ino」コードを選択し、コードをOSOYOO Arduino用基本ボードにロードしてください。
注意: 71行目、72行目のコードを変更する必要があります
char ssid[] = ” *** “; // ***をルーターのwifi SSIDに置き換えてください
char pass[] = ” *** “; // ***をwifiパスワードに置き換えてください
lesson5.inoスケッチをOSOYOO Arduino用基本ボードにアップロードしてください。最後に、Arduino IDEの右上隅のシリアルモニターウィンドウをクリックすると、以下のような結果が表示されます:
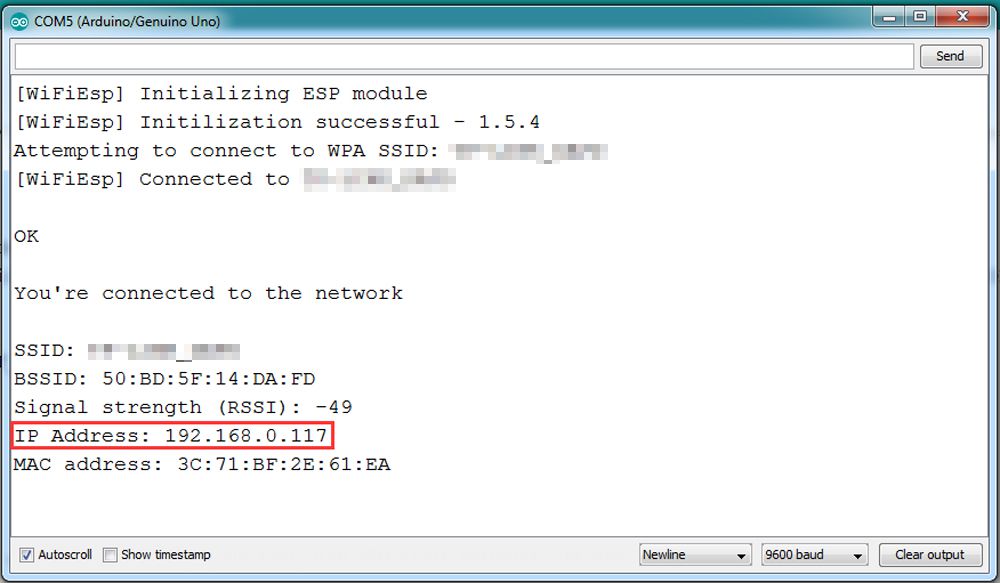
上記の例では、IPアドレス192.168.0.117が表示されています。これはルーターが割り当てたArduinoボードのIPアドレスです。このIPアドレスをメモし、設定をクリックしてロボットのIPアドレスを設定し、このIPアドレスをアプリの設定セクションに設定し、ポートを8888に設定してください。
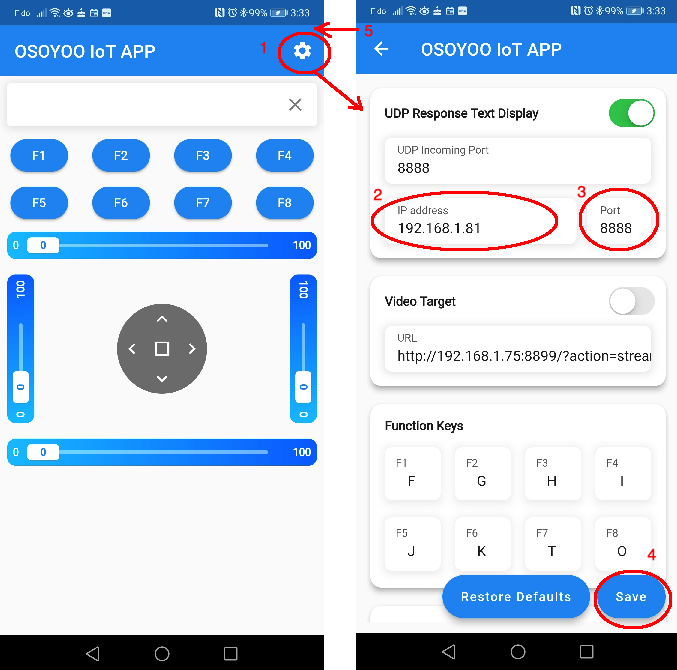
例えば、シリアルモニターにArduinoのIPアドレスが192.168.1.81と表示された場合、以下のようにアプリに設定できます:
テスト
◄ボタンをクリックして左折(ステアリングホイールを反時計回りに回転)し、► ボタンをクリックして右折(ステアリングホイールを時計回りに回転)できます。これらの2つのボタンを長押しすると、より鋭い角度で曲がります。
▲ボタンで車は前進し、▼キーで車は後退します。中央の[]ボタンを押すと車を停止できます。
注意: スケッチコードをArduinoにアップロードする際は、バッテリーの電源を切るか、電源アダプターを抜いてください。
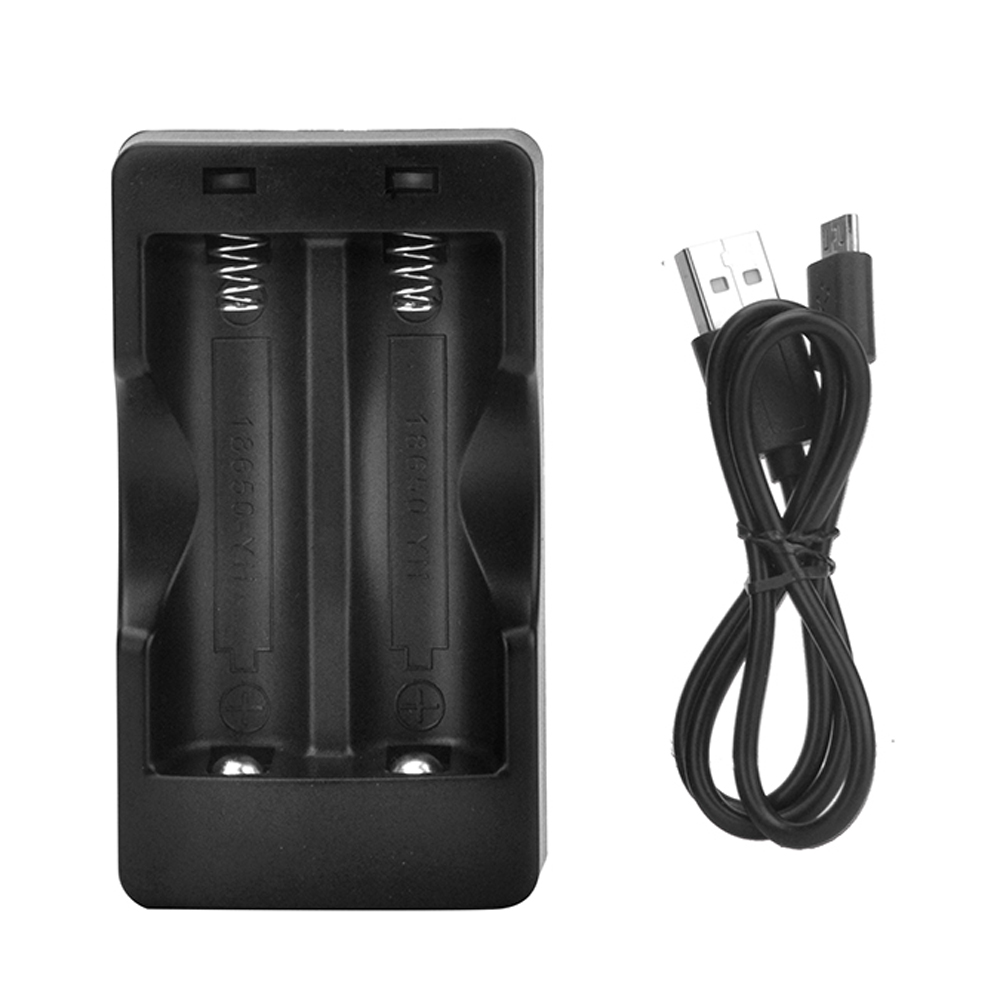
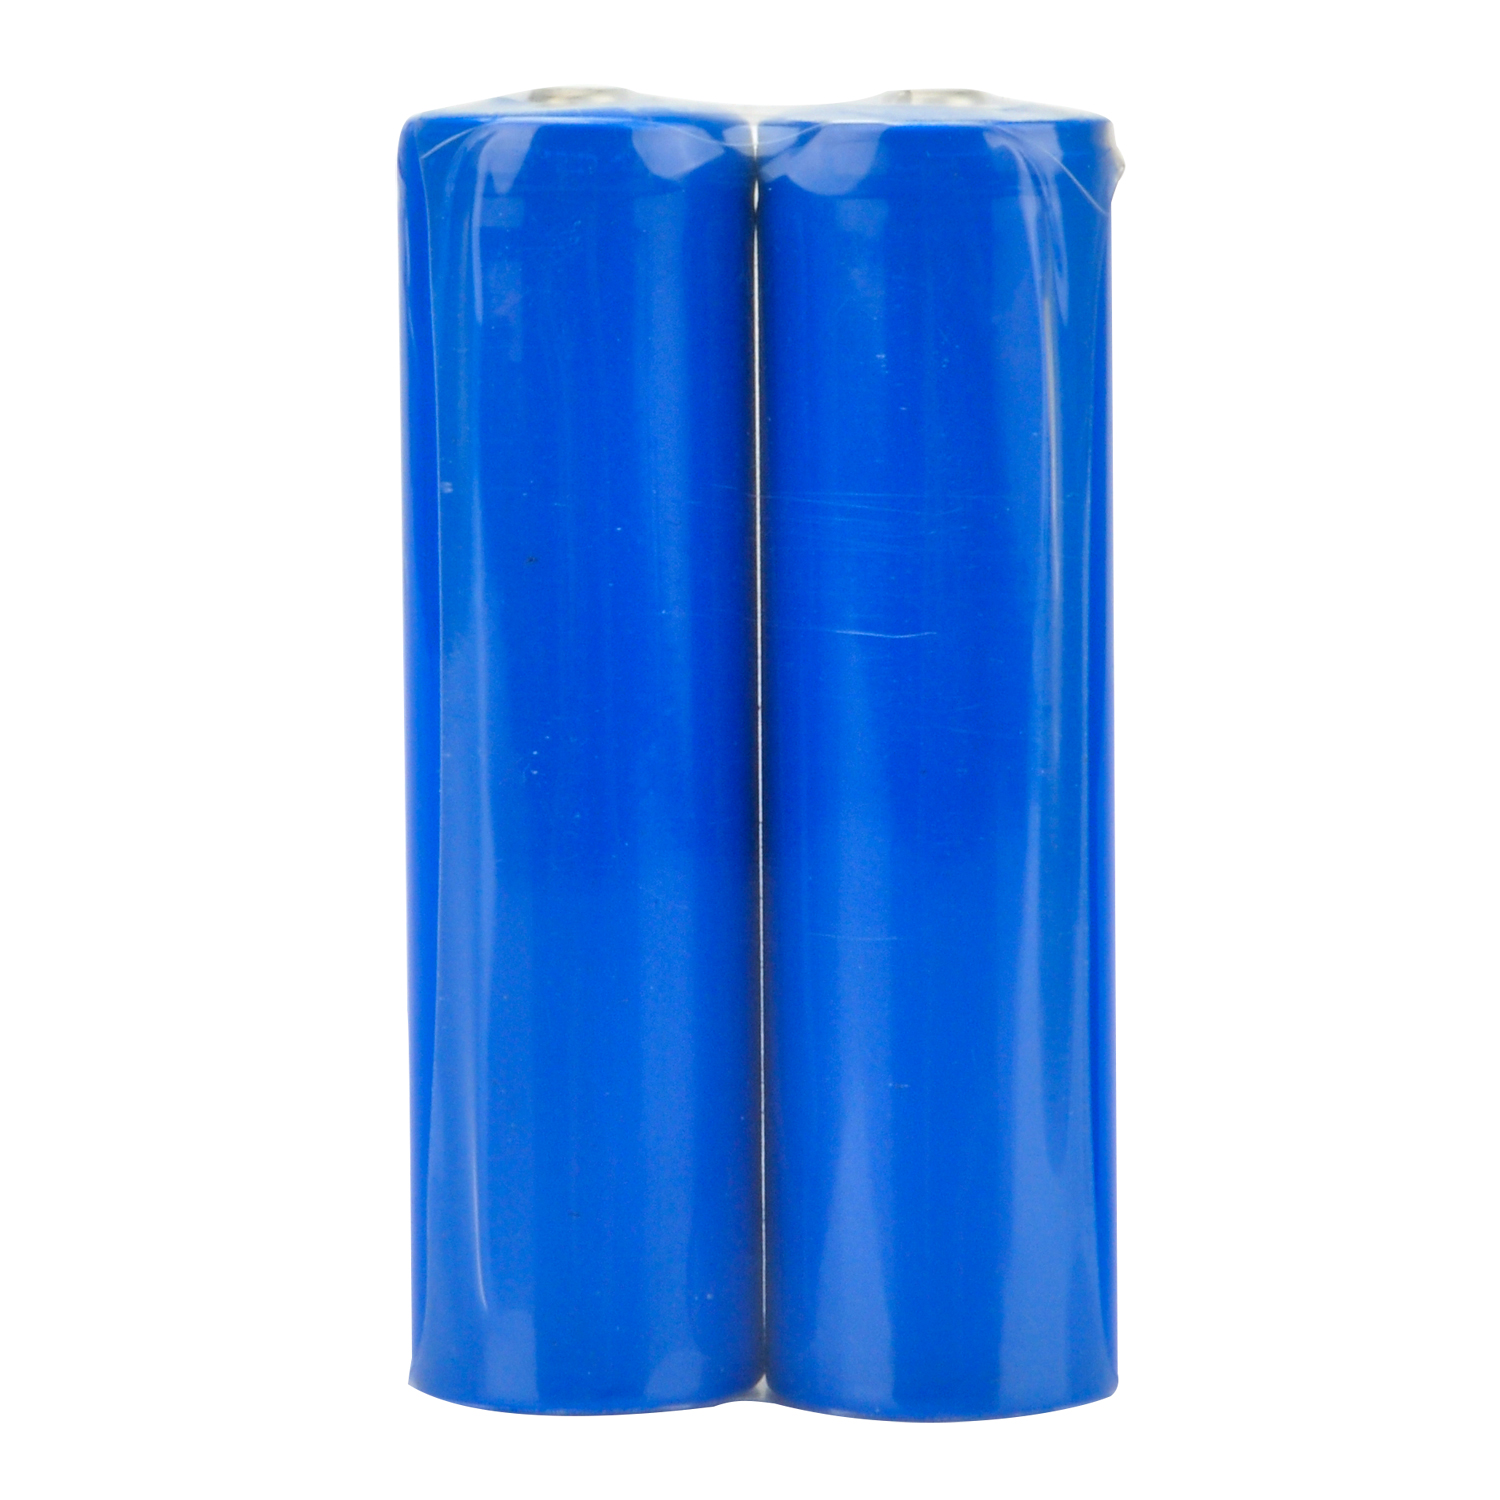
ArduinoをPCから切断し、完全充電された18650バッテリー2本をバッテリーボックスに挿入してください(取扱説明書を確認し、極性の方向が正しいことを確認してください。そうでない場合、デバイスが破損し、火災の危険が生じる可能性があります)。以下のようにバッテリーを取り付けてください:
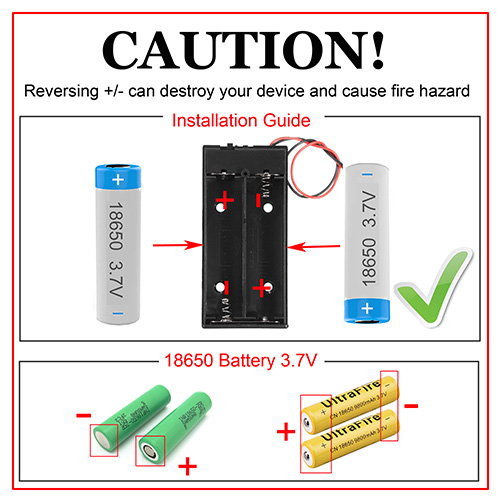
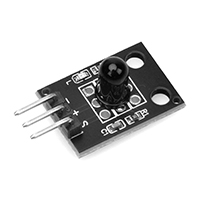
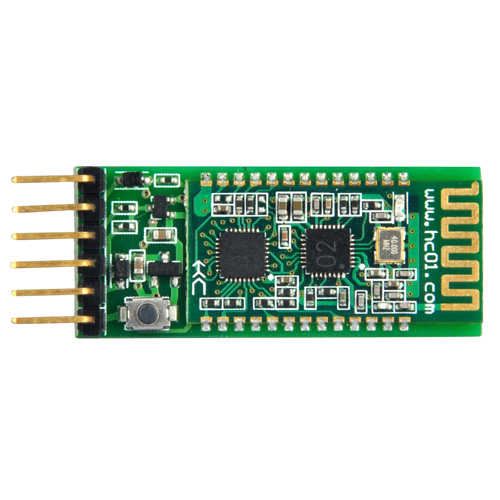
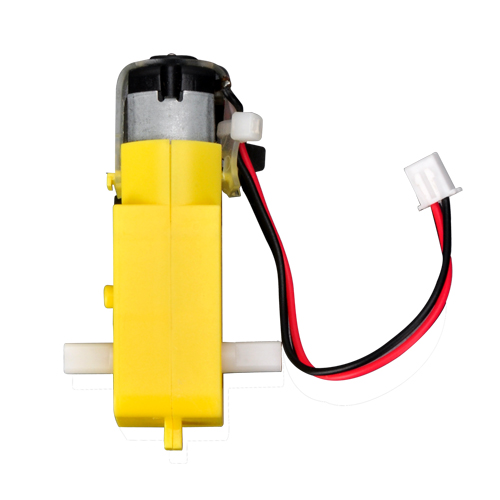
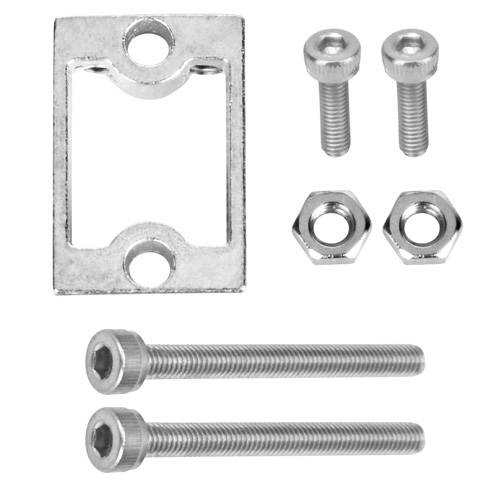
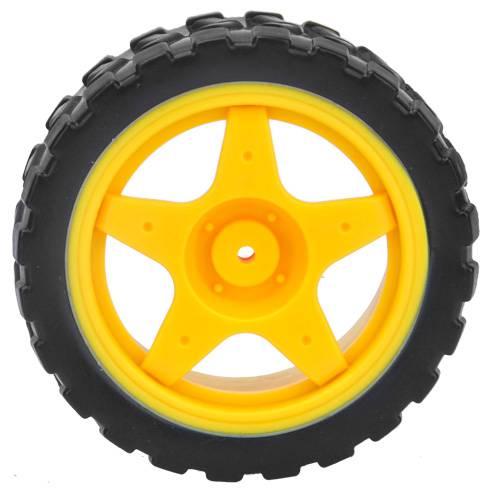
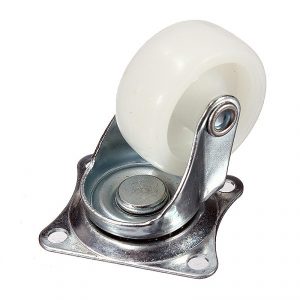
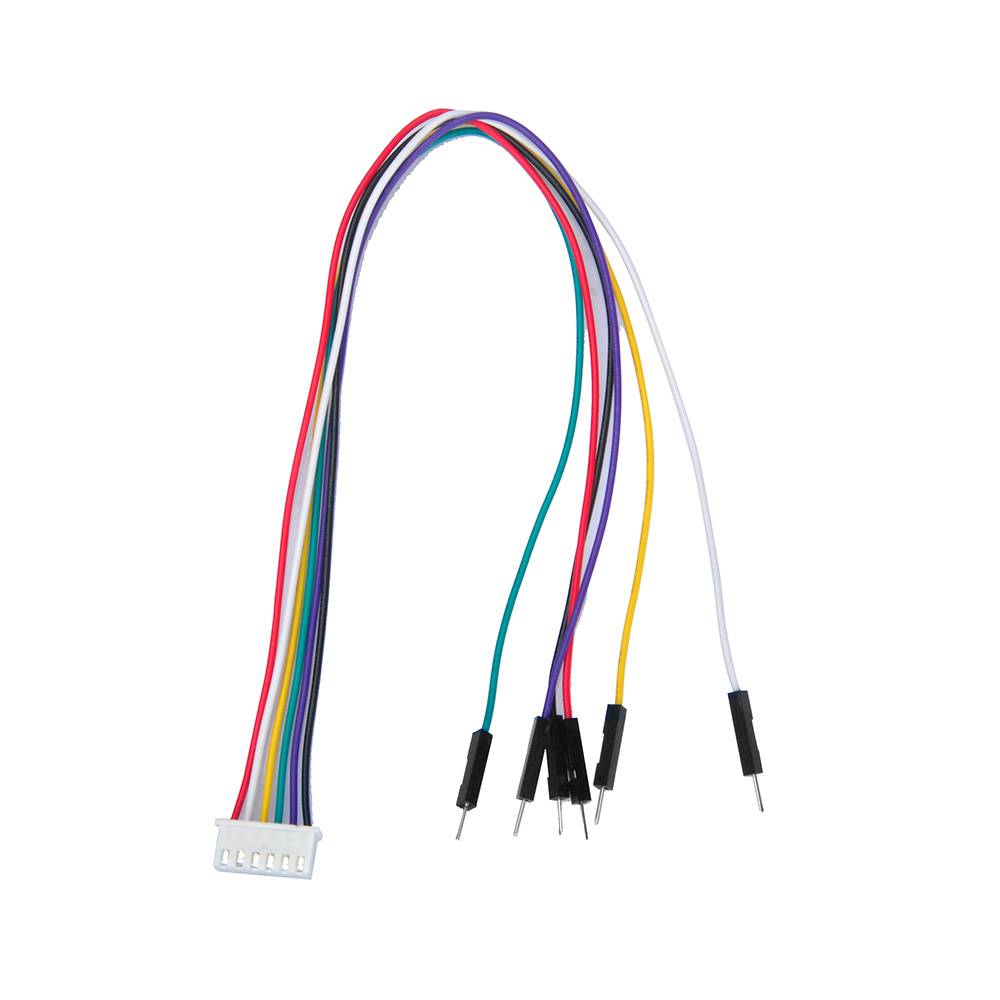
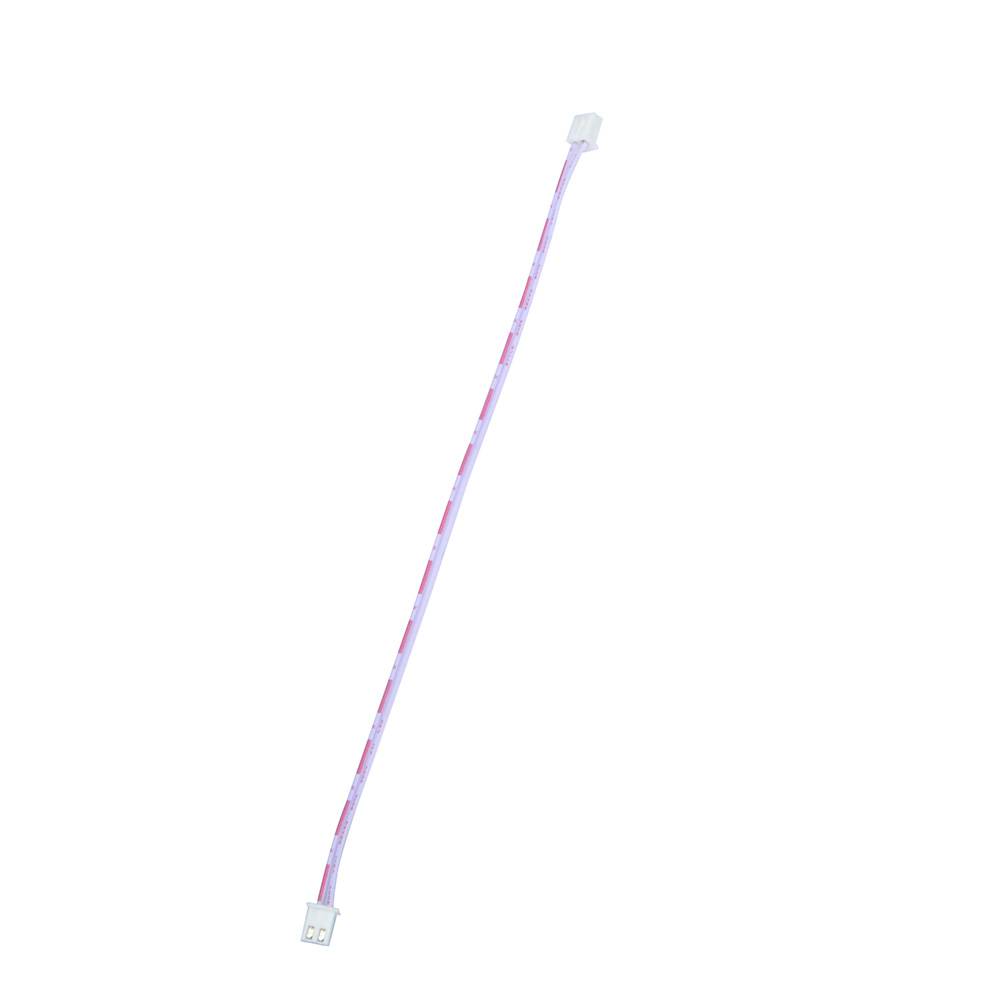
部品とデバイス: