In this lesson, we’ll introduce how to use Raspberry Pi to drive PIR motion Sensor(Human Body Pyroelectric Infrared Sensor) and make an alarm system.
Hardware Preparation:
1 * Raspberry Pi
1 * Breadboard
1 * buzzer
1 * PIR motion sensor
Some jumper wires
Software Preparation: Note: In this lesson, we remotely control raspberry pi via PuTTy on PC. To learn how to config raspberry pi, please visit lesson 1: getting started with raspberry pi.
Work Principle
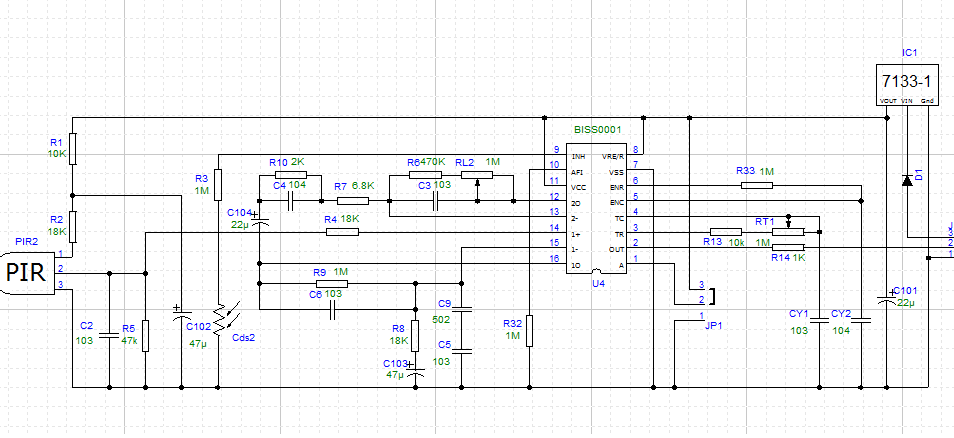
Passive infrared sensor (PIR motion sensor) is an electronic sensor that detects changes in the amount of infrared (IR) radiating from objects within certain distance. The sensor converts the incoming infrared radiation into voltage signal.
The PIR Sensor detection range is 8-12um and human body temperature radiates about 10um IR. So PIR Sensor is often used to detect human motion in alarm system.
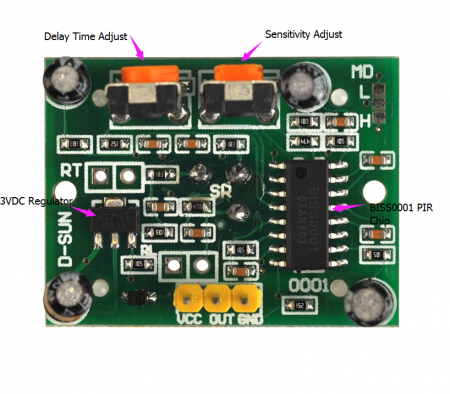
The PIR sensor in this projects has 3 pins (VCC, OUT, GND), 2 potentiometers (one for sensitivity adjustment and another for time delay adjustment) as showed in following picture.
Hardware Setup
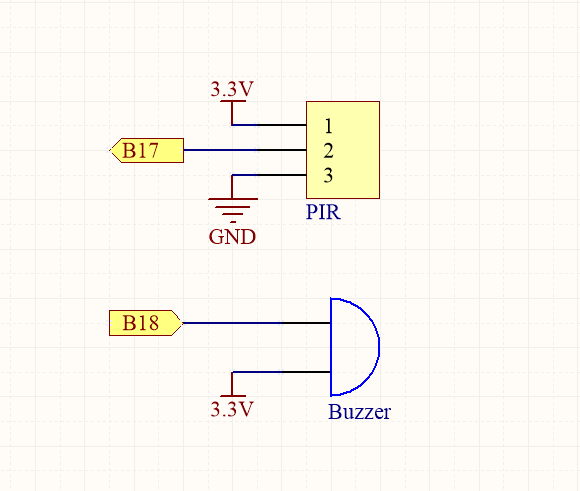
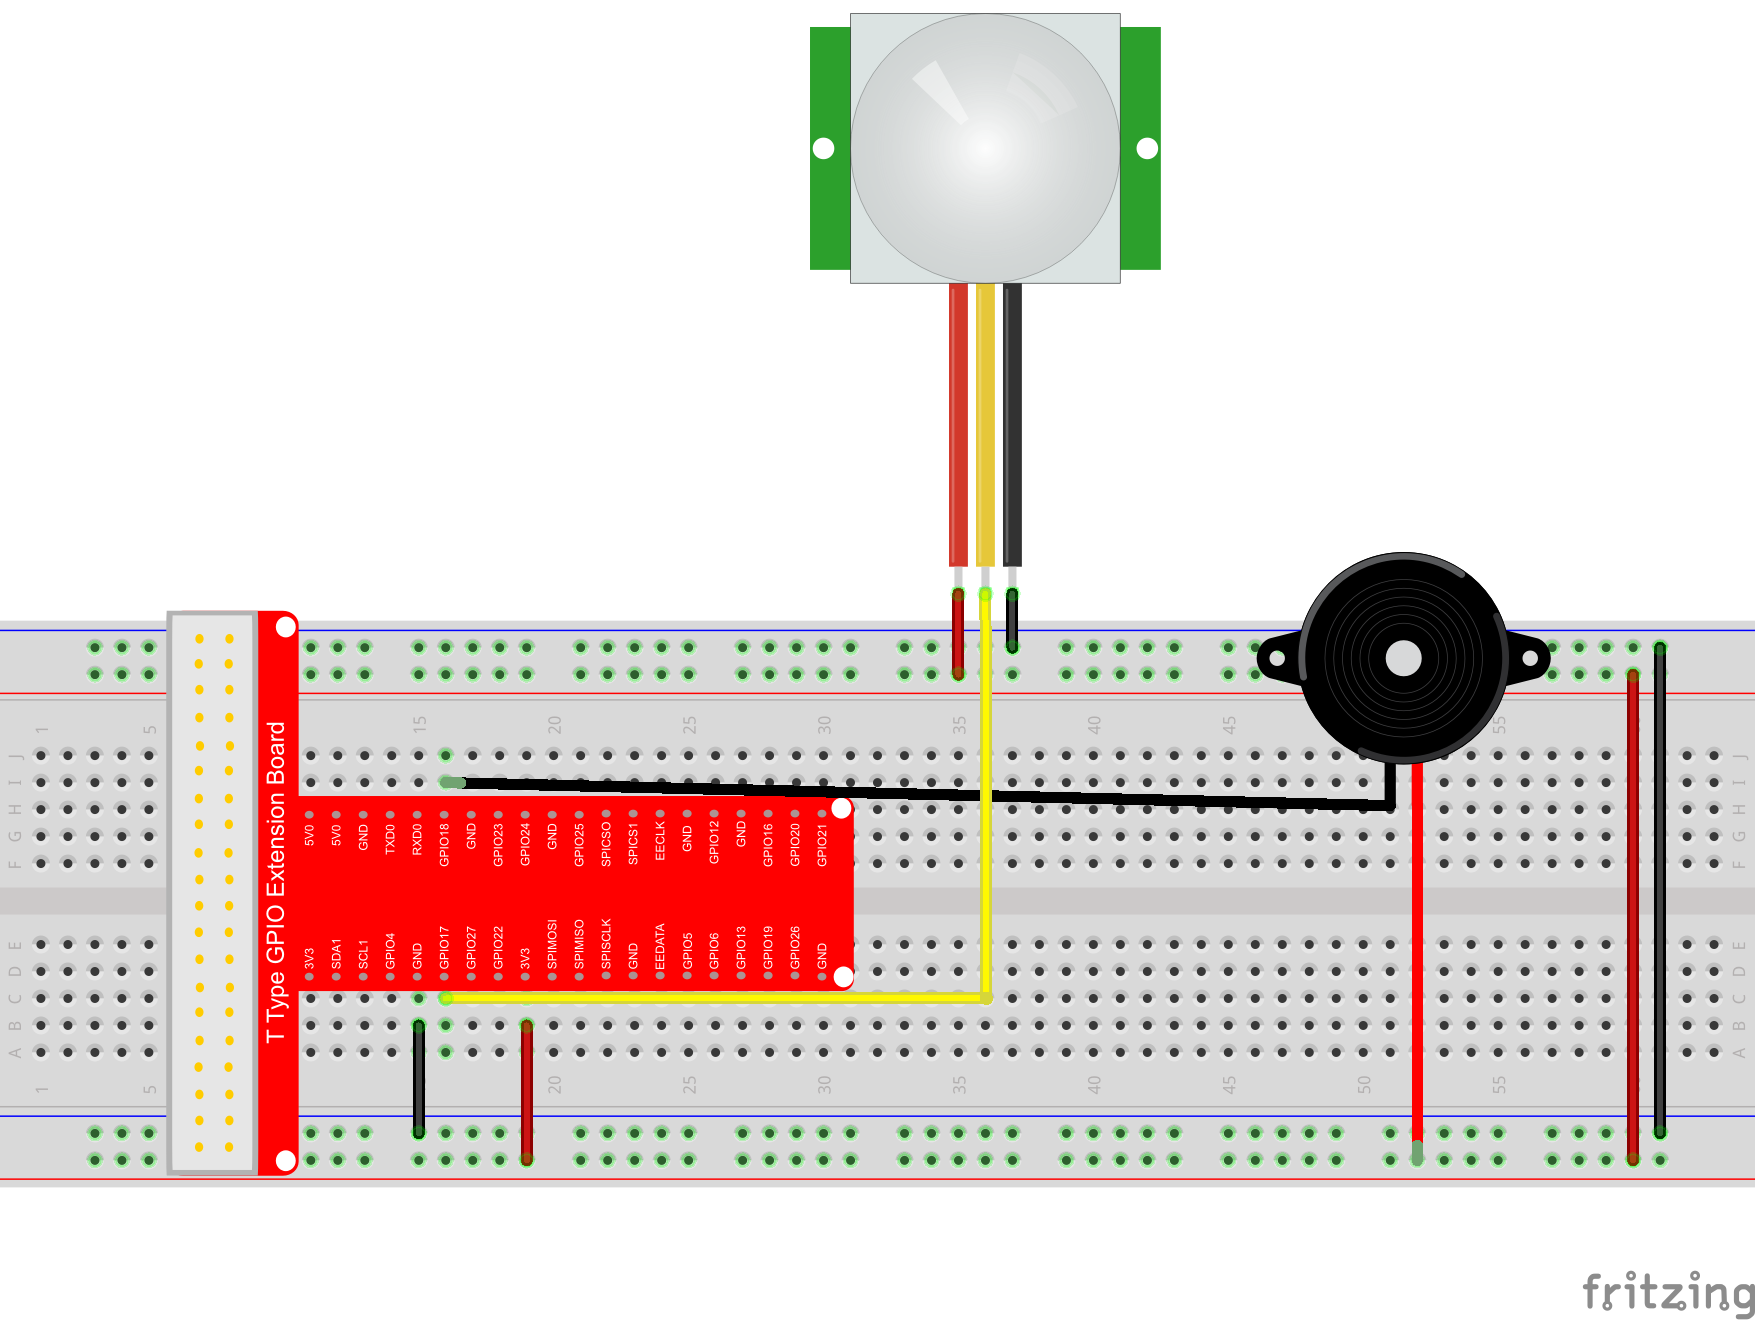
Wiring up the PIR sensor and a buzzer to the Pi as following connection graph.
Sample code
For C language user, please take steps as followed:
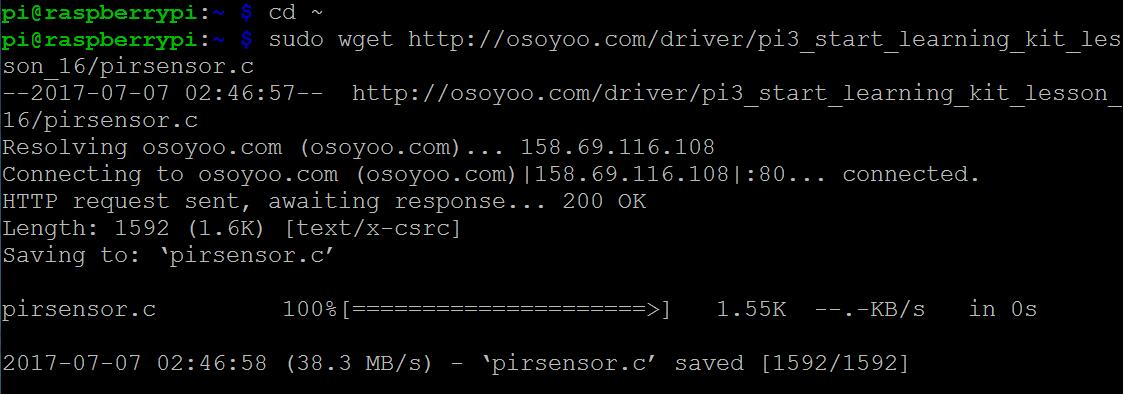
1) Download the C sample code by typing following terminal command:
cd ~ sudo wget http://osoyoo.com/driver/pi3_start_learning_kit_lesson_16/pirsensor.c
Note: If you want to customize the sample code file , you can use nano editor to edit source code by typing following command in terminal: sudo nano pirsensor.c
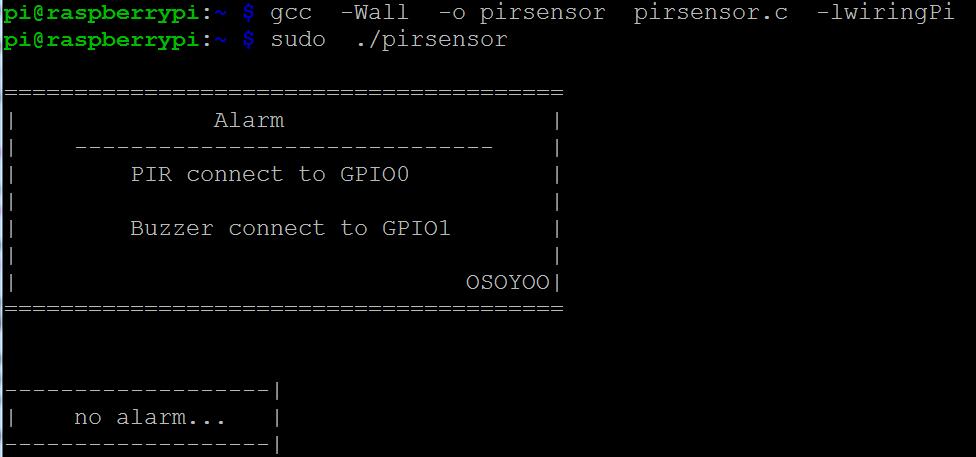
5) Running result
Once the program starts running, the terminal will show print message as per program. If you move in front of the Raspberry PI PIR sensor, then it should make the piezo buzzer beep. When you go away, then the buzzer stop beeping.
3) Running result
Once program starts running, the terminal will show print message. If you move in front of the Raspberry PI PIR sensor, it should make the piezo buzzer beep. When you go away, the buzzer will stop beeping.
Python Sample Code Analysis:
import RPi.GPIO as GPIO
import time

# set BCM_GPIO 17(wPi#0) as PIR pin
PIRPin = 17
# set BCM_GPIO 18(wPi#1) as buzzer pin
BuzzerPin = 18

#print message at the begining ---custom function
def print_message():
print ('==================================')
print ('|              Alarm             |')
print ('|     -----------------------    |')
print ('|     PIR connect to GPIO0       |')
print ('|                                |')
print ('|     Buzzer connect to GPIO1    |')
print ('|     ------------------------   |')
print ('|                                |')
print ('|                          OSOYOO|')
print ('==================================\n')
print ('Program is running...')
print ('Please press Ctrl+C to end the program...')

#setup function for some setup---custom function
def setup():
GPIO.setwarnings(False)
#set the gpio modes to BCM numbering
GPIO.setmode(GPIO.BCM)
#set BuzzerPin's mode to output,and initial level to HIGH(3.3V)
GPIO.setup(BuzzerPin,GPIO.OUT,initial=GPIO.HIGH)
GPIO.setup(PIRPin,GPIO.IN)

#main function
def main():
#print info
print_message()
while True:
#read Sw520dPin's level
if(GPIO.input(PIRPin)!=0):
GPIO.output(BuzzerPin,GPIO.LOW)
#time.sleep(0.5)
print ('********************')
print ('*     alarm!     *')
print ('********************')
print ('\n')
time.sleep(1)
else:
GPIO.output(BuzzerPin,GPIO.HIGH)
print ('====================')
print ('=     Not alarm...  =')
print ('====================')
print ('\n')
time.sleep(1)
#define a destroy function for clean up everything after the script finished
def destroy():
#turn off buzzer
GPIO.output(BuzzerPin,GPIO.HIGH)
#release resource
GPIO.cleanup()
#
# if run this script directly ,do:
if __name__ == '__main__':
setup()
try:
main()
#when 'Ctrl+C' is pressed,child program destroy() will be executed.
except KeyboardInterrupt:
destroy()
pass
Hi, I’m a newbie to raspberry pi. I’m having difficulty with lesson 16. The buzzer is always on when I run the program. Everything is wired correctly. Can anyone advise how to test to see what’s wrong?
Hi, Please turn sensitivity adjustment and time delay adjustment of IR motion sensor according to the instruction. what’s more, the sensor will be affected by environment(such as sunshine, wind and so on)


The operating voltage of this PIR motion sensor is 5V to 20V. Better connect the VCC pin to 5V.
Hi, I’m a newbie to raspberry pi. I’m having difficulty with lesson 16. The buzzer is always on when I run the program. Everything is wired correctly. Can anyone advise how to test to see what’s wrong?
Hi, Please turn sensitivity adjustment and time delay adjustment of IR motion sensor according to the instruction. what’s more, the sensor will be affected by environment(such as sunshine, wind and so on)
Hi Elaine, I moved the VCC connection to 5v as suggested by amiya. Works perfectly now 🙂