This instruction and most of OSOYOO’s content around the micro:bit will use MakeCode by Microsoft for programming.
What is the Makecode editor?
The Makcode Editor is a visual editor and provides an introduction to structured programming via drag and drop coding blocks that snap together. You can also convert a Block Editor script into a Touch Develop script which helps with the transition to text-based programming.
MakeCode is an open programming environment built by Microsoft for the micro:bit, as well as other boards. You can navigate to MakeCode for the micro:bit by following this link:
Once you have launched MakeCode, you will be greeted by its basic layout with a simulator on the left and a block-based environment on the right when your browser’s window is maximized, as shown here.
Click on the image above for a larger view.
Let’s take a quick tour and check out what is available to us!
- Projects — A cloud storage system connected to your computer with no account setup required.
- Share — Allows you to share your project code in a number of different ways with your friends!
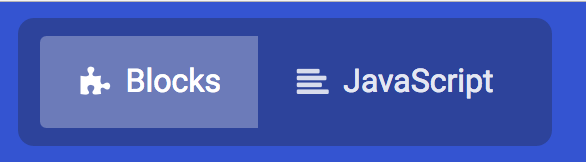
- Blocks/JavaScript — Choose your own adventure by programming in blocks (default) or in JavaScript.
- Program Space — This is where the magic happens and where you build your program…where you “make code.”
- Zoom/Undo-Redo — Sometimes you need to undo things, or zoom out and look around; these are the buttons for that.
- Name & Save — Name your program and save it (download it) to your computer.
- Download — Similar to Save, download your program as a .hex file and drag it into your micro:bit.
- Simulator Hide/Show — You can hide/show the simulator if you would like.
- Block Library — All of the options in terms of program building blocks, which are color-coded by function.
- Simulator — You don’t need hardware! MakeCode has a real-time simulator! As you change your program, you can see what it will do on this virtual micro:bit!
Phew! Now you have a choice – blocks or text-based programming?
Blocks or Text
For this guide and the majority of the content that you will find on SparkFun for the micro:bit, we will be using block-based programming examples.
But, if you so choose there is a JavaScript option to use as well. The choice is yours, and the good news is that you can switch back and forth from one to the other in the same program; one will populate the other, which is really nice if you are new to programming!
Simulator
MakeCode includes a simulator for the micro:bit, meaning if you don’t have your micro:bit in hand you can still write code for it. Or if you want to try out an idea before you upload it to your micro:bit, you can do that too!
The simulator will update as you build your code, and if you want to run it from the beginning you can click the stop and run buttons to start it over again!
Speaking of code, let’s write a quick program and get it onto your micro:bit!
Hello, World!
Now comes the good stuff — writing your first program for your micro:bit in the MakeCode programming environment!
“Hello World” is the term we use to define that first program you write in a programming language or on a new piece of hardware. Essentially it is a simple piece of code that gives you a quick win (fingers crossed) and a first step in learning. It also gives you a chance to make sure everything is up and running and A-OK.
For your first “Hello World” we are going to create a simple animation on the LED array that repeats forever. If you just want the complete program, you can see it here. To see a step-by-step explanation of how we built the program, continue reading!
Note: You may need to disable your ad/pop blocker to interact with the MakeCode programming environment and simulated circuit!
Building ‘Hello World’
A “Hello World” on the micro:bit is a little different than on a normal run-of-the-mill microcontroller. The micro:bit has no single LED to blink on its own, as you would find on the Arduino or similar boards. What the micro:bit does have is an LED array! So, the “Hello World” for the micro:bit is to draw something using the LED array!
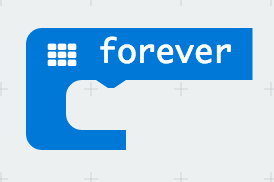
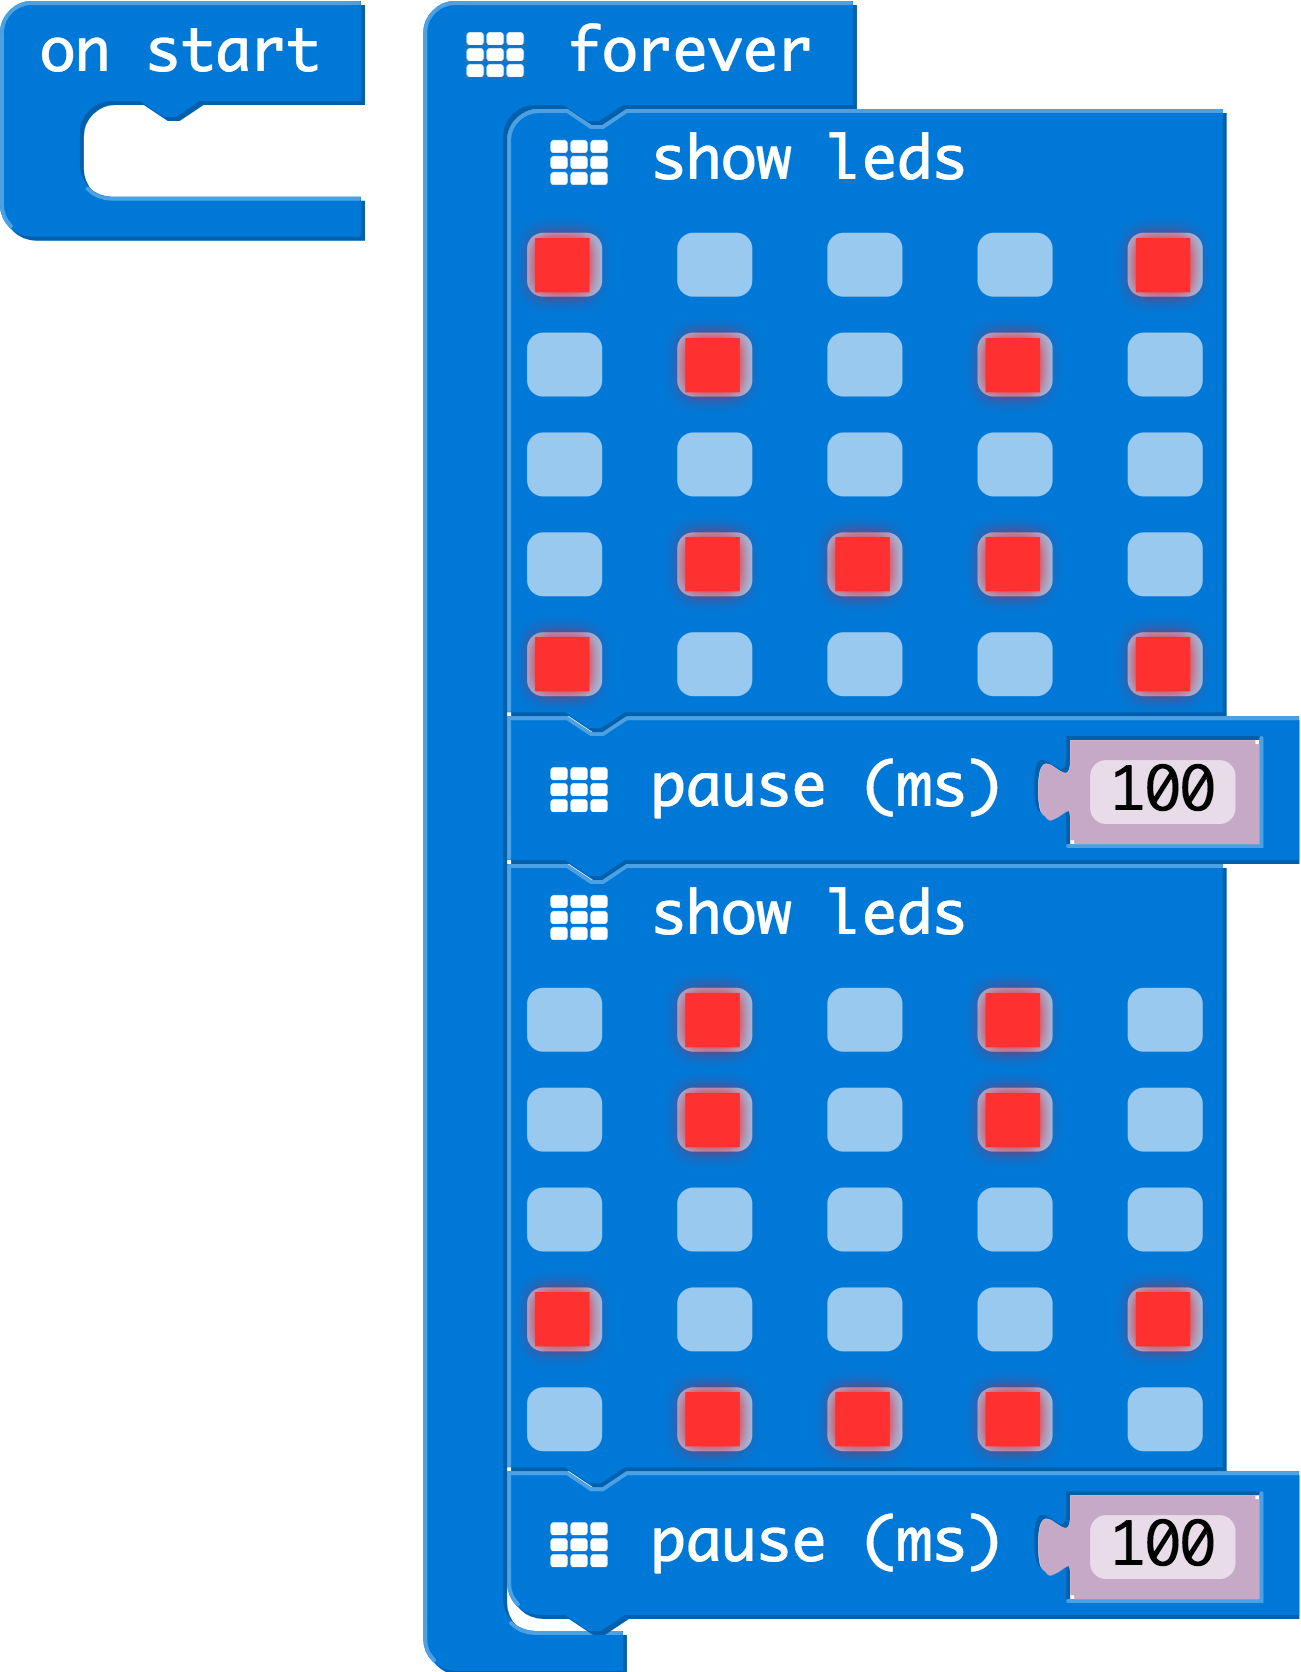
When you open MakeCode you are greeted with two blocks: the On Start block and the forever block. The On Start block is all of your code that will execute at the very beginning of your program and only run once. The foreverblock is code that will loop over and over again…forever.
We are going to use the forever block for building this “Hello World.” We now need to start adding blocks to forever.
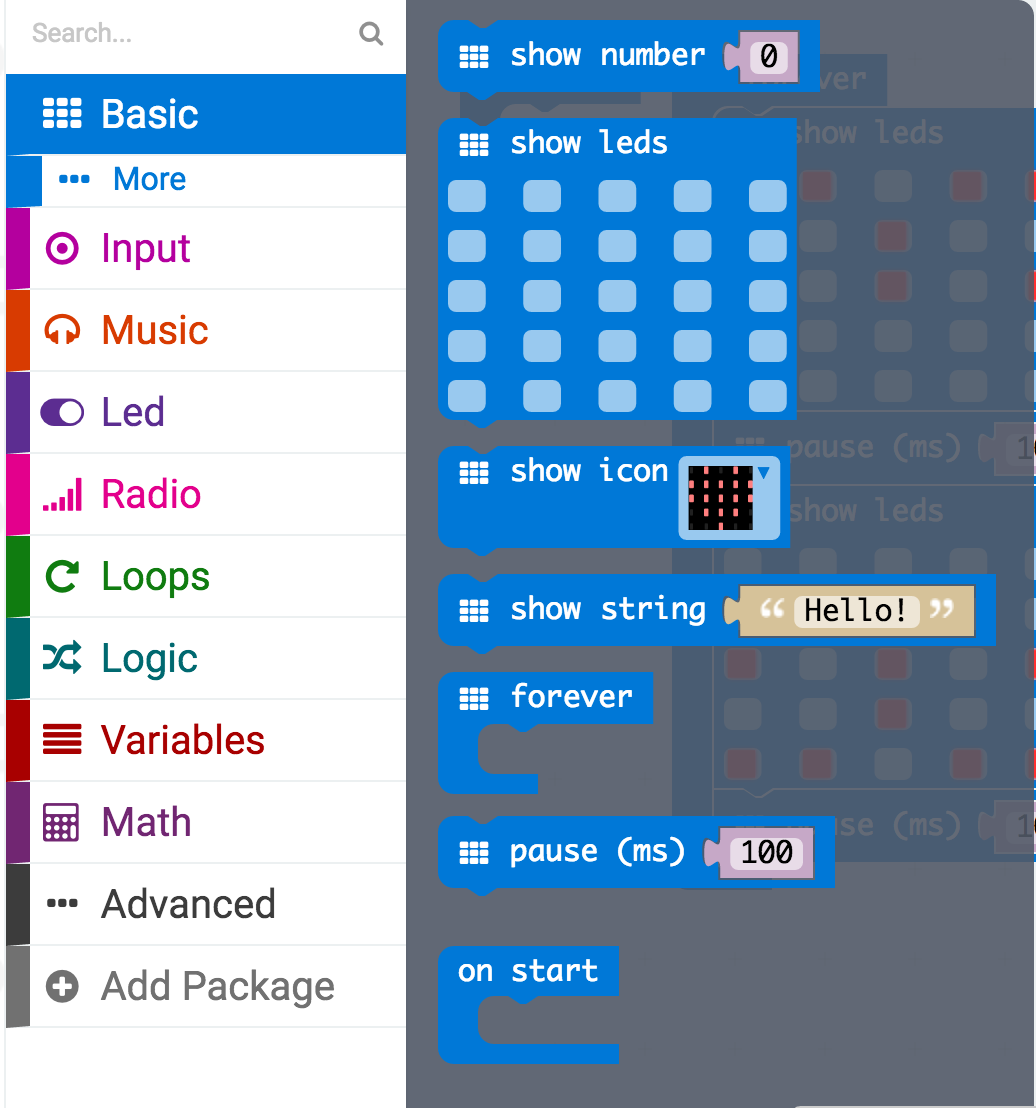
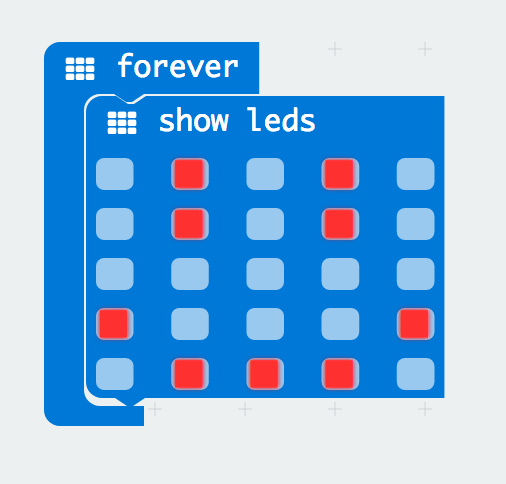
First, click on the Basics category. These blocks are, well, the basic building blocks of a BuildCode program. It will expand into a number of options. Click and drag the show leds block over and place it inside of your forever block. Notice that the block is keyed to fit inside of the forever block, and if you have the volume up on your computer you will hear a satisfying ‘click’ noise when you let go of the block.
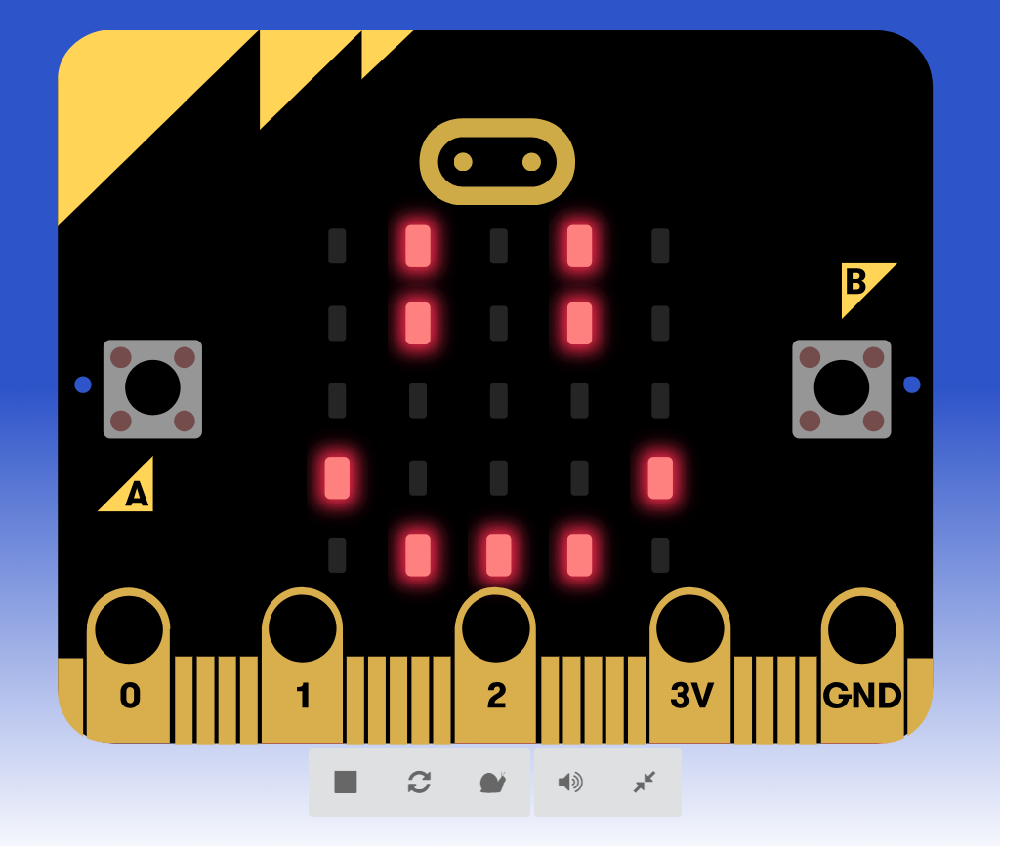
The show leds block has an array of squares that symbolize the LED array. If you click on a square, it will turn red, which means that it is ‘on’. Draw a simple pixel art shape by turning different LEDs on or off; you should be able to see the outcome in your simulator on the lefthand side of your window.
To turn this static image into an animation we need another show leds block to place just under the first block. You can then make a second drawing with this set of rectangles. In your simulator you will see the images switching really, really fast. We need to slow this down!
To slow your animation down you will use the pause block, which is under the basic block set. The pause block is just what it says; it tells the micro:bit to pause and wait for a certain amount of time. Place two pause blocks in the program as shown.
The reason we are using two ‘pause’ blocks and placing one at the end is that this program is a loop. Without the block at the end, the image in your animation will change really, really fast.
We have built up an example in the next section where you can download the file and try it out on your own micro:bit, or use the simulator. If you want to play around with the code and make some changes, go ahead and click the Edit button in the widget, and it will open a MakeCode editor for you to start hacking “Hello World.” Enjoy!
Getting Your Program Onto Your micro:bit
You’ve built your first program in MakeCode, and it works in your simulator. Now, how do you get it onto your micro:bit?
Download Your Program
Once you are happy with your program, you can click the Download button in MakeCode.
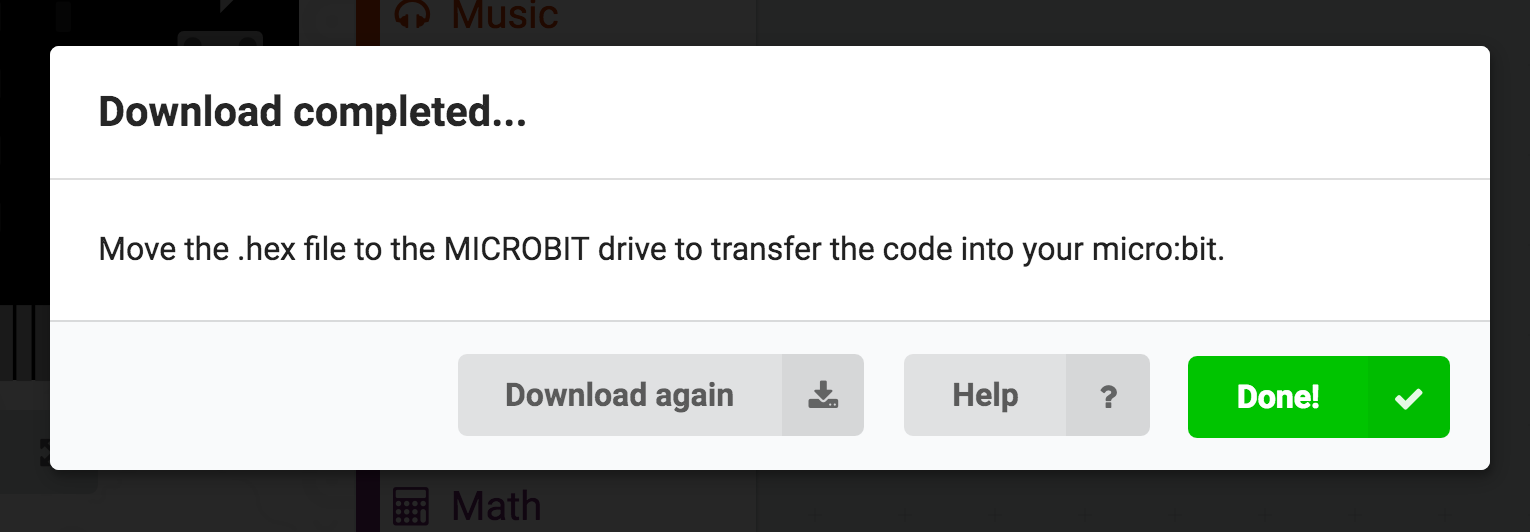
This will download your program file to your standard download location, probably the Downloads folder on your computer, or whatever location you have set in your download preference.
You then simply click and drag your program file from its download location to your micro:bit drive, which shows up as an external device.
That’s it!
Your micro:bit will flash for a few seconds, and then your program will start automatically. Yes! Win!
Note: You may need to disable your ad/pop blocker to see the simulated circuit!