In this lesson, you will learn how to read Analog data from an ADC pin and use PWM to output Analog signal to external device.
ADC is an abbreviation for Analog to Digital Converter. A digital signal has only two states, 1/0 or high/low voltage. An analog signal is any continuous signal for which the time-varying feature of the signal represents some other time-varying quantity.
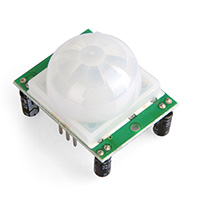
In this lesson, we will use a photoresistance as analog data source to ADC2(GP28) pin.
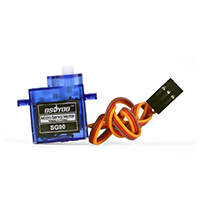
PWM abbreviation of Pulse-width modulation. PWM pin can let Pico to export analog current to actuators such as LED, servo, DC motors.
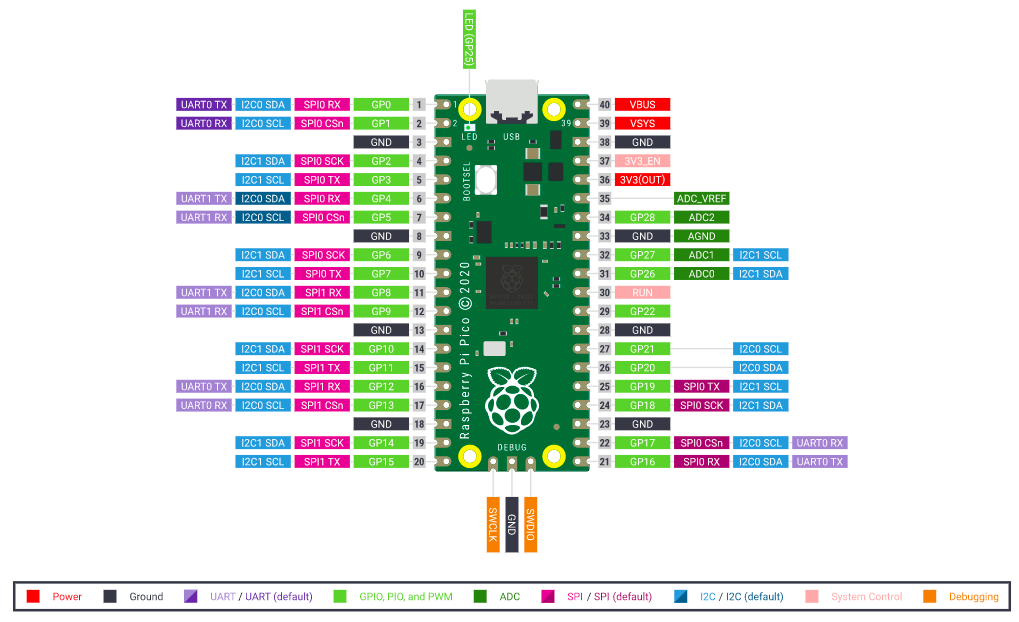
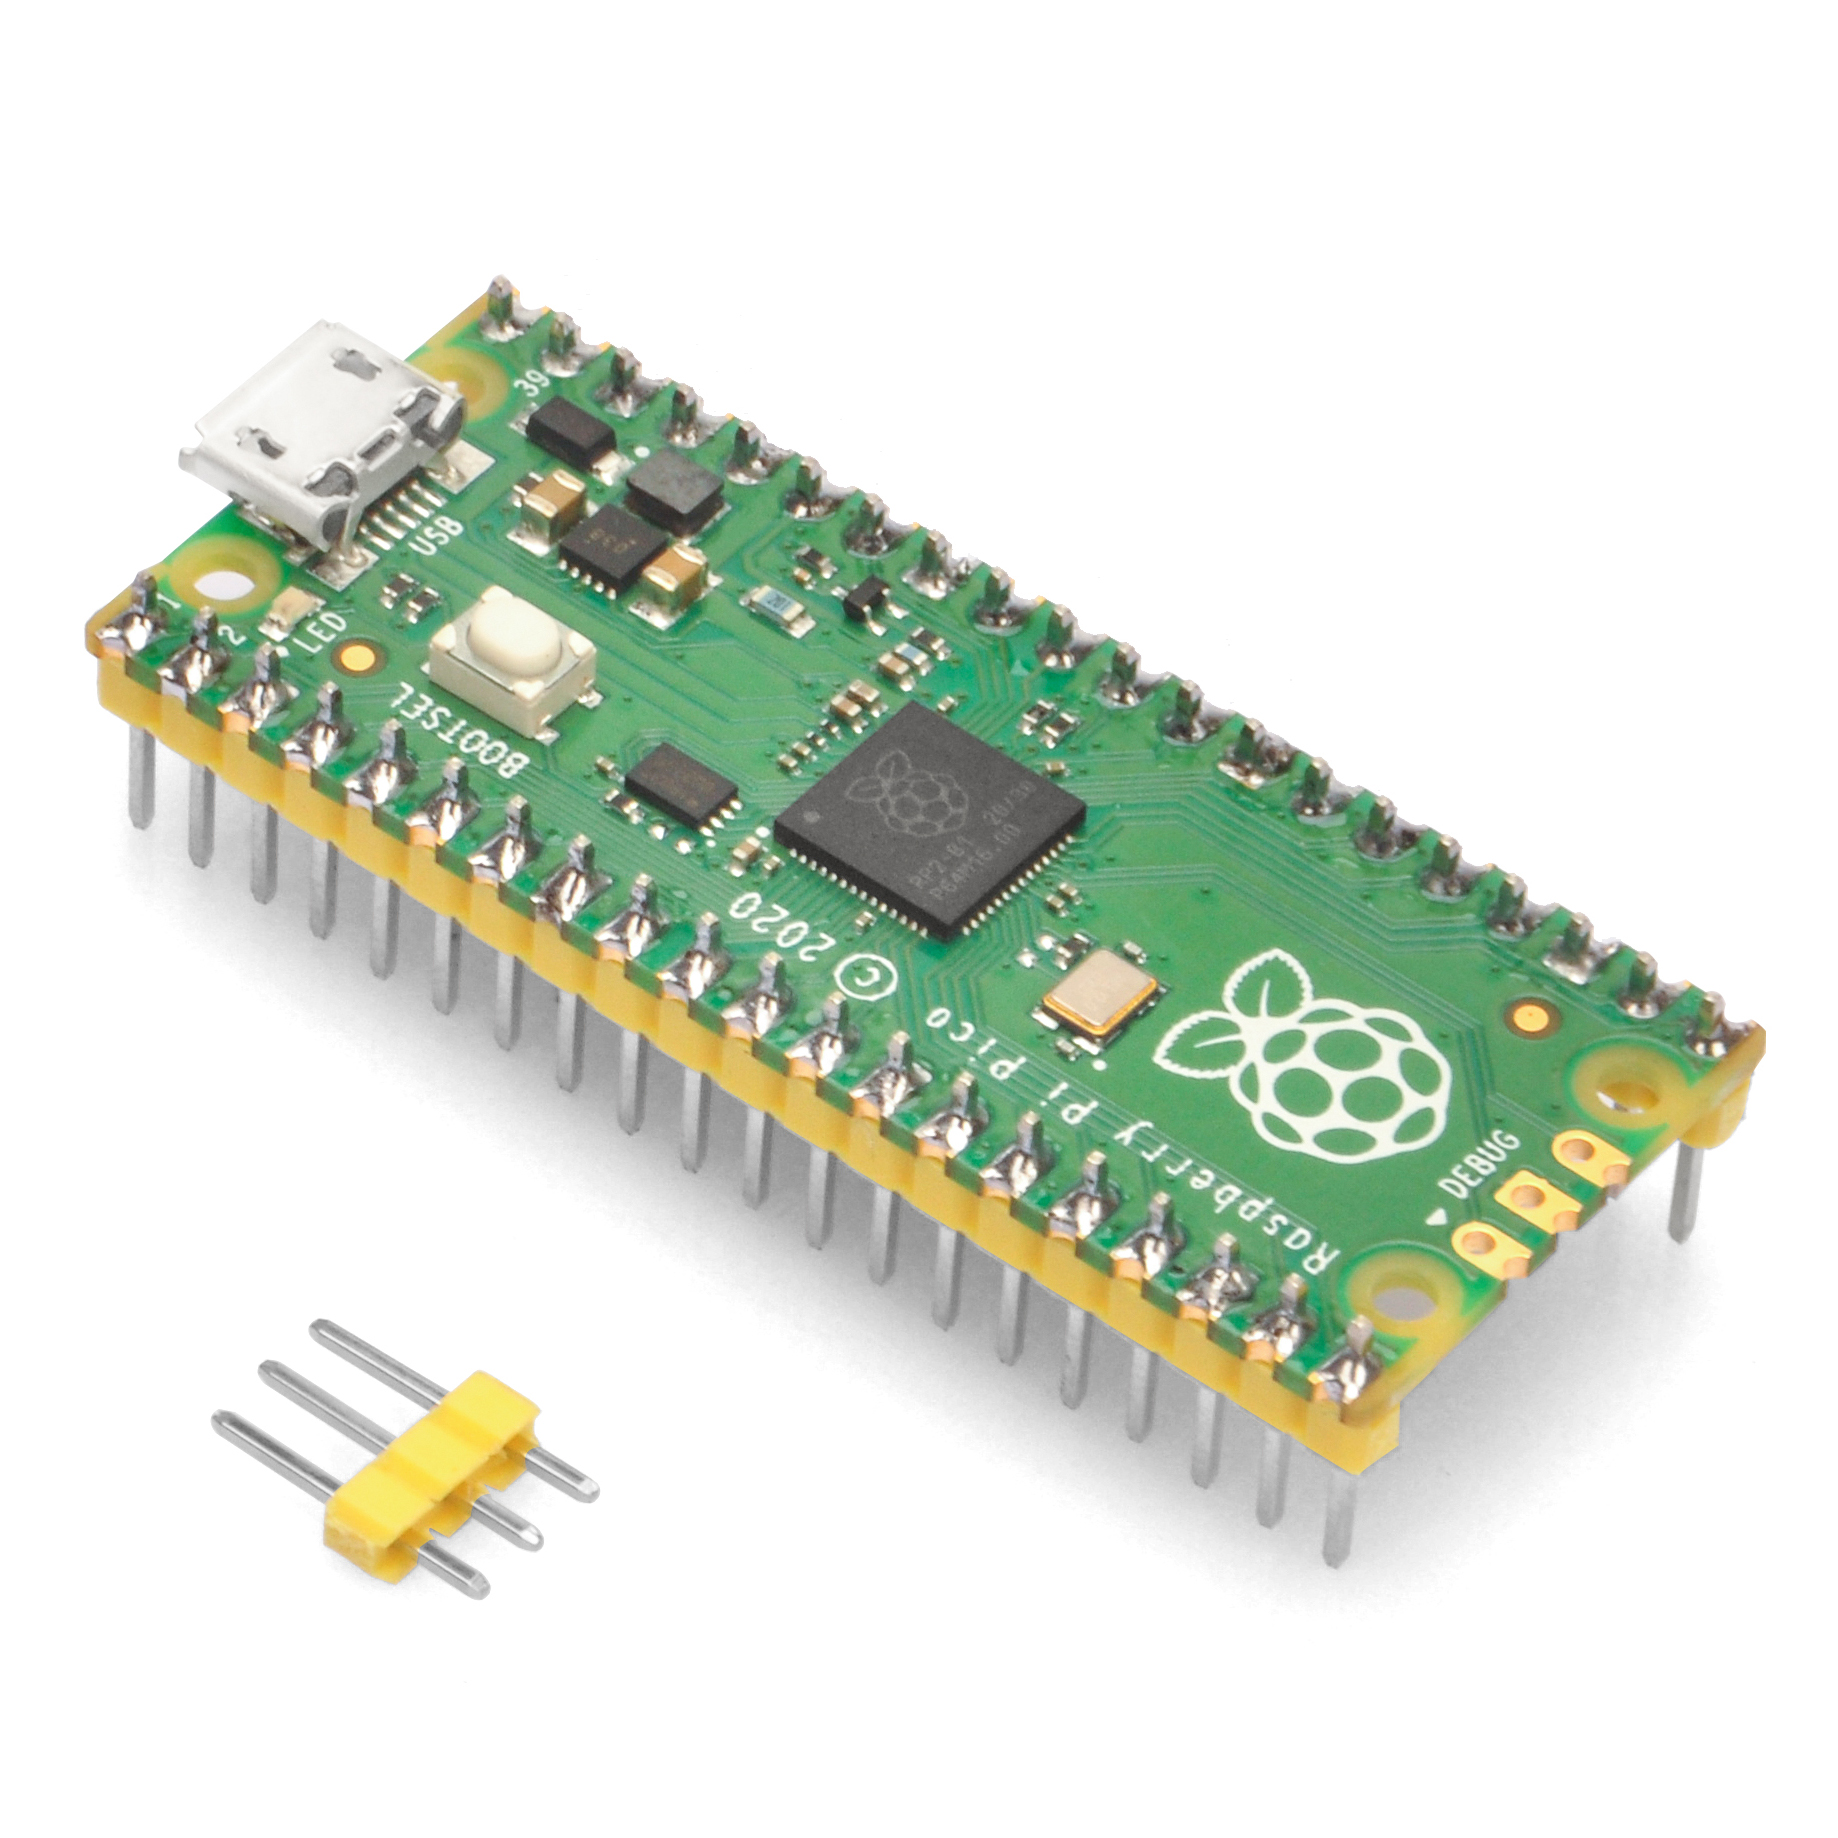
In this lesson, we will use an LED as an analog device and output PWM signal to this device through GP15 pin. You can find the location of GP15 and GP28 pins in the following picture (1.1).
In this project, we will simulate an automatic light system: when the sensor detects that the natural environment is dark, we will increase the power to the artificial light (LED), and when the natural environment is bright, we will reduce the light from the LED.
Picture 1.1
Raspberry Pi Pico board and microUSB cable
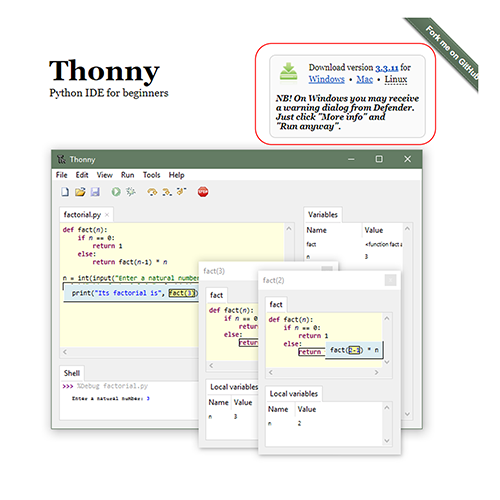
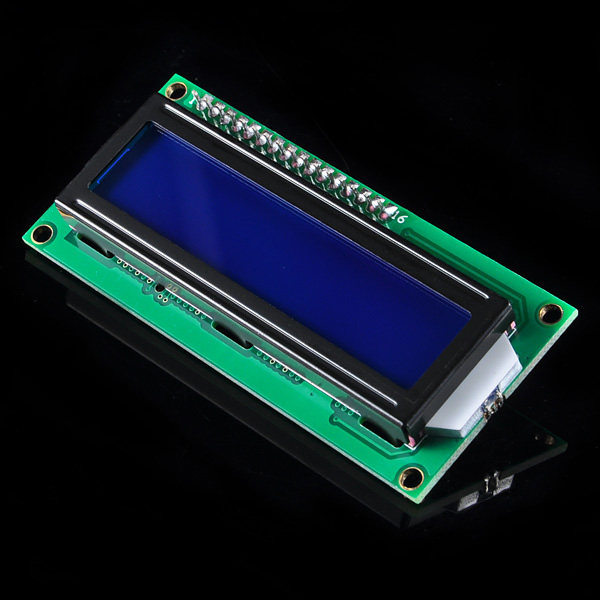
A computer to run Thonny Python IDE
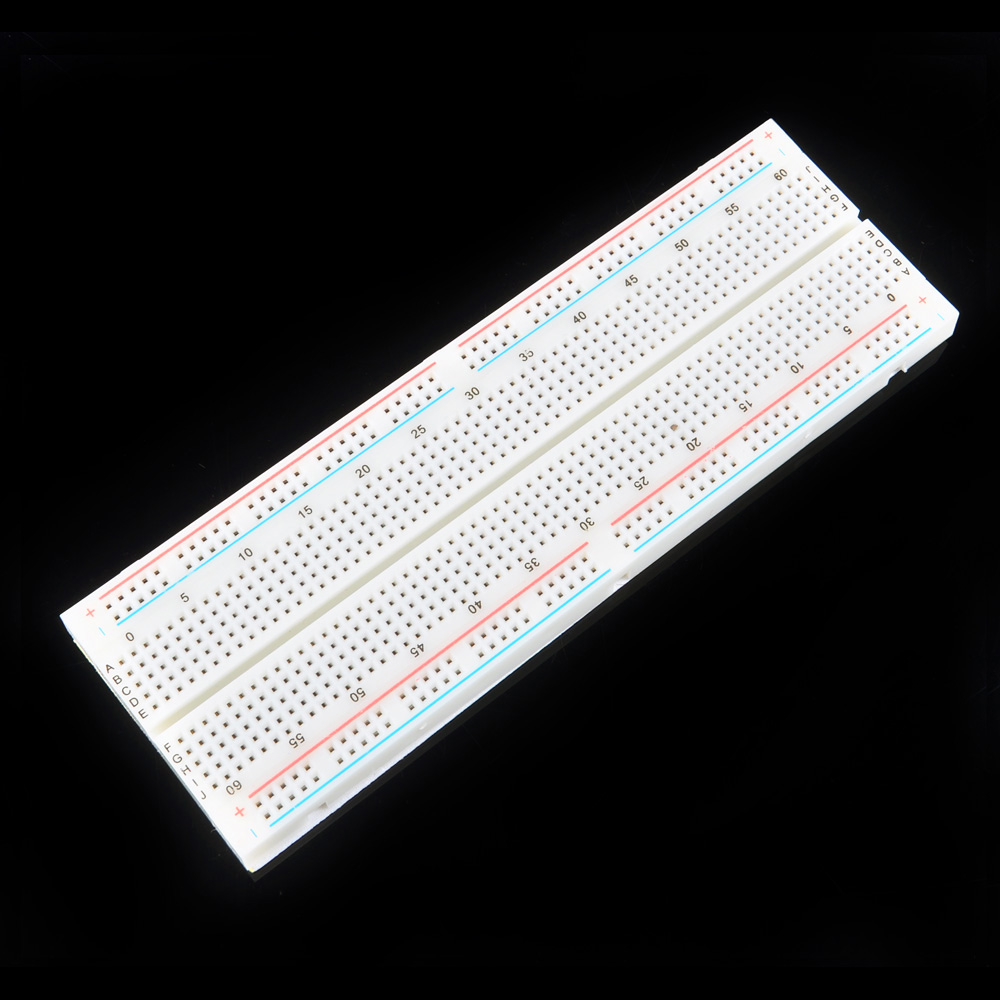
A breadboard
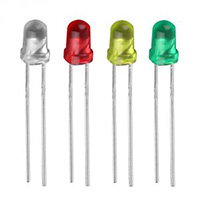
LED x 1 pc
220 Ω resistor x 1 pc
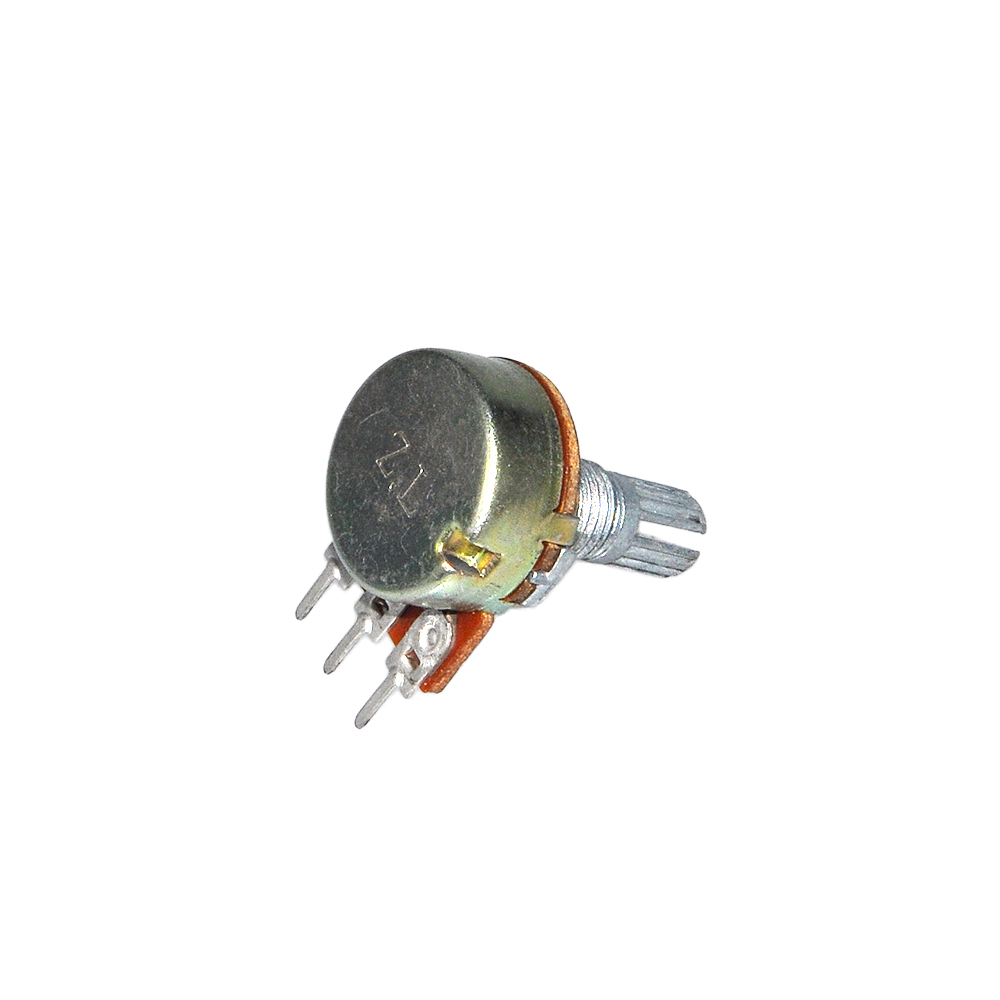
10 kΩ resistor x 1 pc
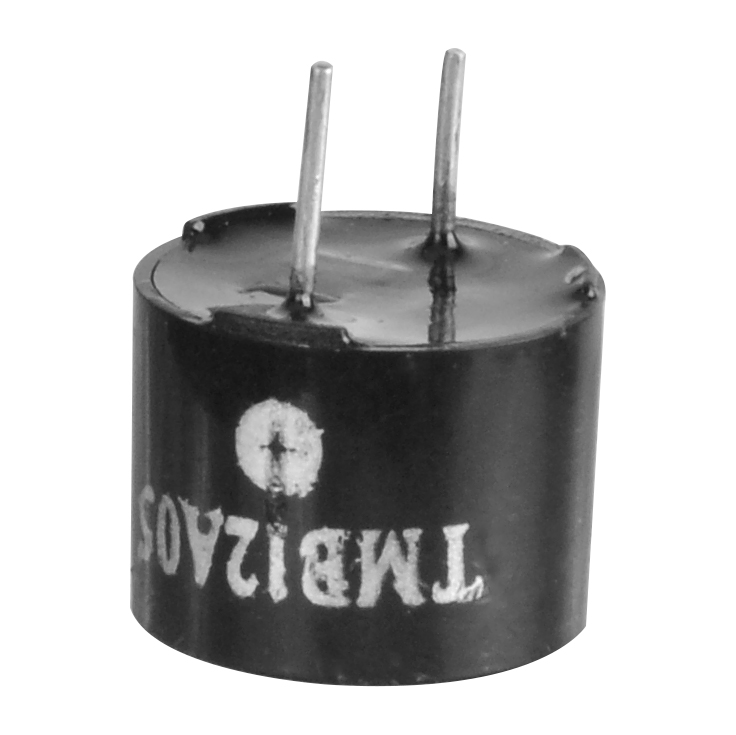
photoresistance x 1 pc
Some jumper wires
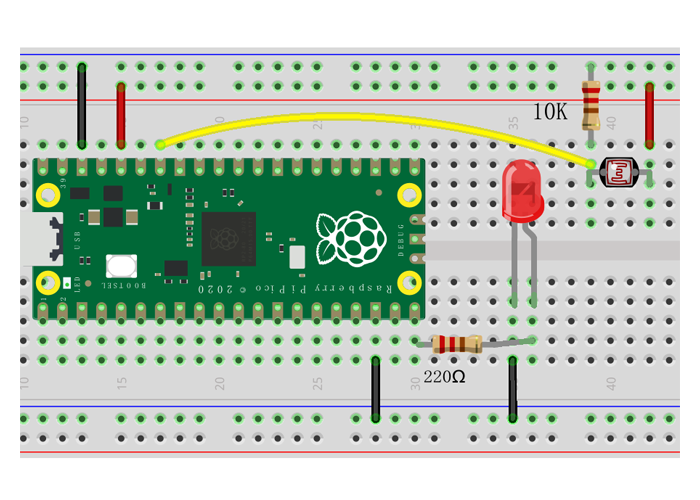
In above circuit graph, you can see that:
LED negative pin connected to GND
LED Positive pin connected to GP15 through 220 Ω resistor
photoresistance pin 1 connected to 3.3V through 10 kΩ resistor
photoresistance pin 2 connected to GP28
from machine import Pin, PWM, ADC #import Pin, PWM, ADC handling library

pwm = PWM(Pin(15)) #tell Pico GP15 is a PWM output   pin
adc = ADC(Pin(28)) #tell Pico GP28 is a ADC analog input pin

pwm.freq(1000) #set PWM frequency at 1000 hz

while True:
	duty = adc.read_u16() #read  Light intensity
	pwm.duty_u16(60000-duty) #provide current to LED, the more light intensity, the less current to LED
Step 1: Connect the Pico board to one of the USB ports on your PC.
Step 2: If you haven’t installed Thonny software or don’t know how to use the Thonny IDE, please refer to Lesson 1.
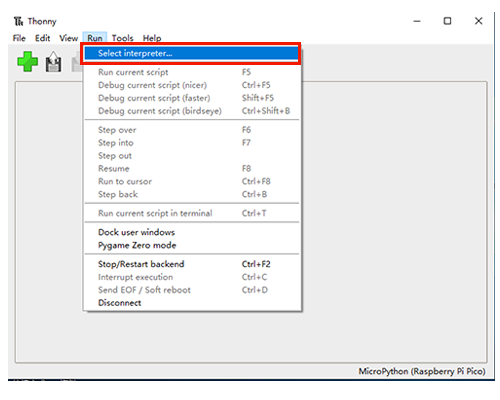
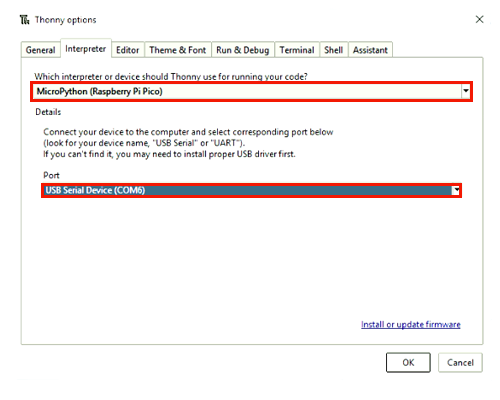
Step 3: Open the Thonny Python IDE and click ‘Run’ to select ‘MicroPython for Raspberry Pi Pico’ as the interpreter:
Also please select the COM port which your Pico board is connected :
After that, click OK to save the setting.
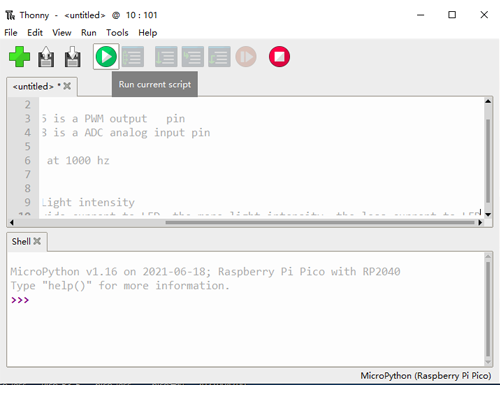
Step 4: Now copy the python code to Thonny window as following:
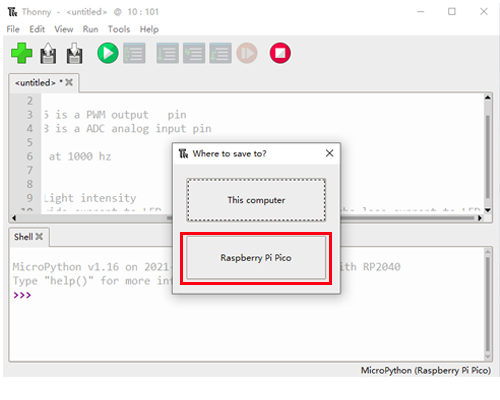
Step 5: Click the little ► button, the save page will pop up as shown in the following photo;
select Raspberry Pi Pico as the destination.
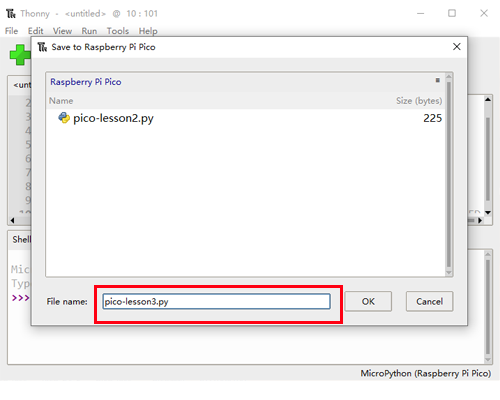
Step 6:Name the file as pico-lesson3.py, then click OK
Step 7: Click the little ► button again to run the Python code.
Now you can try putting a bright light over the photoresistor; you will see that the LED becomes very dim. If you shade the light from the photoresistor with your hand, then the LED will become brighter.
After you are done, press Ctrl+C to end the command.