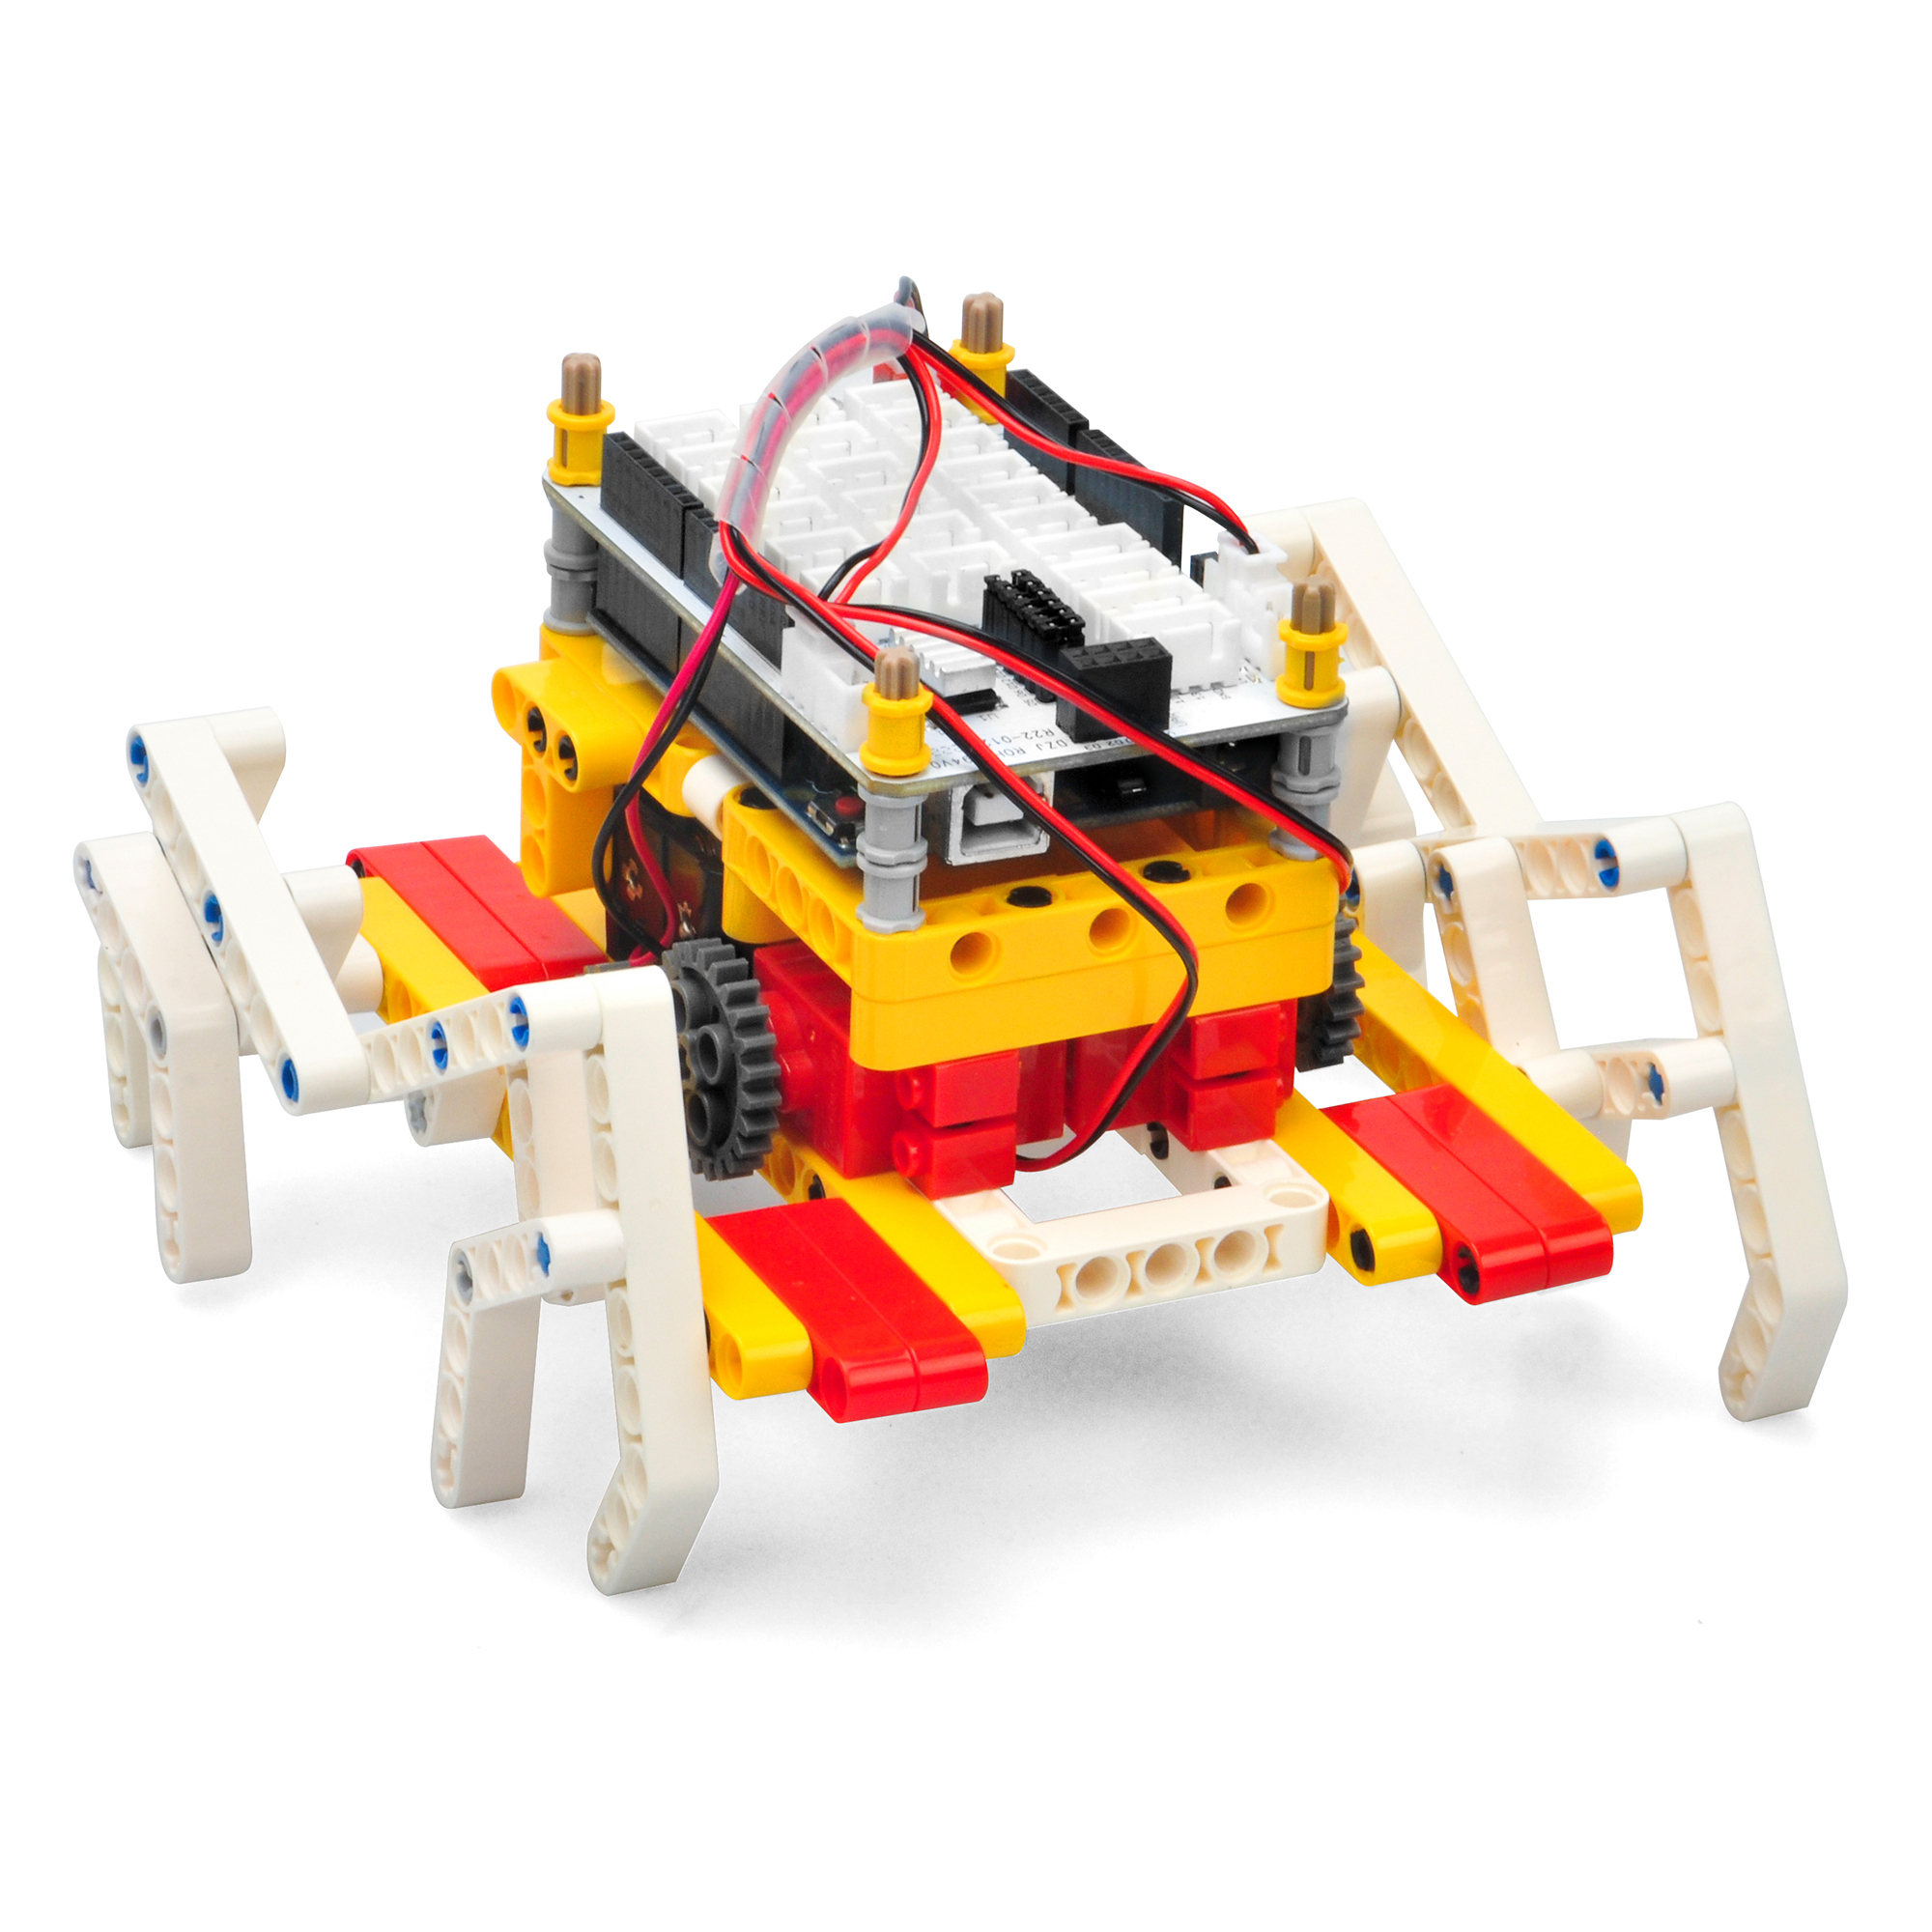
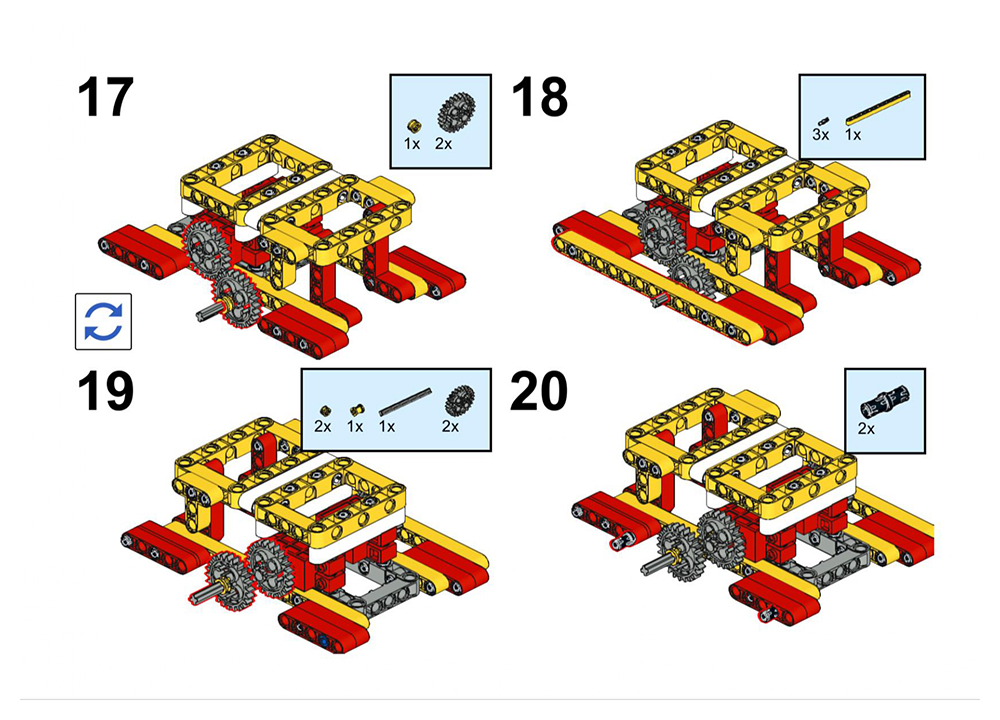
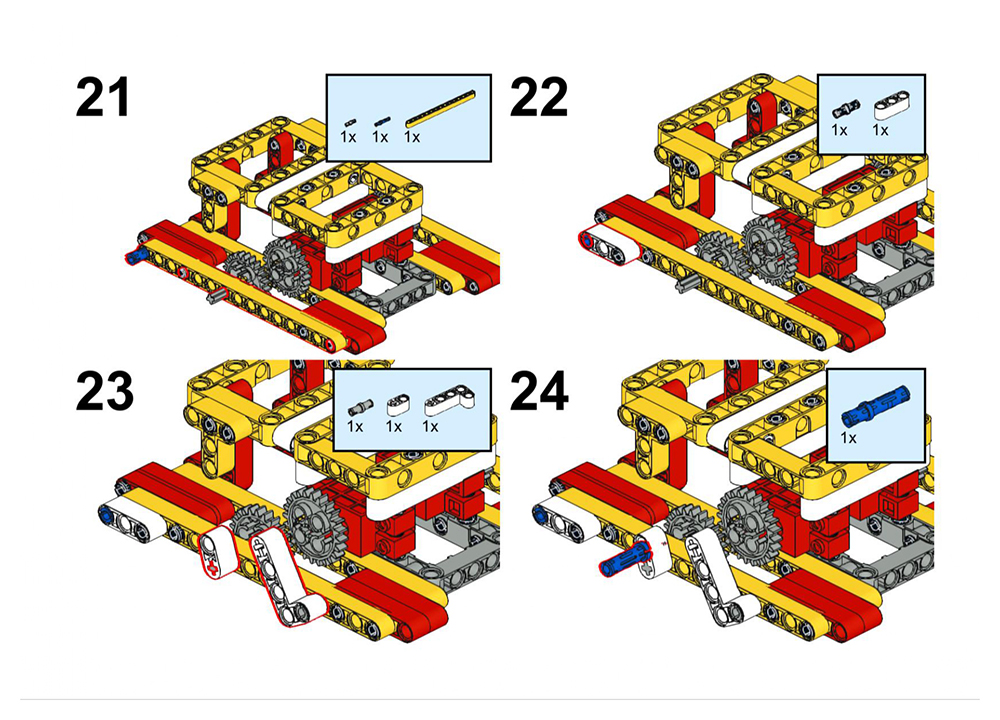
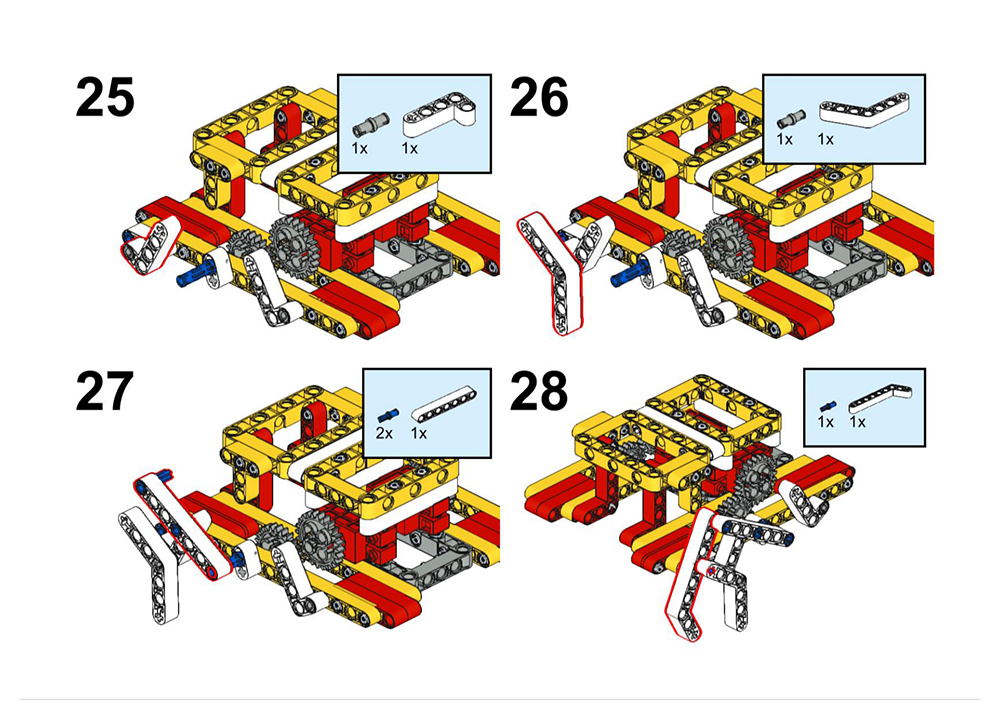
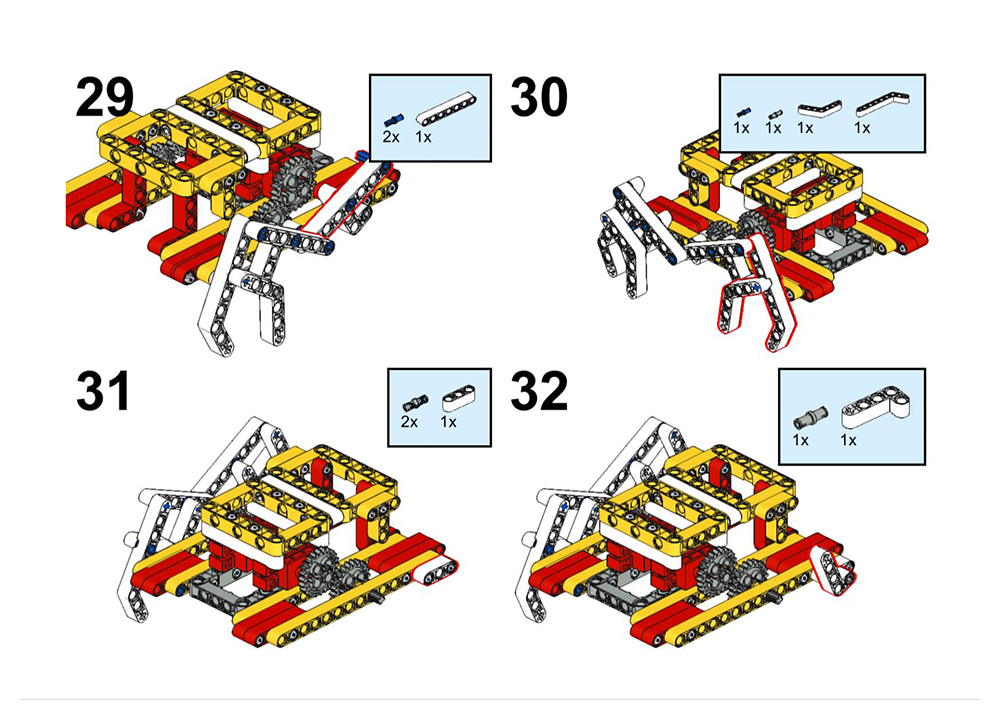
Building blocks can create a variety of different shapes. In this lesson, we will use building blocks to build a walking spider.
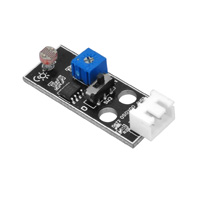
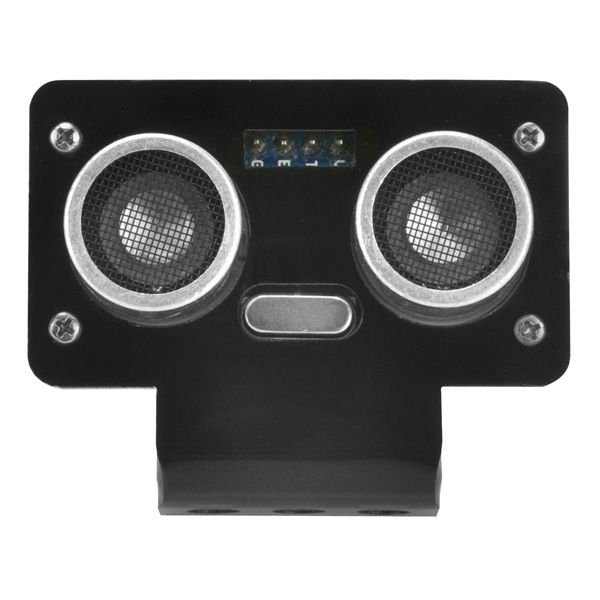
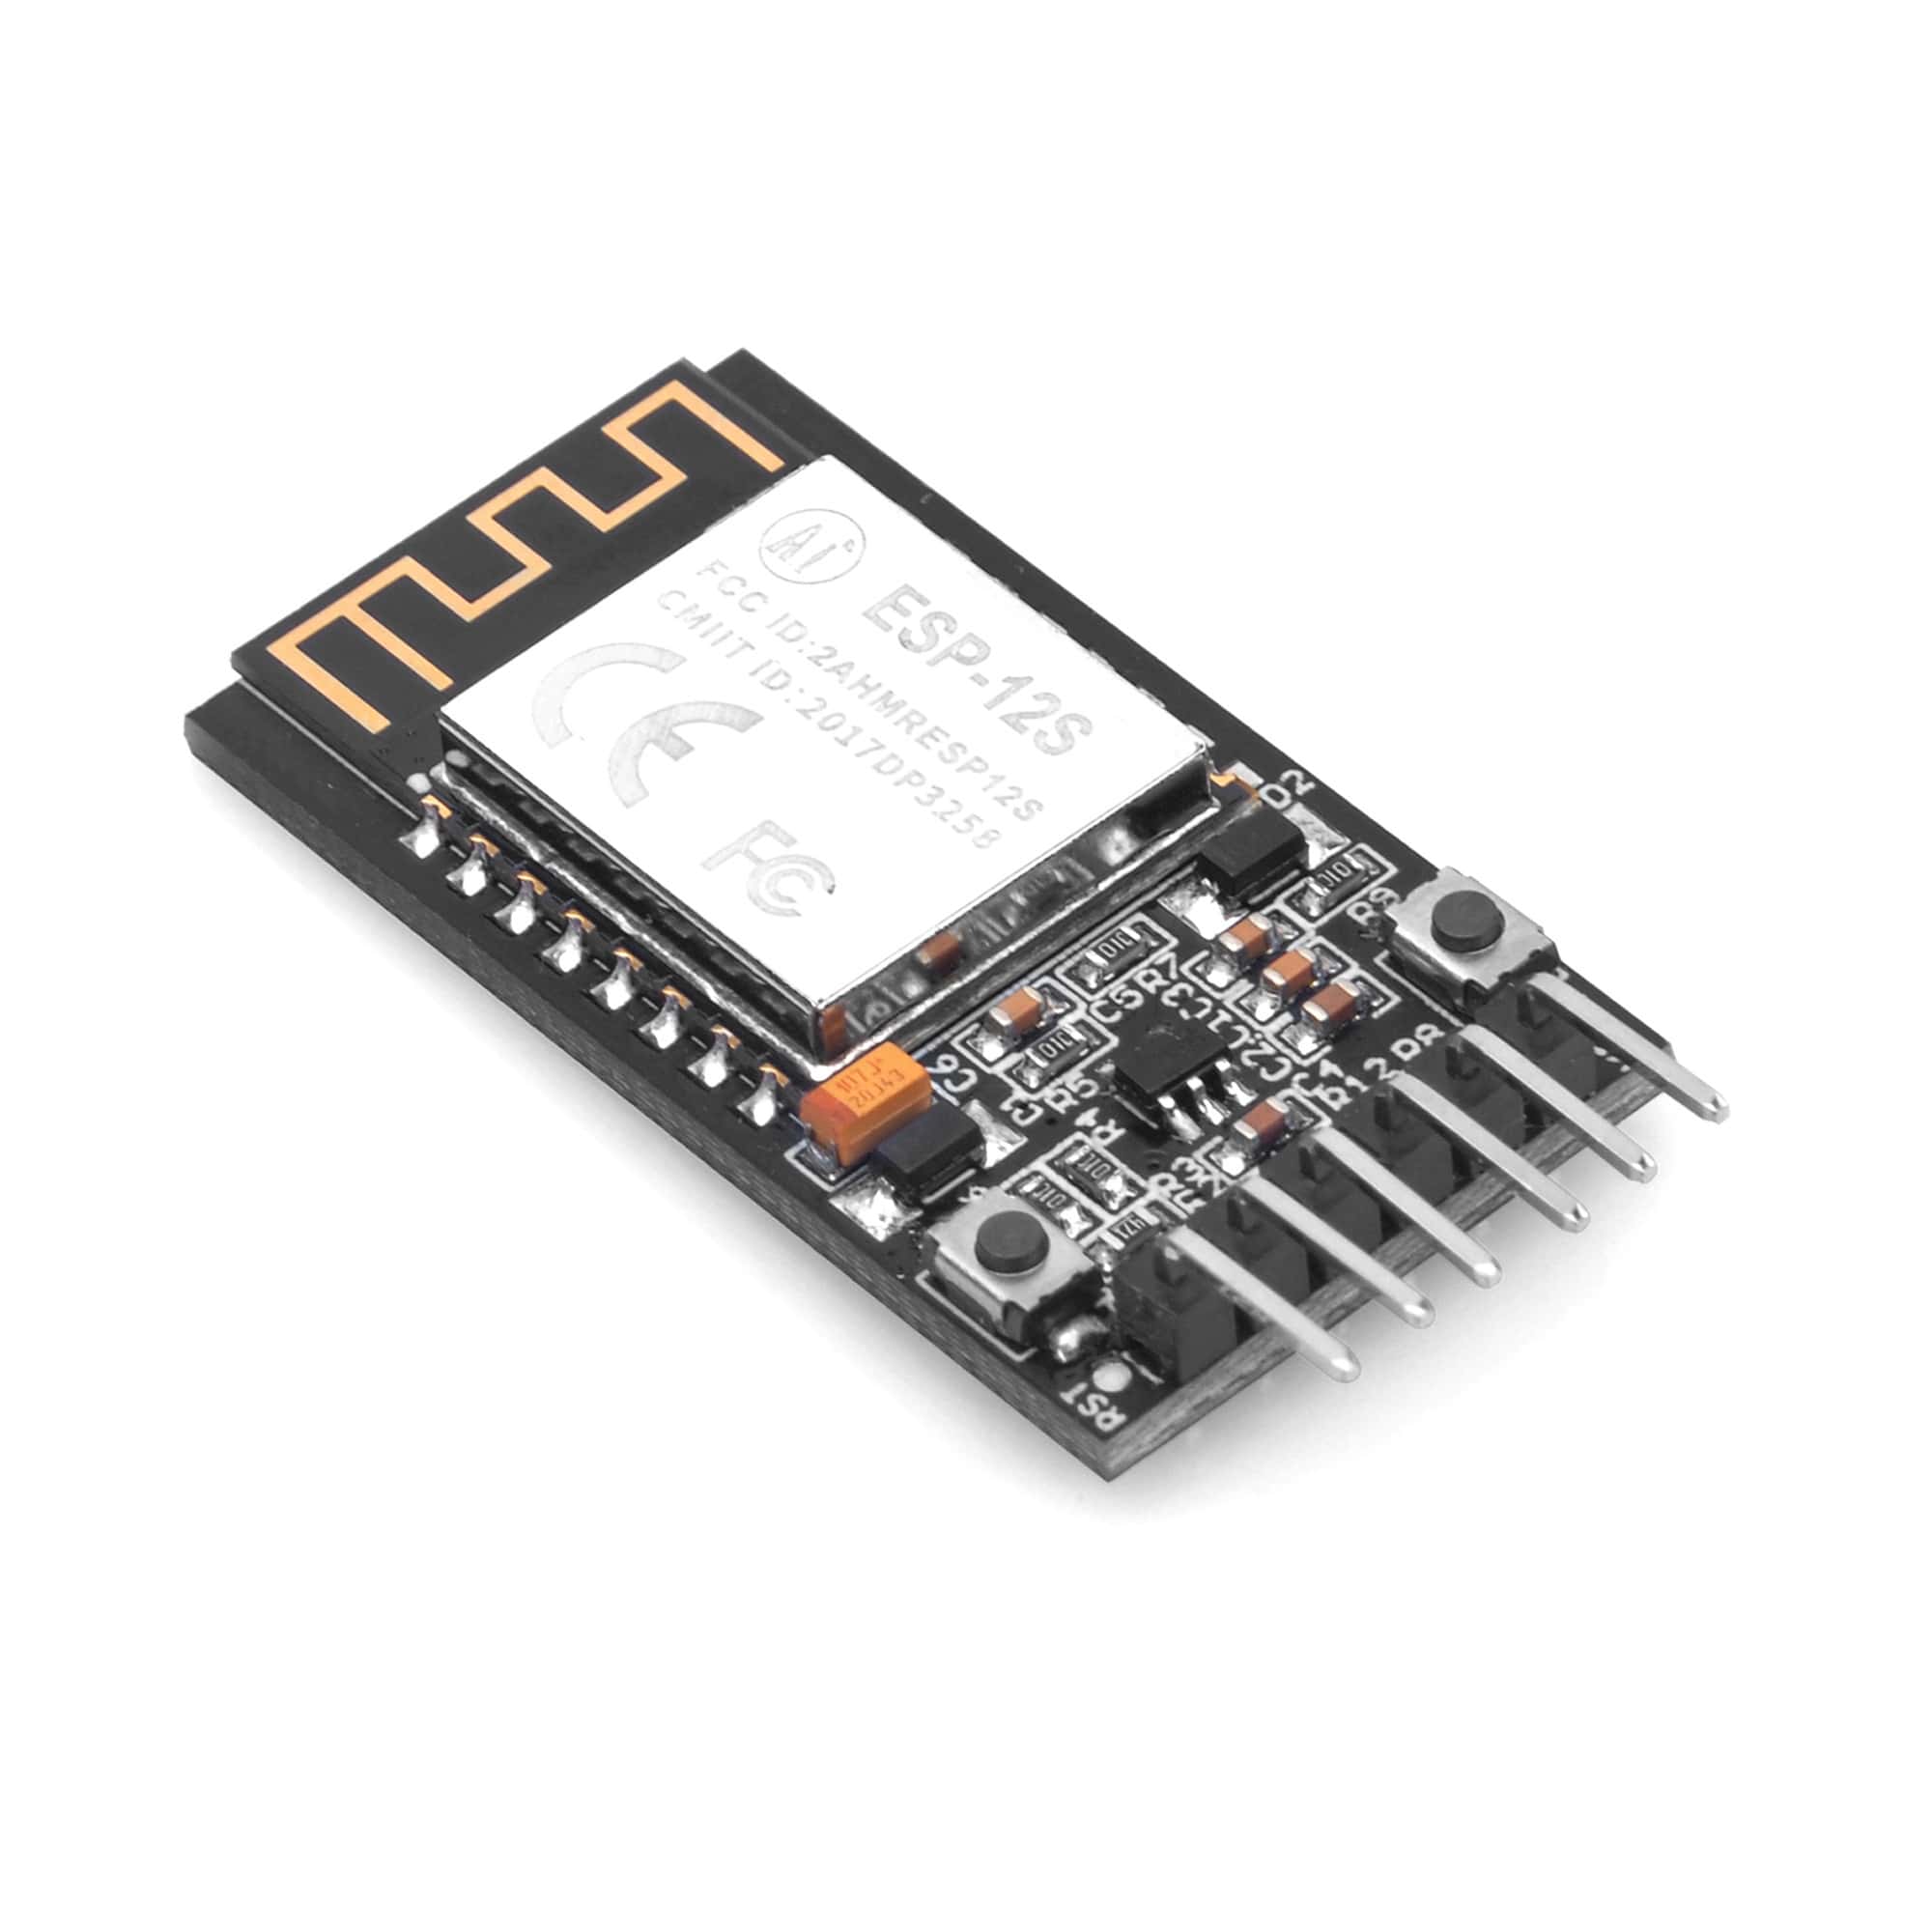
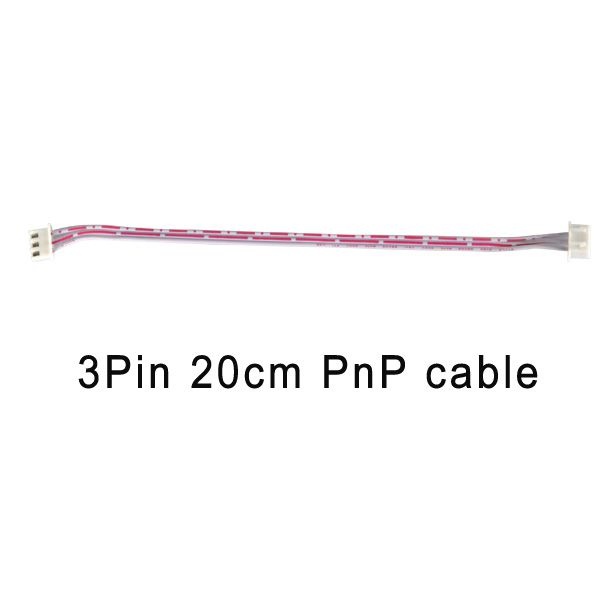
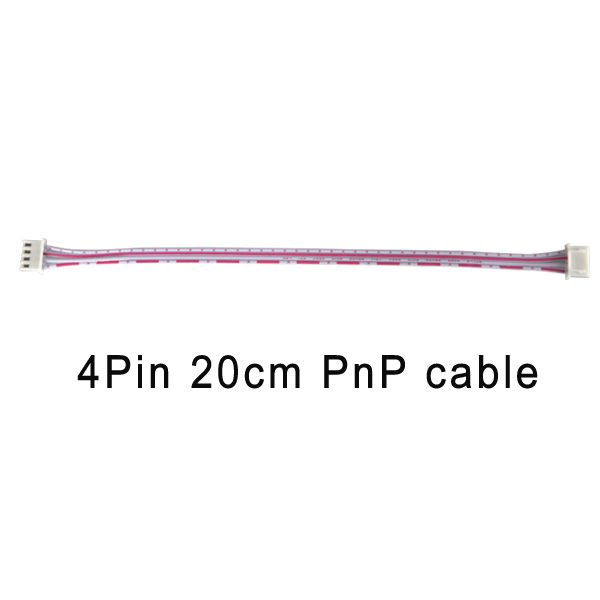
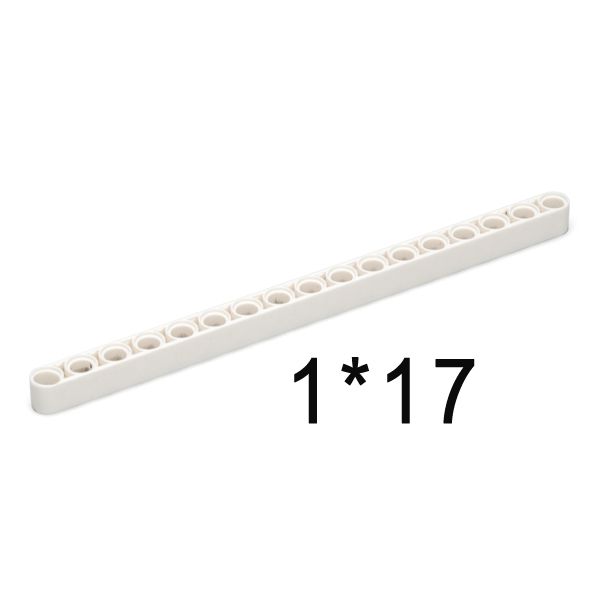
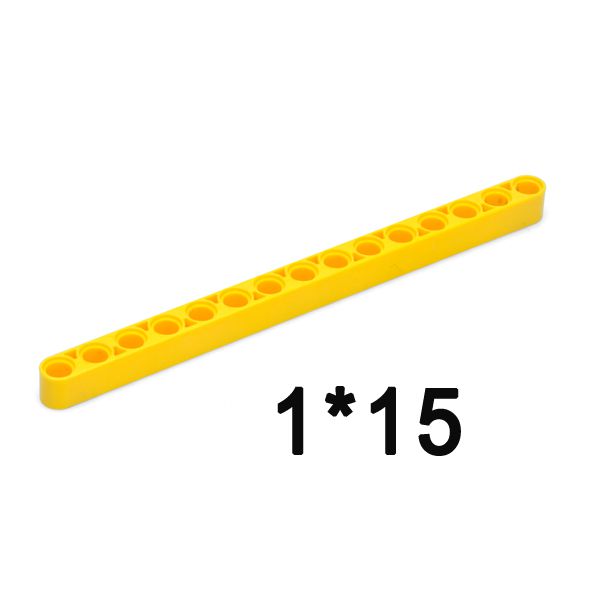
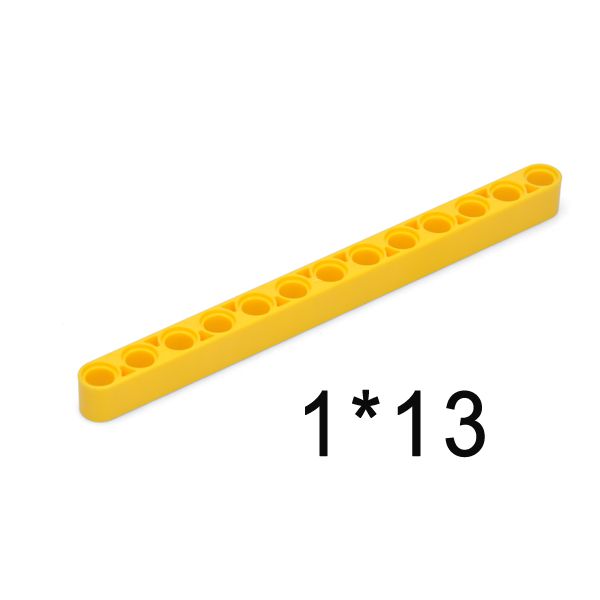
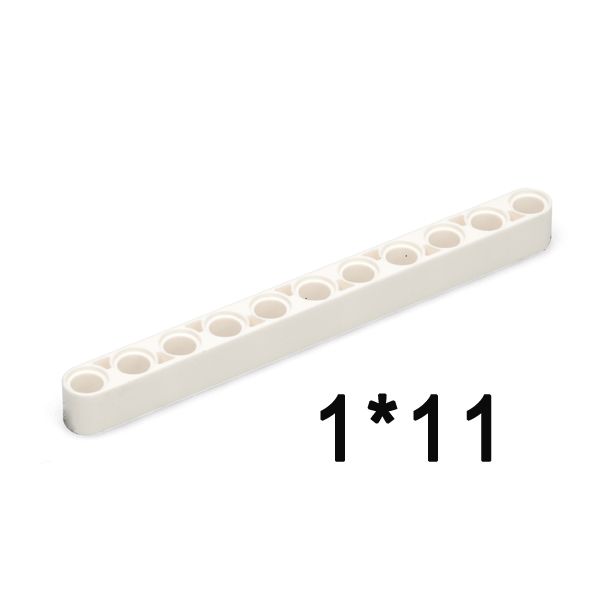
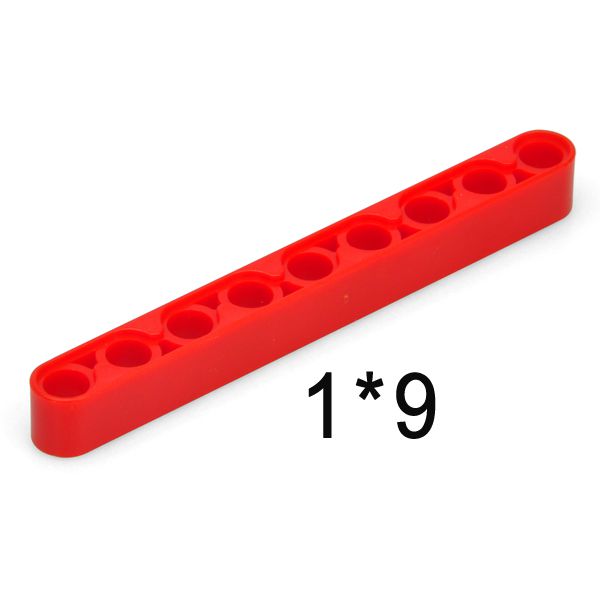
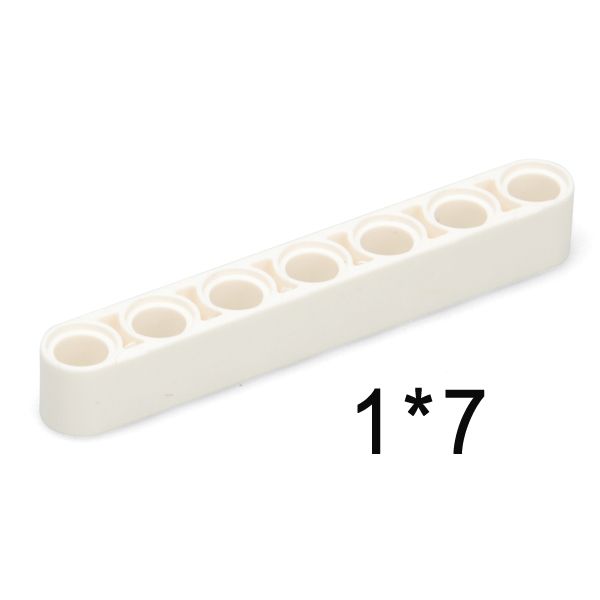
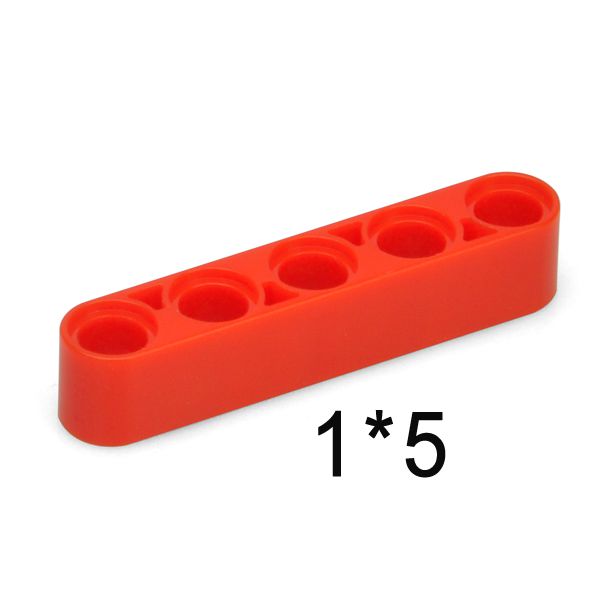
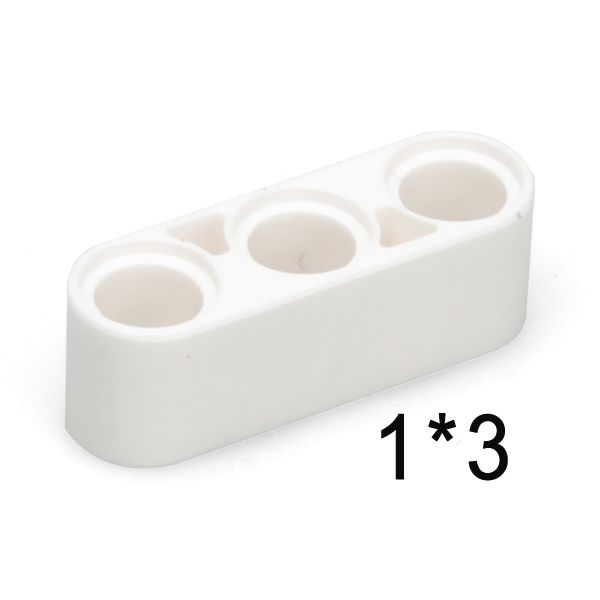
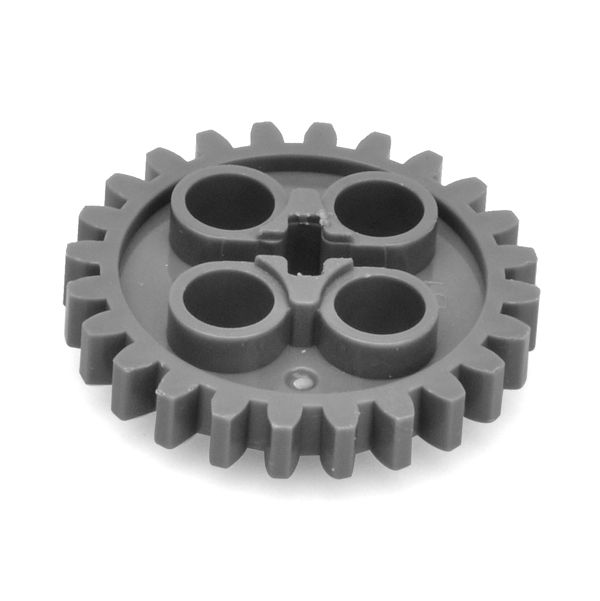
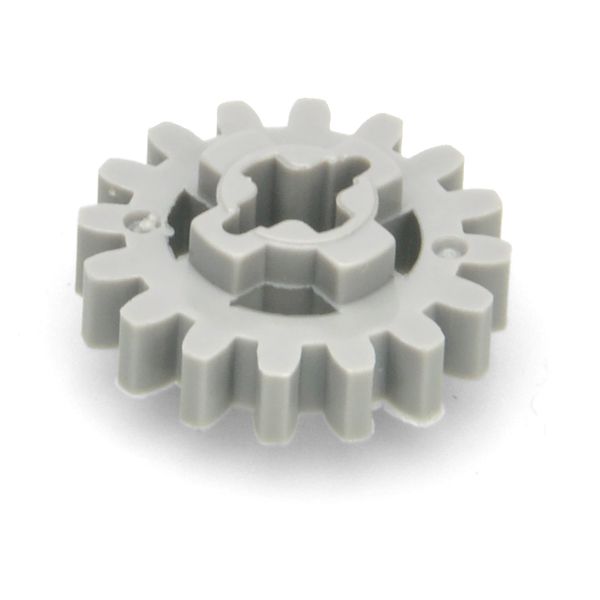
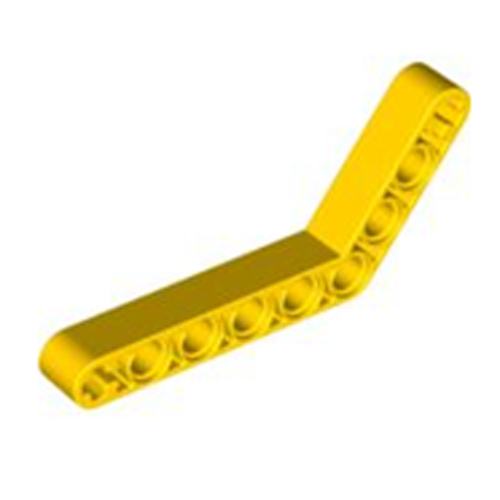
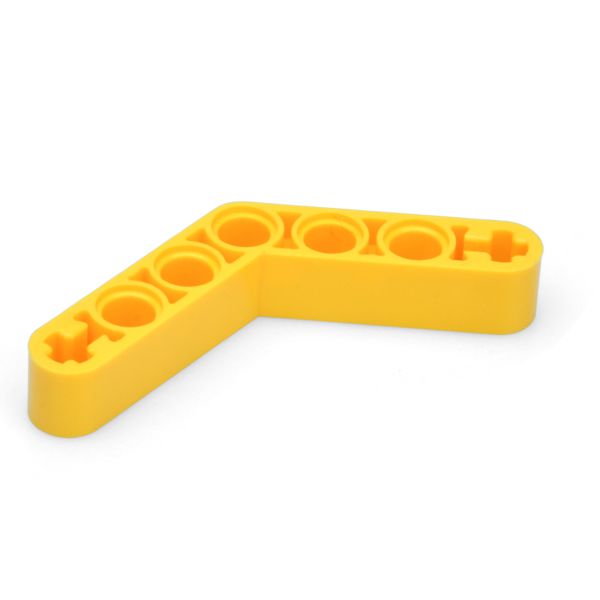
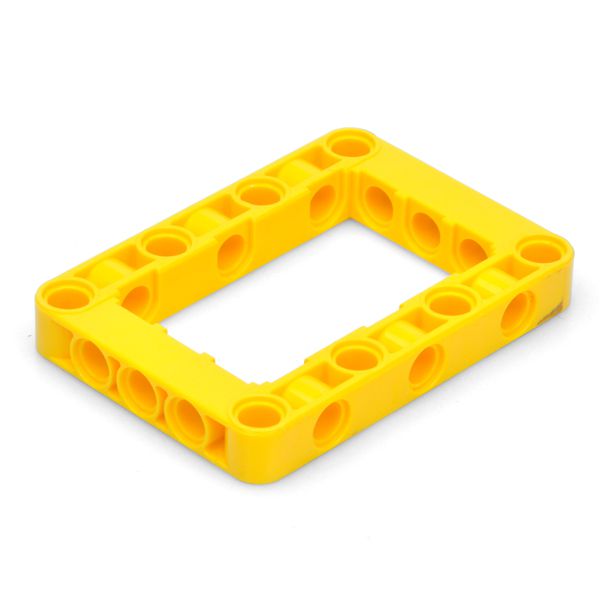
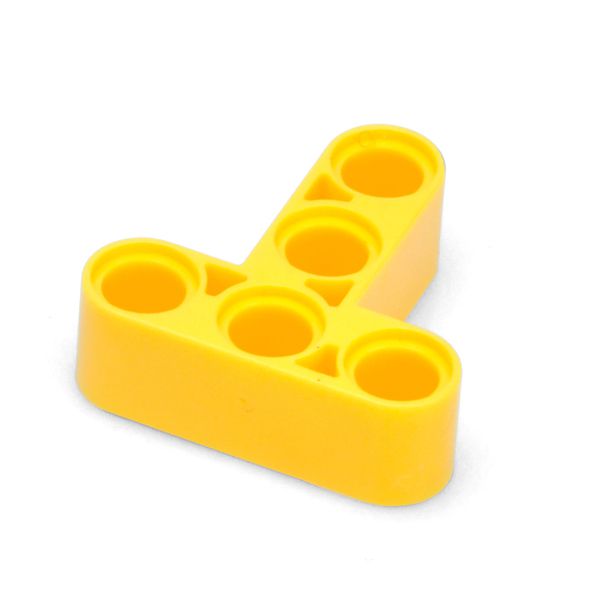
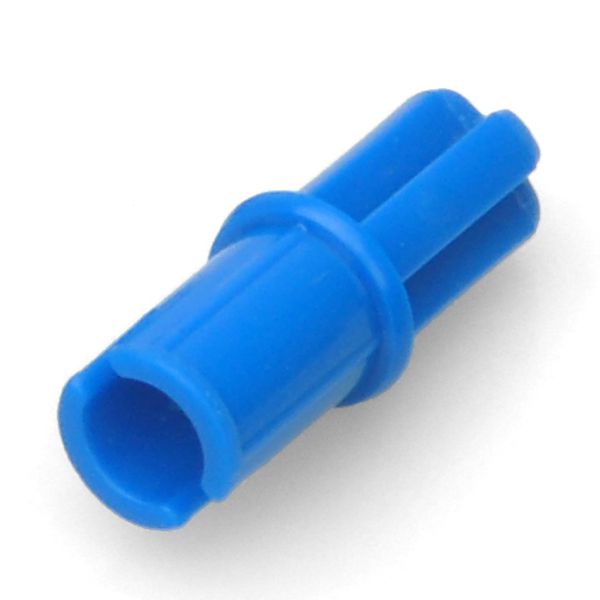
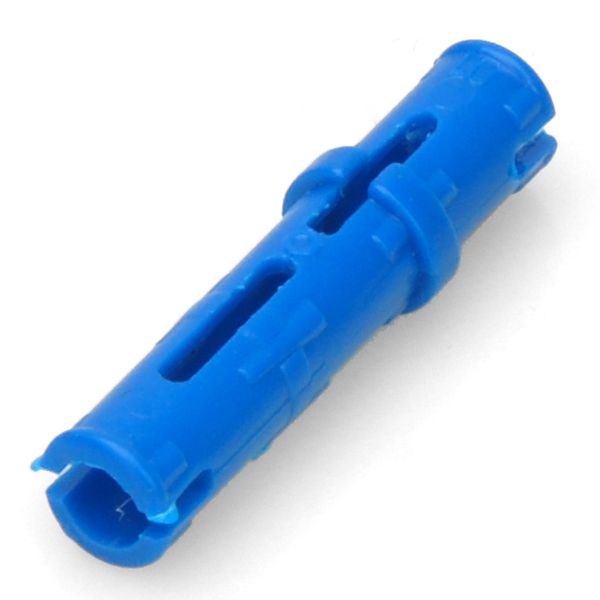
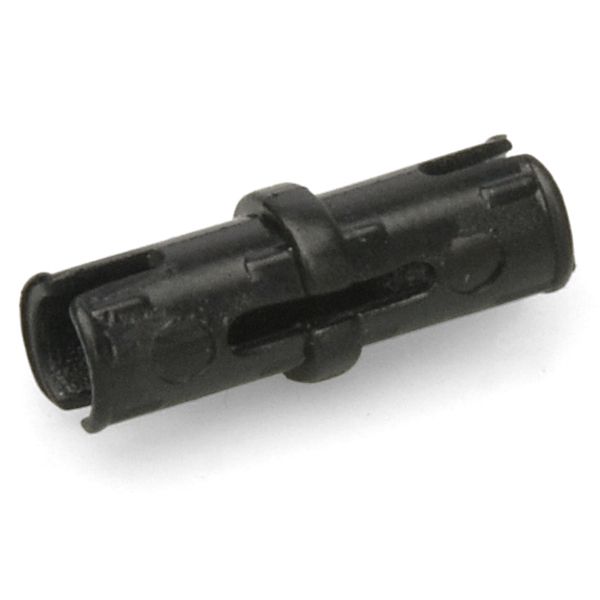
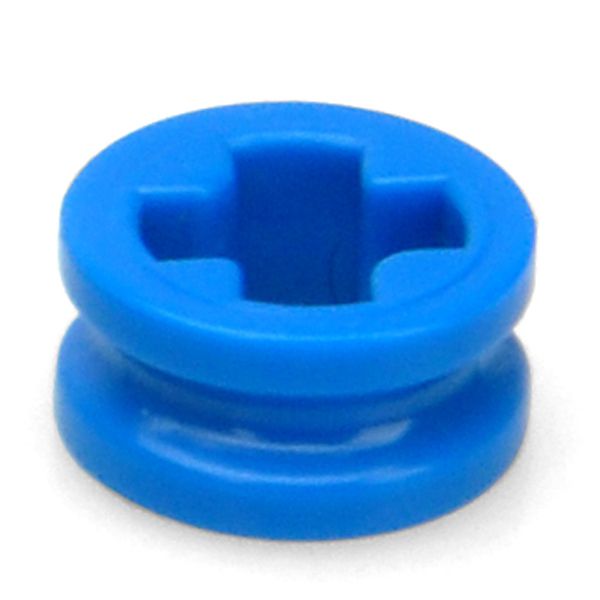
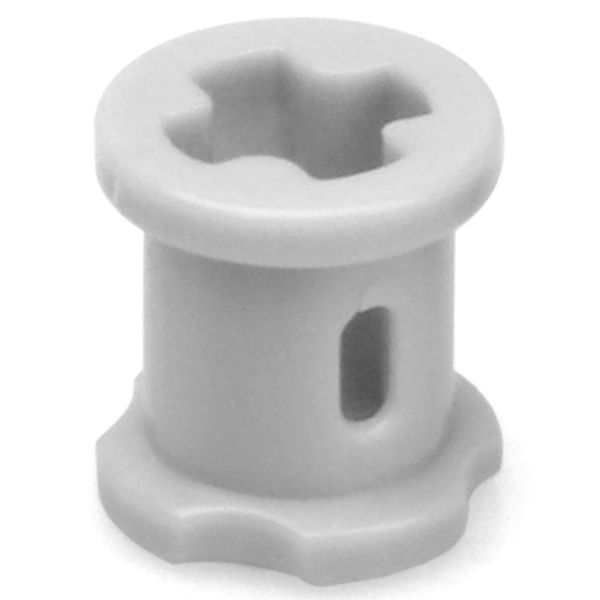
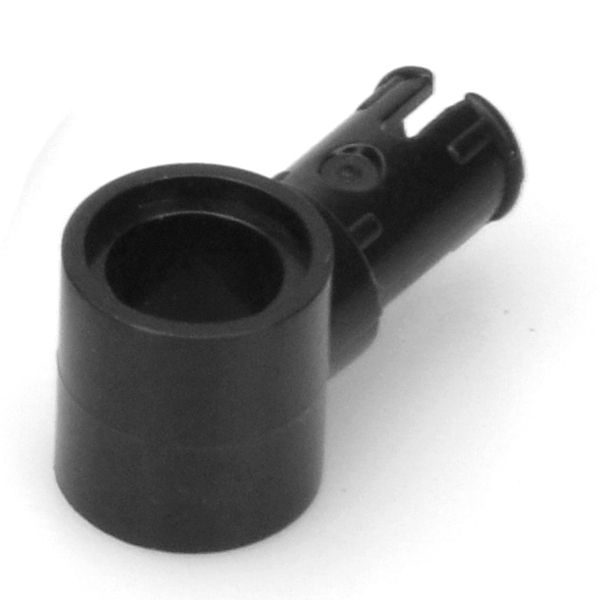
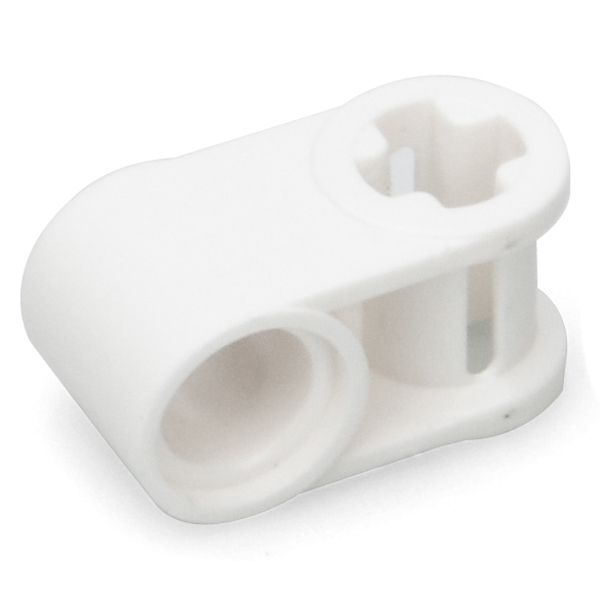
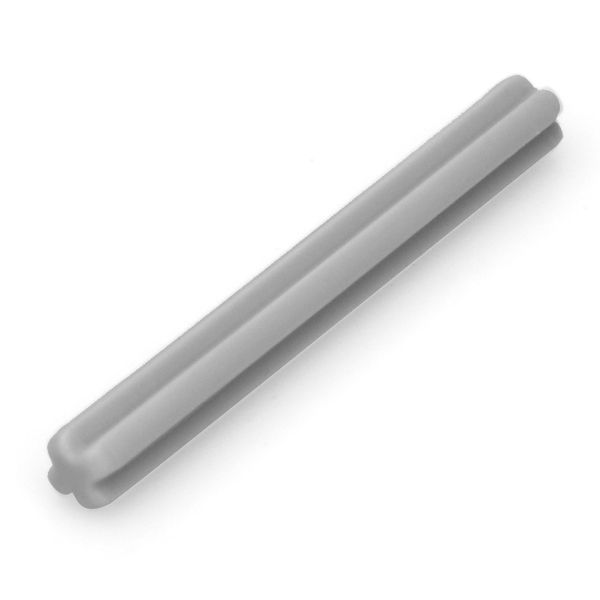
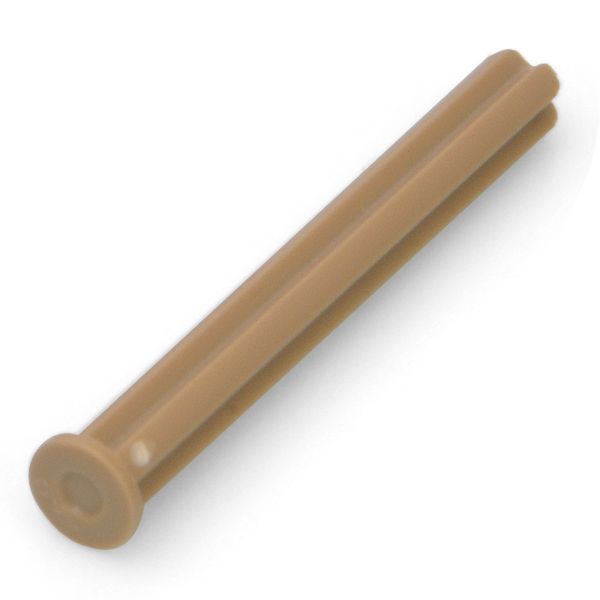
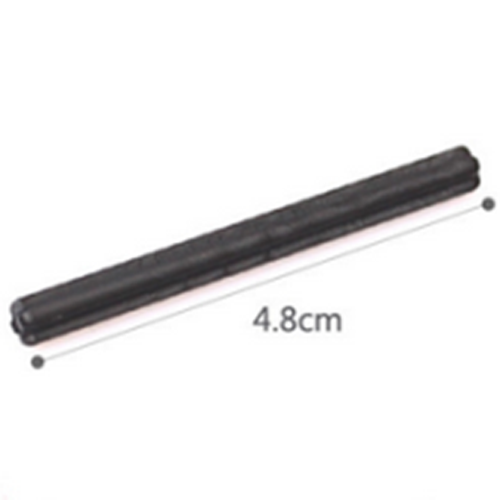
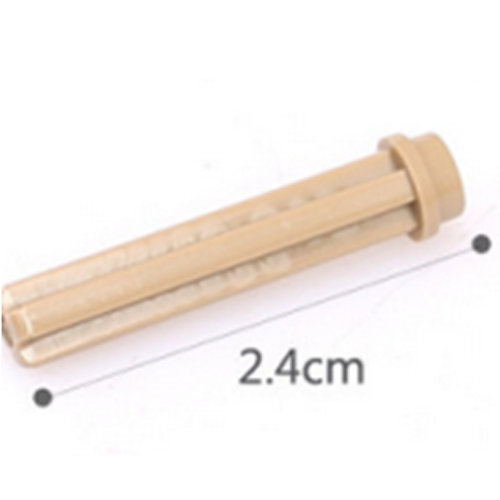
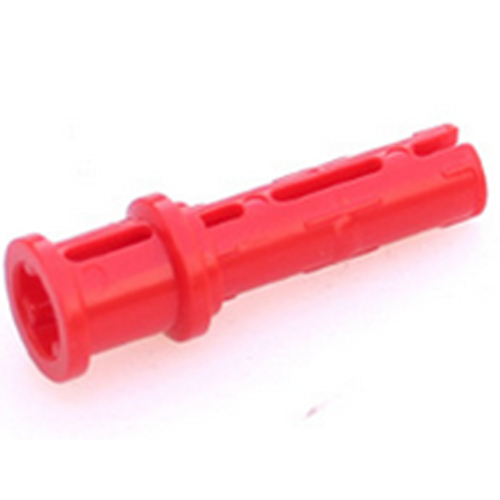
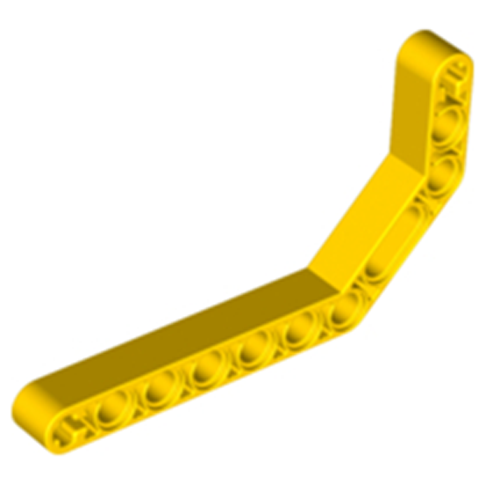
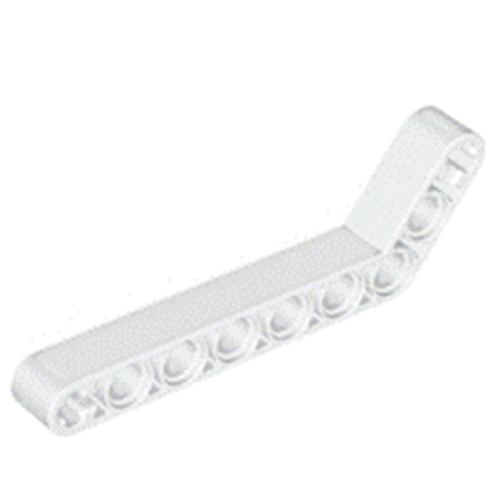
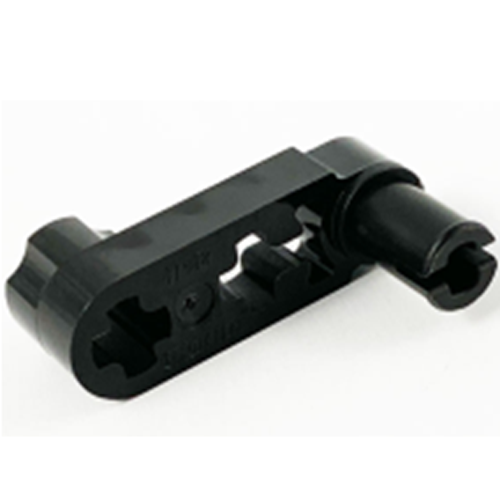
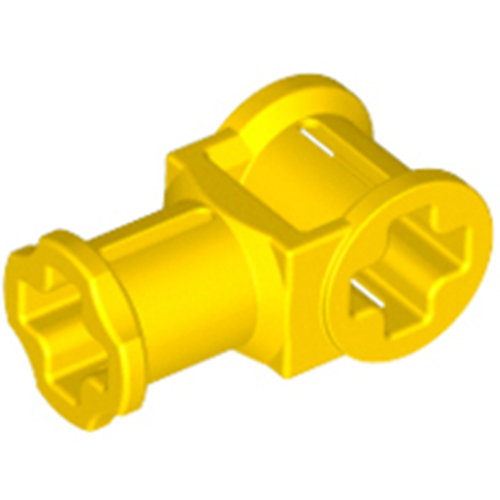
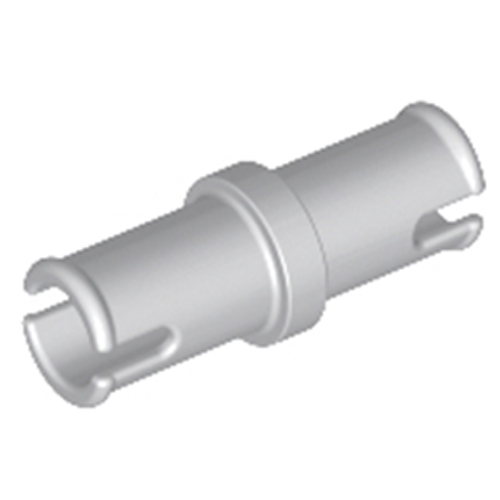
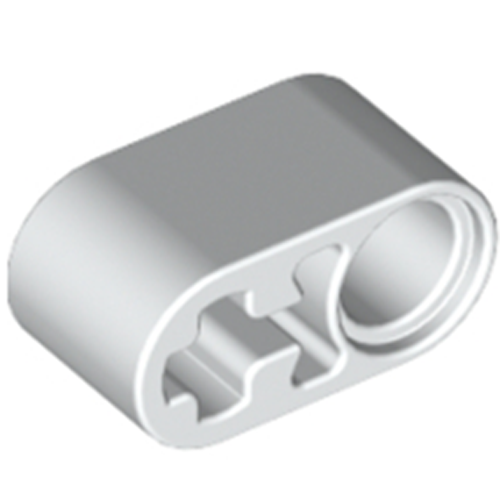
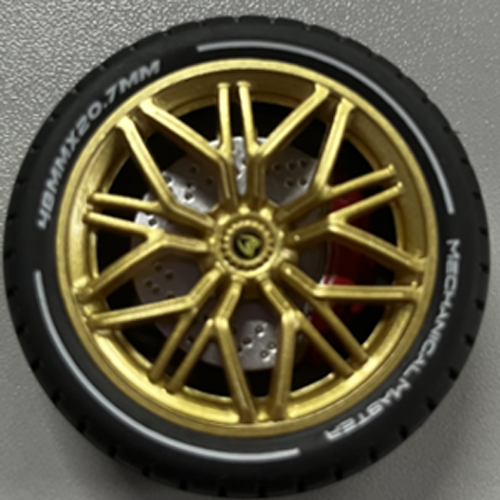
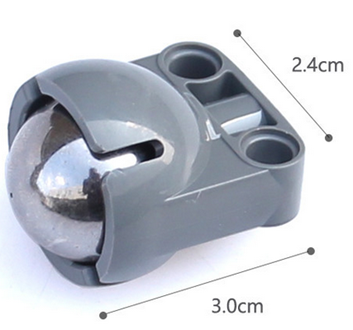
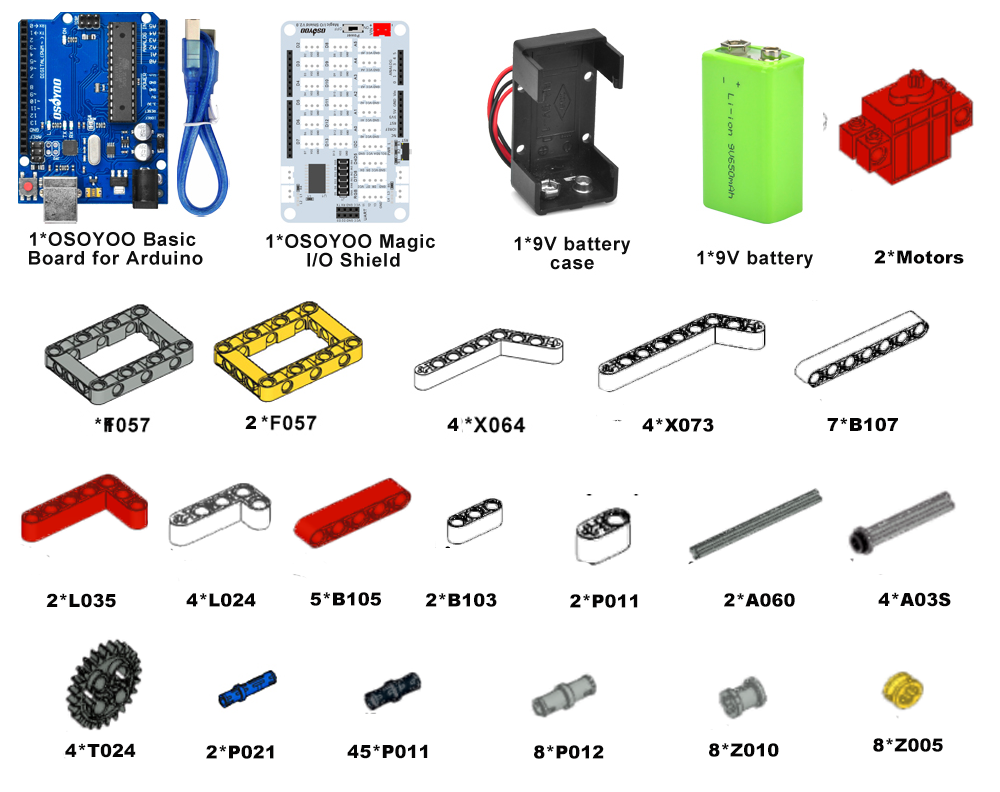
Please prepare the following parts to complete this project NOTE:
1.the color of the building block is subject to the actual product, which does not affect the use.
2. ALL OSOYOO PRODUCTS FOR ARDUINO ARE THIRD PARTY BOARD WHICH IS FULLY COMPATITABLE WITH ARDUINO
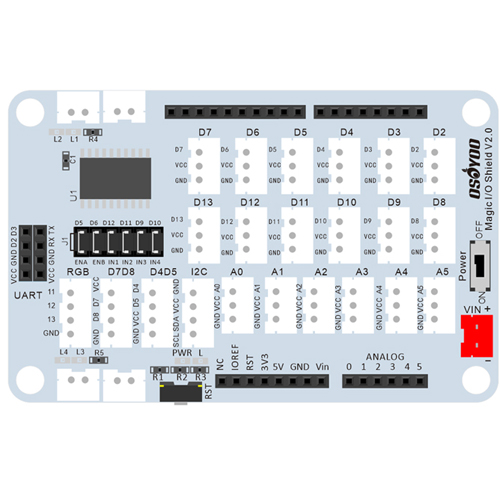
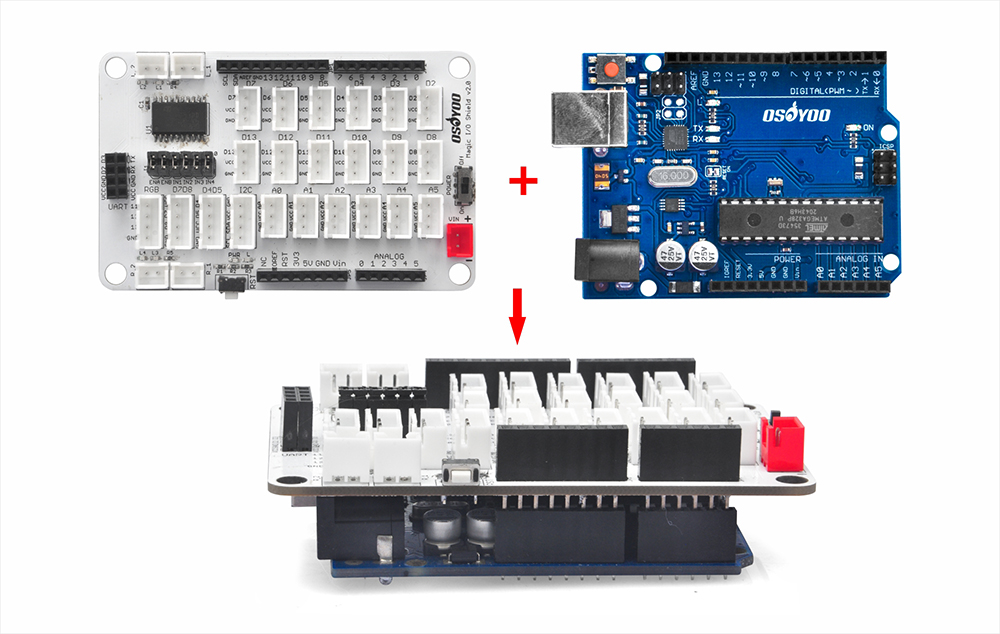
Before you build the robot with blocks, please install OSOYOO basic board for Arduino under OSOYOO Magic I/O shield as following (Attention please : the pins of I/O shield is aligned with the port of basic the board firstly, then press the shield tightly on the board).
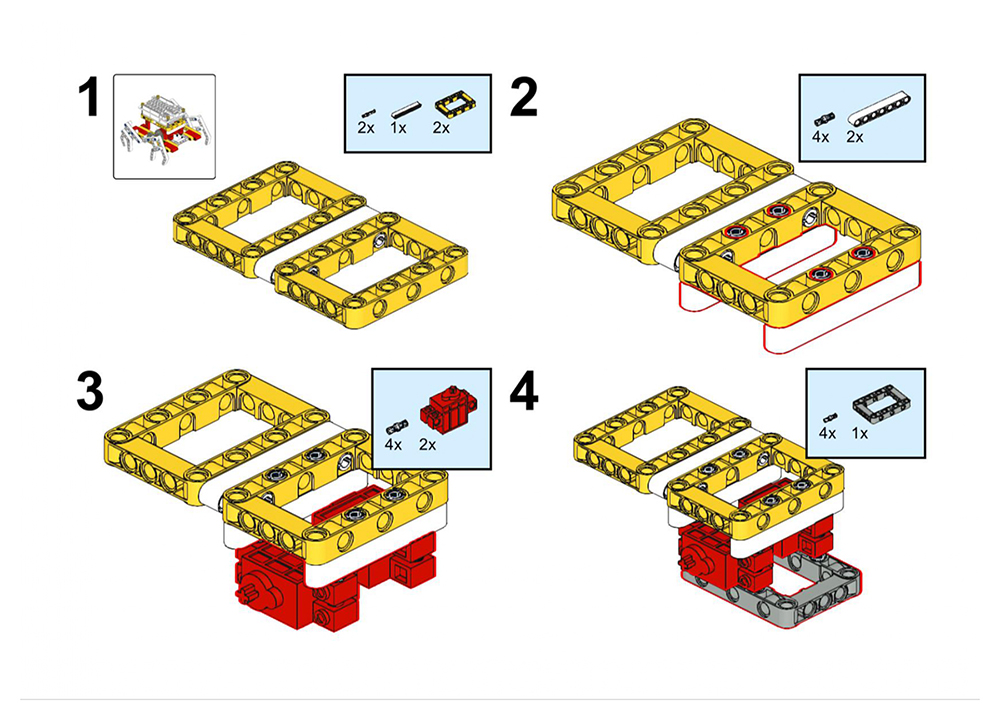
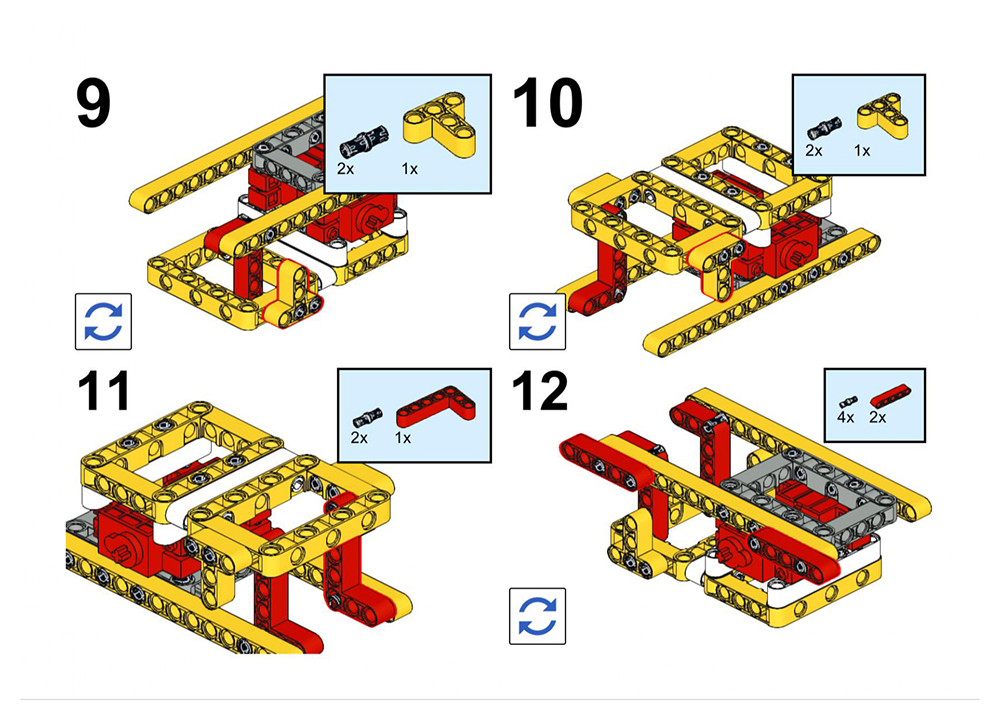
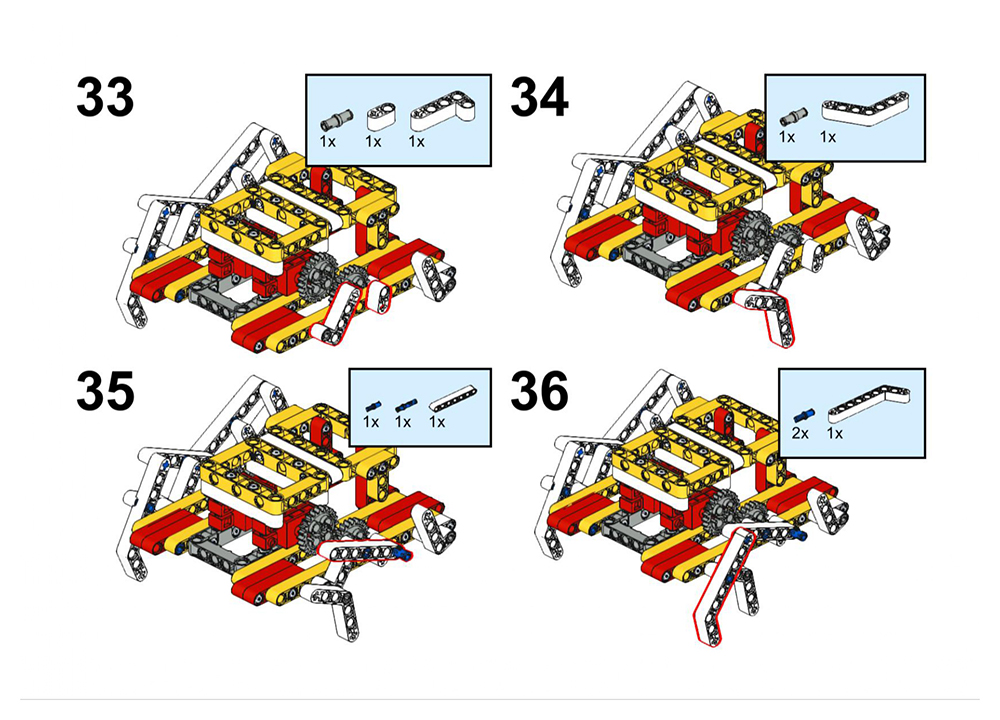
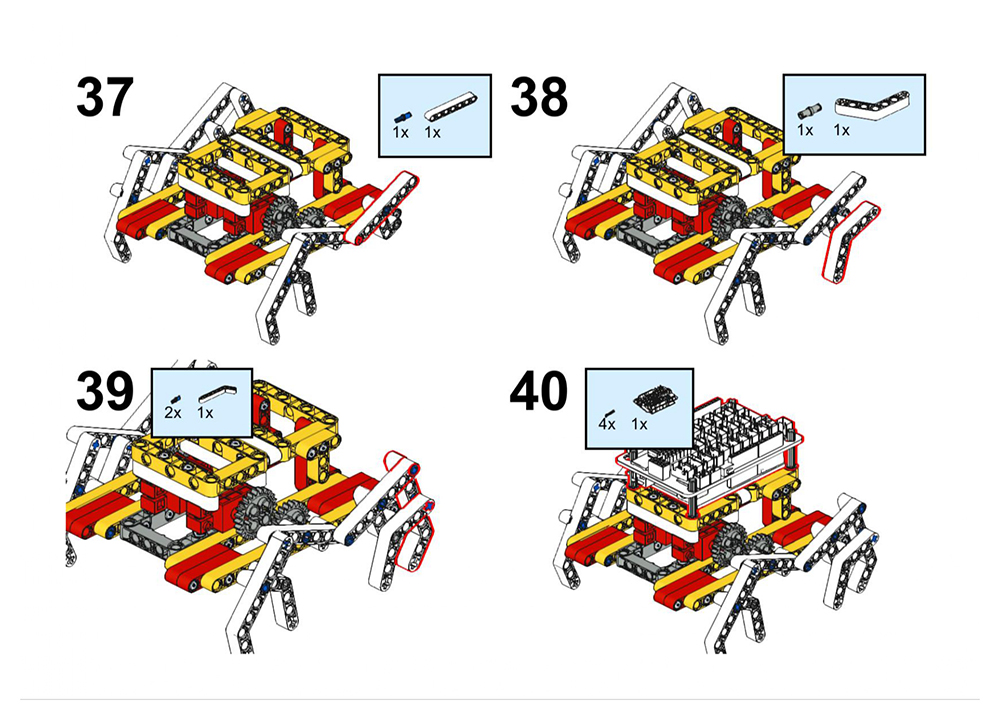
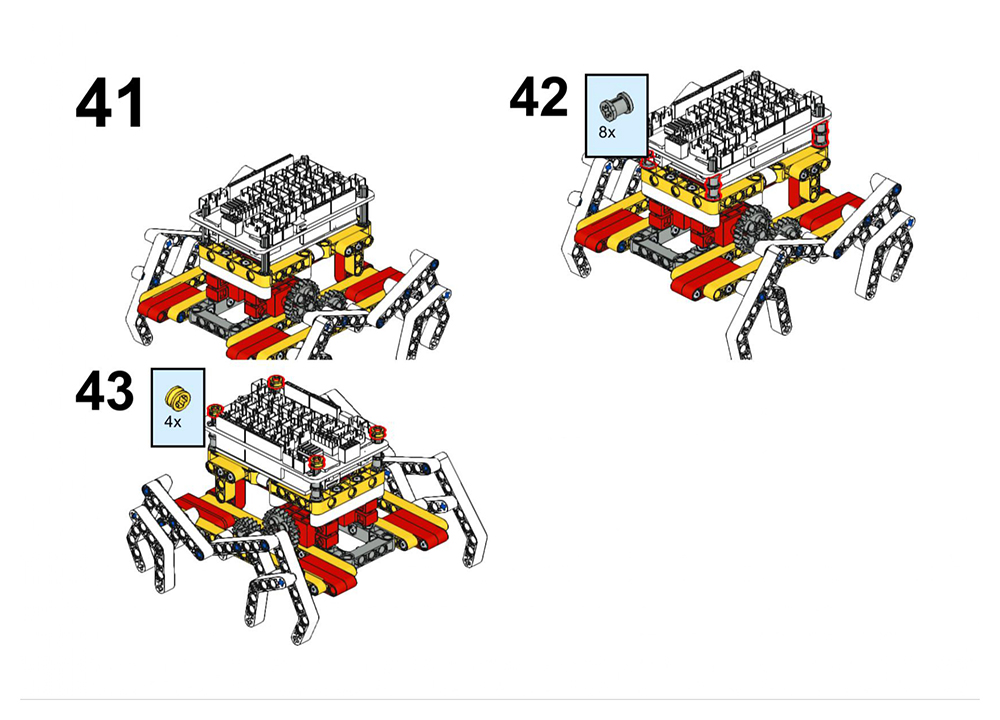
Please follow the building steps to build this spider, If you want to get clear PDF building steps, please download from https://osoyoo.com/picture/Building_Robot_Car/lesson8/lesson8.pdf
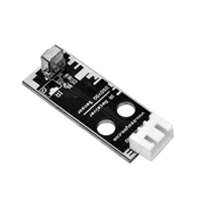
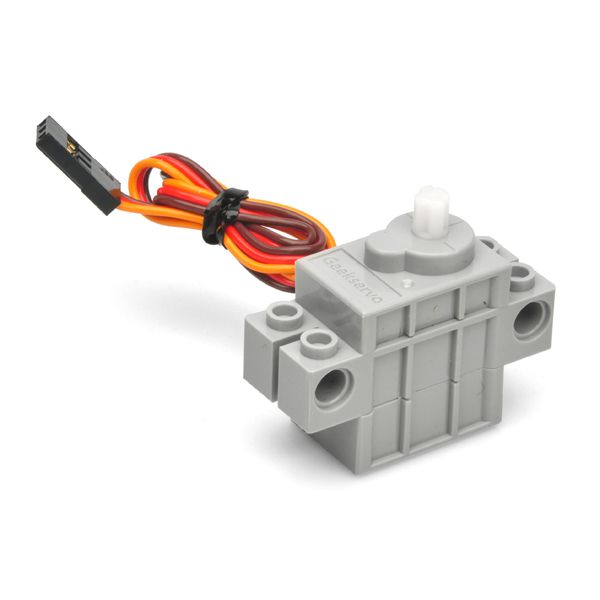
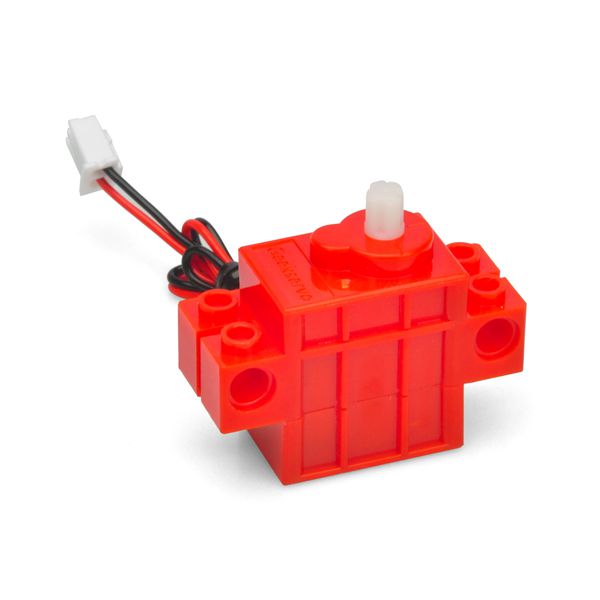
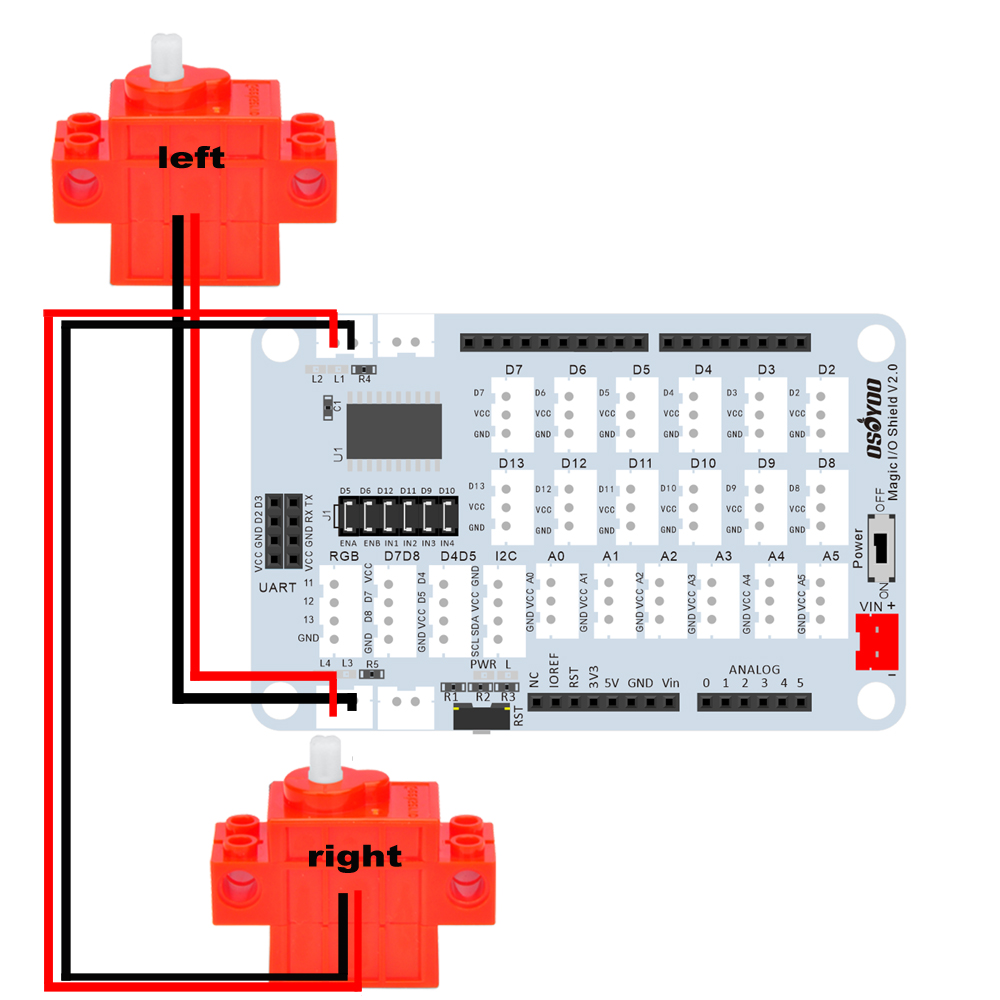
Connect Left wheel motor to R1 or R2 port of Magic I/O shield; Connect Right wheel motor to L1 or L2 port as per following picture (Attention please: there are six jumper caps on ENA/ENB/IN1/IN2/IN3/IN4)
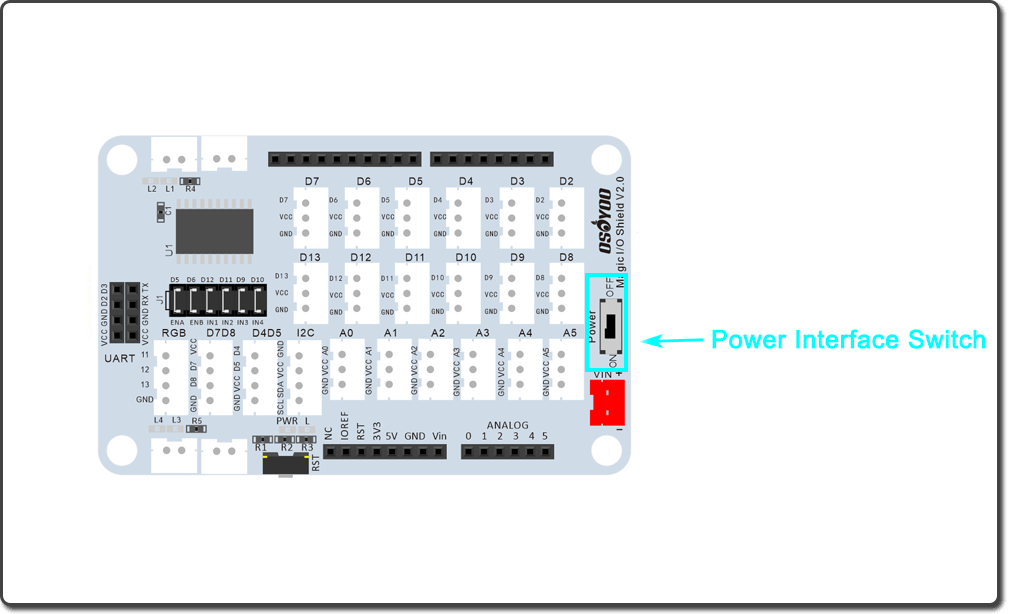
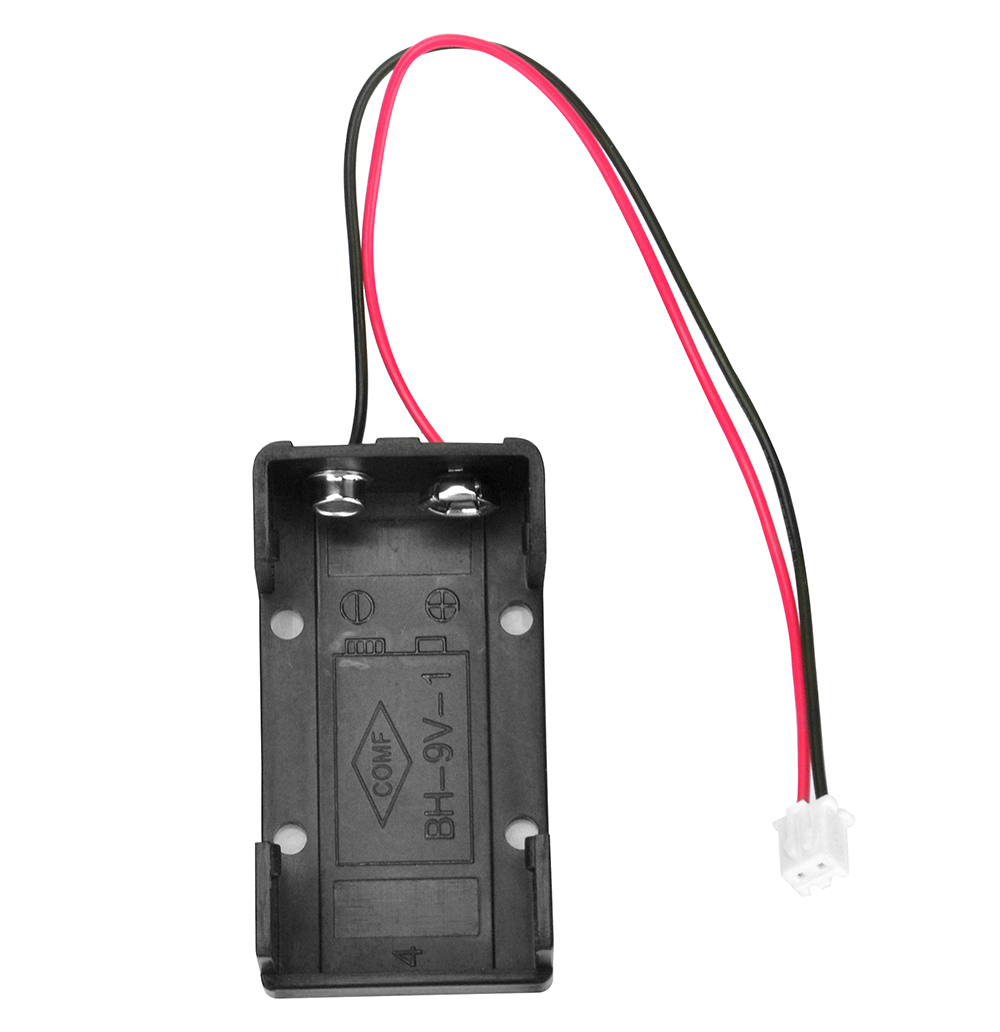
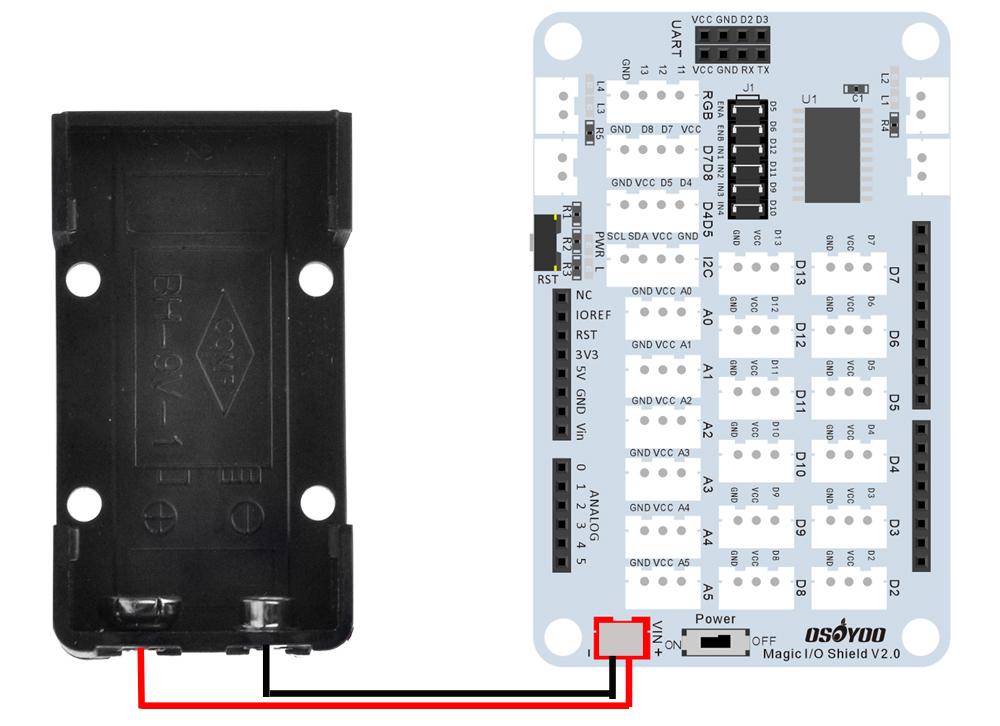
Connect 9V battery case to power port of Magic I/O shield as following:
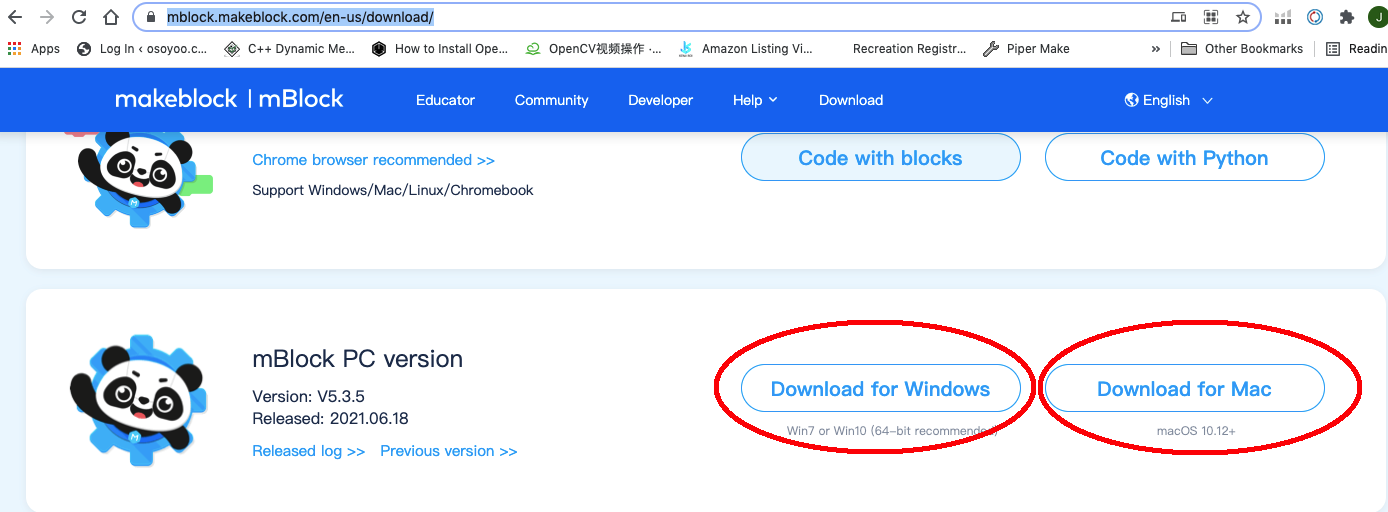
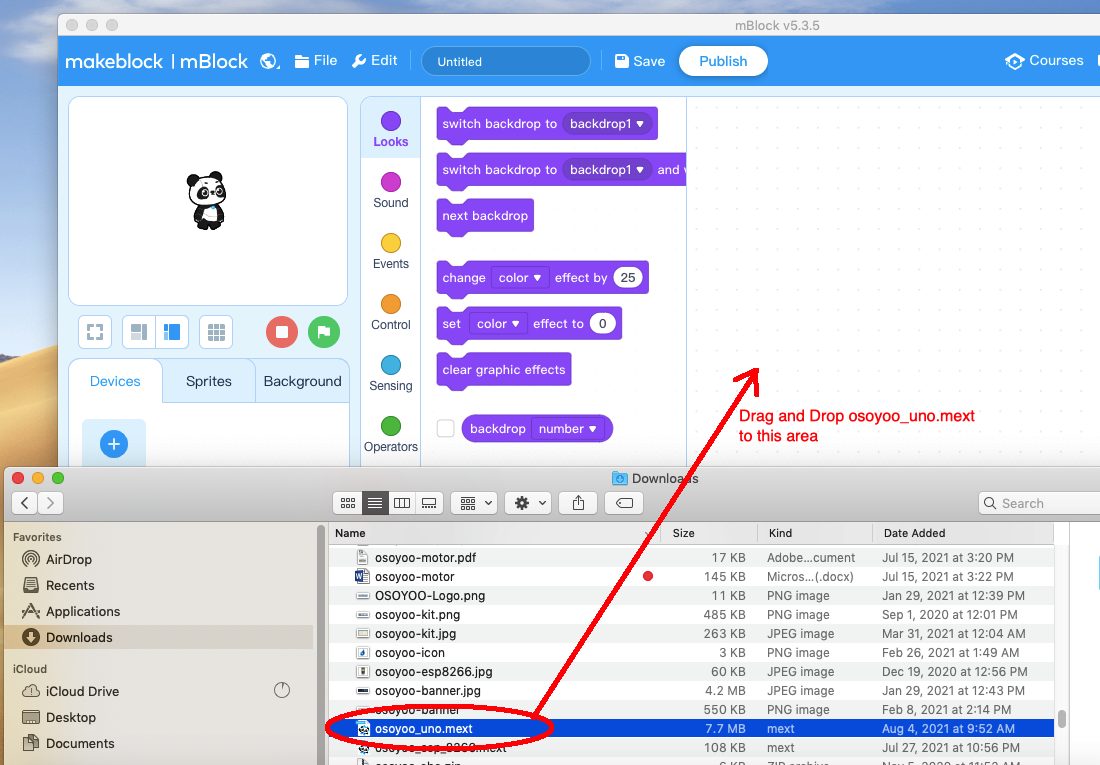
Note: In this kit, we use mblock as programming tool, if you want to learn more about mblock, please visit preparation before class 1: https://osoyoo.com/2021/12/01/preparation-before-class-1 Step 1) Download mBlock PC from https://mblock.makeblock.com/en-us/download/, select the download file as per your computer OS type: Step 2) Download OSOYOO_UNO.mext device file from https://osoyoo.com/driver/mblock/osoyoo_uno.mext Step 3) Run the mBlock PC software by double click the lovely Panda icon. you will see mBlock UI as following picture. Please delete the default device CyberPi by click the cross in the red circle. Step 4) Drag and Drop osoyoo_uno_mext file(downloaded in Step 2) to mBlock software as following:
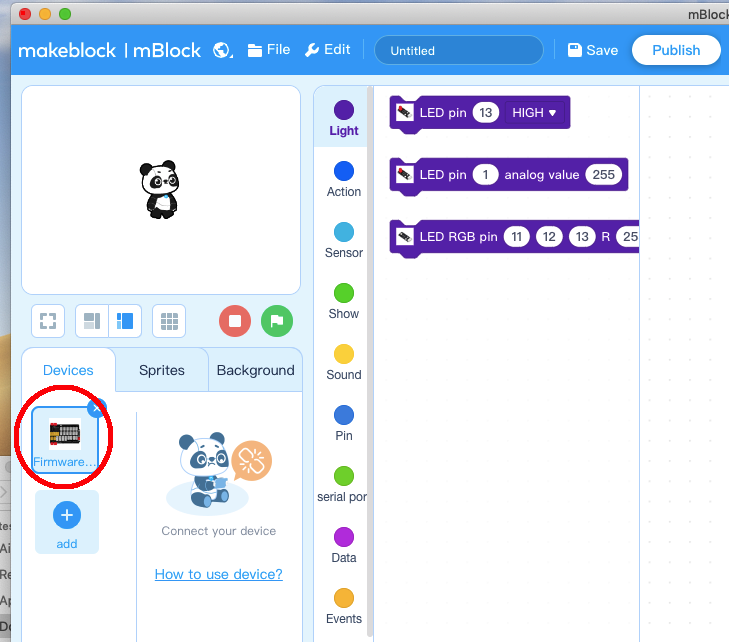
Now you will see a new device firmware in mBlock, see following picture:
Now mBlock software and OSOYOO_UNO device firmware have been successfully installed in our PC!
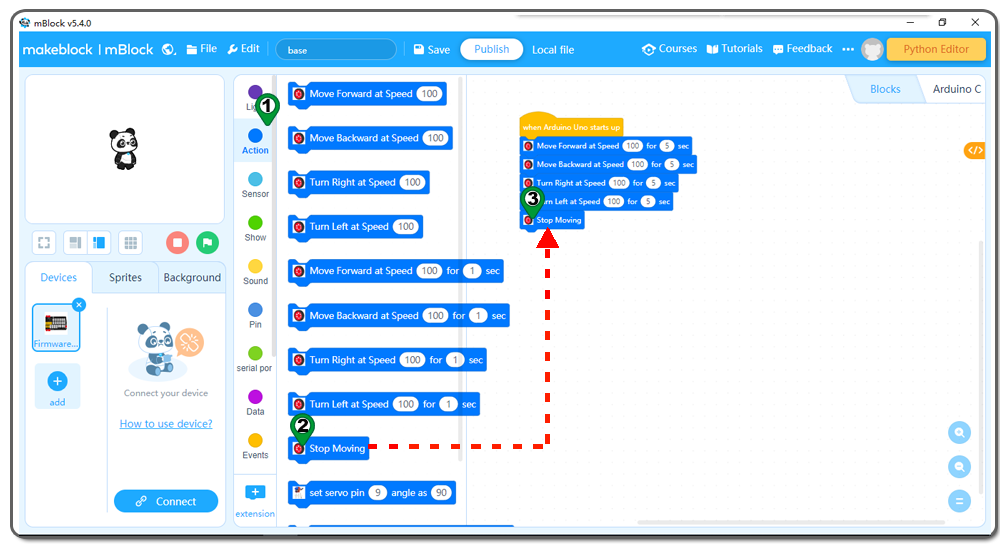
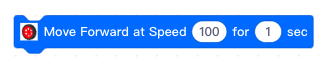
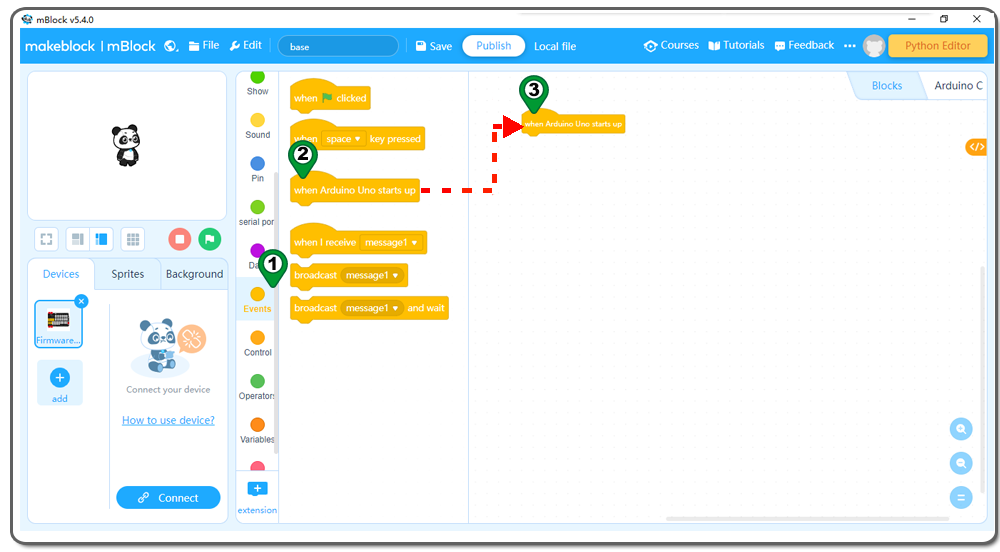
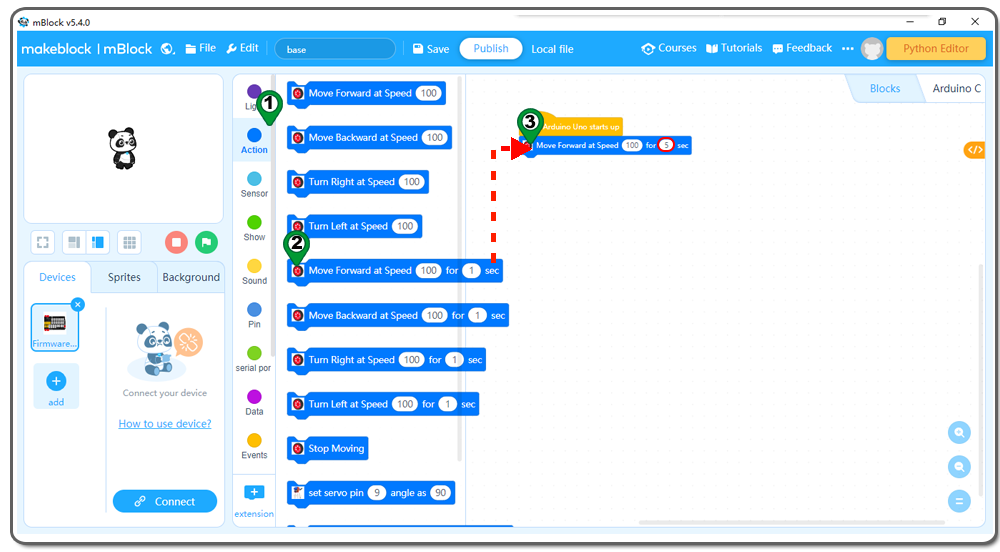
Now we will show you how to use blocks to turn above idea into reality. Step 5): Click Events, add when Arduino Uno starts upblock to coding area: Step 6): Click Action, add the Move Forward at speed action blocks below when Arduino Uno starts upblock .This part is to confirm the speed of the operation.If you want change the speed ,you can change this value .On here we writed 100 ,change the 1 sec to 5 as following picture ;
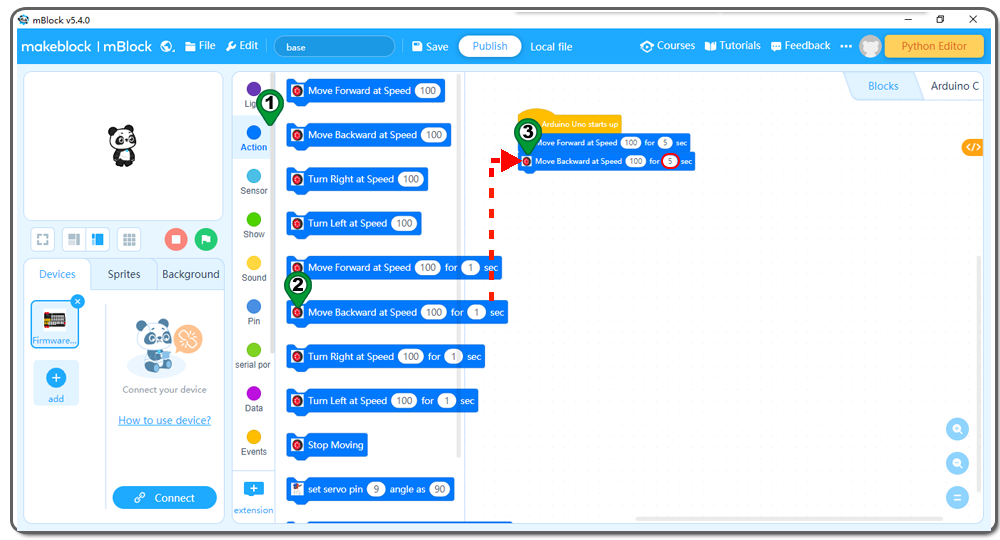
Step 7): Click Action again, add the Move Backward at speed action blocks change the 1 sec to 5 as following picture ;Step 8): Also in Action , add the Turn Right at speed action blocks change the 1 sec to 5 as following picture ;Step 9): Add the Turn Left at speed action blocks change the 1 sec to 5 as following picture ;Step 10): Add the Stop Moving action blocks as following picture ;
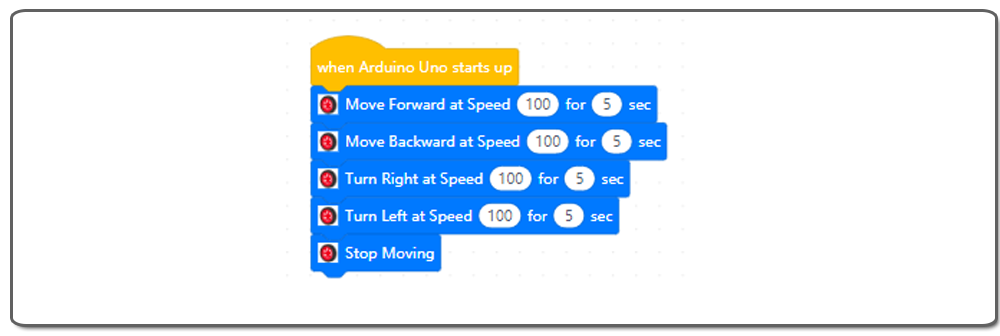
Now we have completed the block programming. The final blocks look like following:
Step 11) Upload the program to OSOYOO basic board
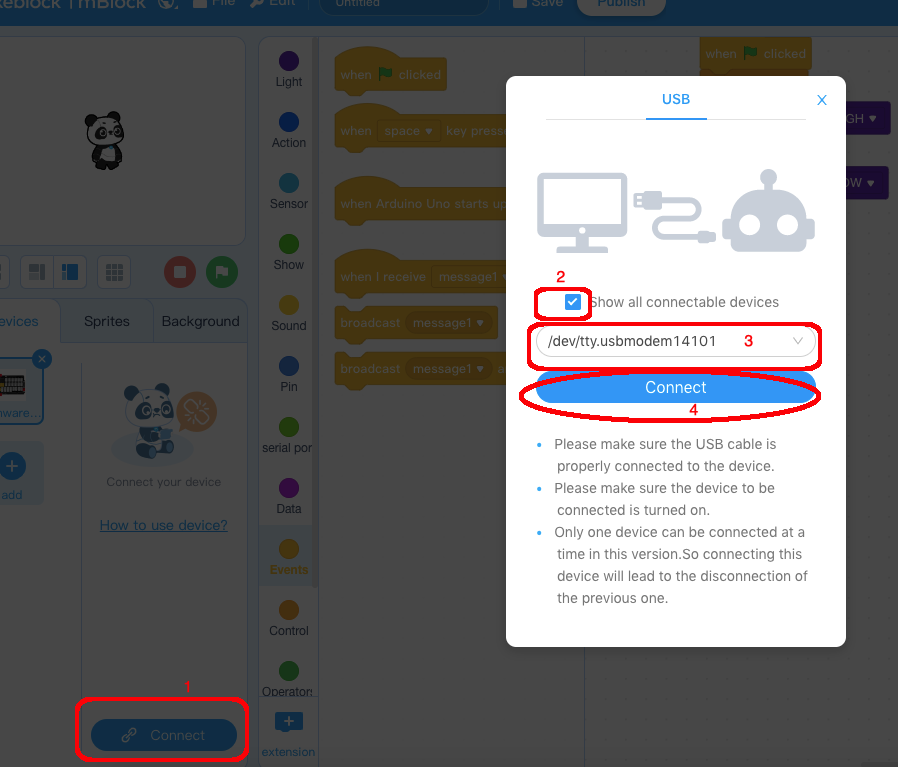
1) Please connect your OSOYOO basic board to your PC with USB cable firstly. Then click the Connect button in the bottom of the mBlock software, you will see a USB window pop up,
2) select Show all connectable device check box , then a device drop-down menu will show up,
3) select your port from device drop-down menu
4) click Connect button to connect your PC to OSOYOO basic board.
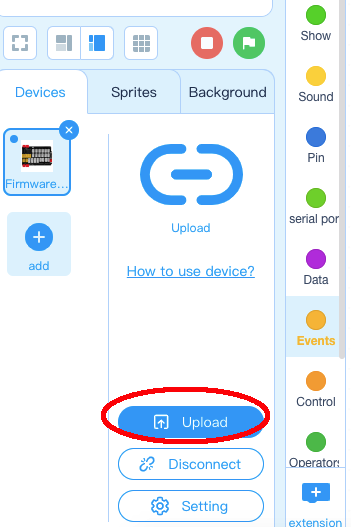
5)After you PC is connected toOSOYOO basic board, please click Upload button in the bottom of your software, then the code will be uploaded to OSOYOO basic board:
The program code blocks are quite straight forward, so we just make brief explanations as following: i) The first yellow block
Above block is dragged from Events category. It tell the system that the blue blocks following it will start when the Arduino UNO board power is turned on.
In other projects, you can see other yellow blocks from Events category. Their purpose are the same, define when should the following program blocks be executed.
ii)The blue blocks following the yellow event block
These blue blocks are from Action category which means the block defined some kind of actuator action.
Take above Move Forward at Speed 100 for 1 sec block example, it tells the car to move forward at speed 100 for one second then stop.
The speed value can be 0 (stop ) to 255 (maximum speed). You can change the speed and rotation time in the code block.
Base on same logic, you can easily understand the meaning of other 4 blue blocks which make the car move backward, left turn, right turn and stop.
iii)Full program block explanation
Now we can review the whole blocks functionality in this lesson:
So in plain English, the program blocks in this lesson will ask the car to move forward for 5 seconds, then move backward for 5 seconds, then turn right for 5 seconds, then turn left for 5 seconds and finally stop. The program will start immediately after Arduino power is on. Note:
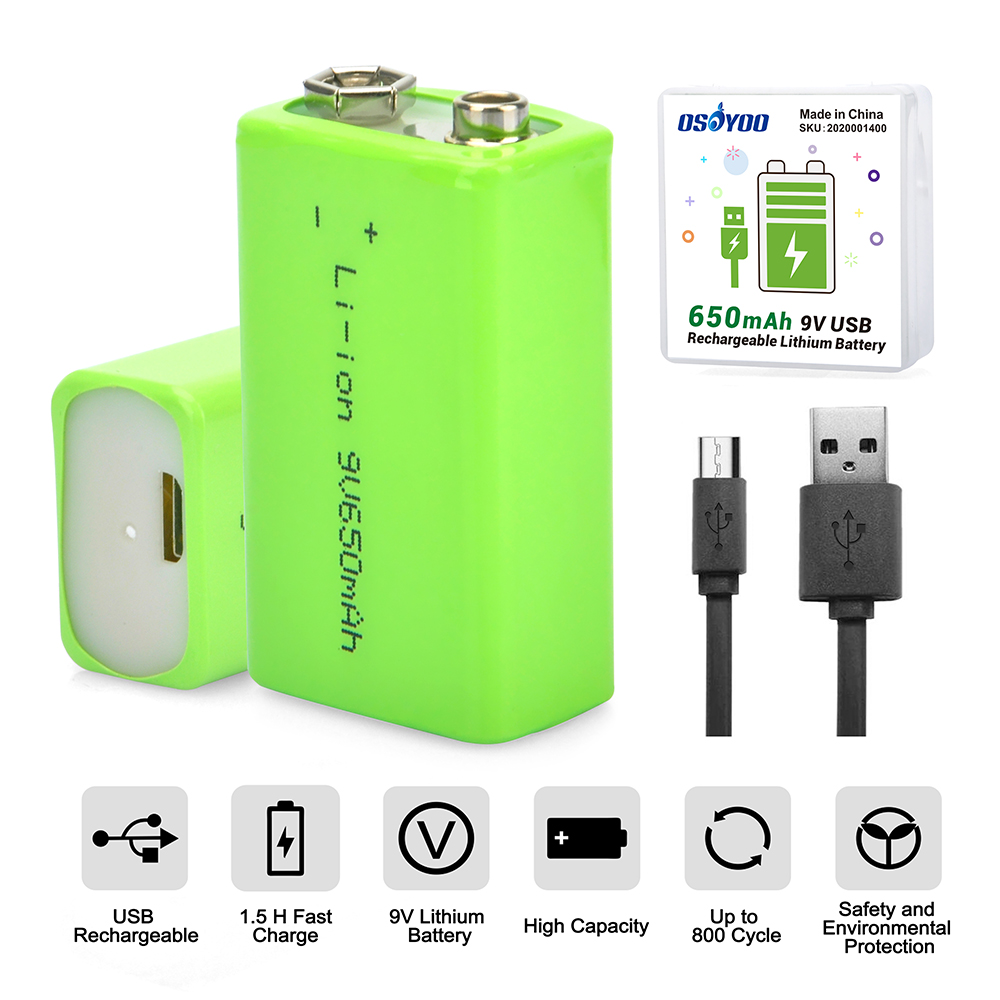
Disconnect Arduino from PC, put a 9V battery into battery pox(make sure polar direction is correct, otherwise it can destroy your device and cause fire hazard).
Put the spider on the ground, wave the Motor Power switch on the OSOYOO Magic I/O Shield V2.0, the car should go forward 5 seconds, then go backward 5 seconds, then right turn for 5 seconds, then left turn for 5 seconds, then stop.
If the car does not move as per above mentioned result, you should check your wire connection, battery voltage(must over 7.2v).


 Step 8): Also in Action , add the Turn Right at speed action blocks
  Step 9): Add the Turn Left at speed action blocks
 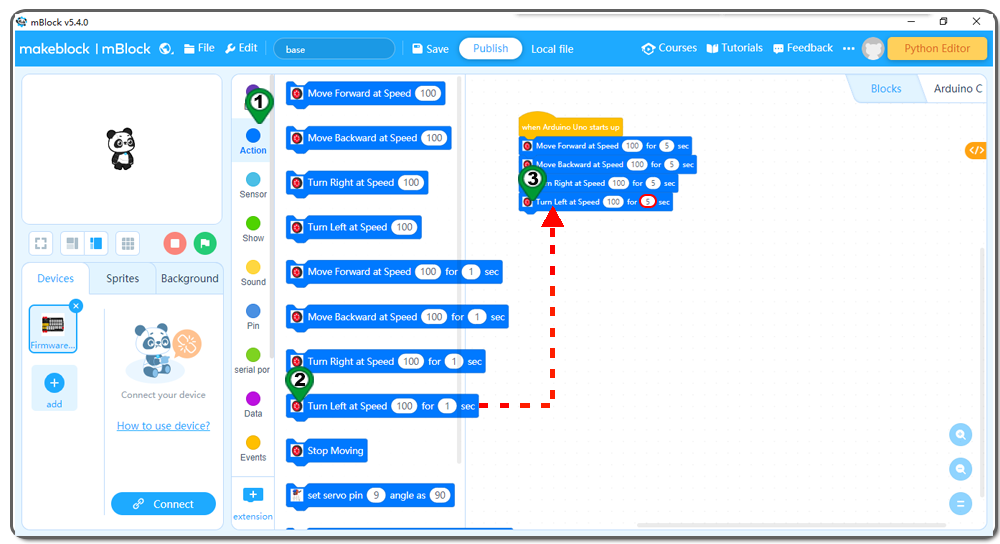 Step 10): Add the Stop Moving action blocks