In this lesson, we will use 2pcs IR distance sensors on a robot car and program the car to follow object movements. By using two infrared distance sensors mounted at the front of the vehicle, the robot can detect nearby objects and automatically adjust its movement to follow them.
You must complete lesson 1 before you continue on with this lesson.
OSOYOO ESPro Robot car chassis x1
OSOYOO Wheels x2
OSOYOO DC motors x2
OSOYOO ESPro motor driver board x1
OSOYOO Voltage meter x1
OSOYOO IR distance sensors x2
OSOYOO Battery box x1
OSOYOO 3pin female to female jumper wire x1
OSOYOO 10pin female to female jumper wire x1
Batteries (3.7 V) x2
Battery charger x1
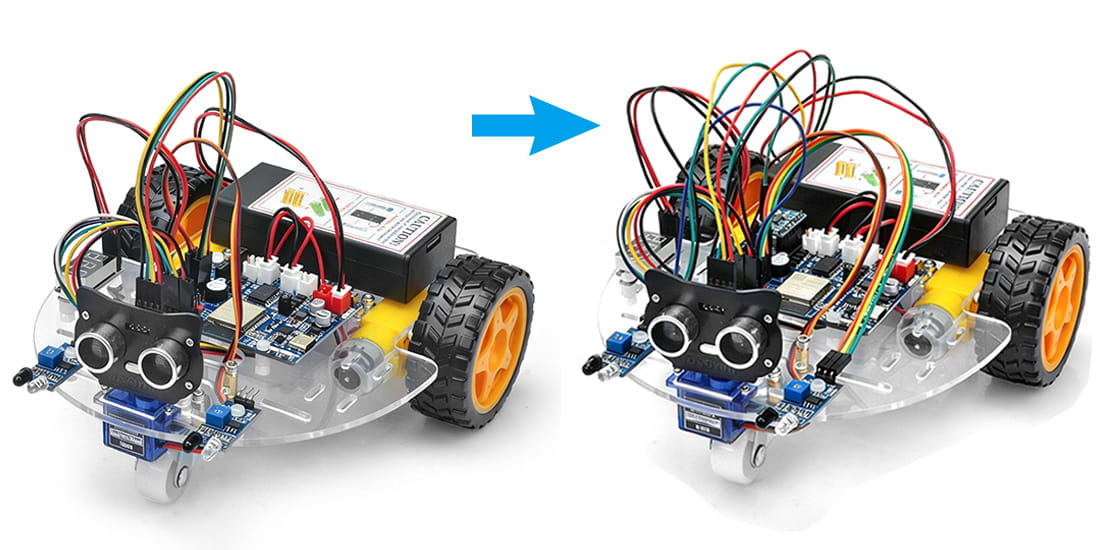
Step 1: Install the Espro smart car basic framework as per Espro smart car Lesson 1. If you have already completed installation in Lesson 1, just keep it as is.
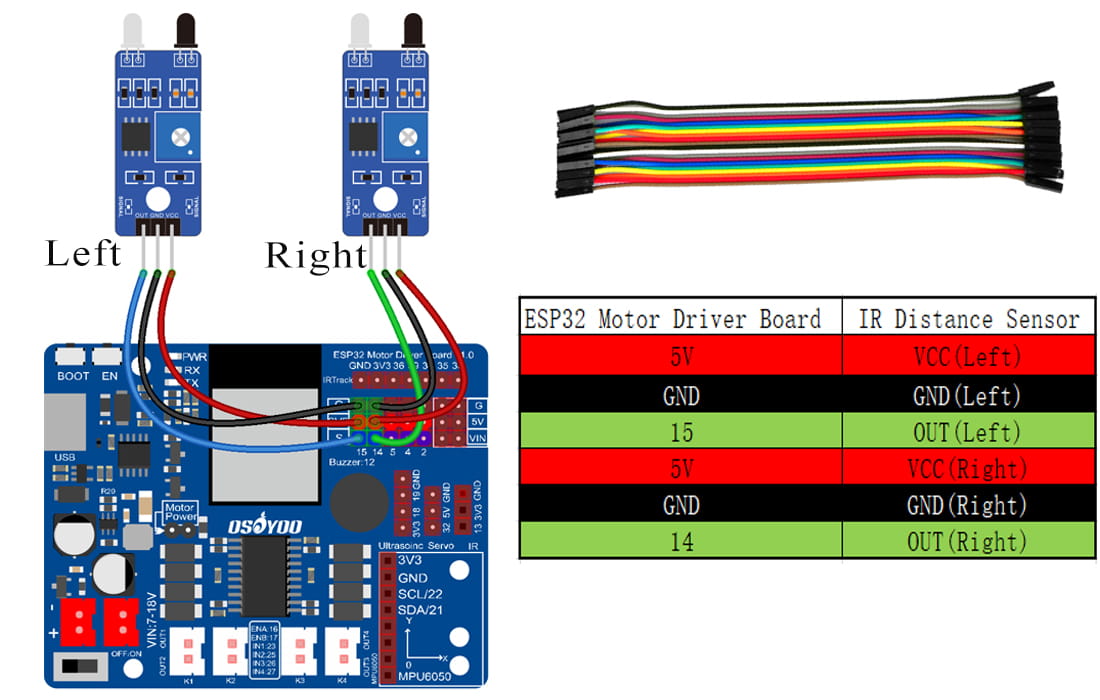
Step 2: Connect 2pcs IR distance sensors modules as below connection diagram. (Remember : DO NOT remove any existing wires installed in Lesson 1).
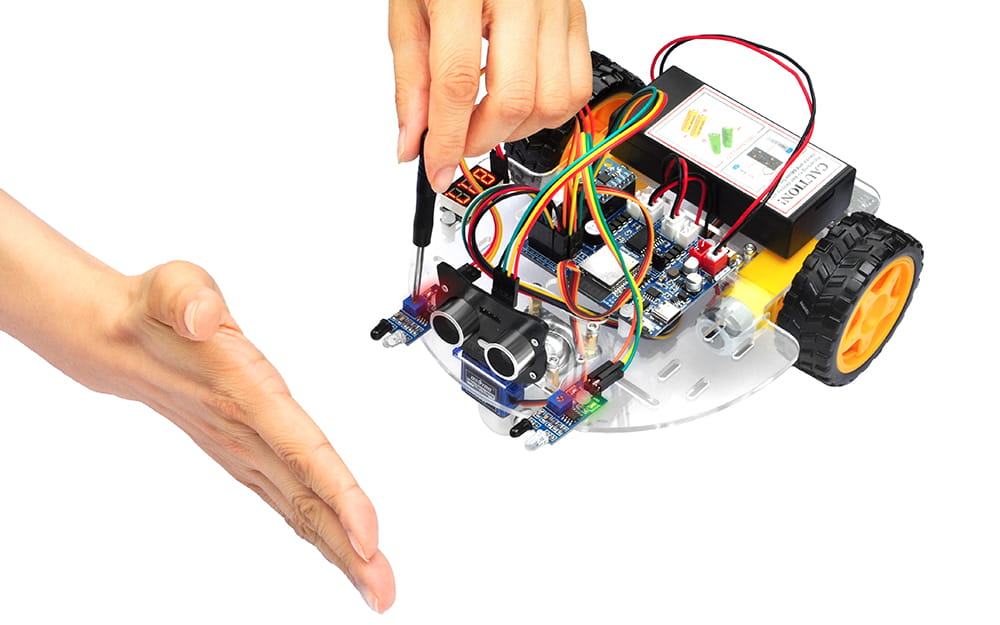
Step 3: Turn on the car, put object about 10 cm ahead of each IR distance sensors and adjust potentiometer on IR distance sensors to detect object or your hand.
Note: When these IR modules detect objects, both the power indicator and signal indicator are on. When No object is detected, only power indicator is on, signal indicator is off. If the signal indicator is always on even though there is no obstacle in front of the sensor, you need to adjust the potentiometer.
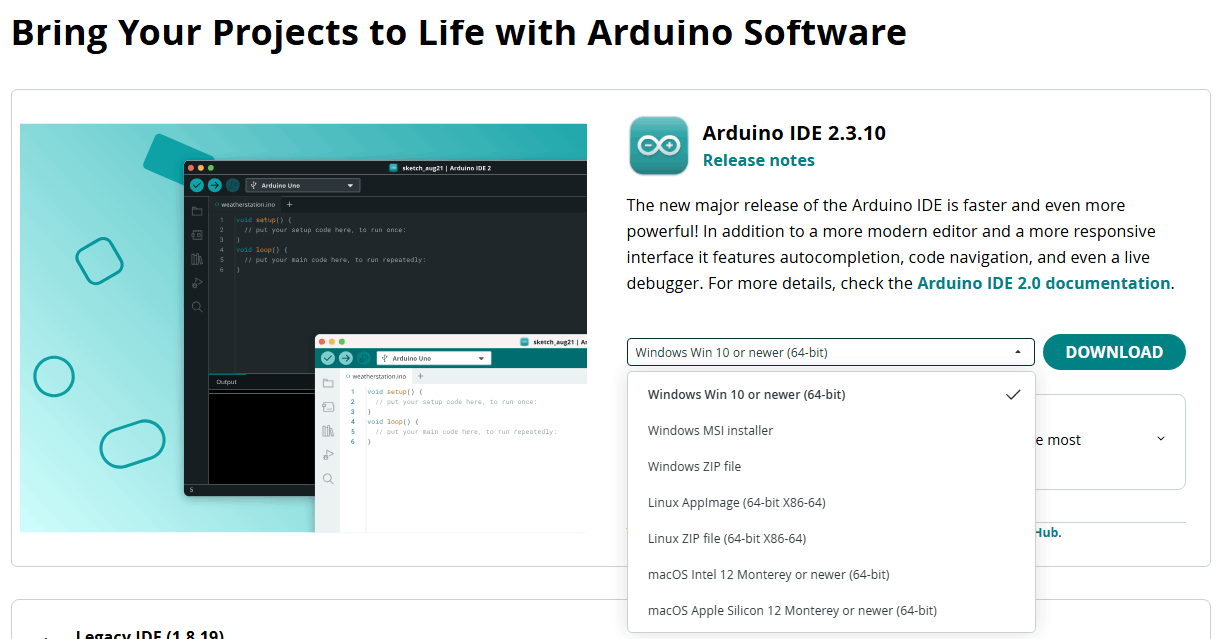
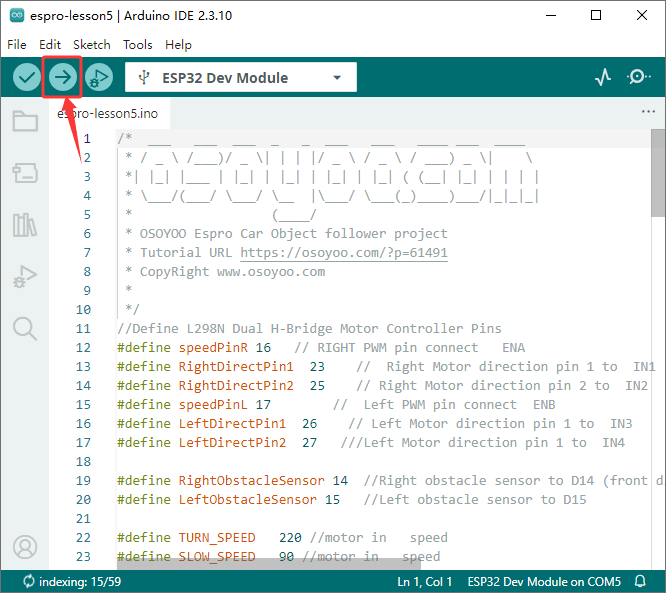
Connect ESPro motor driver board to PC with USB cable, Open Arduino IDE -> click file -> click Open -> choose code “espro-lesson5.ino” in espro-lesson5 folder.
Step 4:Upload the code
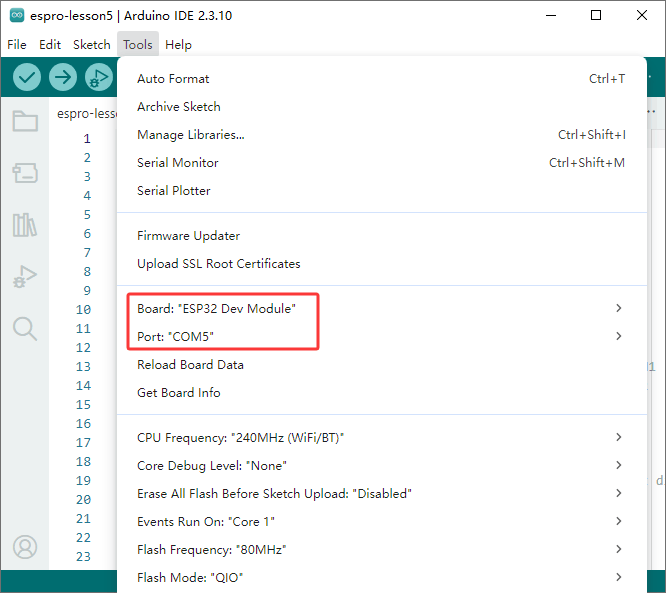
Select Tool->Board, select esp32 ->ESP32 Dev Module,
Then select correct port which matches ESP32 board,upload the sketch to the board.
Before testing, adjust the sensitivity of both IR distance sensors.
Turn on the car, place your hand or object ahead of the car, then the car will move towards your hand or object as if you pull it. It goes forward when both IR Obstacle Avoidance modules detect your hand; it turns right if only the right IR Obstacle Avoidance module detects object; it turns left if only the left IR distance sensor detects object.
When your hand is over 10 cm ahead, it will stop.
Power on the robot and hold it in your handPlace your hand approximately 10 cm in front of the sensor. Slowly rotate the onboard potentiometer. Watch the indicator LED.
Correct Adjustment
Object detected → Signal LED (green LED) ON
No object detected → Signal LED (green LED) OFF
After calibration, turn on the robot and place an object or your hand front it. Slowly move the object and observe the robot’s response.
Expected Behavior:
Both sensors detect the object → Robot moves forward
Only the left sensor detects the object → Robot turns left
Only the right sensor detects the object → Robot turns right
No object detected → Robot stops