In this tutorial, we will learn how to OSOYOO IoT Extension Board to remote APP. For this demonstration, we will build a simple human infrared detection project, and then set the infrared detection alarm point. Whenever an alarm is triggered, notification message will be sent to OSOYOO IoT APP.
This experiment can be applied to various security projects, such as breaking into the home alarm.

HARDWARE
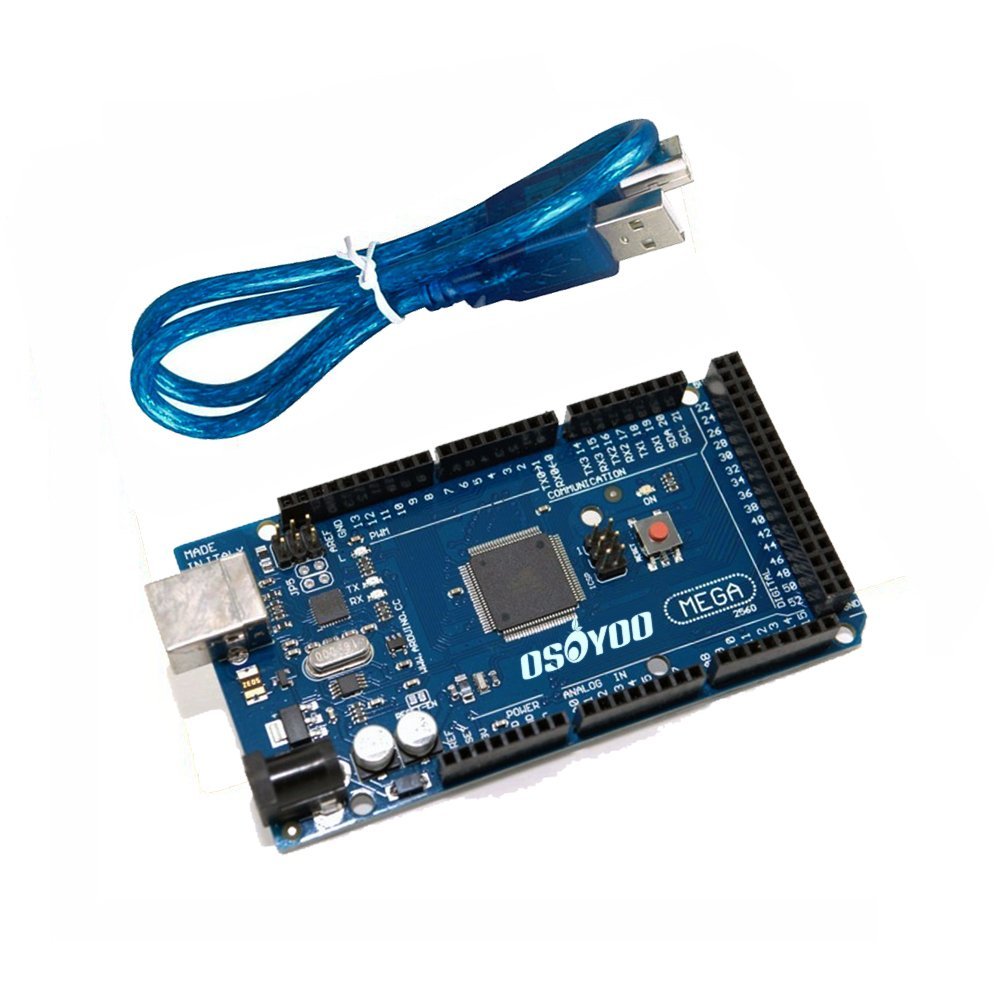
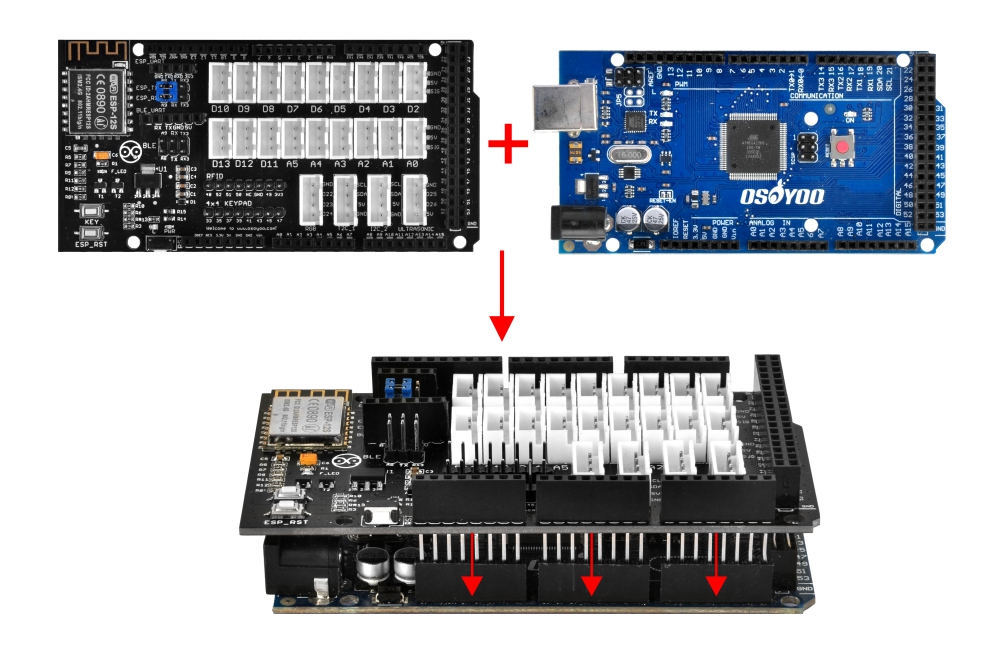
- OSOYOO Mega2560 board x 1
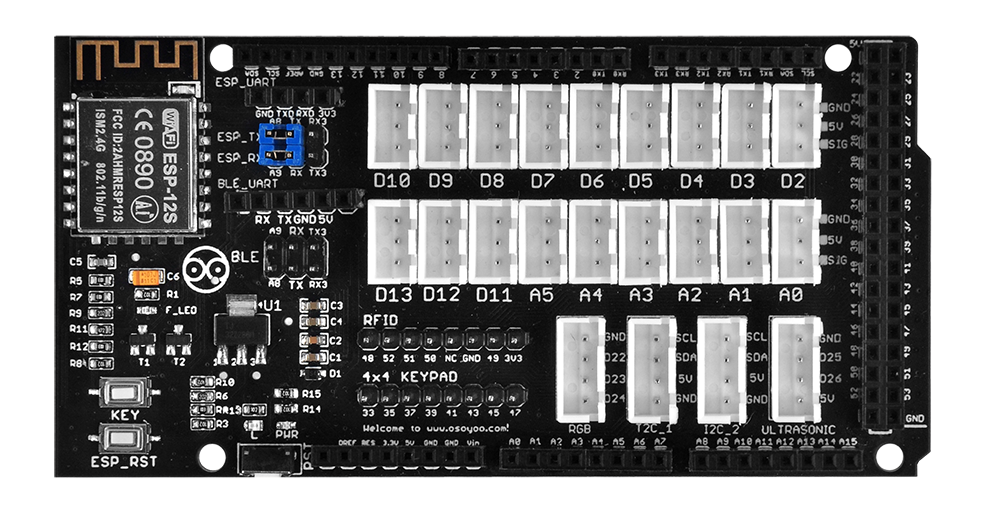
- OSOYOO IoT Shield x 1
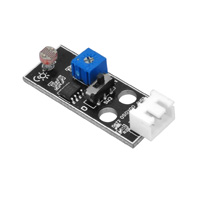
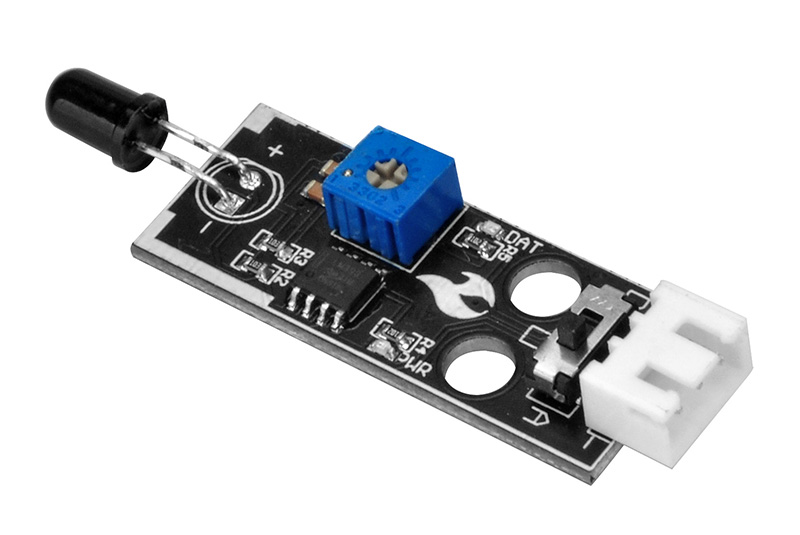
- PIR Motion Detect Module x 1
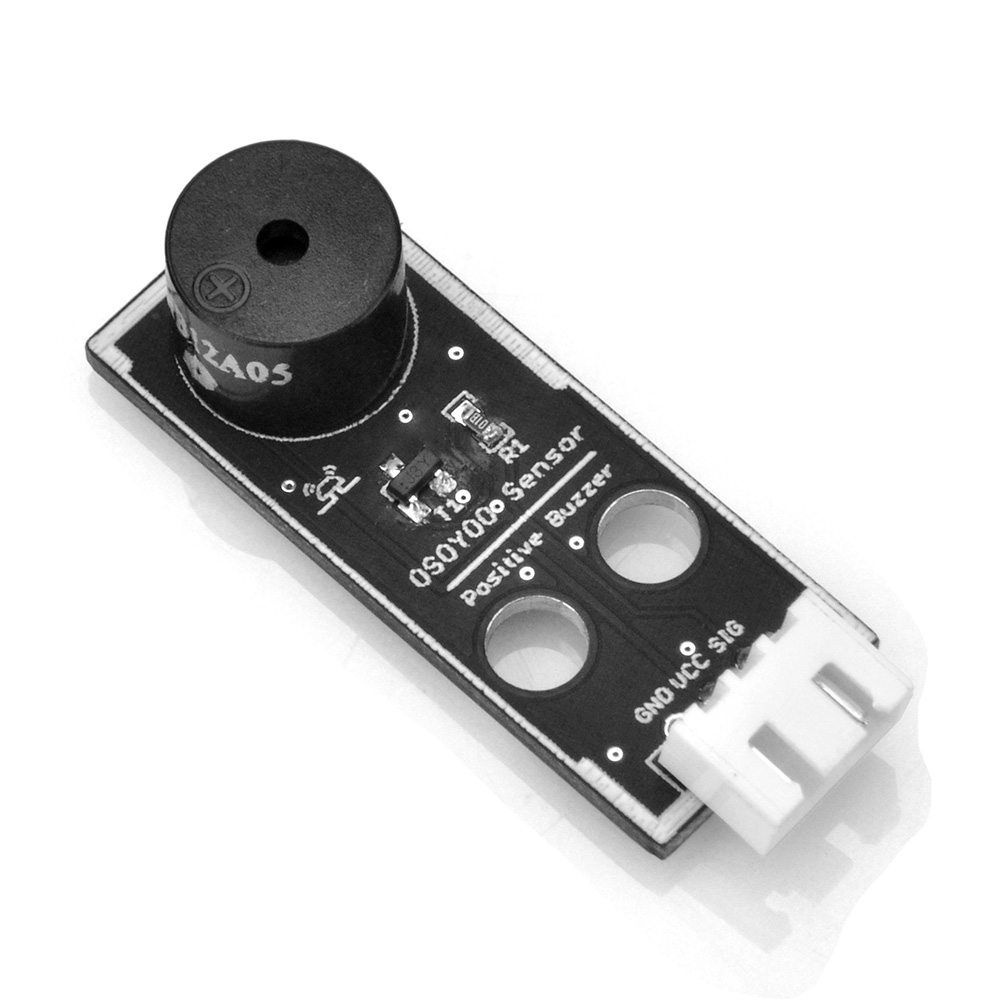
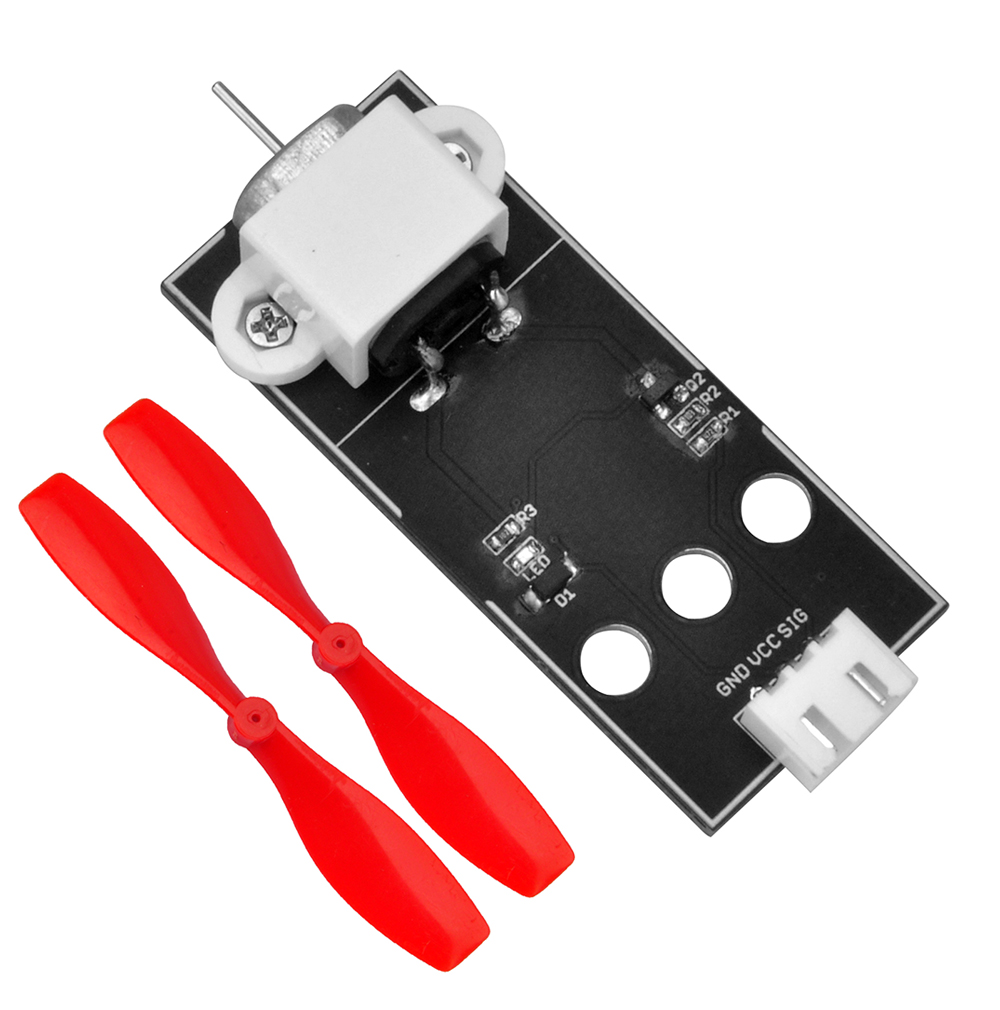
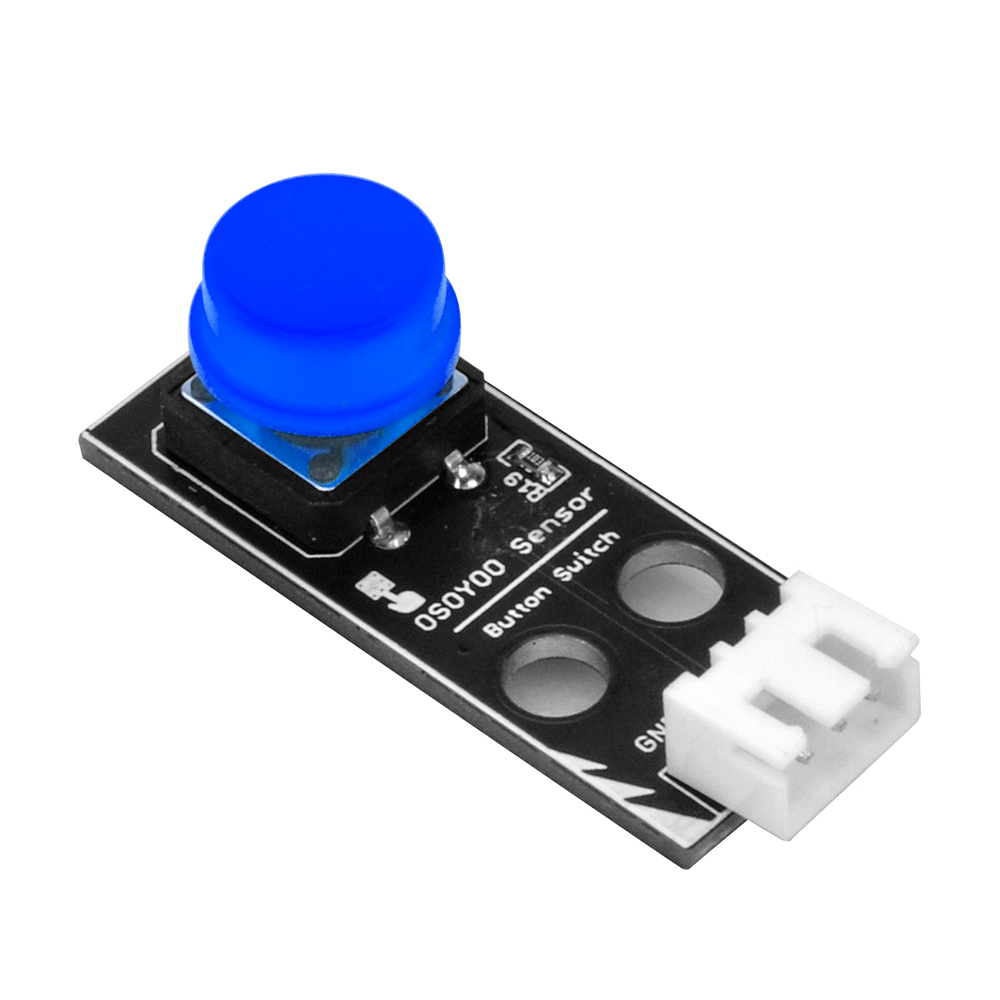
- Positive Buzzer x 1
- USB Cable
- Jumpers
SOFTWARE

First, please plug OSOYOO MEGA-IoT Extension Board into MEGA2560 board:
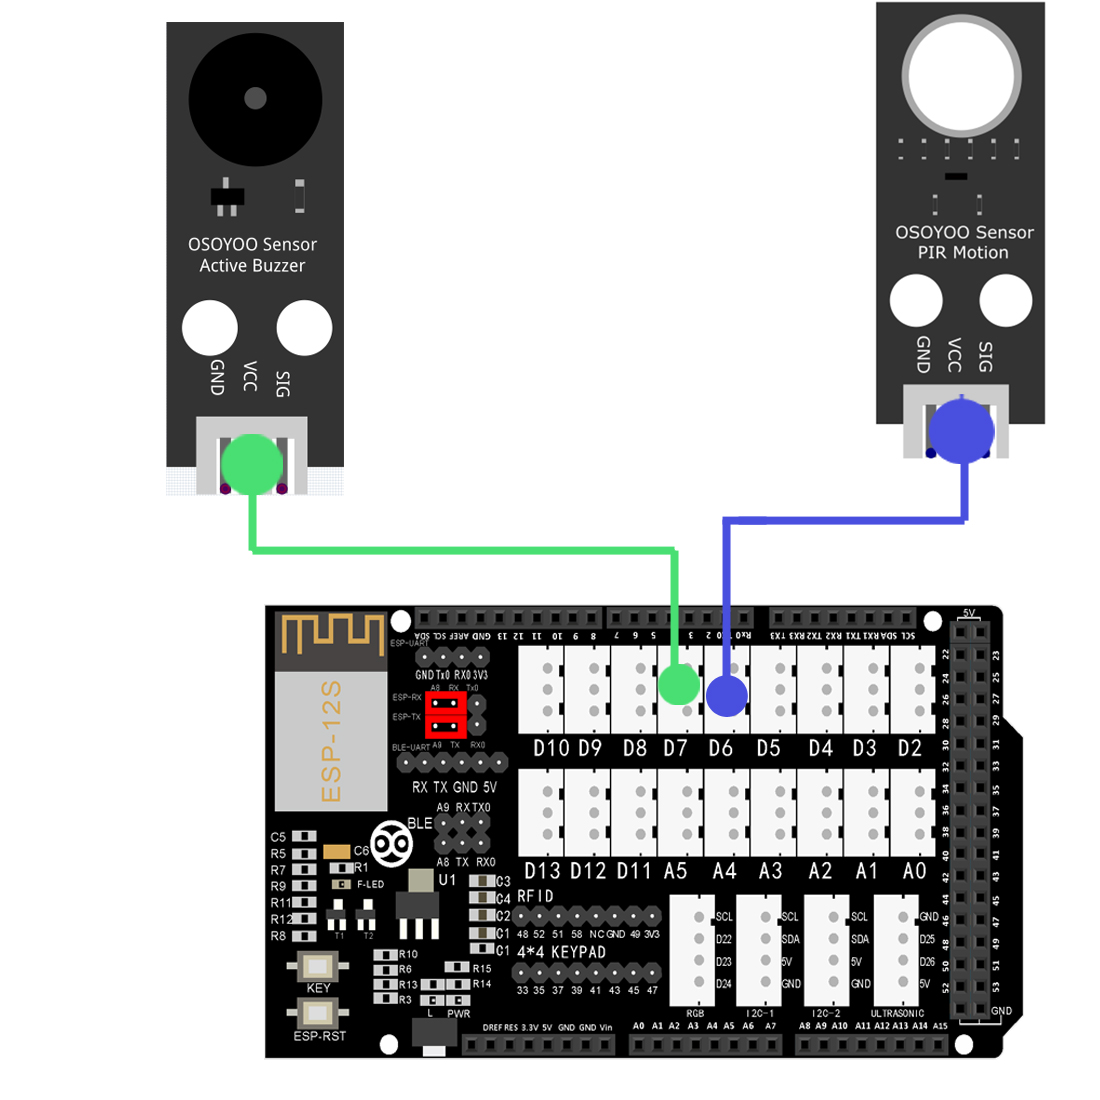
Build the circuit as below:
PIR motion sensor — D6,
buzzer —–D7.

Prerequisite:
If you have installed above libraries, please go to next stage:
Download and Edit Lesson3-1 Arduino Code
Step 1 Download the code from following link, unzip it:
https://osoyoo.com/driver/Smart_House_IoT_Learning_Kit_V2.0_code/Lesson3-1.zip
Step 2 After above operations are completed, connect OSOYOO MEGA2560 Board to PC with USB cable.
Notice: Shut off your battery or unplug your power adapter when upload sketch code to Arduino.
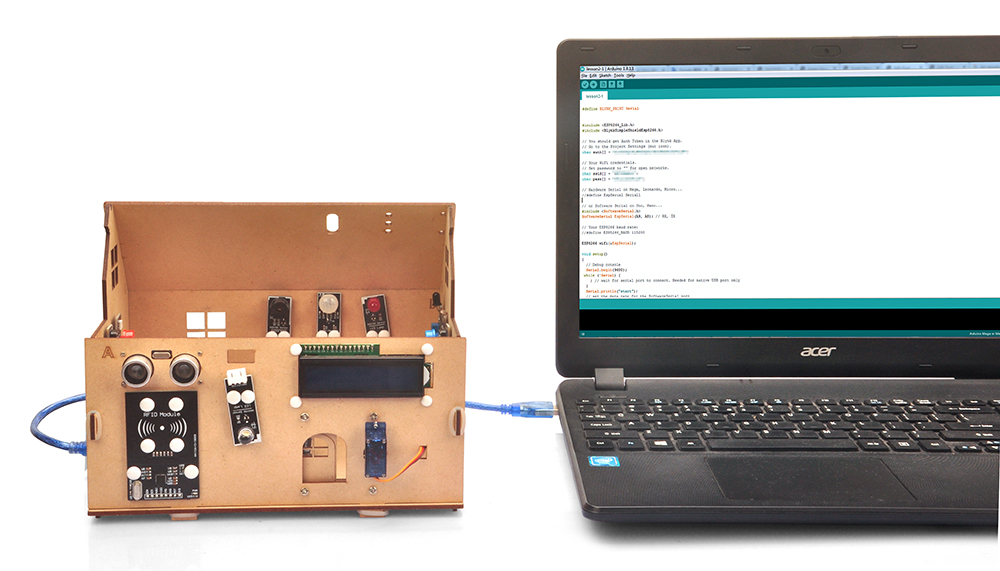
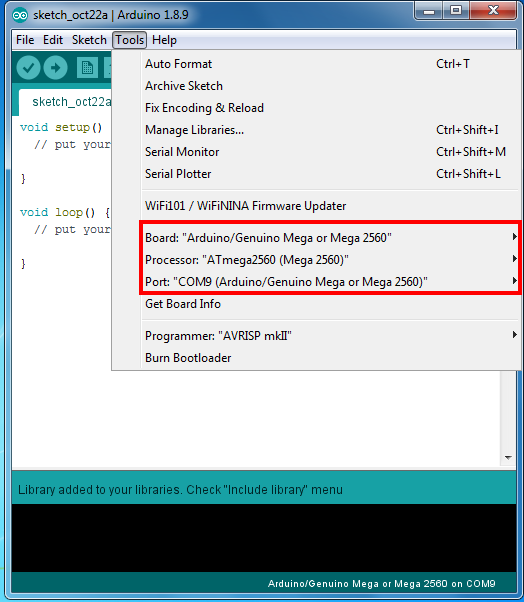
Step 3 Open Arduino IDE: Choose corresponding board type and port type for you project .
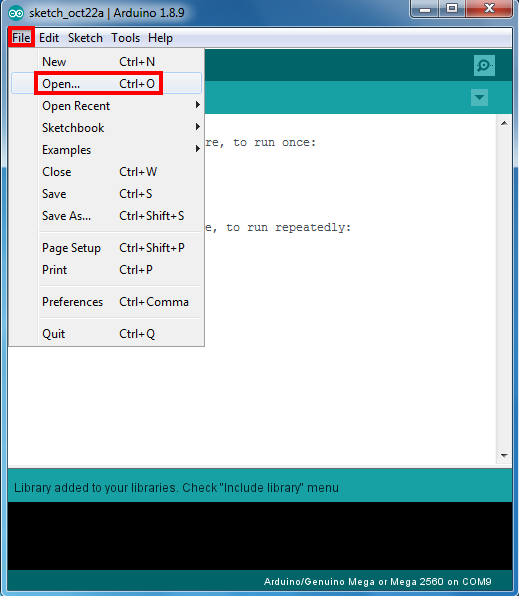
Step 4 Arduino IDE: Click file – Open, then choose code in the folder, load up the sketch onto your Arduino.
You need to edit the code as following:
Note: In the sketch, find these code in line 13,14 as following:
char auth[] =”0ByWpc50cmOJ5O6OyHMaK4OSHkDvUeI-”;
char server_ip[]=”192.168.1.81″; // replace this line with your Blynk Server IP addres;
Replace 0ByWpc50cmOJ5O6OyHMaK4OSHkDvUeI- with your local Blynk Token.
Replace 192.168.1.81 with your local Blynk Server LAN IP address.
If you don’t know how to get token and Server IP address, read this article.
In lines 17,18 and replace *** with your wifi ssid/password
char ssid[] = "***";//replace this line with your wifi ssid
char pass[] = "***"; //replace this line with your wifi password
please replace the *** with your correct wifi SSID and password, otherwise your project can not connect to Internet.
Upload the sketch to the board. Wait until you see something like this:
Done uploading
Now open your Serial Monitor, you will see Arduino is trying to talk to Blynk server. After 20 to 30 seconds, your Serial monitor will finally shows Arduino’s IP address and a “Ready (ping: 25ms)” ending message.
Congratulations! You are all ready! Your hardware is now connected to the Blynk server.
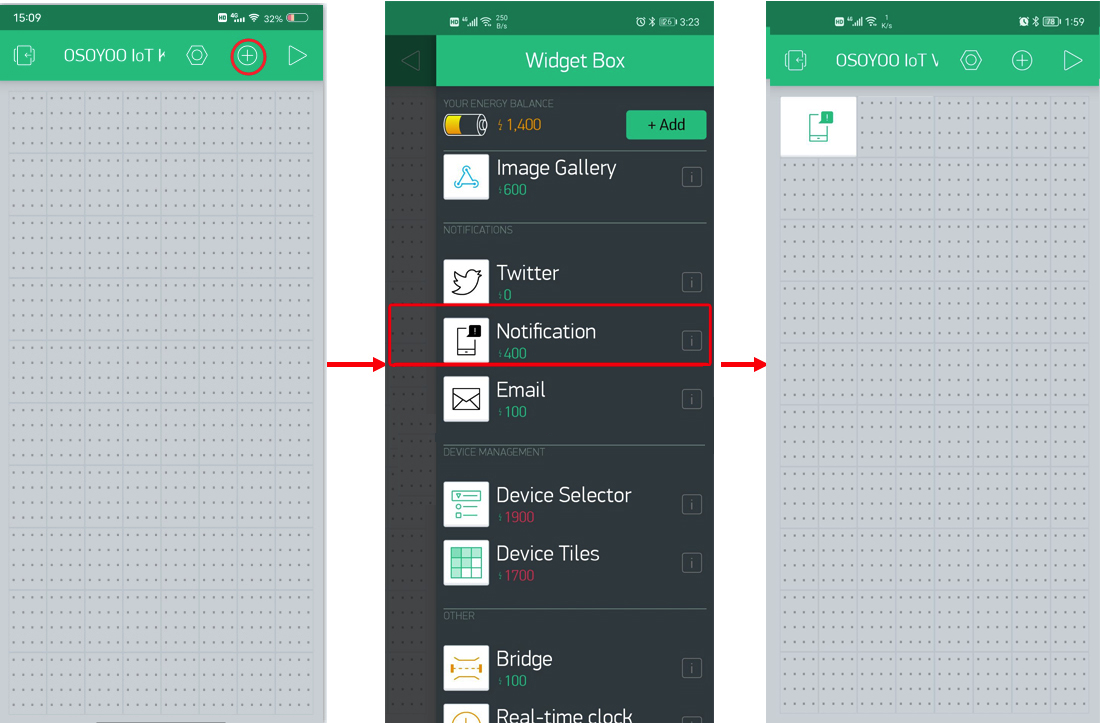
Add a Widget in Blynk legacy APP
let’s add Notification Widget.
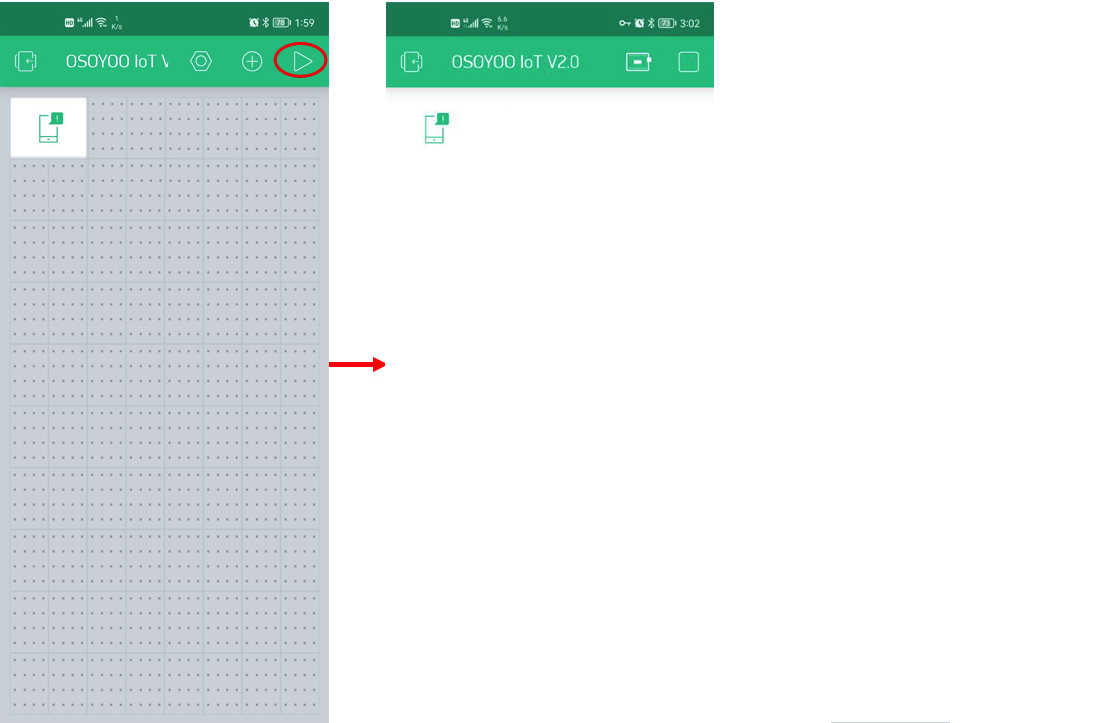
Open your project page and press the “+” button to add the “Notification” Widget.
press the “▷” button to start your project.
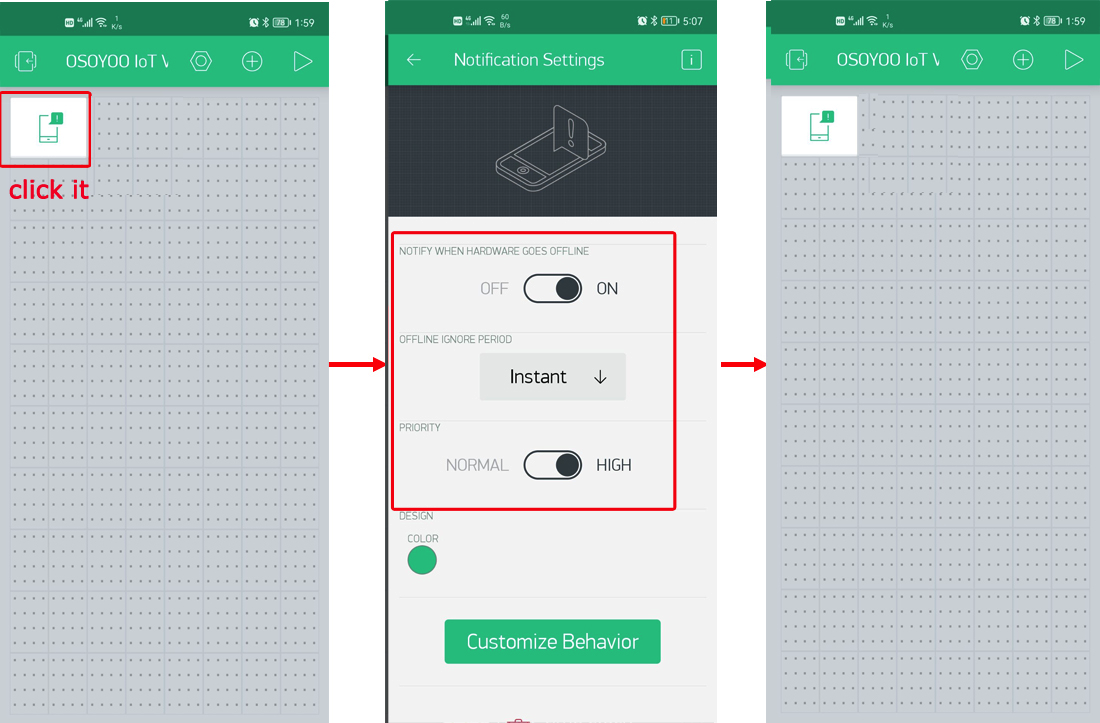
Notification Widget settings:
- Notify when hardware goes offline: ON
- Offline ignore period: Instant
- Priority: HIGH
Then set the Blynk notification to the highest authority in the phone settings.
press the “▷” button to start your project.This will switch you from EDIT mode to PLAY mode .

When you pass by the PIR sensor module, if the sensor detects human movement, the blue light on the sensor will be lit, the local buzzer will beep, and your APP will receive a warning notification “Someone broke in!”
If you find the device is offline, please check your code, wiring and app settings, and try again.
If you find the device is offline, please check your code, wiring and app settings, and try again.