Smart home is an intelligent place which can assist the residents to live independently and comfortably with the help of modern technology. In a smart home, all the mechanical and digital devices are connected with each other and can be controlled by computer through the internet.
In this capstone project, we will build the most complicated smart home system in this tutorial using all the parts inside OSOYOO Smart Home IoT kit. Through this system, we can complete remote data collection and remote control of multiple electronic devices through Blynk legacy APP.
HARDWARE
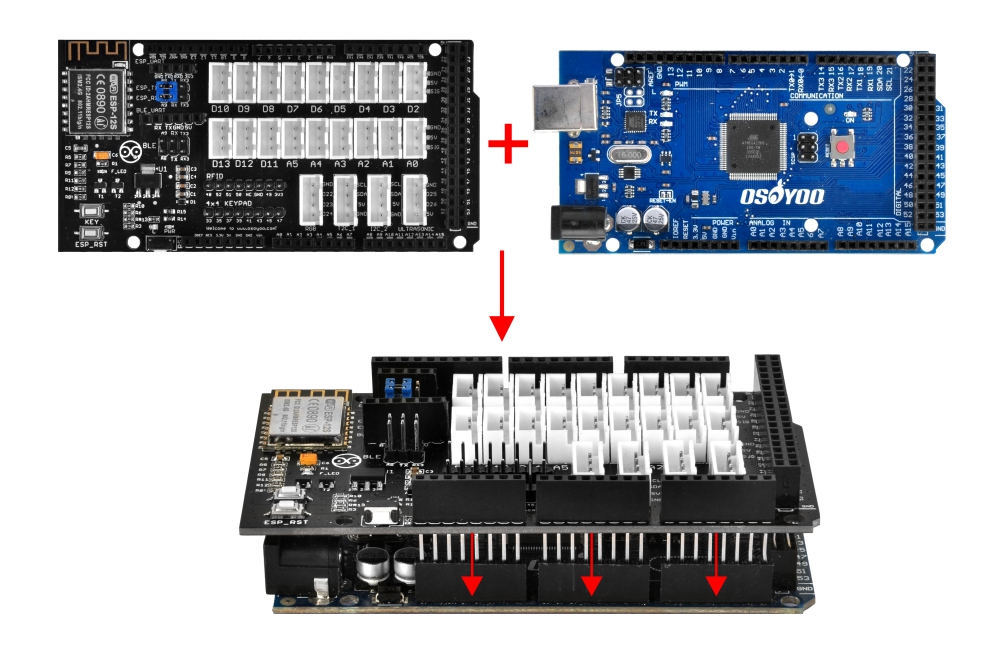
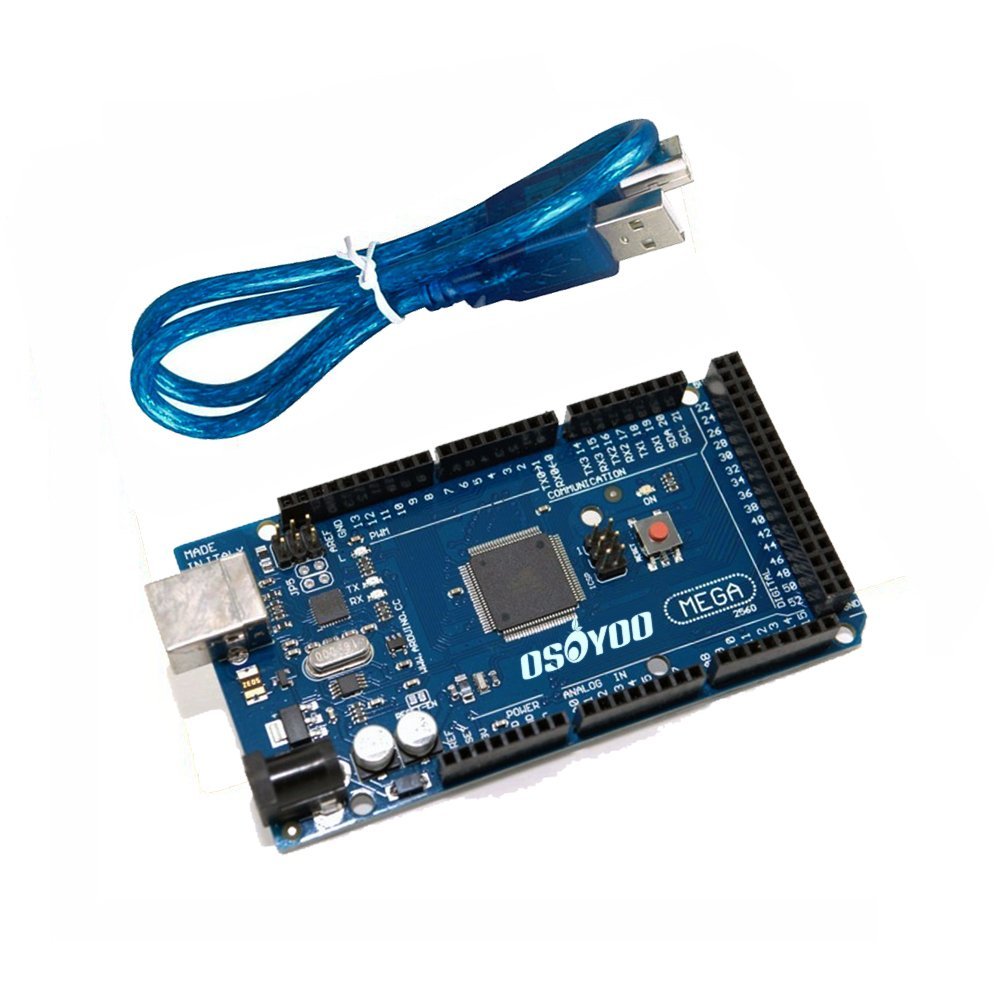
Osoyoo Mega2560 board(fully compatible with Arduino MEGA2560) x 1
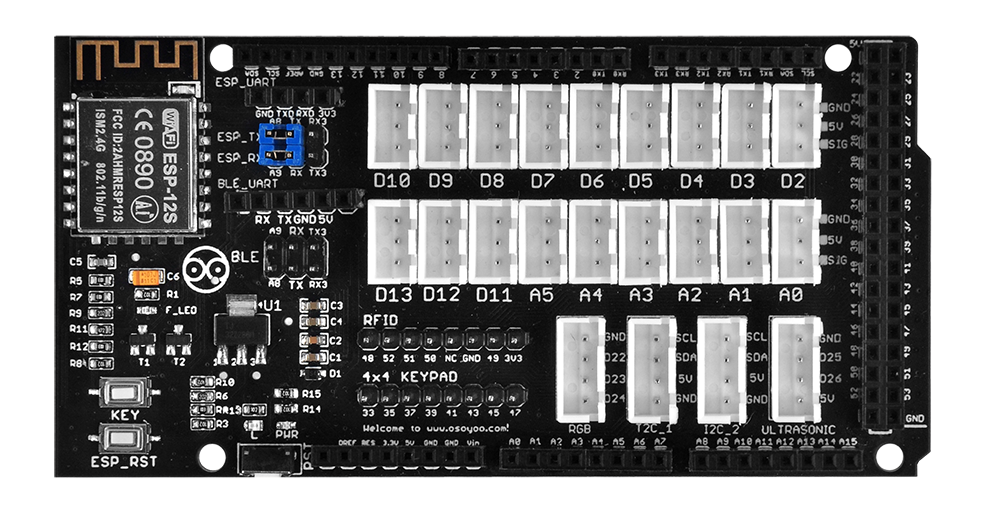
First, please plug OSOYOO MEGA-IoT Extension Board into MEGA2560 board:
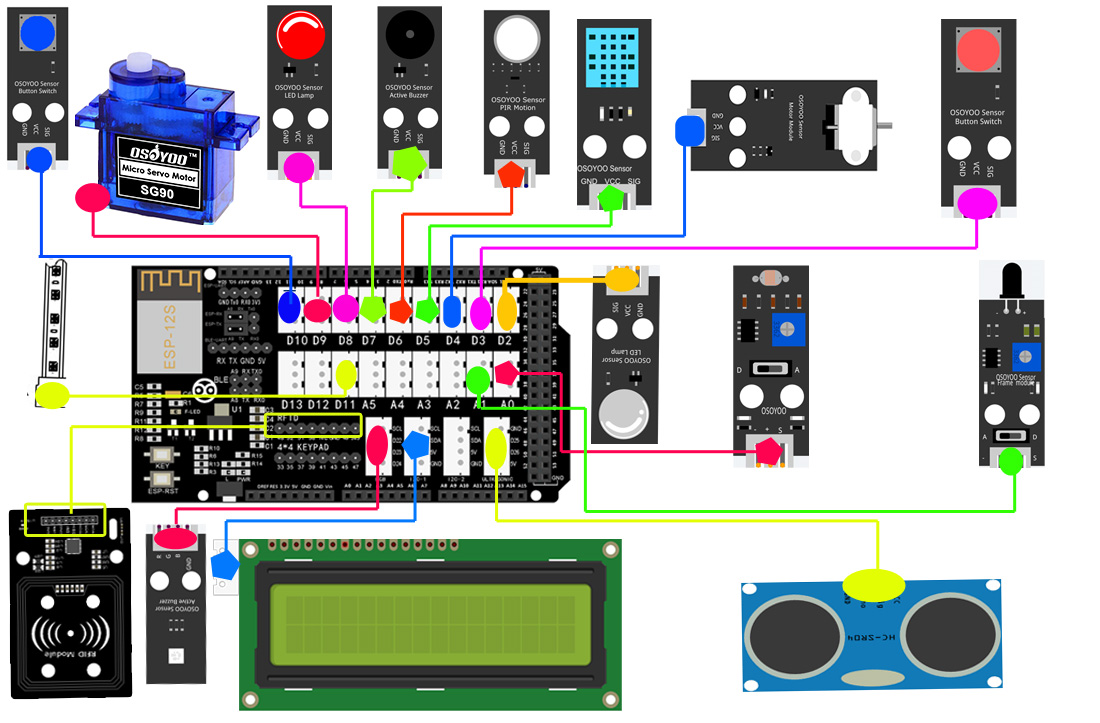
Build the circuit as below:
Modules
Osoyoo Mega 2560
White LED Module
D2
Red Button Module
D3
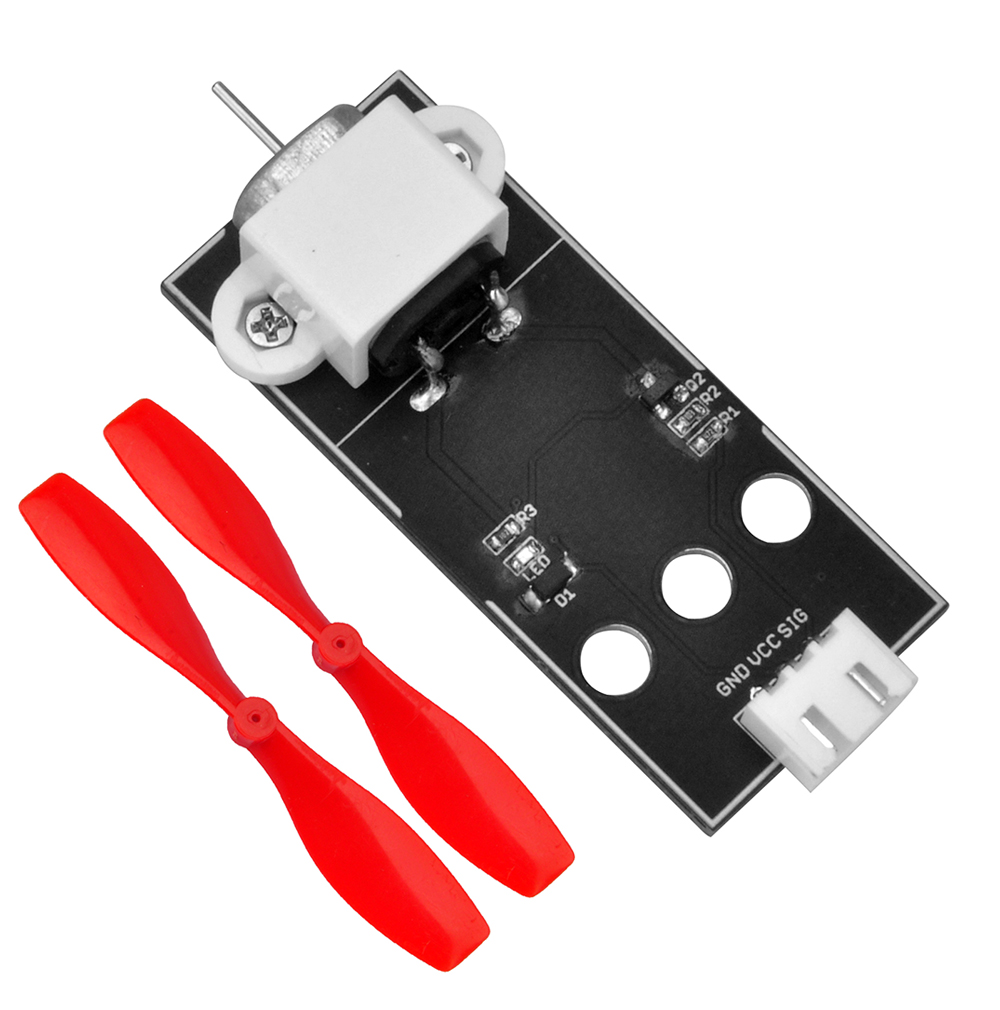
Fan Module
D4
DHT11 Module
D5
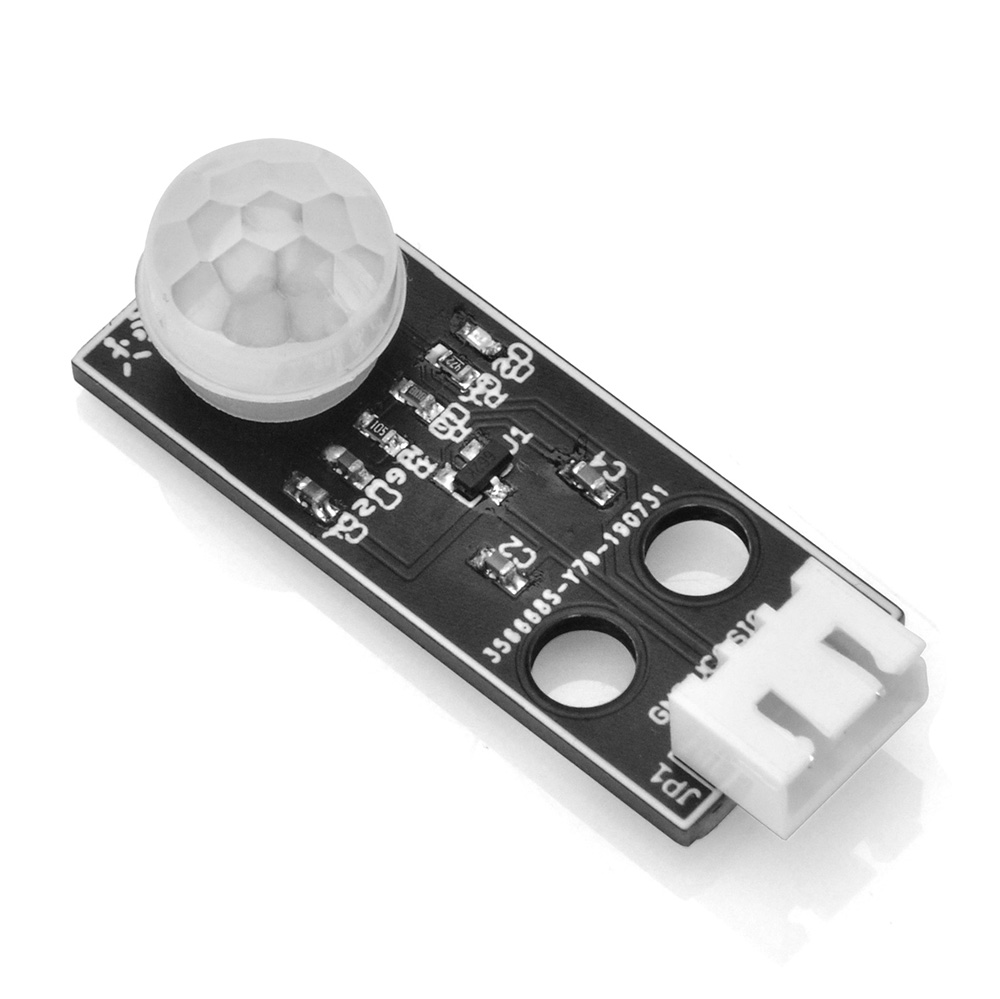
PIR Motion Sensor
D6
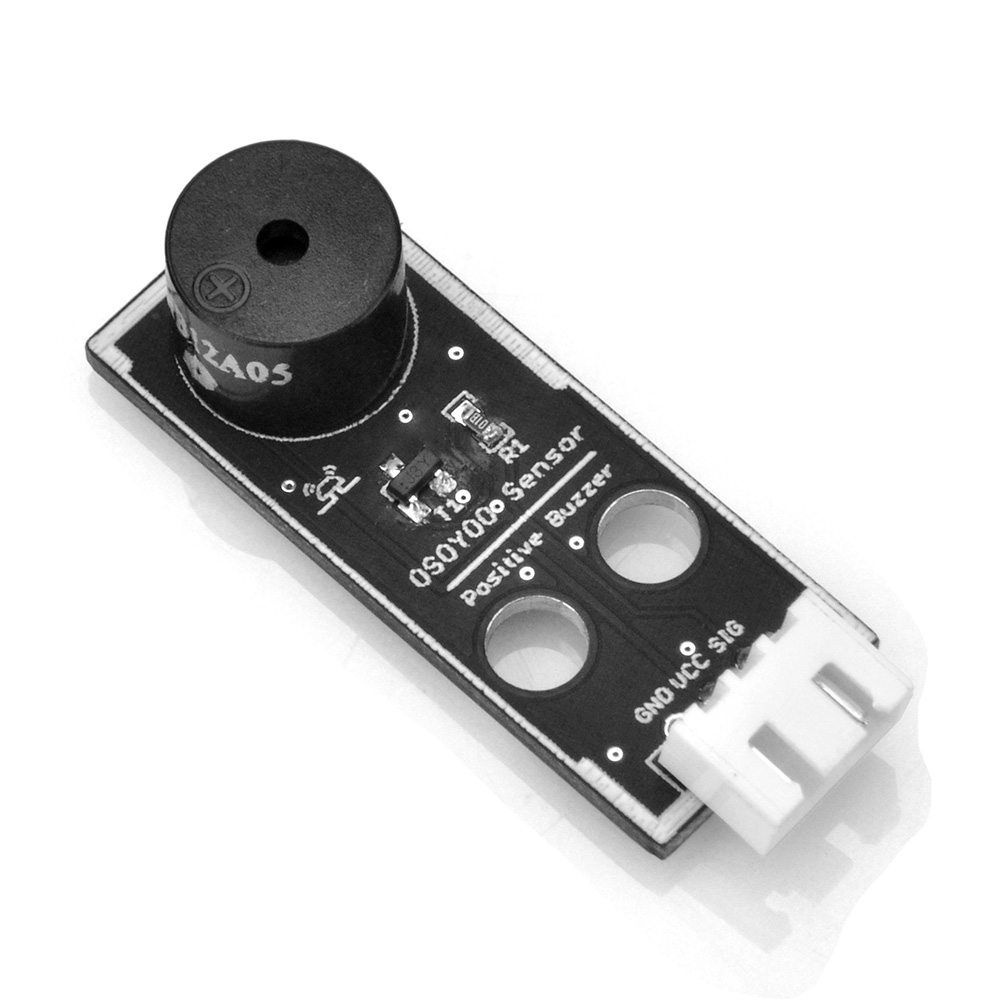
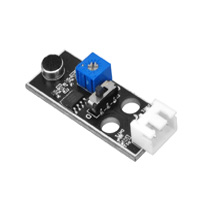
Active Buzzer
D7
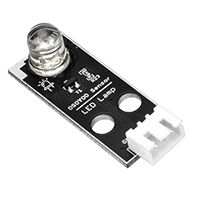
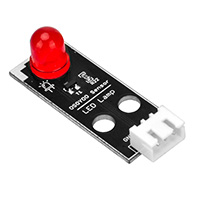
RED LED Module
D8
SG90 Servo
D9
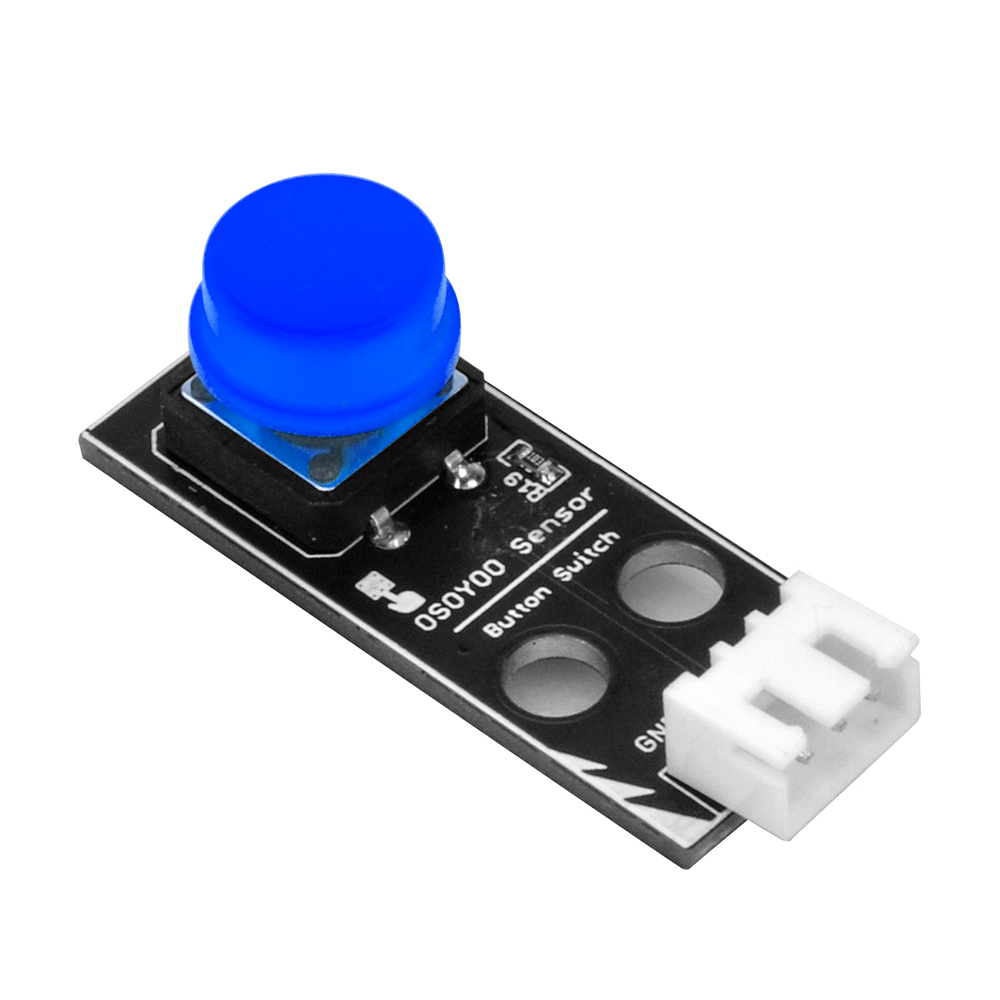
Blue Button Module
D10
Led strip light
D11
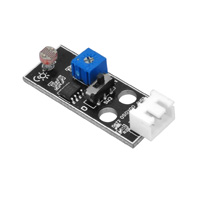
Photosensitive sensor
A0
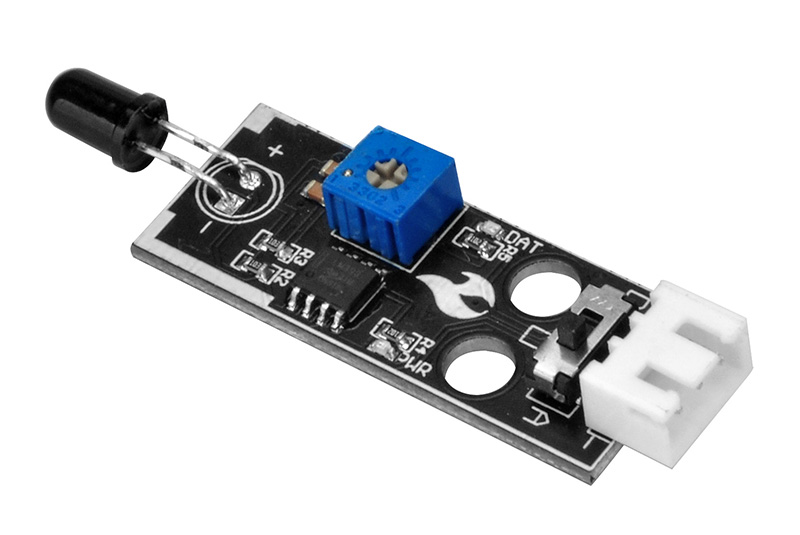
Flame sensor
A1
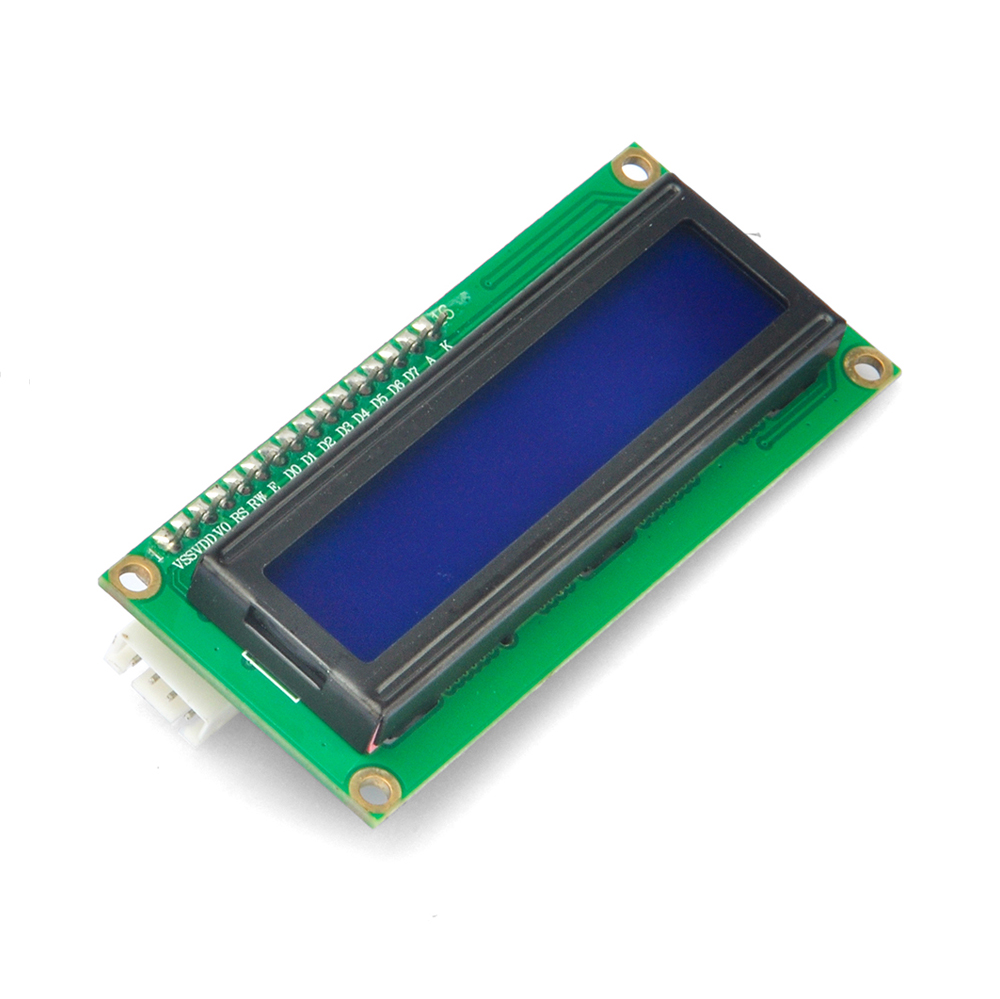
I2C 1602 LCD Display
I2C_1 Port
RGB Module
RGB Port
HC-SR04 Ultrasonic Module
Ultrasonic Port
RC522 RFID Module
RFID Port
Note:
Before you start this tutorial, make sure you know how to use these devices, or you need to learn the previous tutorial.
Because of the variety of sensors used in this tutorial, be careful, you can also use the code in the previous tutorial to detect whether the connection is correct.
Prerequisite:
You need to install Local Blynk Server, Blynk APP, Arduino IDE, Blynk Libraries before running the code of this lesson. If you haven’t done these installations, please read following contents in lesson2-1 link:
You also need to install all the libraries showed in SOFTWARE list in the top of this page. These libraries are supposed to be installed in previous lessons. If you haven’t installed any of these library file, please download and install it into Arduino IDE.
If you have installed above libraries, please go to next stage:
Note: In the sketch, find these code in line 13,14 as following:
Replace 0ByWpc50cmOJ5O6OyHMaK4OSHkDvUeI- with your local Blynk Token.
Replace 192.168.1.81 with your local Blynk Server LAN IP address.
If you don’t know how to get token and Server IP address, read this article.
In lines 17,18 and replace *** with your wifi ssid/password
char ssid[] = "***";//replace this line with your wifi ssid
char pass[] = "***"; //replace this line with your wifi password
please replace the *** with your correct wifi SSID and password, otherwise your project can not connect to Internet.
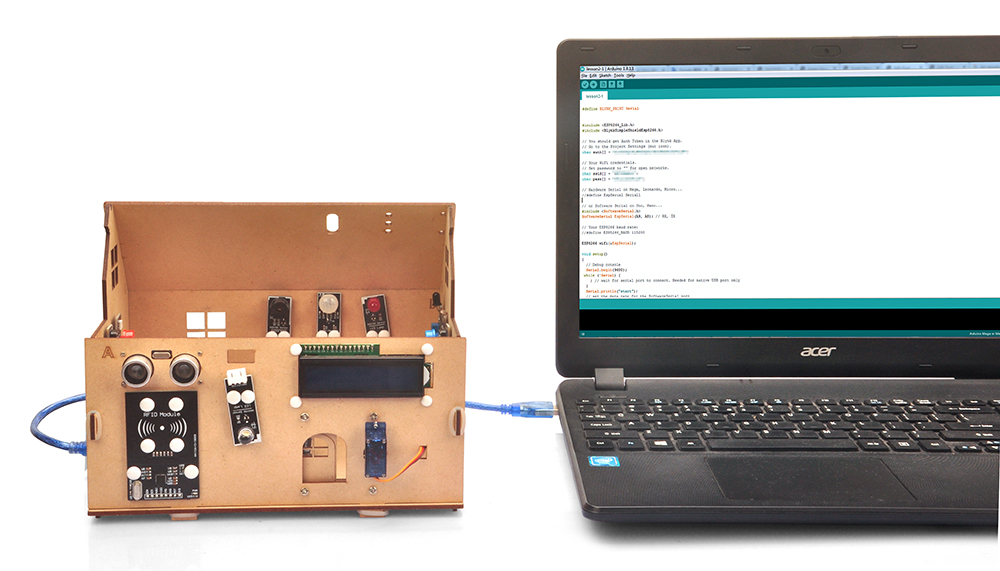
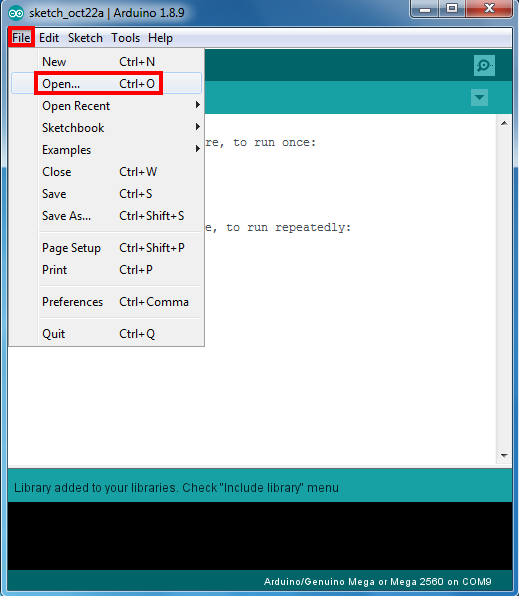
Upload the sketch to the board. Wait until you see something like this:
Done uploading
Now open your Serial Monitor, you will see Arduino is trying to talk to Blynk server. After 20 to 30 seconds, your Serial monitor will finally shows Arduino’s IP address and a “Ready (ping: 25ms)” ending message.
Congratulations! You are all ready! Your hardware is now connected to the Blynk server.
But your coding task has not completed yet. You need find your RFID card ID and change the code to match this ID.
To find the card ID, open the Serial monitor, you can see that the system is initialized successfully, and then put your RFID card in the RFID module recognition area, you will see your serial monitor will display your the card information as follows:
RFID START!Find the card!Card type: UnknownThe card's number is : 71BA2F2ECA
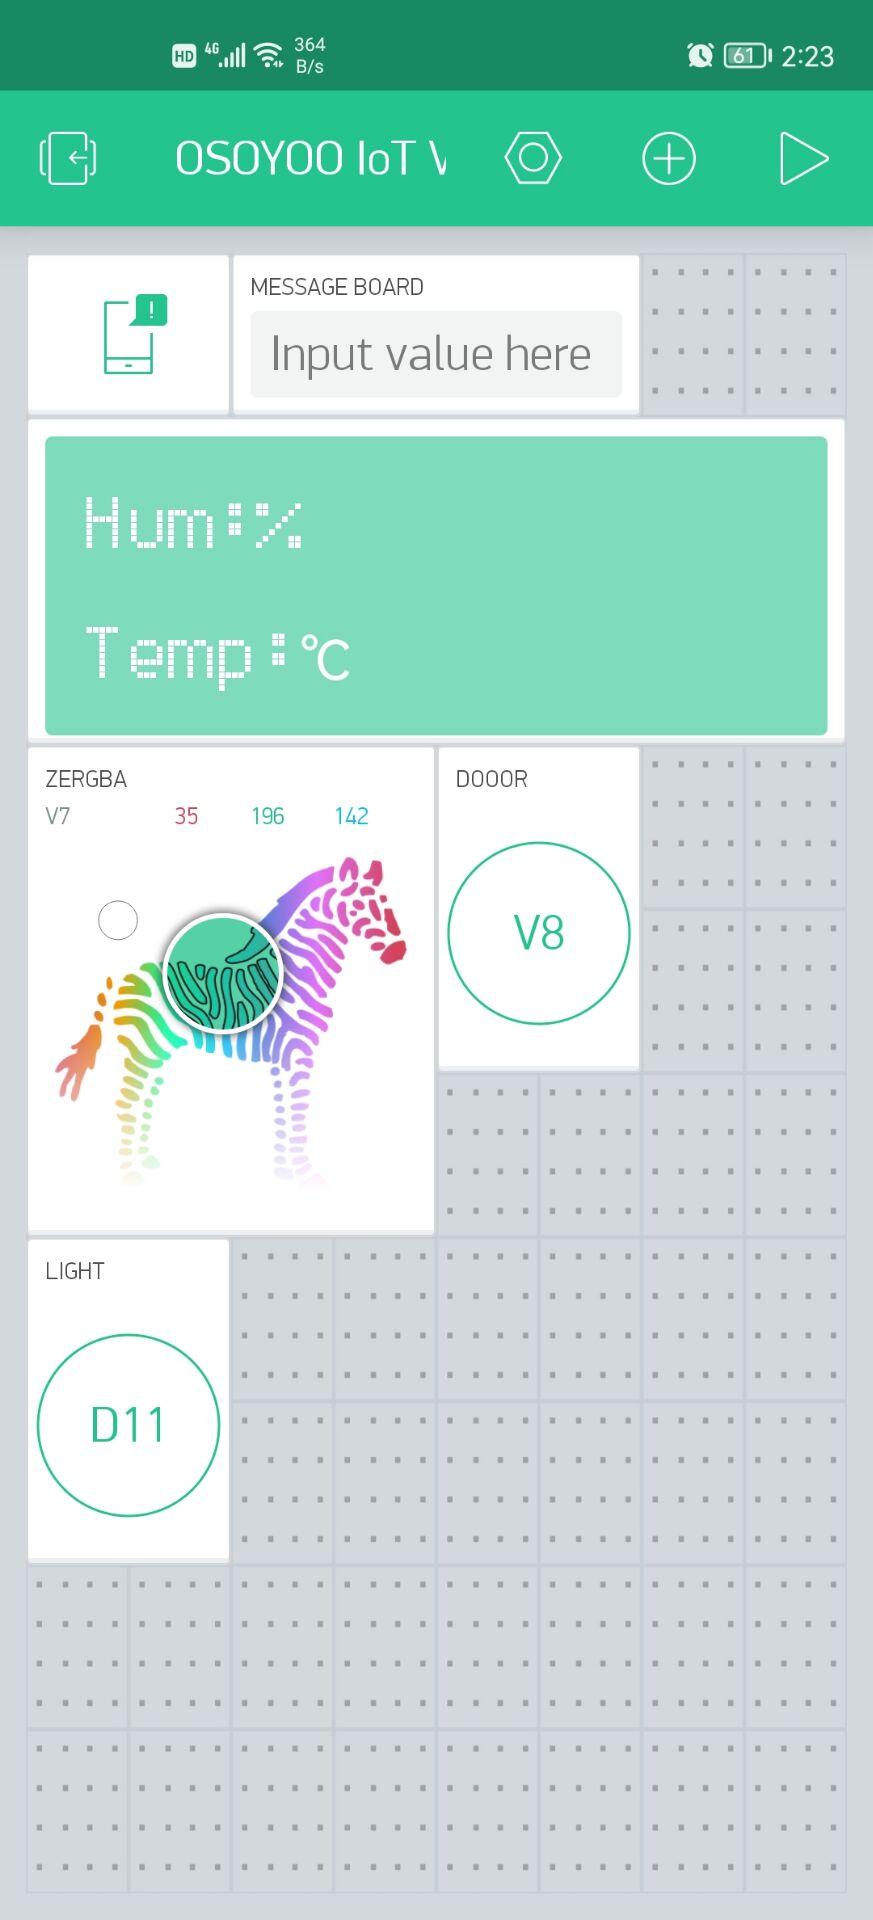
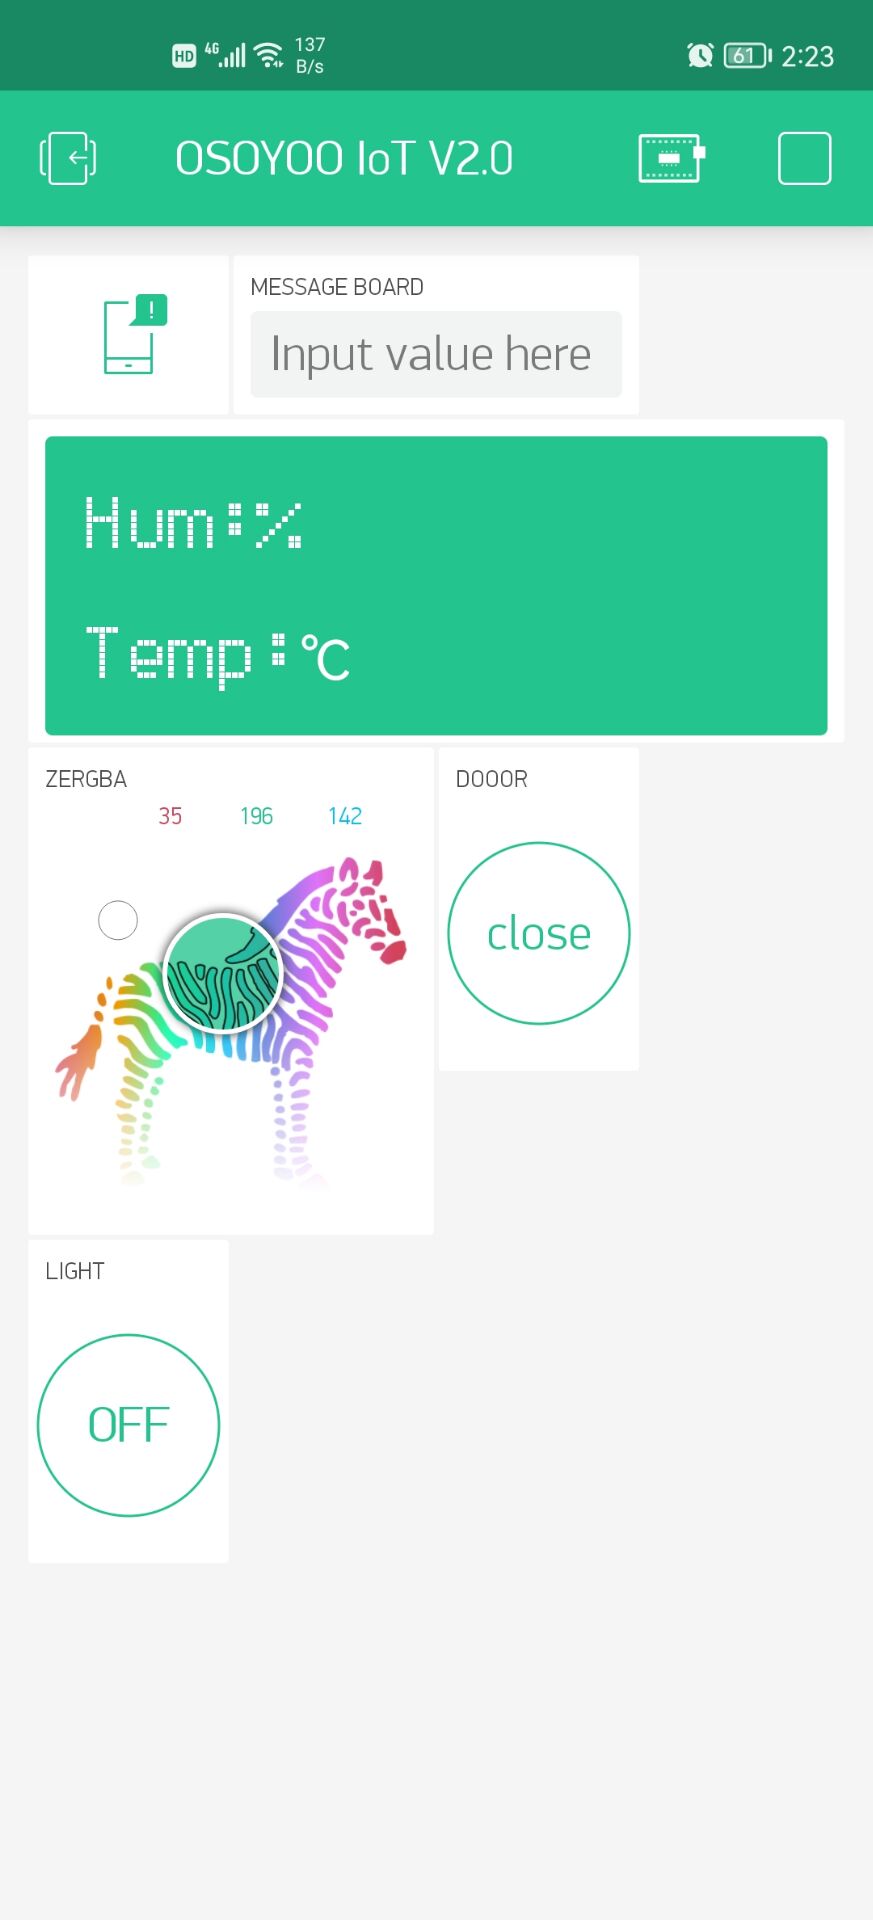
After completed above operations, open the Blynk app and you will see as below:
After you finished all above operations, press the “▷“ button. This will switch you from EDIT mode to PLAY mode where you can interact with the hardware.
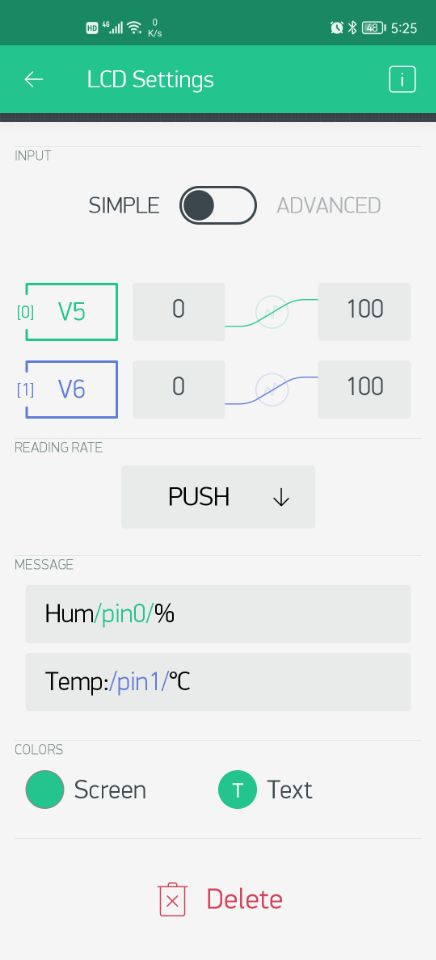
Next, turn on the phone, we will see the real-time temperature and humidity data, and we can also see it on the I2C LCD display. If DHT11 is disconnected or fails, you will get a “DHT11 Failed!” prompt.
Moreover, when the room temperature exceeds 30 degrees Celsius, the fan module on the roof will automatically start to adjust the temperature, and the mobile phone will also receive a warning that the temperature is too high. When the temperature is lower than 30 degrees Celsius, the fan will stop working.
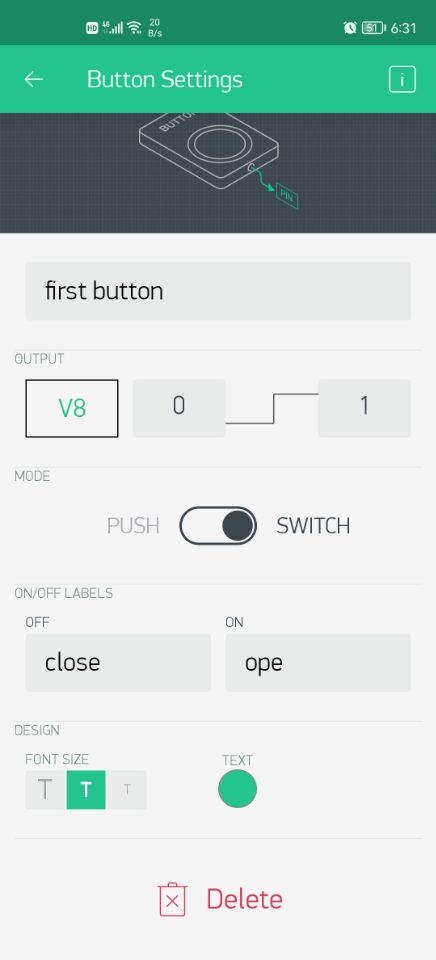
When we forget to take the key to go out, we can open the door through the BLYNK APP, click the DOOR button to open the door, the screen displays “Hello, guys!”, click the button again to close the door, the screen displays “Close the door!”
If we bring a card or key fob, we can directly put the card in the sensing area of the RFID module. The system will recognize the user through the pre-set data. After the recognition is passed, the door will be opened and the screen will display something like “Hello Mary!” “”Welcome home!” welcome message, at the same time, our mobile phone will also receive the corresponding message push. After the door is opened, the door will automatically close after a while.
If someone wants to open the door with an unknown card, the door will not be opened, the screen will display “Unknow user!”, and the phone will receive an alert push: “Unidentified user is ready to open the door!”
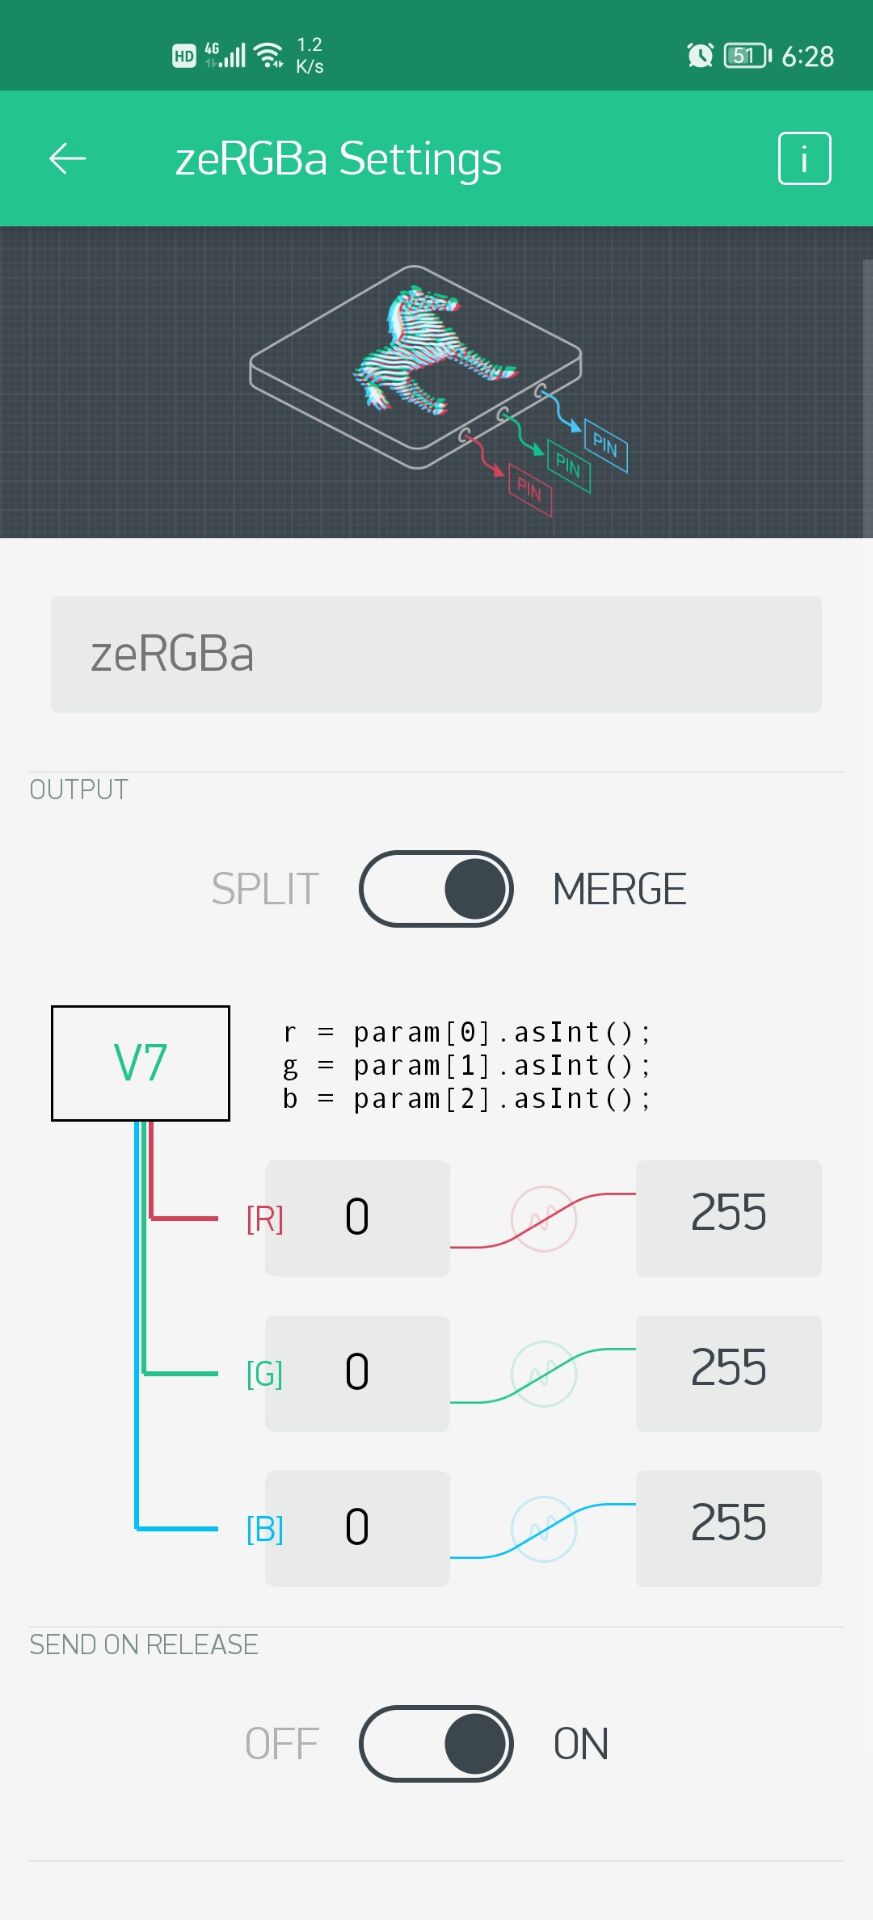
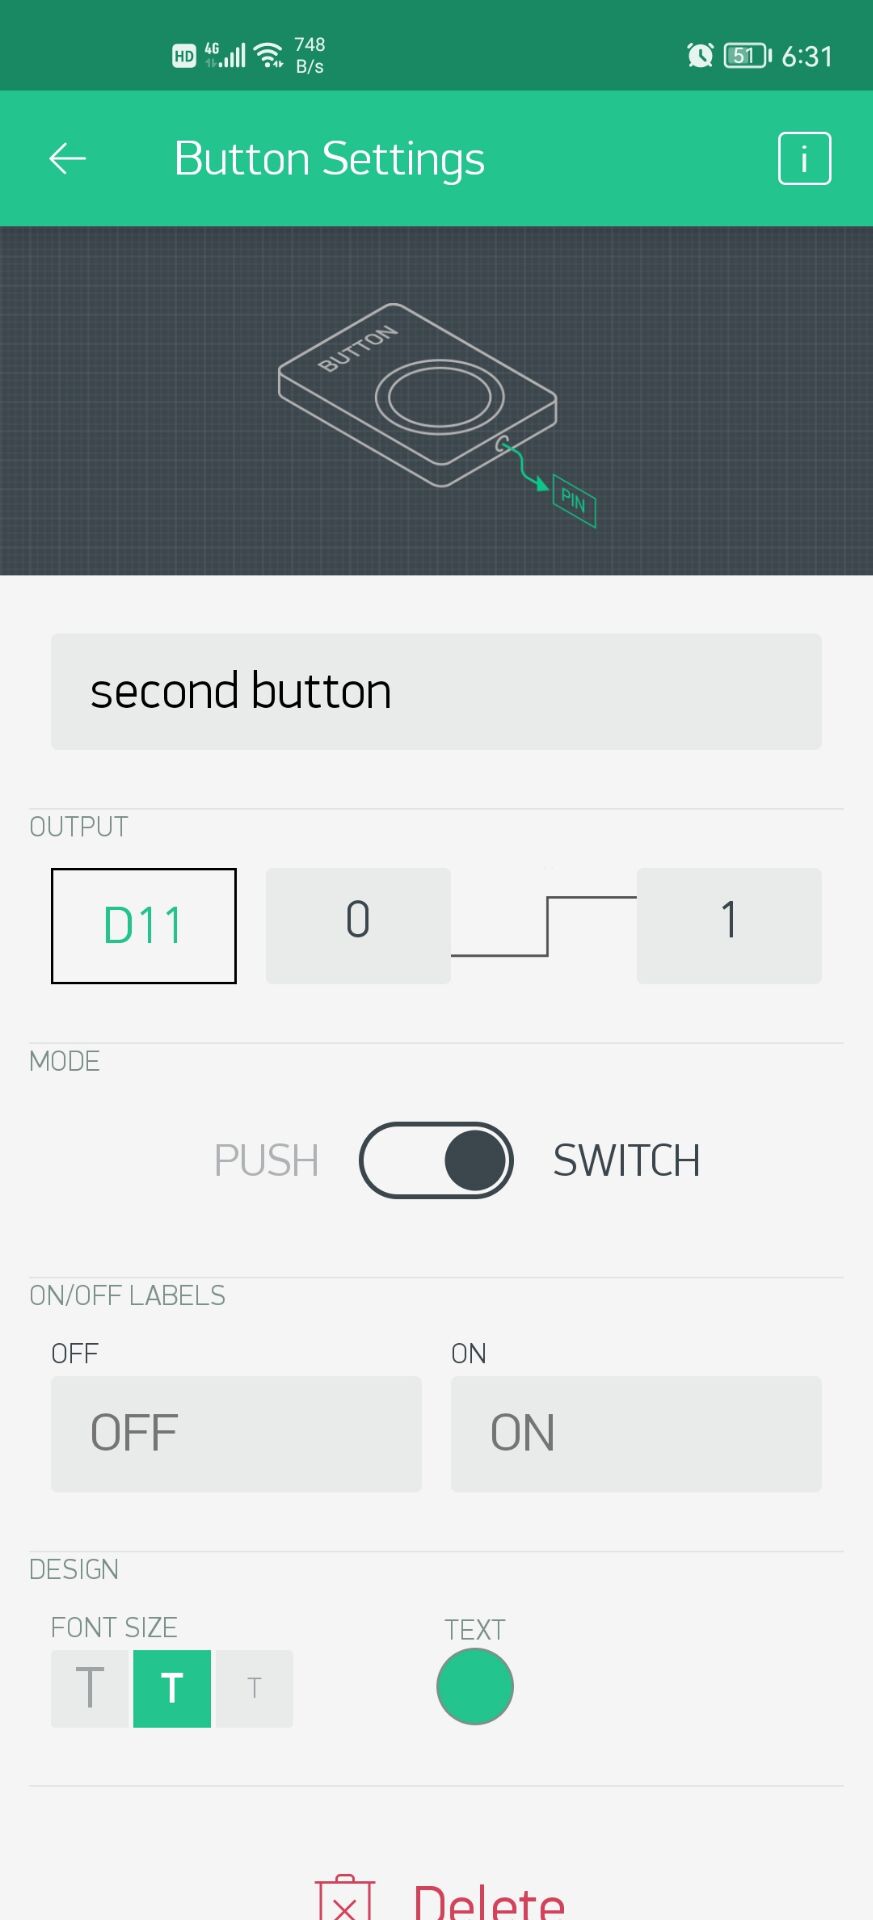
We often need different colors in different life scenes. We can easily adjust the light color through the RGB widget on the BLYNK APP. Press the Lights button, and the gorgeous light strip will be lit. We will often use it during festivals or celebrations. To turn off the light strip, we only need to press the button again. We always look forward to something different on special days.
Leave a small light for the family at night. The Red LED connected to port D8 will not light up when the light is sufficient during the day, but when the light is dim, the LED will be lighted. You can also adjust the sensitivity of the night light by modifying the code.
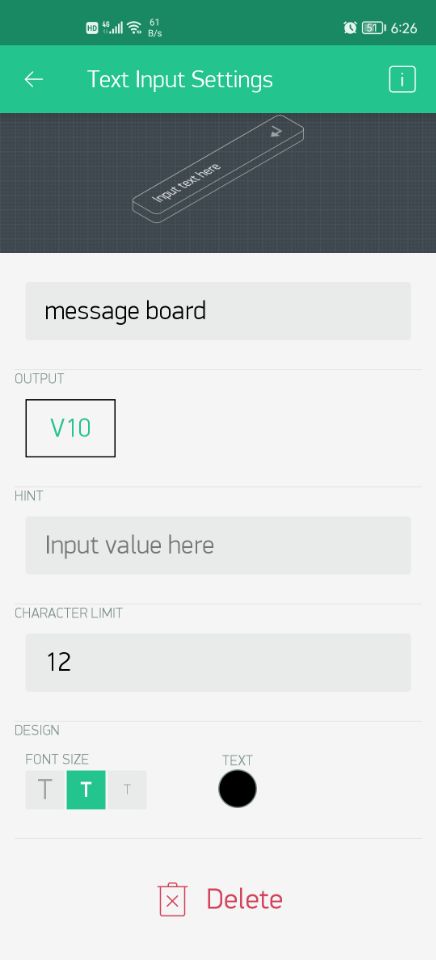
We can use the display screen as a remote electronic message board, open the Blynk APP, click the Text Input widget, edit what you want to say, click the send button, and then your message will be displayed on the screen at home. (Now we enter “Hello OSOYOO!” here as example)
Usually we attach great importance to home security. Here we have built a simple home smart security system, including environmental monitoring, human movement monitoring, safety distance monitoring outside the door, emergency help alarms, etc.
Ordinary fire alarms will only sound or emit lights when a dangerous situation is detected. As a more intelligent version, when our smart home system detects a fire, in addition to the most basic sound and light warning, it will also push the alarm information to the owner’s mobile phone or the corresponding mailbox.
When we are alone at home, we need to pay more attention to protect ourselves. Press the button connected to D3 and we can turn on the security monitoring system outside the door. When a stranger or something approaches the door, an audible and visual alarm will be issued. The phone will also receive a prompt: “Sth at the door!”. When it is unnecessary, we can turn off the system by pressing the D3 button again.
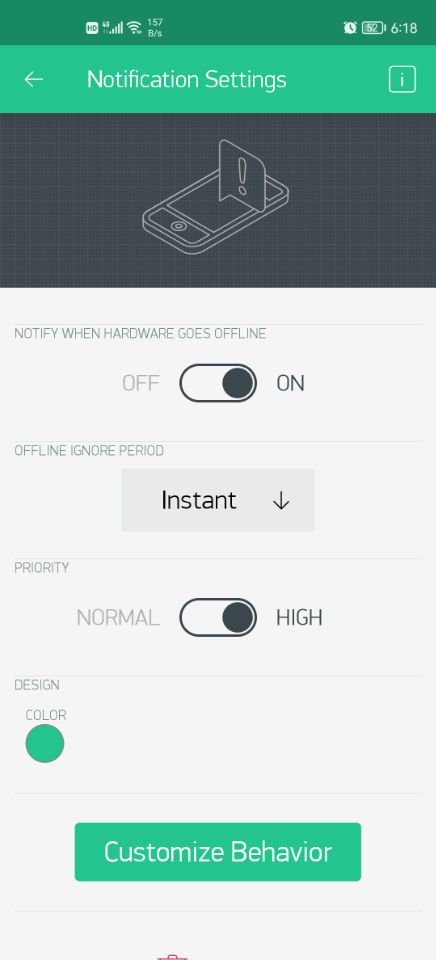
A motion detection system allows us to go out on vacation with greater peace of mind. If someone is active within the monitoring range, the system will issue an alarm and push the alarm information to the owner. To a large extent, it can deter those who have no good intentions.
When we encounter an emergency, we can press the emergency button connected to D10. When the button is pressed, the system will remotely send the help signal to the person being asked or send it to the corresponding mailbox. At a critical moment, a small button may help you out of trouble.
If you find the device is offline, please check your code, wiring and app settings, and try again.