Internet of Things or IOT is an ever-growing piece of technology in today’s world. Through IOT, people can control almost anything remotely through internet browsers or mobile APPs and greatly improve their quality of life.
To help beginners to understand what is Internet Of Things, our team, partnered with cayenne.mydevices.com, designed this IOT starter kit which can provide some hands-on experience for IOT technology and create some simple but useful projects for fun. For example, you can get your home temperature and humidity in your web browser, control a servo motor or turn on a LED with your smart phone and create many more interesting and creative projects. The possibilities are endless. Use Our Raspberry Pi IOT starter kit to help you unleash your imagination!
Authorized Online Retailers:
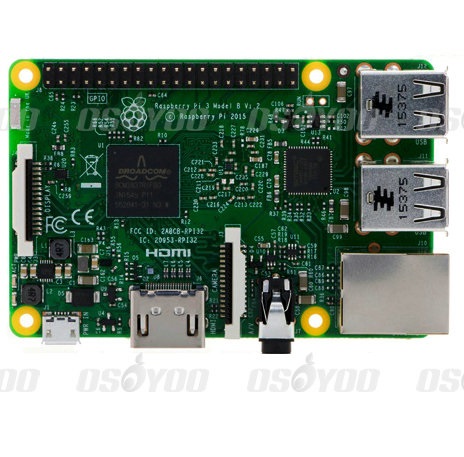
This kit includes the following devices:
-
-
|
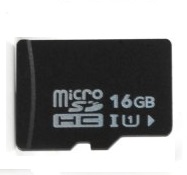
1 x 16GB MicroSD memory card pre-installed with NOOBS
|
-
|
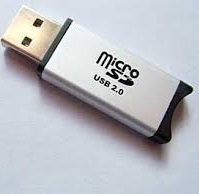
1 x USB MicroSD TF card reader
|
-
|
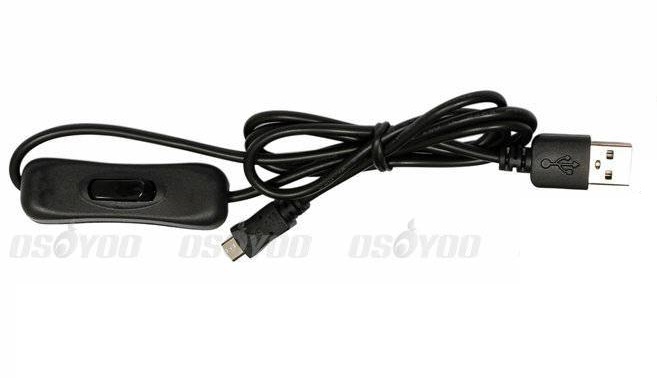
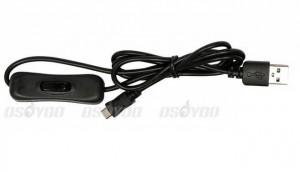
1 x USB power cable w/switch
|
-
|
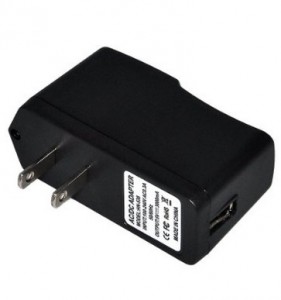
1 x 5V/2.5A Power Adapter
|
-
|
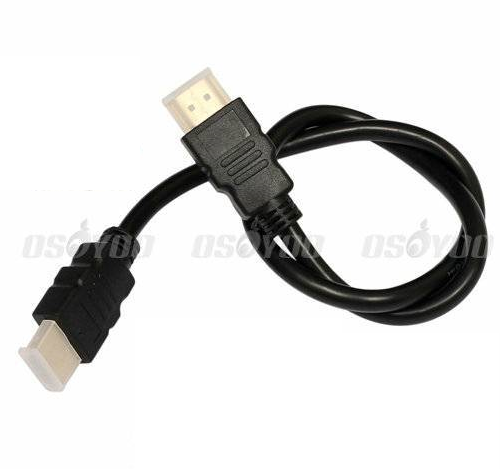
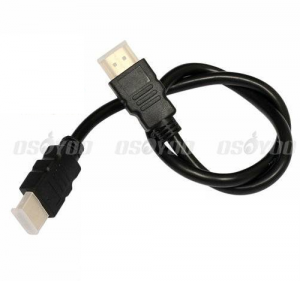
1 x HDMI cable
|
-
|
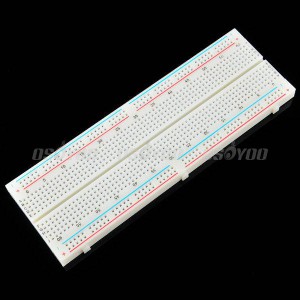
1 x Solderless Prototype Breadboard
|
-
|
1 x GPIO to Breadboard 40-pin breakout interface
|
-
|
|
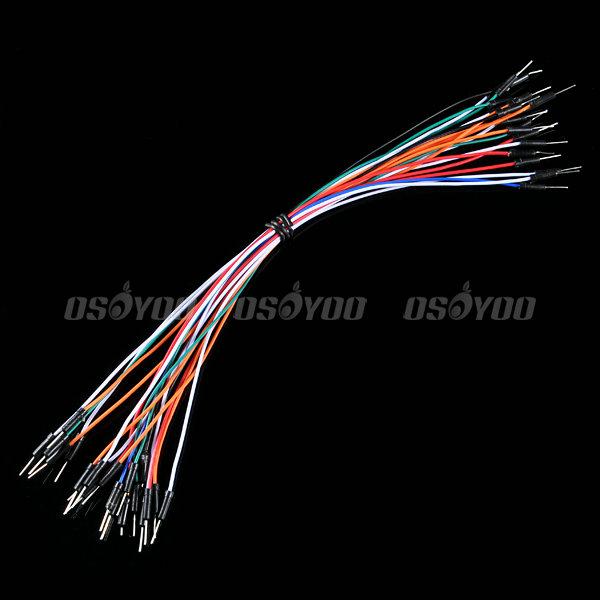
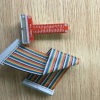
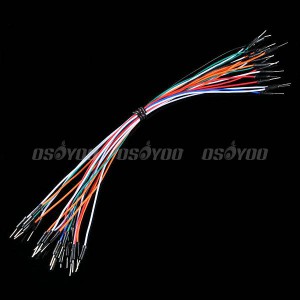
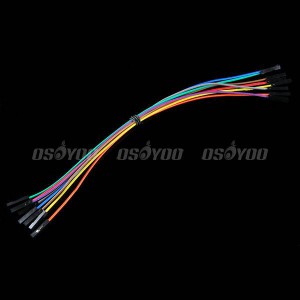
Jumper Wires(1 x 40pin male to male 15cm,2 x 8pin female to female 20cm)
|
-

|
LED (6 x Bright White, 6 x Red, 6 x Yellow, 6 x Green)
|
-

|
3 x Photoresistor(light sensor)
|
-
|
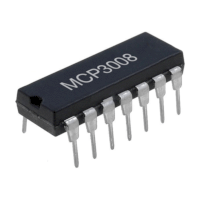
1 x A/D converter
|
-
|
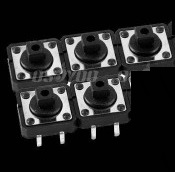
5 x push buttons
|
-
|
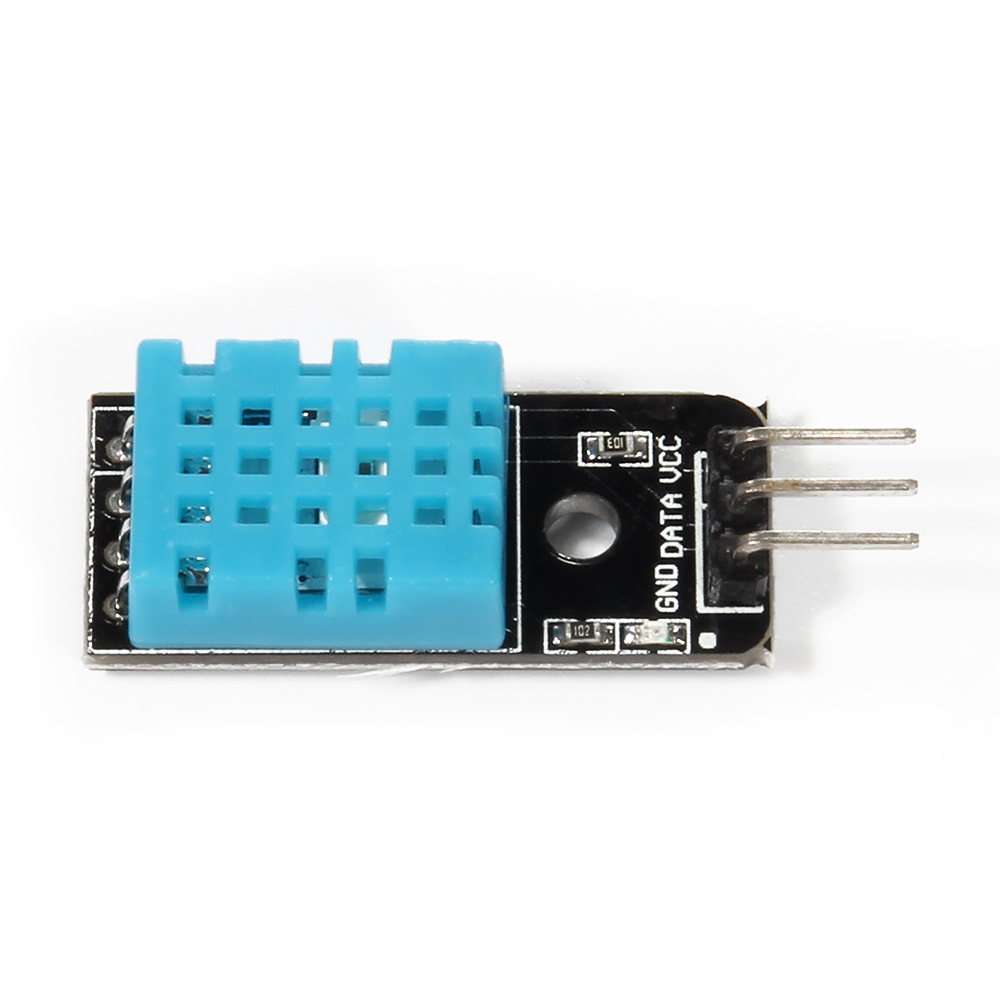
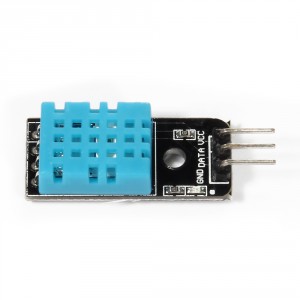
1 x DHT11 Temperature/Humidity sensor
|
-
|
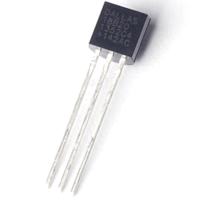
1 x DS18B20 Temperature sensor
|
-
|
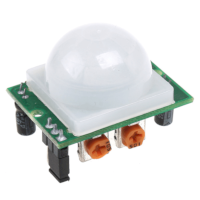
1 x Motion sensor
|
-

|
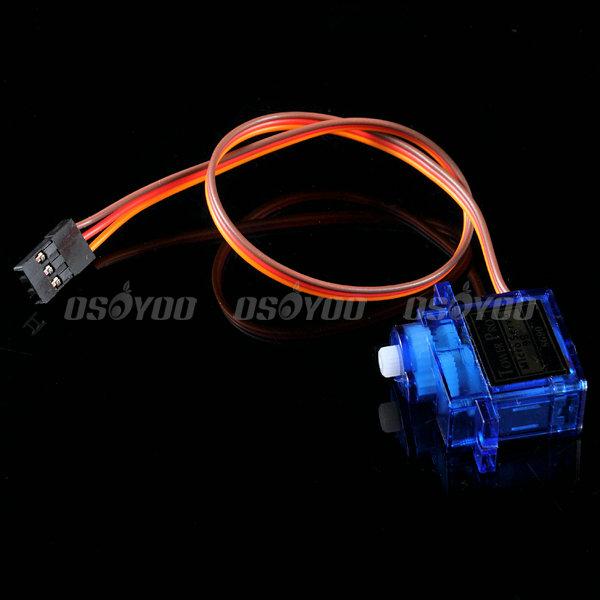
1 x servo motor
|
-
|
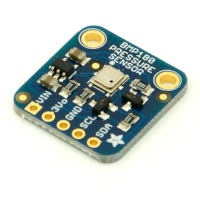
1 x BMP180 Pressure/Temperature Sensor
|
-
|
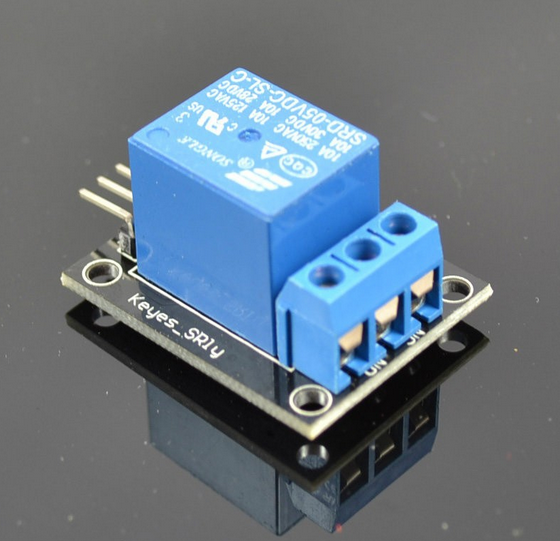
1 x Relay
|
-
|
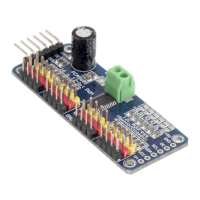
1 x PCA9685 PWM I2C Controller
|
Steps to run IOT project with our kit
Step 1: Register a Free account on cayenne.mydevices.com
Step 2: login into cayenne.mydevices.com
Download myDevices Cayenne Smartphone App from Apple Store or Google Play
Step 3: install client software on pi
If you are logged in for the first time, you will see two linux command lines as follows:
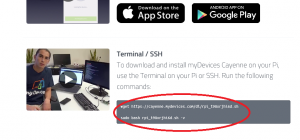
Type and run the two commands above in your Raspberry Pi terminal and install cayenne client on Pi.
Make sure Raspbian OS is freshly installed in your Raspberry Pi and Internet is connected to Pi,
then install Cayenne client software on Raspberry Pi by typing the following two commands in Pi command window:
Your Pi will download and install some client software, this might take about 5 to 10 minutes depending on your internet speed.
Step 4: Begin our first project!
Once your client installation is done, in Cayenne’s control panel page you will see a Raspberry Pi icon in the upper left hand corner.
if you can not see this button, click User menu -> Triggers & Alerts.

Click Add new->Device
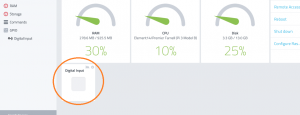
in Device Category select Sensors->Generic->Digit Input
You will see a View Tutorial link in right side of the page. It will show a simple circuit graph which connects a push button to the Pi.
Back to Main Control Panel Page, on Select Raspberry Pi from drop-down menu, you should see a Raspberry Pi option(If you can not see any Pi option, your client software installation might have some problems or your internet connection may be broken). Select the Raspberry Pi option.
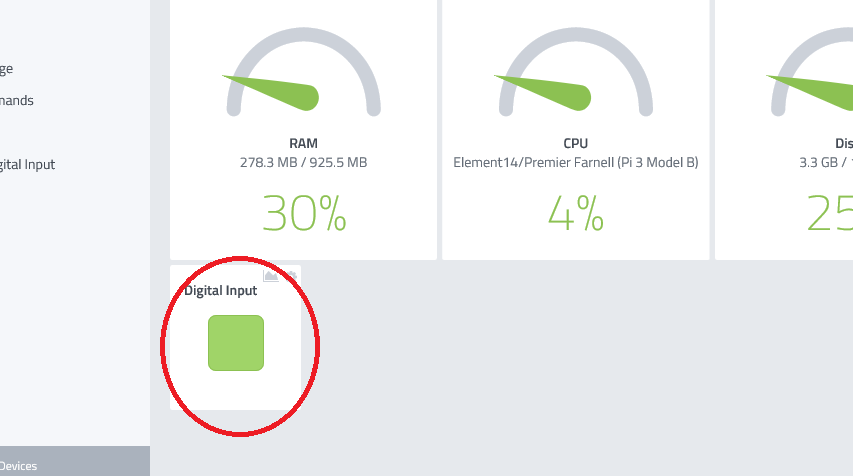
Select all option values as per the picture above. And lastly click the “Add Sensor” button on the lower-right corner. You will see that a GPIP input icon will show on the left menu. Click that icon, you will see the following image.

As shown in the picture above, you will initially see a green square inside a block.
Now go back to your Pi circuit and push the button on your breadboard.
You will see the green square turn into a gray square as shown below:
Now you have successfully used your Raspberry Pi to communicate with the Cloud. Caynenne supports many more sensors on their cloud service, most of which are included in our kit. You can browse through them on Cayenne’s website.
Save