Wallet
Make a micro:bit wallet with this guided tutorial!
Activities
Duration: ~30 minutes
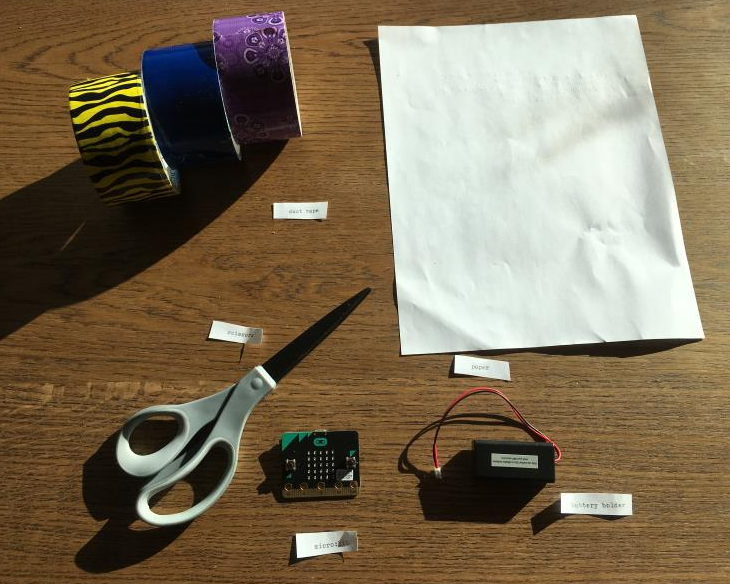
Materials
- Paper sheet
- Tape (masking, duct tape, and/or packing tape)
- Scissors
- 1 micro:bit, battery holder and 2 AAA batteries
- Marker or pen
Duct tape sheet
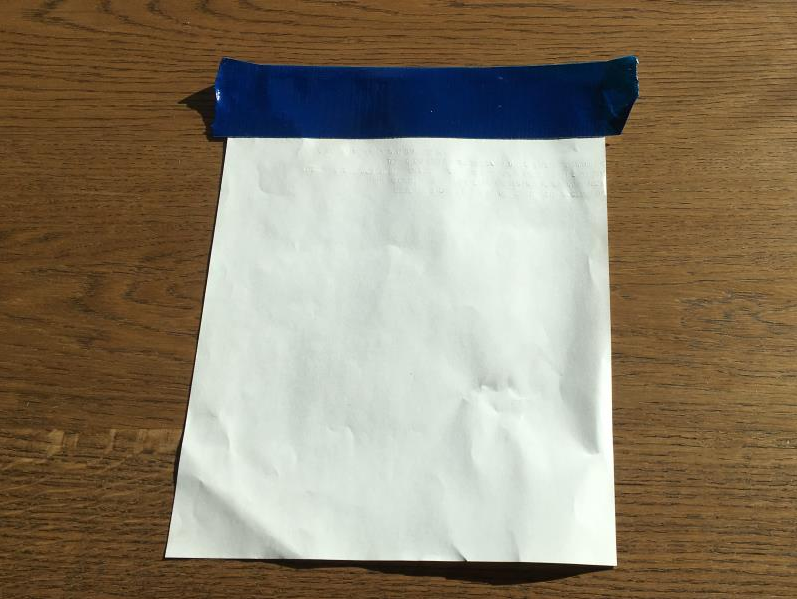
Let’s start by building a duct tape sheet.
Position the paper sheet on the workbench and place lines of tape over it. Make sure to overlap each layer to avoid seeing gaps of papers. In case of mistake, add tape!
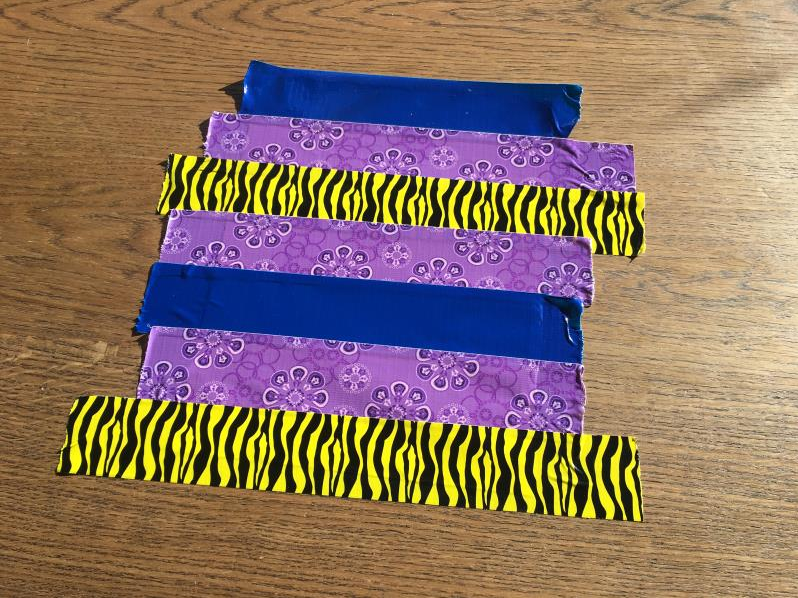
Cover the entire paper sheet with tape. Don’t hesitate to use various colors or patterns!
Unstick the sheet from the workbench carefully to avoid ripping out the tape and turn it over.
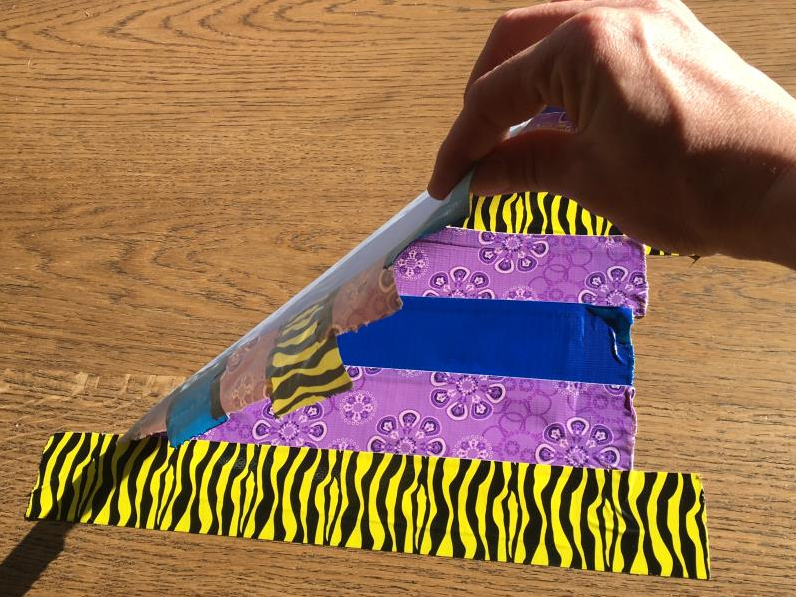
Fold the remaining tape sections on the sides towards the center.
Great job, your duct tape sheet is ready! Let’s get onto the next step.
Card Hole
We need to cut a hole in the center of the sheet to allow storage of coins and cards inside the wallet. Gently fold the sheet in half.
Gently foldy the other way.
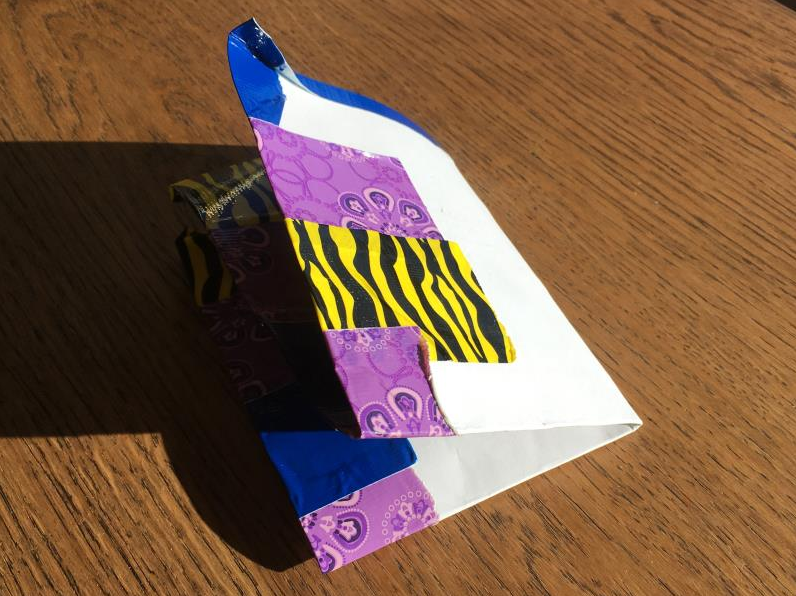
Place the duct tape roll on the inside corner. This will determine the size of the hole.
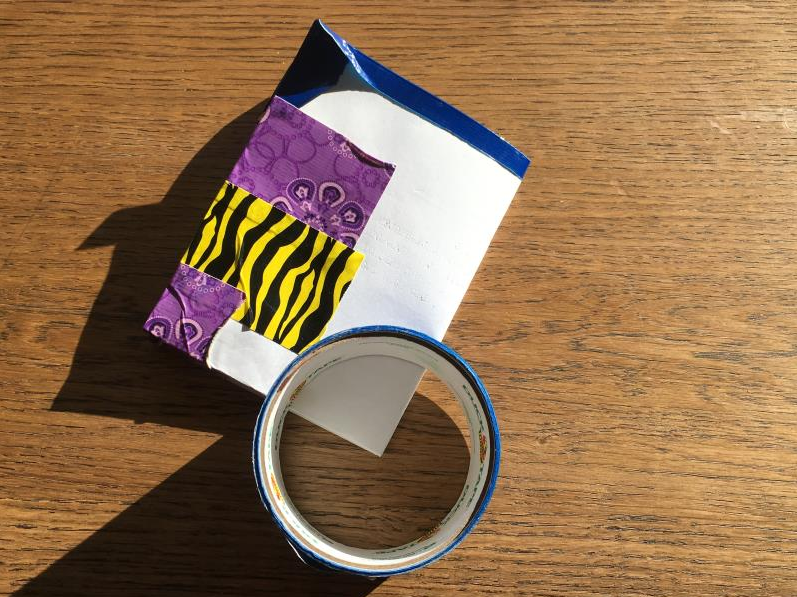
Use your marker and trace around the roll.
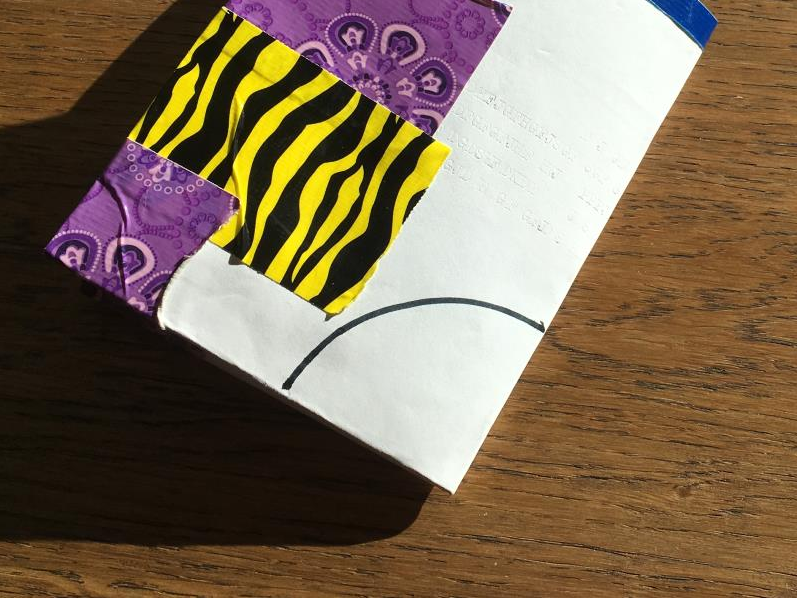
Use your scissors and cut along the line you’ve just traced while keeping the sheet folded.
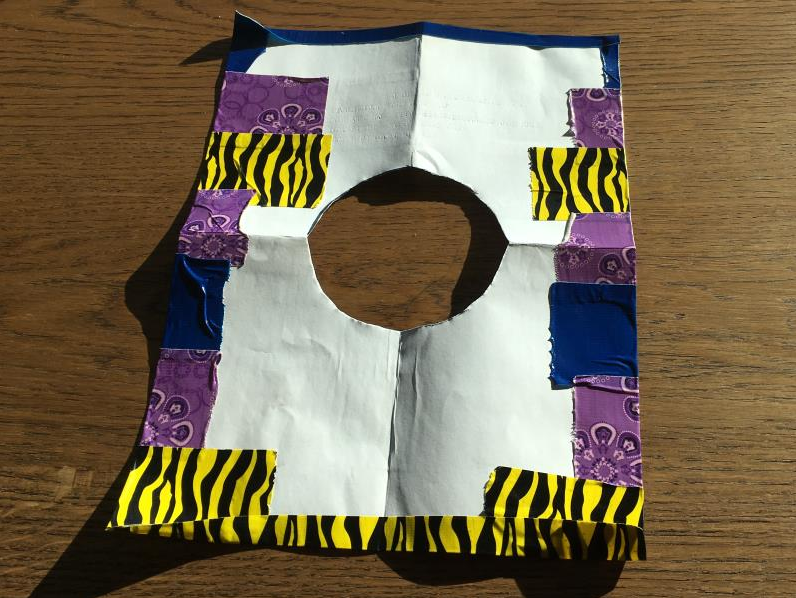
Well done! The hole is done and perfectly centered!
Mounting the micro:bit
We are going to cut a hole for the micro:bit screen and buttons on the front of the wallet. Place the micro:bit on the back of the sheet.
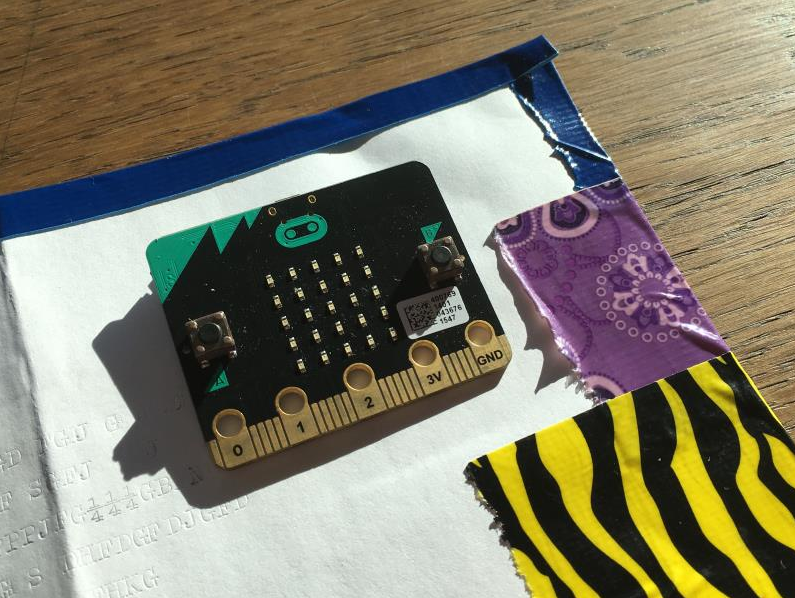
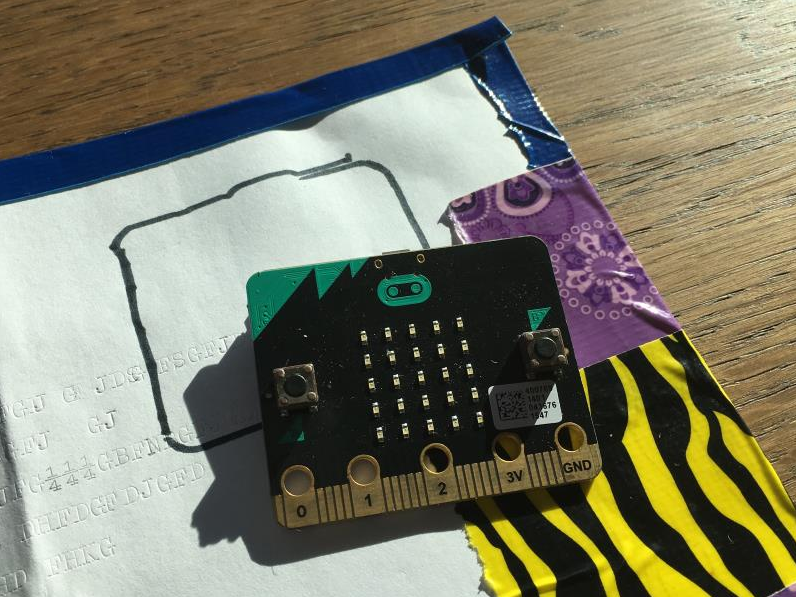
Mark the contour of the micro:bit on the sheet with your marker. Don’t worry about little mistakes.
Mark ticks at the location of each corners of the screen as shown on the picture.

Use the micro:bit as a ruler to trace a line between the ticks.

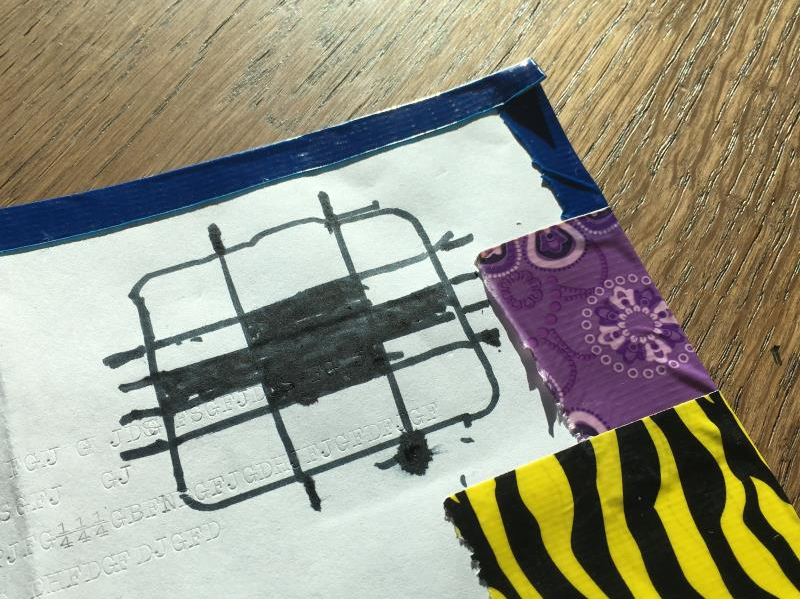
Fill the inside square with your marker, you will need to cut it out later.
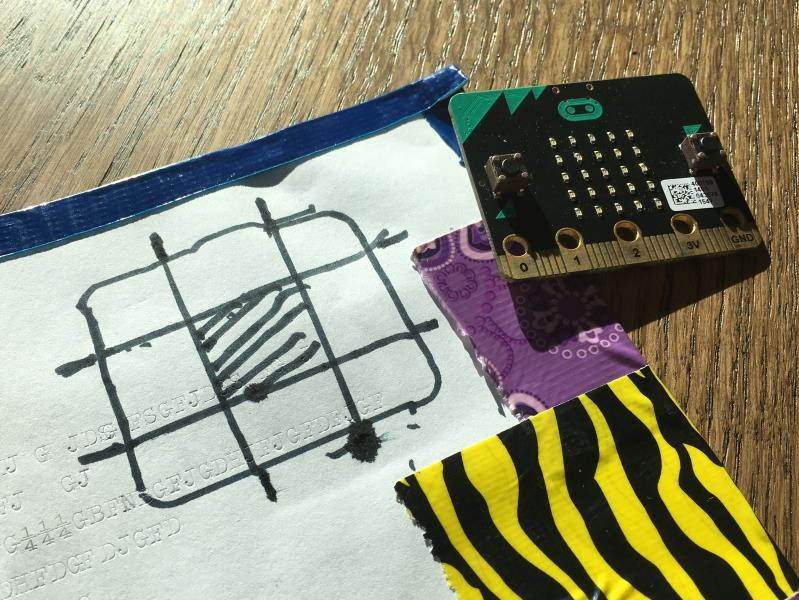
Mark the ticks along the button using the same procedure.

Fill the button square as well so that you clearly know what to cut or not.
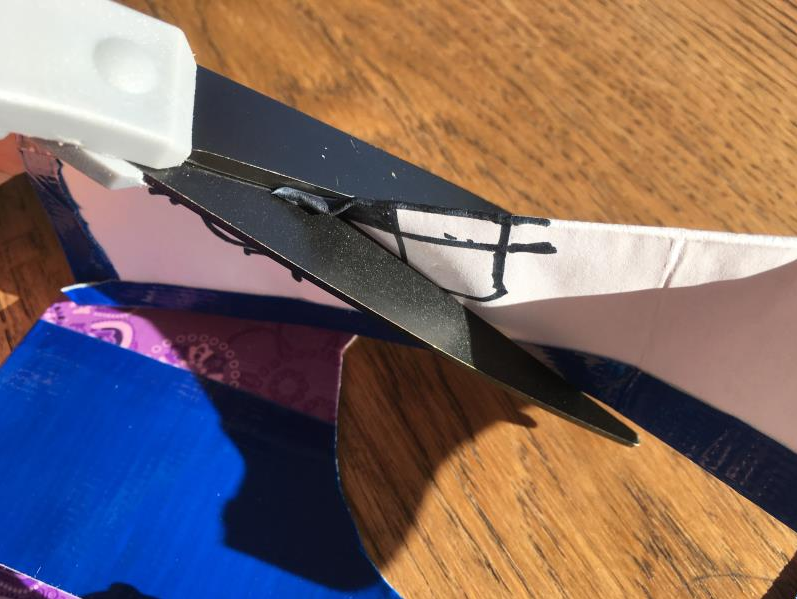
Fold the sheet over the center of the darken area and cut out a triangle large enough to squeeze a blade of the scissors.
 z
z
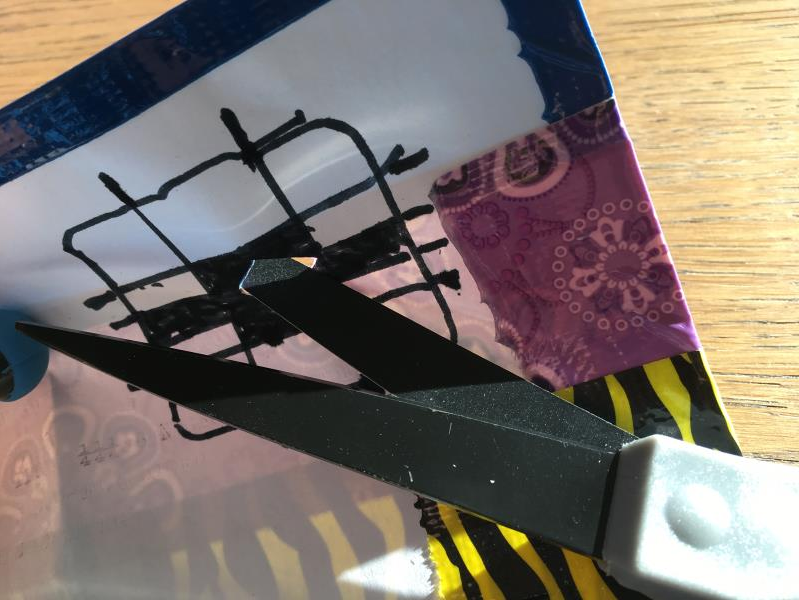
Starting from the small hole, work your way through cutting out the darkened area.
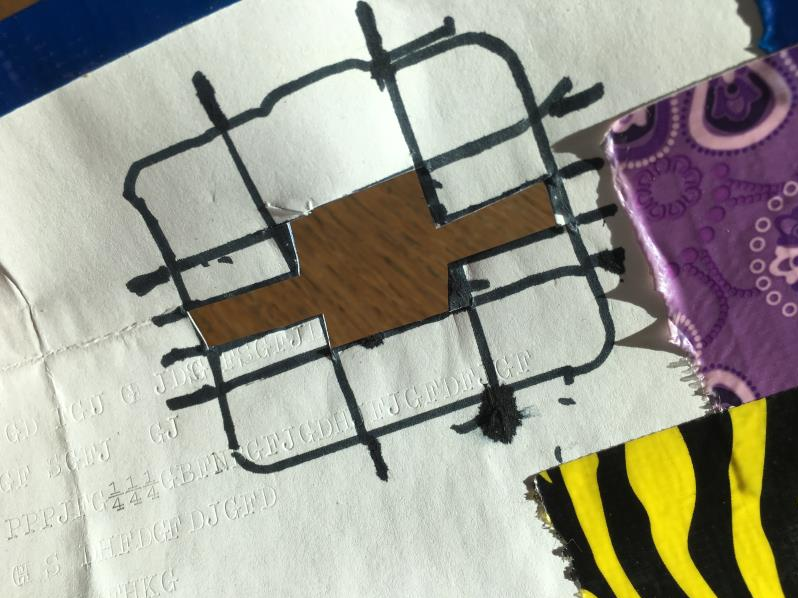
Eventually, the opening should look like a rectangle with a square in the middle.
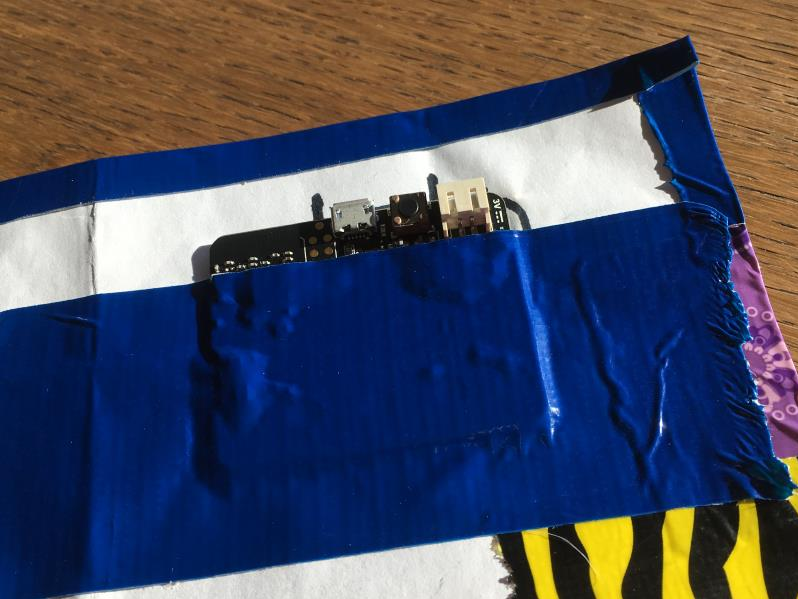
Try mounting the micro:bit and cutting more material as needed.
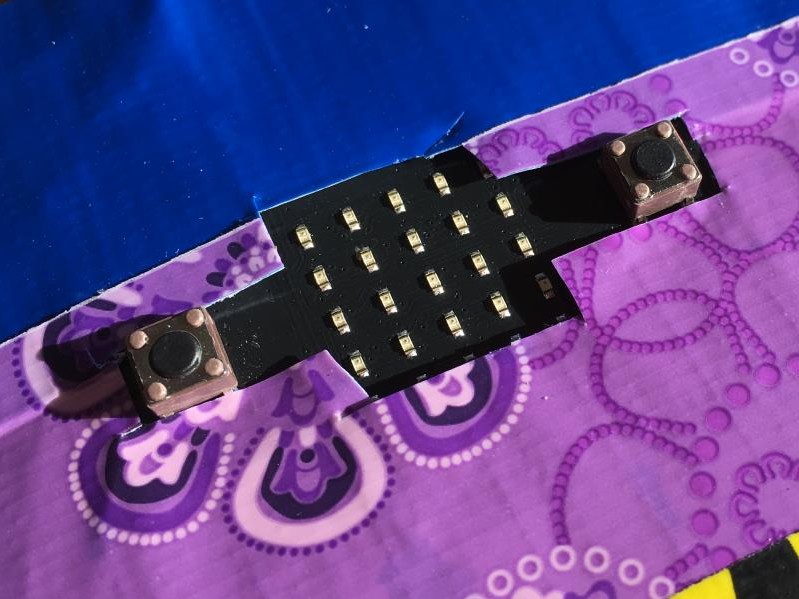
Put a generous layer of tape on the back of the micro:bit to stick it on the wallet.
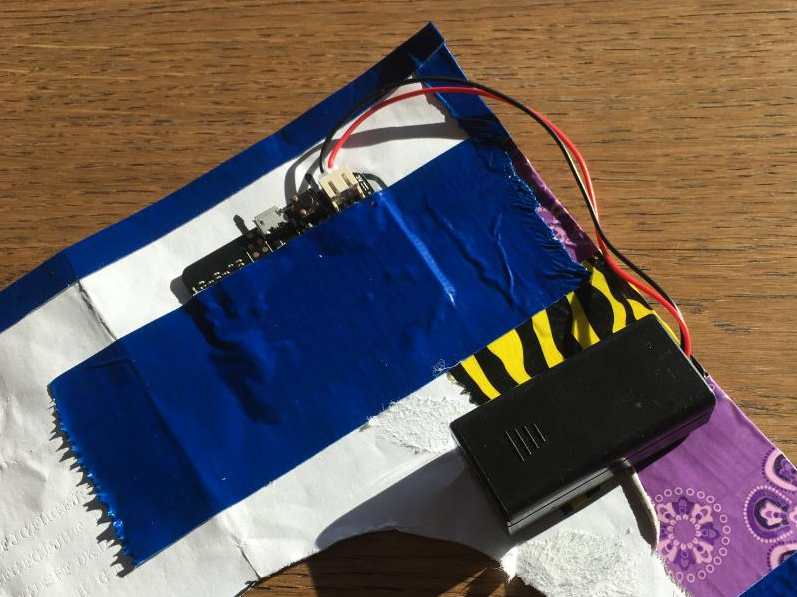
Attach the battery to the micro:bit. You are done for this step!
Folding
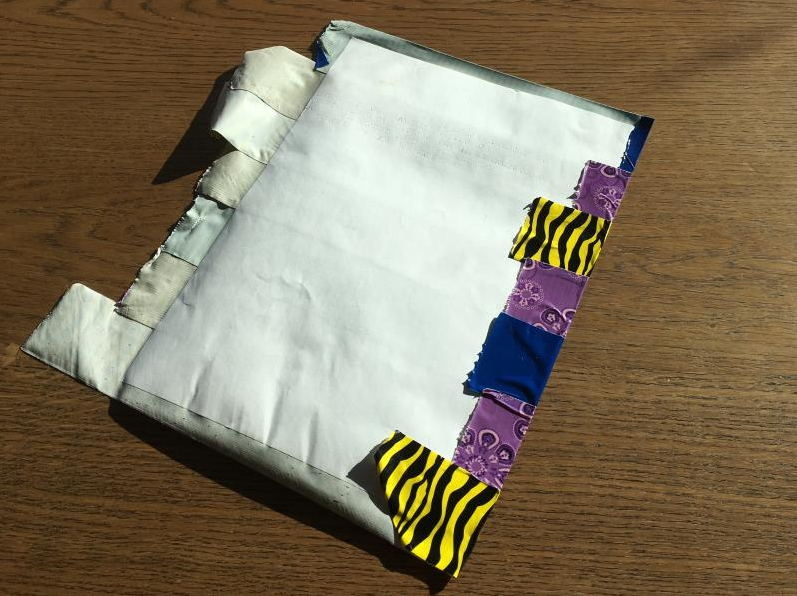
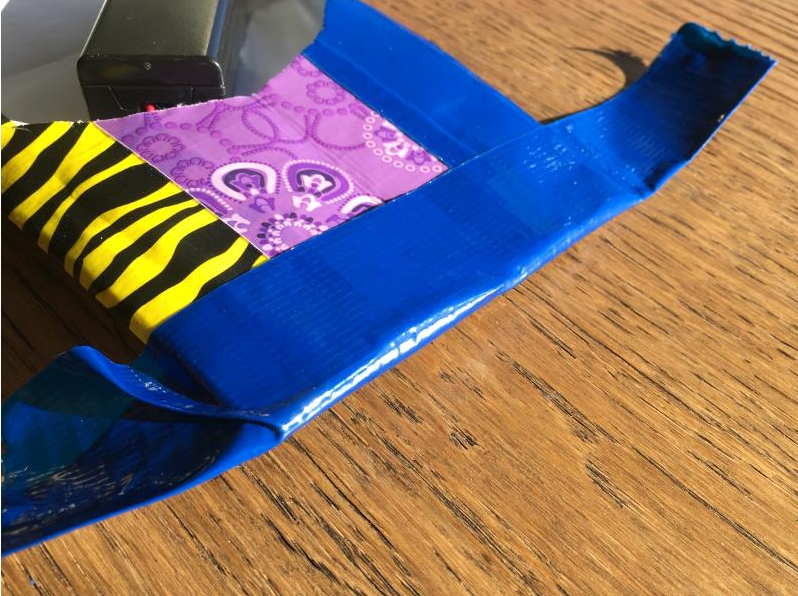
The last step is to fold the sheet and tape the sides to get a wallet. Start form the sheet facing paper up and fold the sheet over the large hole in the center.
Fold another time until the large hole is visible.

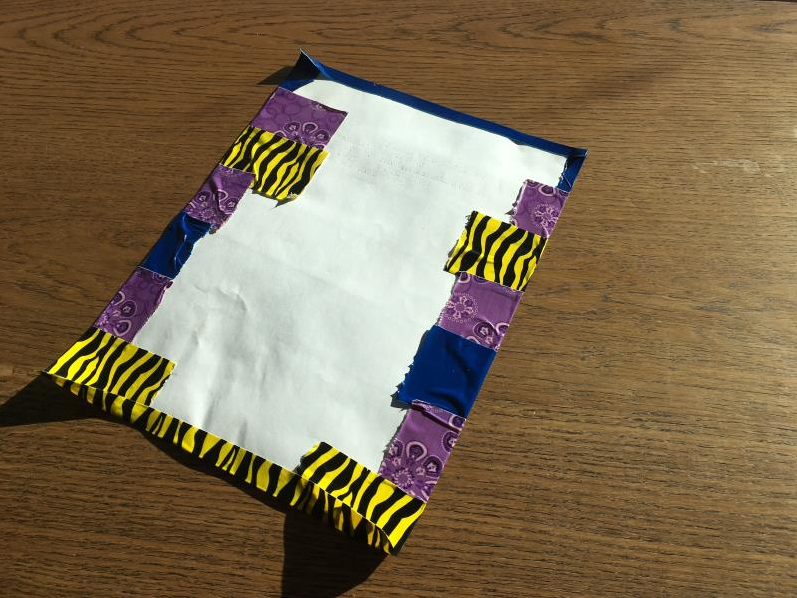
Apply a layer of tape on the side with the tape overlapping half over the wallet.

Flip over the wallet carefully.

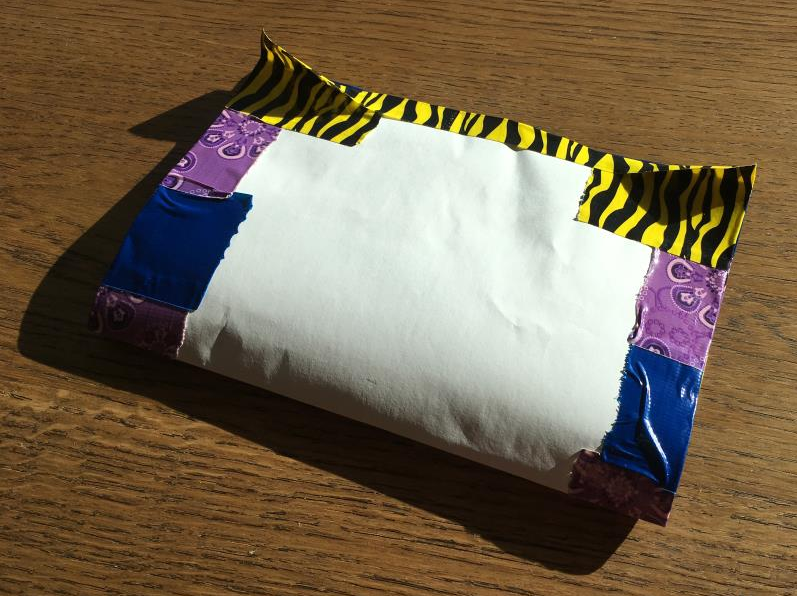
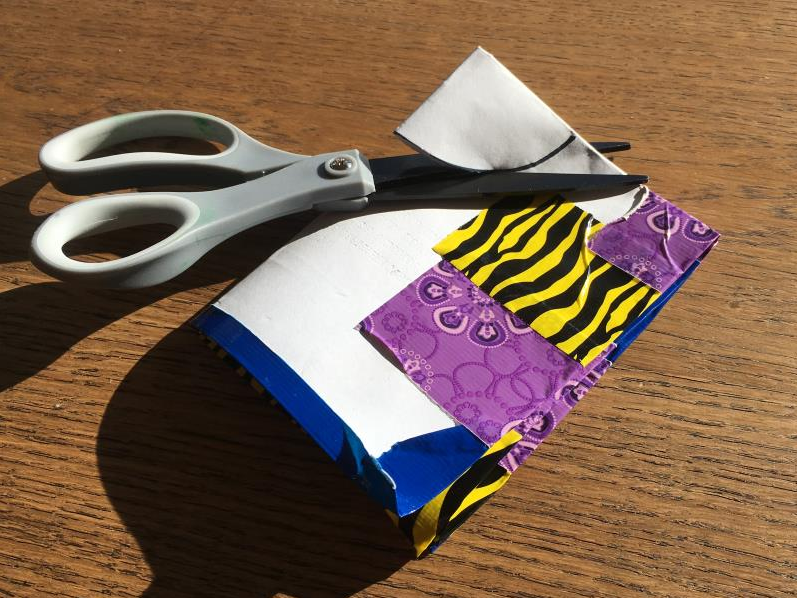
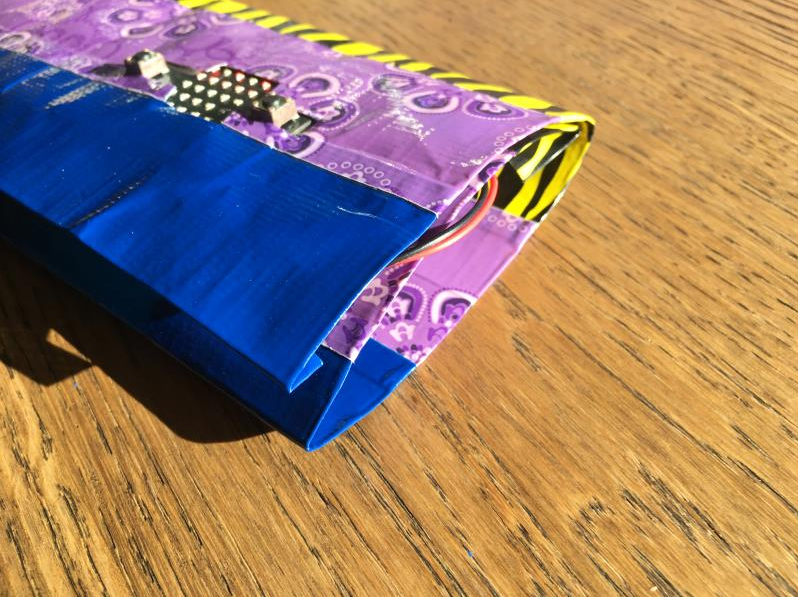
Fold the remaining tape over the wallet and cut the sides with the scissors. Tuck in the battery in the pocket inside the wallet and make sure the cables are out of the way.
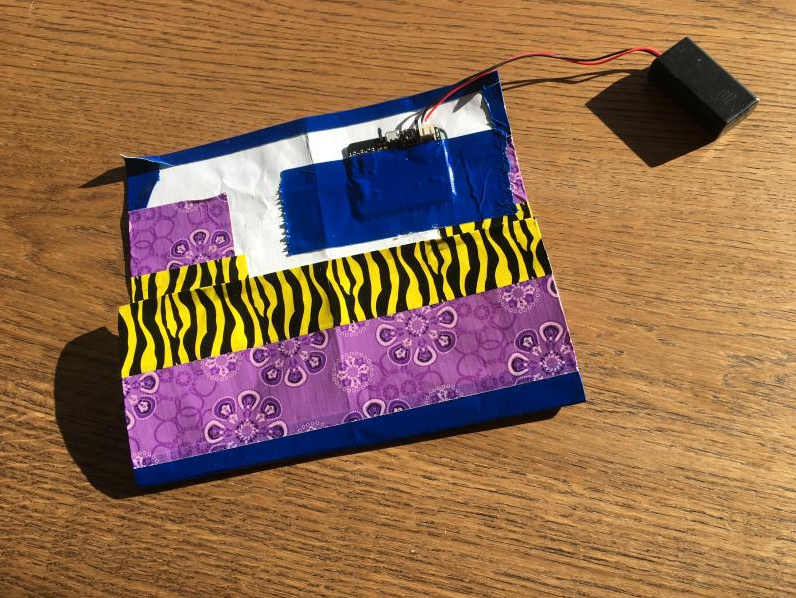
Apply the tape on the side using the same procedure.
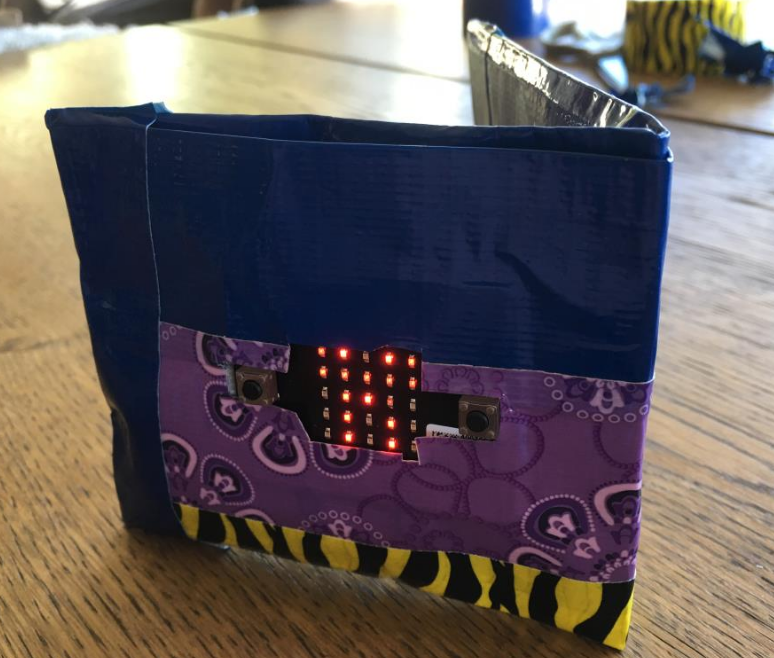
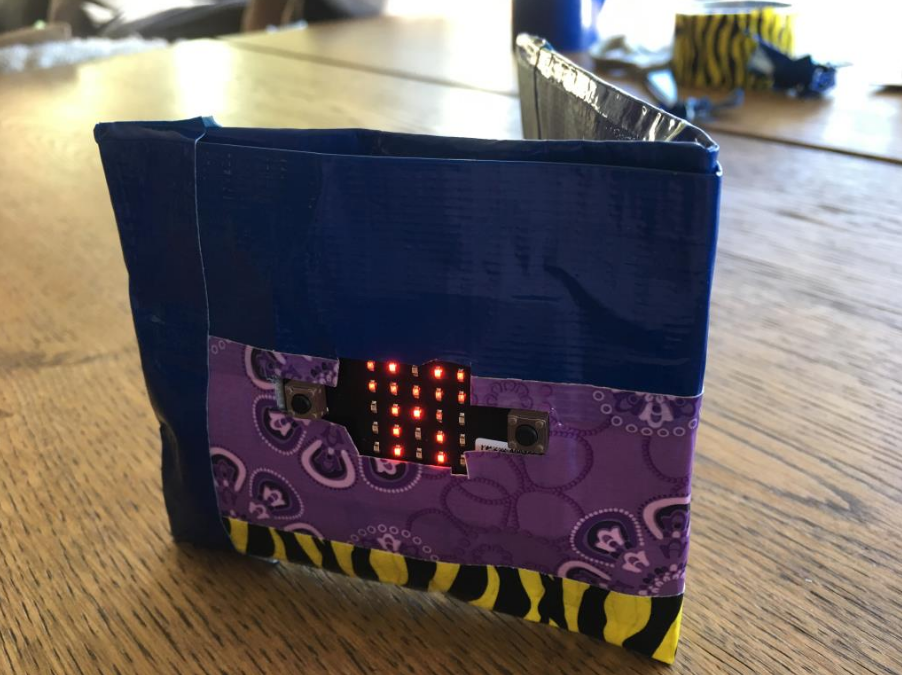
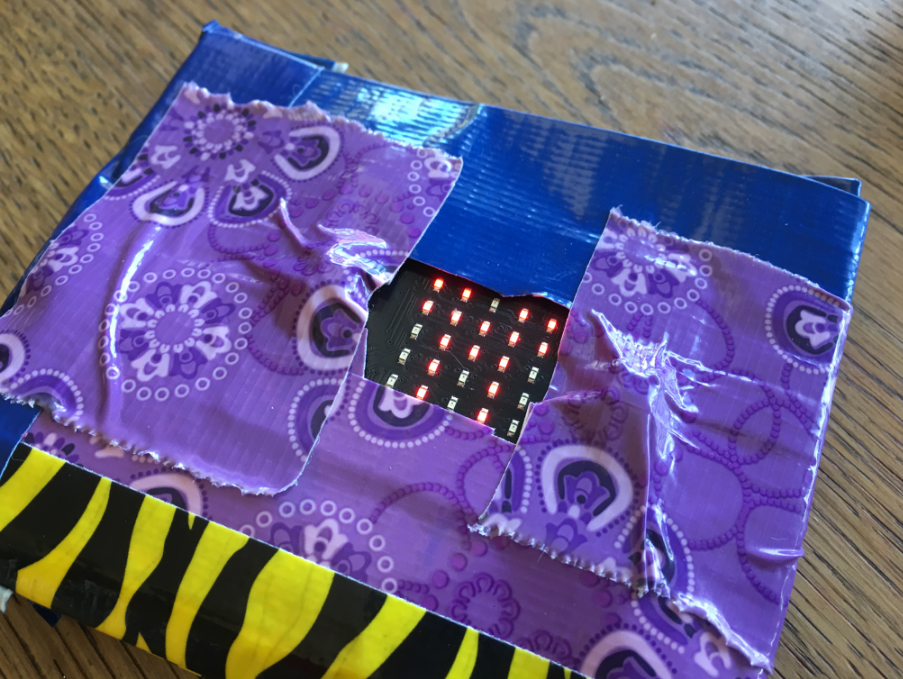
That’s it! You have an micro:bit wallet!
The buttons of the micro:bit are left vulnerable to being ripped out.
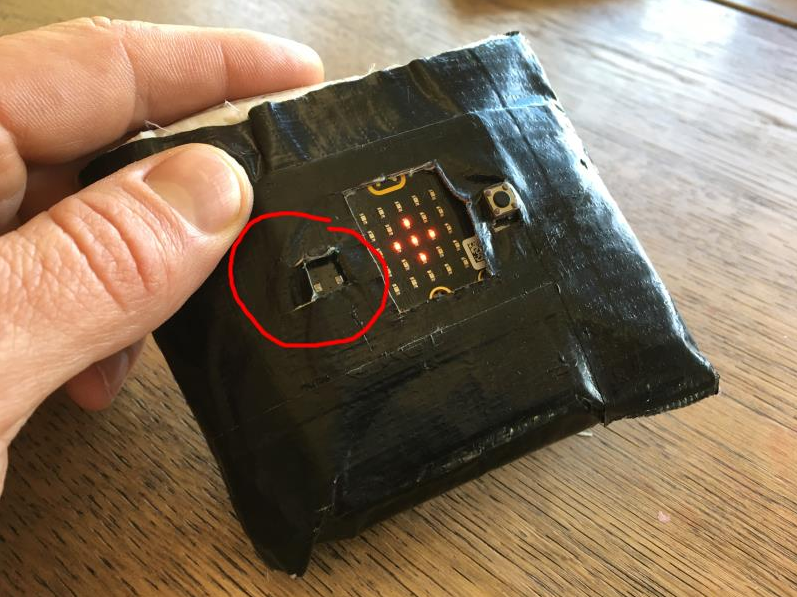
If you plan to make an extensive use of your wallet without using the buttons, you might want to consider to protect the buttons with additional tape.
The wallet is ready, we just have to add some code into the micro:bit to make it alive.
Code
Simple animation
Let’s start by using a combination of forever and show leds to create animation:

Link: https://makecode.microbit.org/_43kDbfdftDdm
Download this code to your micro:bit and try it out.
Turn off animation in the pocket
If the wallet is in your pocket, you should turn off the LEDs to save energy.
How do we know that the wallet is in the pocket? It is really dark in there… We can use the light level to detect this!
Using an if statement, we can test if the level of light is sufficient to turn on the screen. Otherwise, we turn off the screen for a few second to save energy.

Link: https://makecode.microbit.org/_EHkUqiKdWRq8
References
The wallet built in this activity is inspired from the duct tape wallet in A Kid’s Guide to Awesome Duct Tape Projects: How to Make Your Own Wallets, Bags, Flowers, Hats, and Much, Much More!


