A “Hello, World!” program is traditionally used to introduce novice programmers to a programming language.
“Hello, world!” is also traditionally used in a sanity test to make sure that a computer language is correctly installed, and that the operator understands how to use it, so our Arduino graphical programming tutorial begins with Hello World.
This lesson will basically get you up and running using the Arduino Graphical Programming software and uploading the code to the Arduino board. Once you’ve completed this step we can continue to the really exciting stuff, which is when we start writing our own code!

- Osoyoo UNO Board (Fully compatible with Arduino UNO rev.3) x 1
- USB Cable x 1
- PC x 1
Notice:
Not much is needed for this lesson,make sure you’ve gone through Preparation lessons first! These lessons assume you have installed Arduino IDE software and drivers!
Make sure you have a good quality syncing cable,do not pick a ‘charge only’ USB cable

Connect your Osoyoo UNO board to the Computer via a A to B USB cable,then double click the Mixly software icon on your desktop.

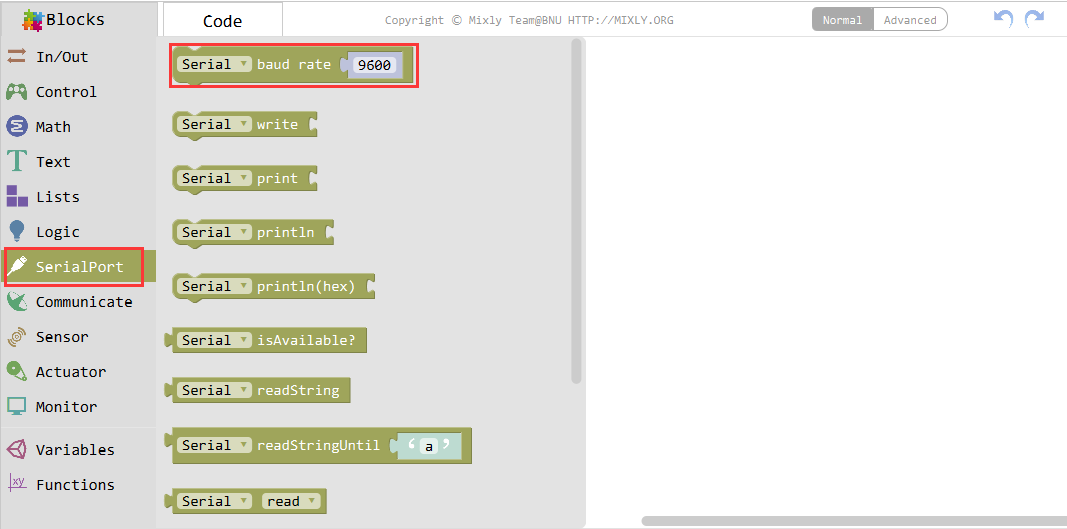
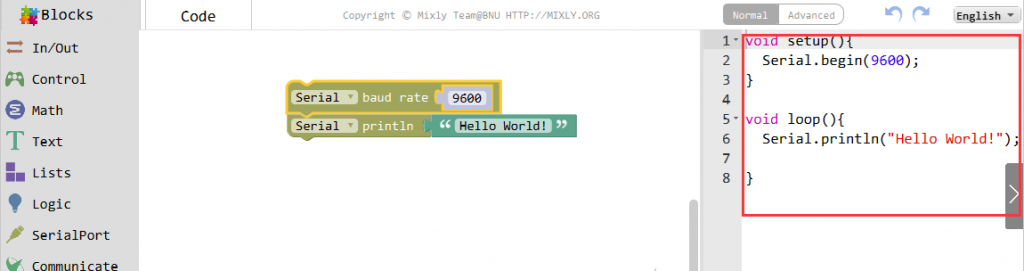
Choose the “SerialPort” block, find the Serial baudrate module,
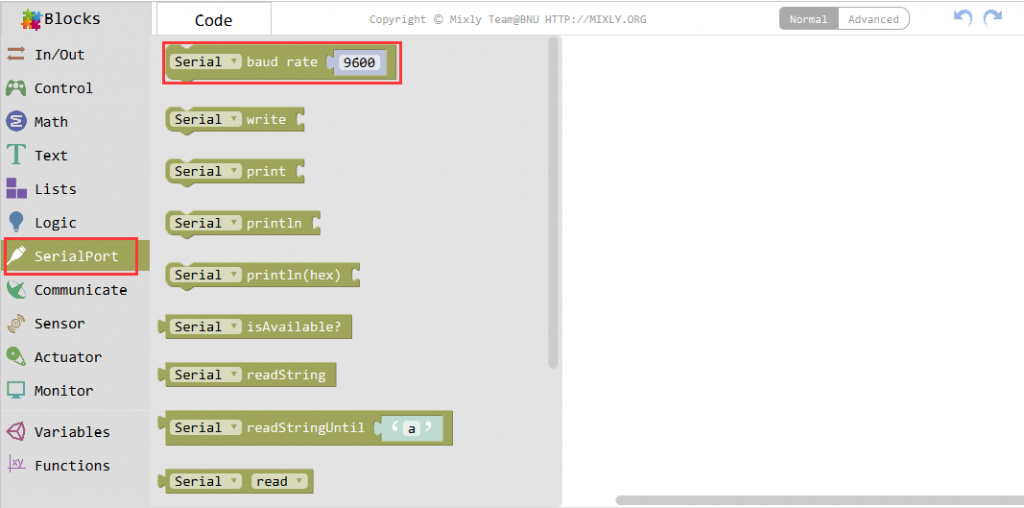
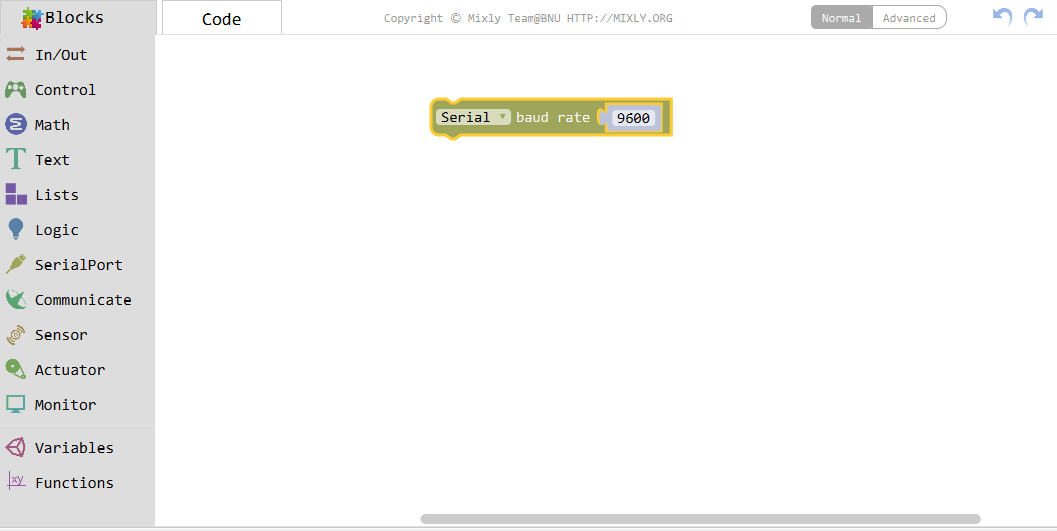
Click it and drag it to the blank area, now we can see the default baudrate is 9600 Mhz,

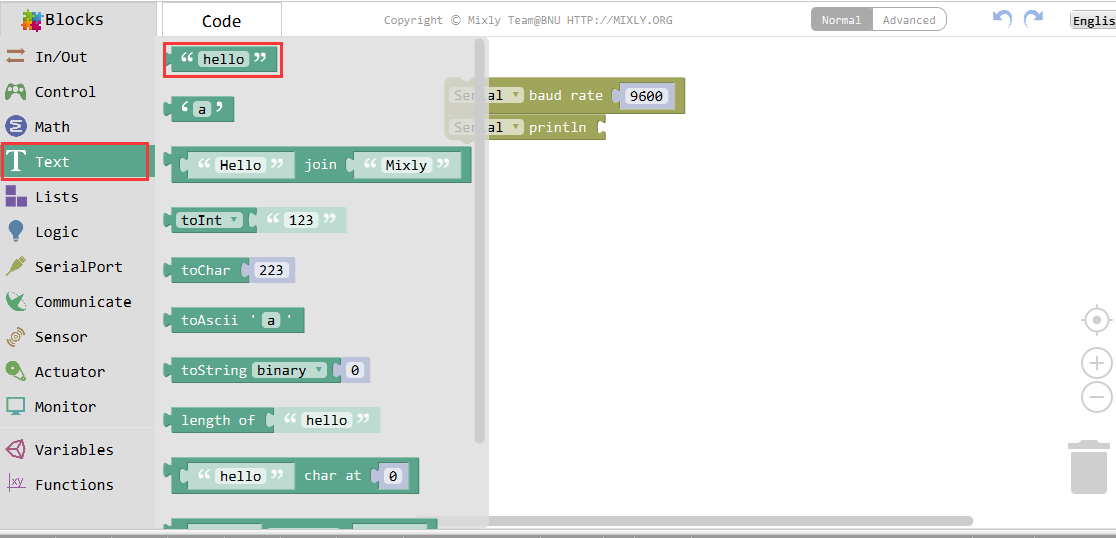
Then, choose the Serial println module,
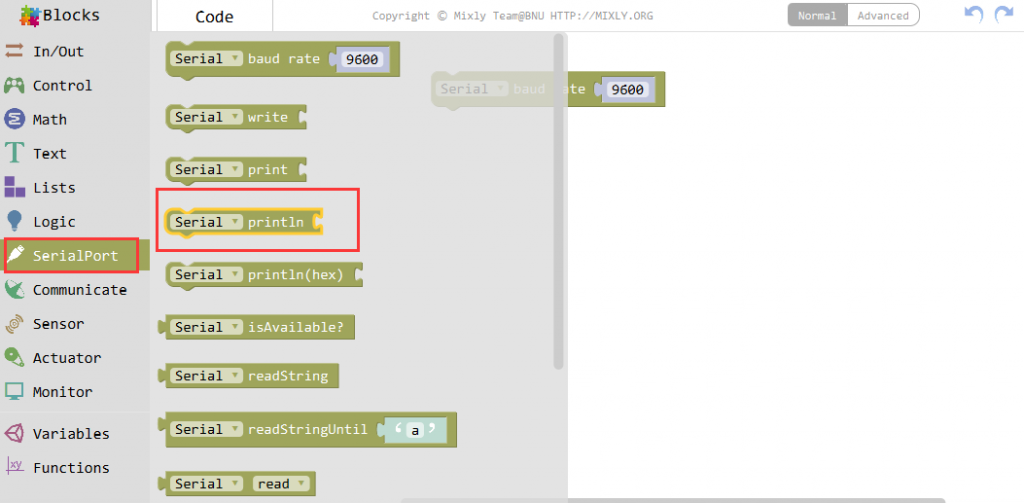
Drag the Serial println block under the Serial baudrate one and fit the bulge and slot at the two to combine,

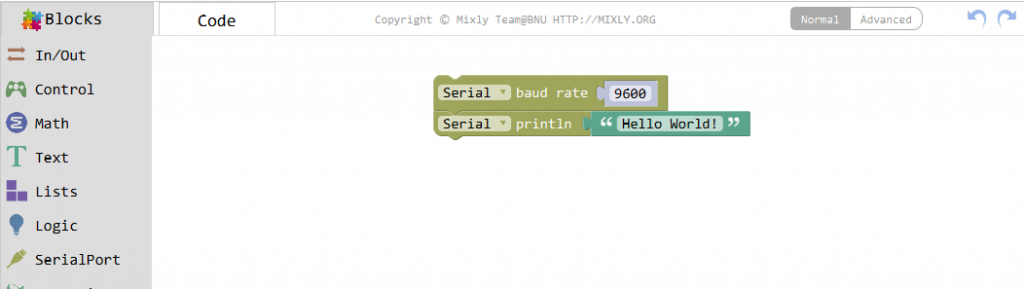
Now, click the Text block and choose the “hello” text module,

Drag it to the position shown below and change the text to “Hello World!”
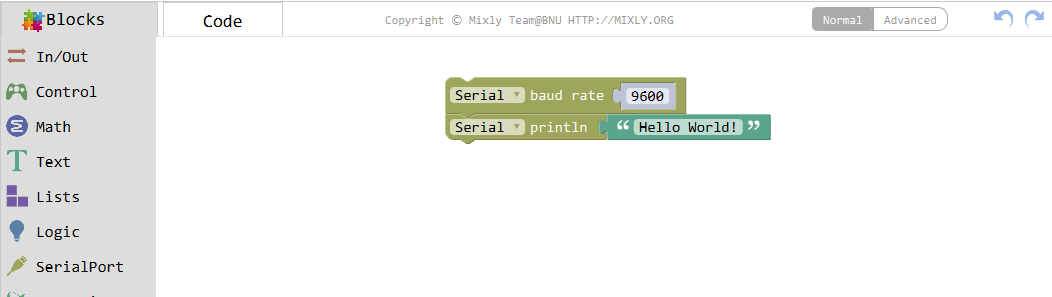
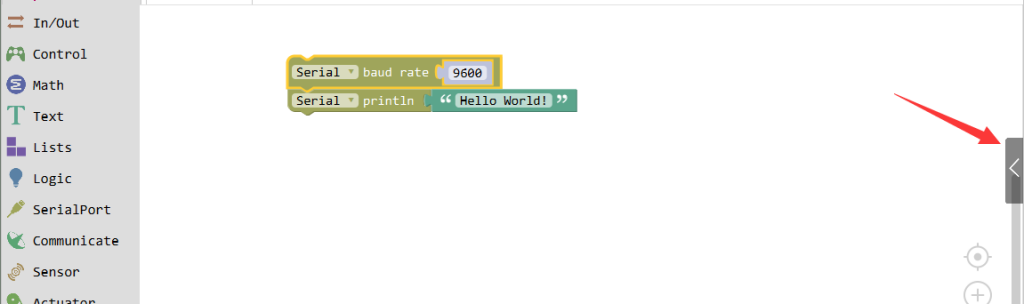
This program will print “Hello World!” on the serial port. After programming, you can click the “<” button to check the corresponding code on the right bar.
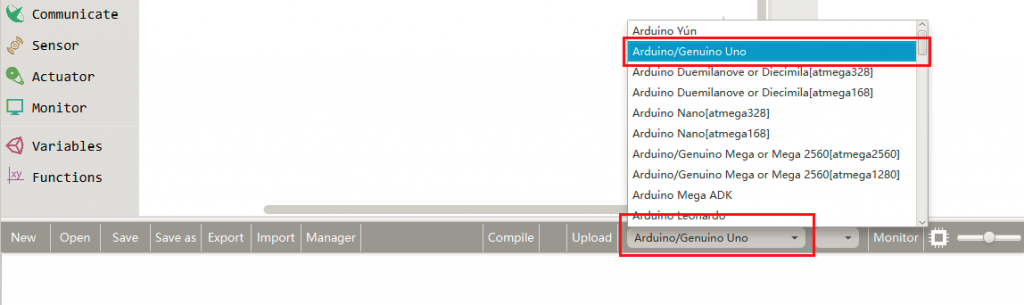
Click Save aftogramming is done. Select the board type and serial port before uploading. For instause a Uno board, just select Arduino/Genuino Uno: if you use a Mega2560, select Arduino/Genuino Mega or Mega2560.
Select the serial device of the Arduino board from the COM menu. This is likely to be COM3 or higher (COM1 and COM2 are usually reserved for hardware serial ports). To find out, you can disconnect your Arduino board and re-open the menu; the entry that disappears should be the Arduino board. Reconnect the board and select that serial port.

Next,upload the code. If the uploading fails, check and correct the code according to the prompts


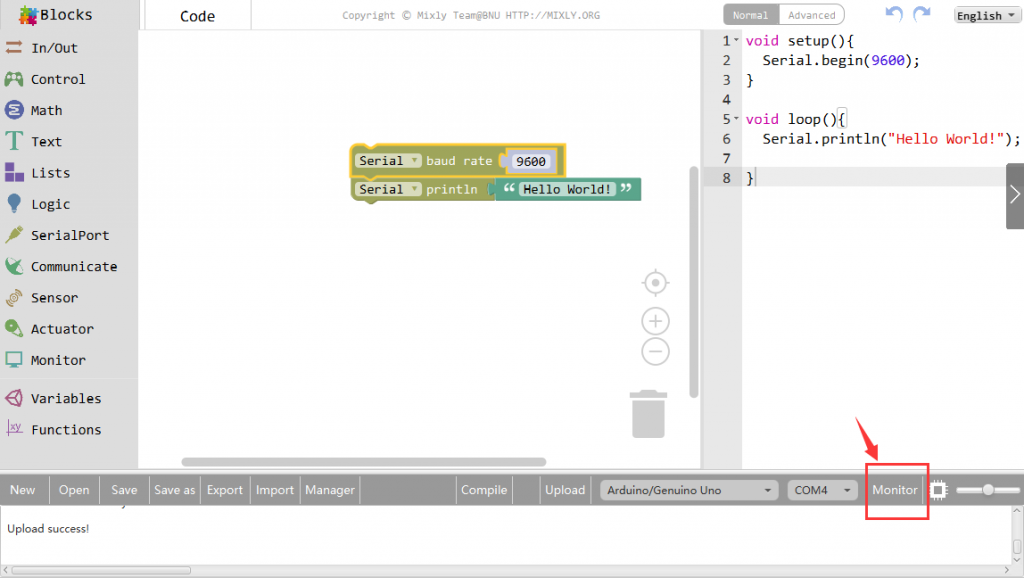
Finally, the staus will change to ‘Upload success!’.


A few seconds after the upload finishes, you should see the TX LED on the board start to blink (in orange).Click the Serial Monitor button:
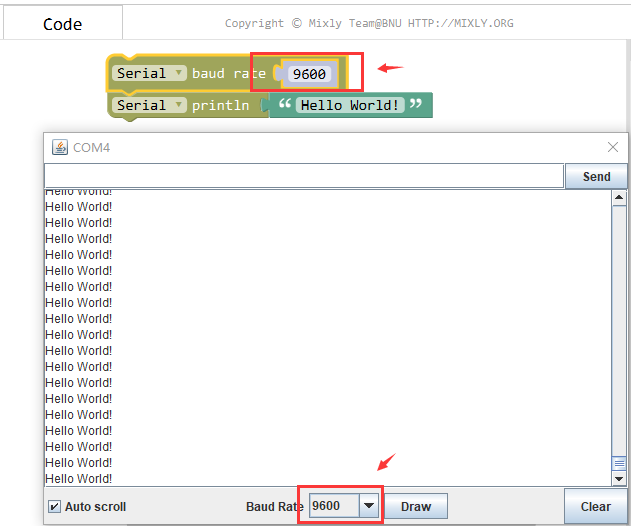
Make sure the serial monitor’s COM port is corresponding to your Arduino port, and check if the serial monitor Baudrate is same as your sketch setting? If yes,you will see the Arduino serial continuously output the string “Hello World”:
If you have successfully completed all the operations and procedures. Congratulations! You have graphically programmed Arduino to start and run.