In this lesson, we will show how to use a Button Switch module to turn on/off an LED through Arduino Graphic programming technology.
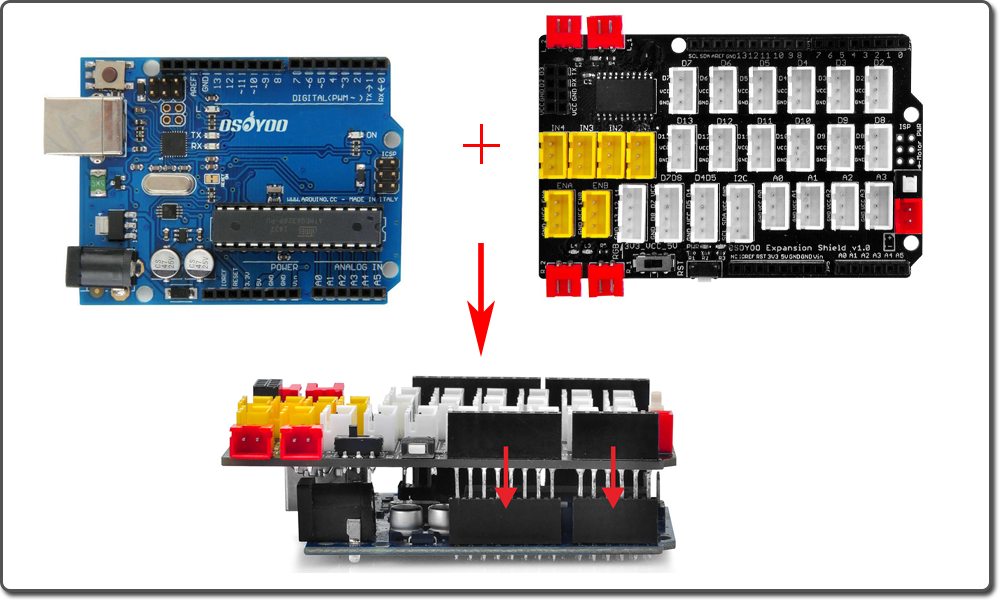
Both LED and Switch module will be connected to OSOYOO Magic I/O shield. Here, “I/O” refers to the INPUT and OUTPUT. OSOYOO Magic I/O Shield is an extension board which can help use to easily connect sensors, actuators and Robot car control ports to OSOYOO basic Board I/O pins.
We will plug LED module into D8 port of the shield and plug Switch module to D2 port on the shield. We will tell OSOYOO basic Board D8 will be an OUTPUT port which will send out signal to control LED. D2 is an INPUT port which gets input signal from Switch button.
Preparations
Hardware
OSOYOO basic Board (Fully compatible with Arduino UNO rev.3) x 1
OSOYOO Magic I/O Shield for Arduino x 1
OSOYOO Button Module x 1
OSOYOO LED Module x 1
OSOYOO 3-Pin PNP Cable x 2
USB Cable x 1
PC x 1
Software
Arduino IDE (version 1.6.4+)
About the module
The Button Switch module is signal generator device. When button pressed, SIG pin will generate HIGH voltage signal, when button is released, SIG pin will generate LOW voltage signal.
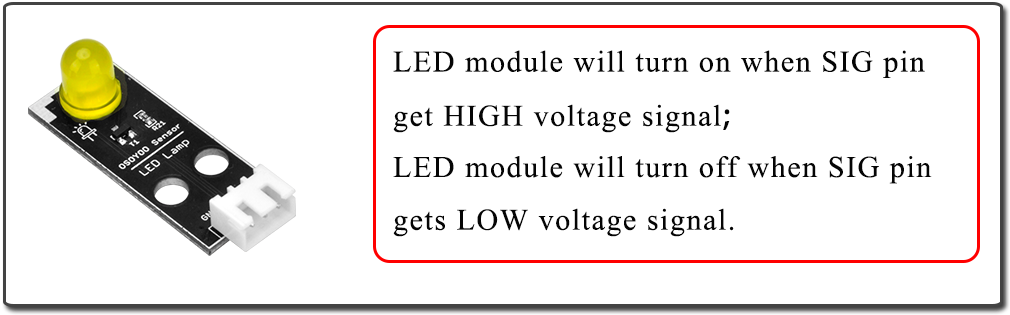
LED module will be turn on when SIG pin get HIGH voltage signal and will turn off when SIG pin gets LOW voltage signal.
Connection
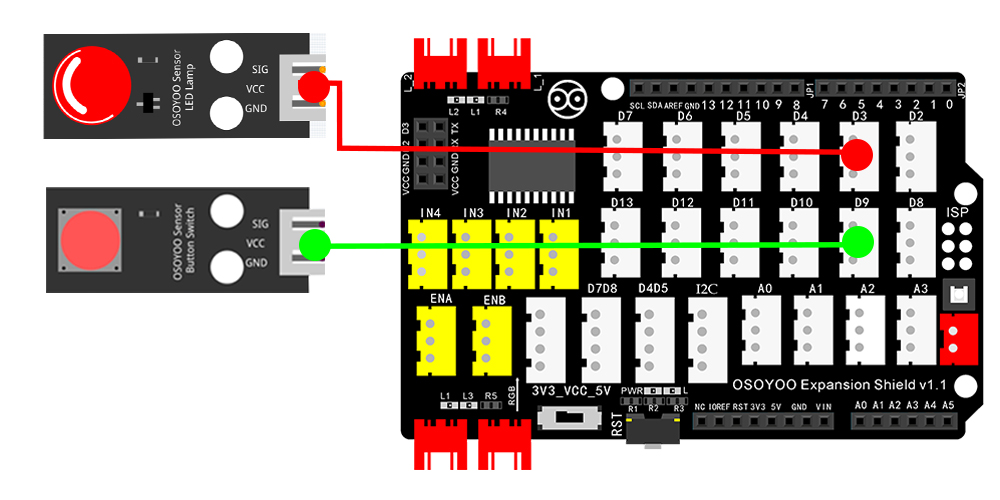
First, please plug Osoyoo Magic I/O shield into OSOYOO basic Board. Then connect the LED and Button module to the D3 and D9 port of the Magic I/O shield with a 3-pin PNP cable as below:
LED Module – D3
Button Module – D9
Upload Sketch
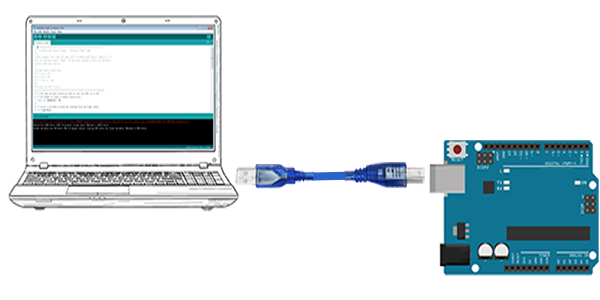
After above operations are completed, connect the OSOYOO basic Board to your computer using the USB cable. The green power LED (labelled PWR) should go on.
Code Program
After the routine above done, you might think, if we want to turn on the LED in this way, the hand cannot leave button, it is not convenient.How to control the lights as normal , click on the light, then press out? We can improve the program, which can realize the result that will modify the program for the following code, and then upload to the OSOYOO basic Board.
The circuit is same as above,you can get the sketch from this link or copy below code to your new Arduino IDE window and upload it to your OSOYOO basic Board. Don’t forget to choose the corresponding board and port for you project!
#defineLED3// Set D3 as the LED pin#defineBUTTON9//Set D9 as the button pin//Let's say you have your push button on pin 12intswitchState=0;// actual read value from pin12intoldSwitchState=0;// last read value from pin12intlightsOn=0;// is the switch on = 1 or off = 0voidsetup(){pinMode(BUTTON,INPUT);// set the push button as inputpinMode(LED,OUTPUT);// anything you want to control using a switch e.g. a Led}voidloop(){switchState=digitalRead(BUTTON);// read the pushButton Stateif(switchState!=oldSwitchState)// catch change{oldSwitchState=switchState;if(switchState==HIGH){// togglelightsOn=!lightsOn;}}if(lightsOn){digitalWrite(LED,HIGH);// set the LED on}else{digitalWrite(LED,LOW);// set the LED off}}
Open the Arduino IDE and select corresponding board type and port type for your OSOYOO basic Board.
Now, simply click the “Upload” button in the environment. Wait a few seconds – you should see the RX and TX leds on the board flashing. If the upload is successful, the message “Done uploading.” will appear in the status bar.
Running Result
After the program is compiled and uploaded, you can achieve: click the button to turn on the LED, and then press this button, the LED will be turned off.