In this tutorial, we will learn how to use OSOYOO IoT kit and Blynk APP to build an intelligent system for environmental detection and regulation. Through this system, we can remotely obtain the temperature and humidity of the environment in real time, and display the data to the local display. When the temperature is higher than the warning value, the mobile phone will receive a push notification, the air circulation fan will be automatically turned on, and the temperature will be adjusted actively. , When the temperature is lower than the warning value, the fan will automatically shut down.
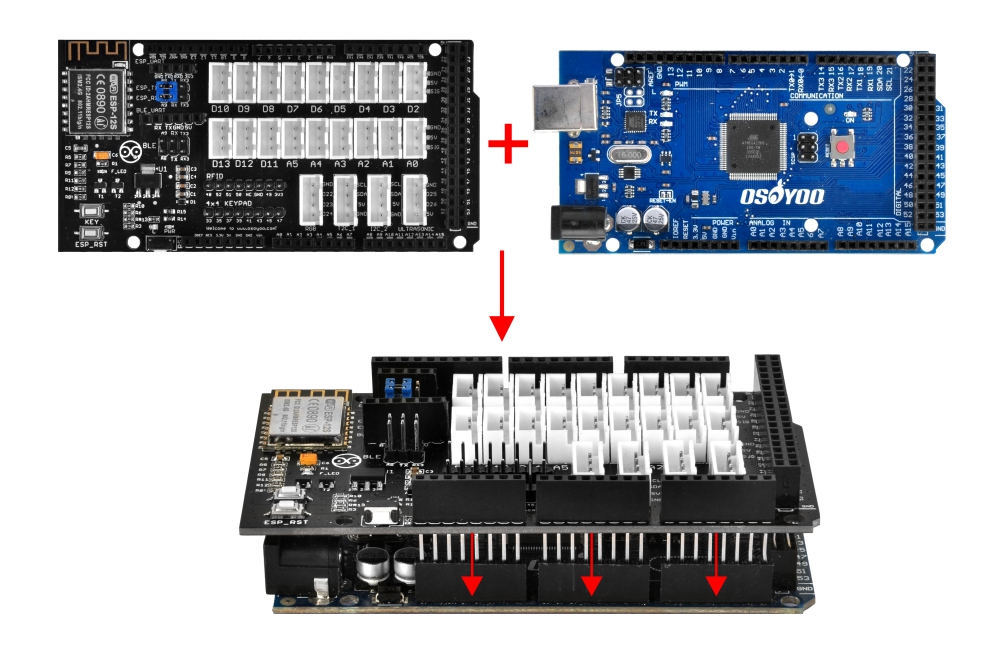
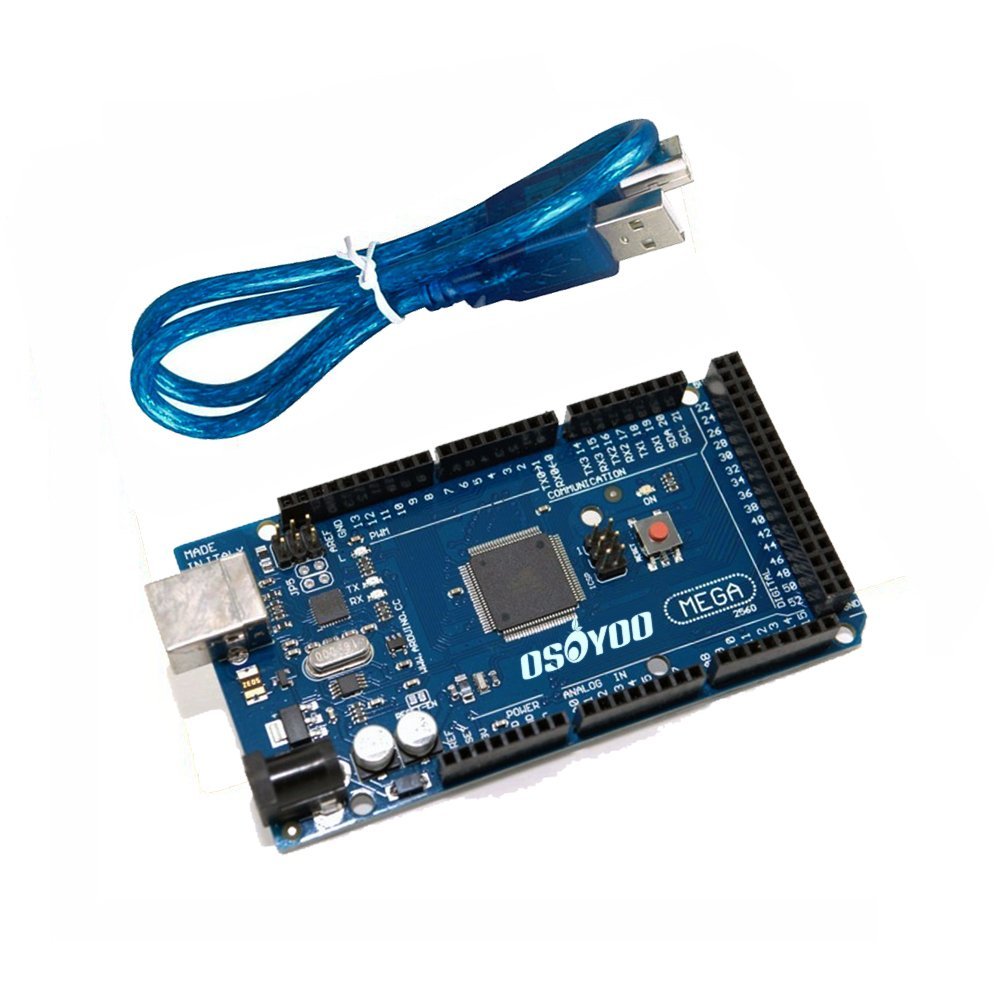
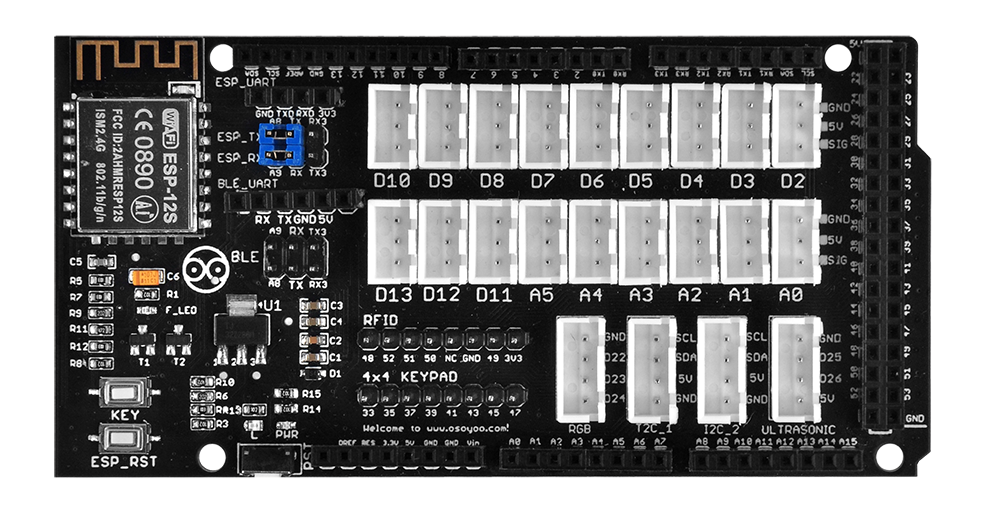
First, please plug OSOYOO MEGA-IoT Extension Board into MEGA2560 board:
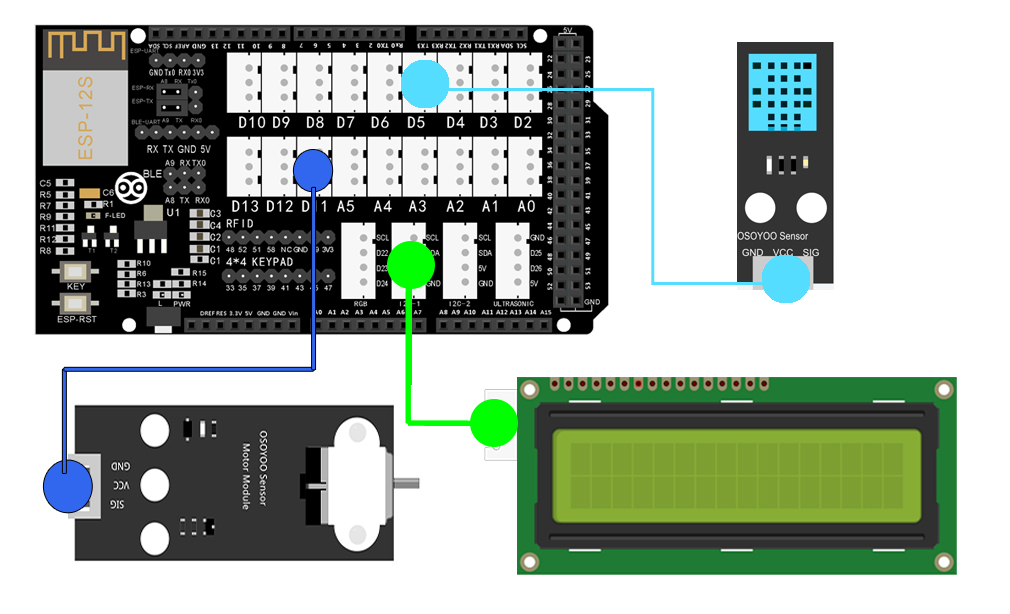
Build the circuit as below:
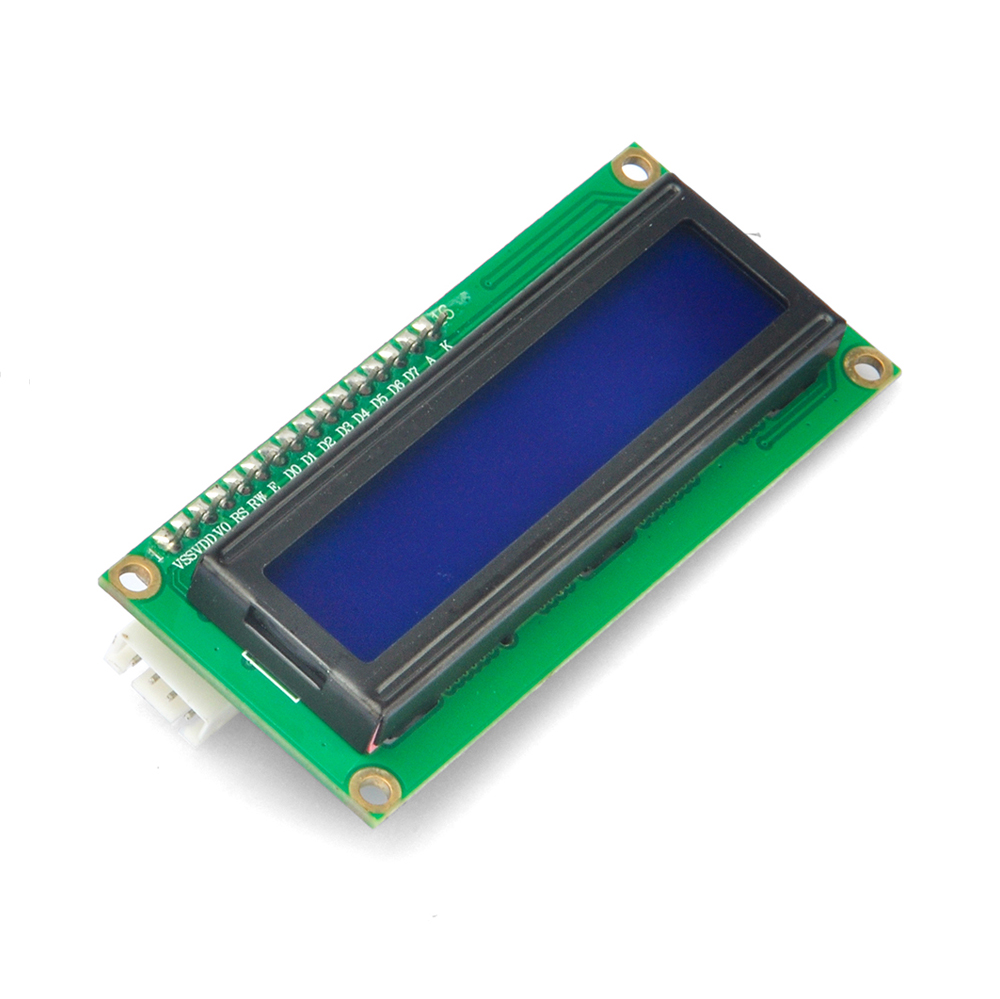
1602 display – I2C
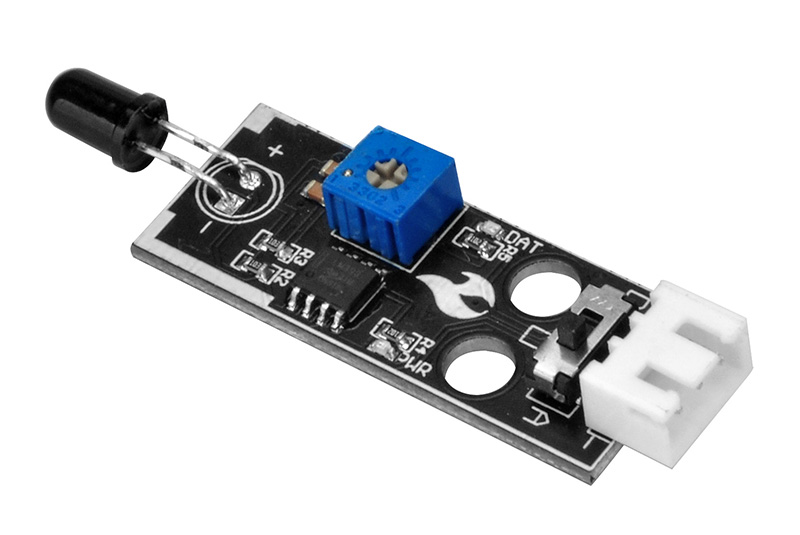
DHT11 Module – D5
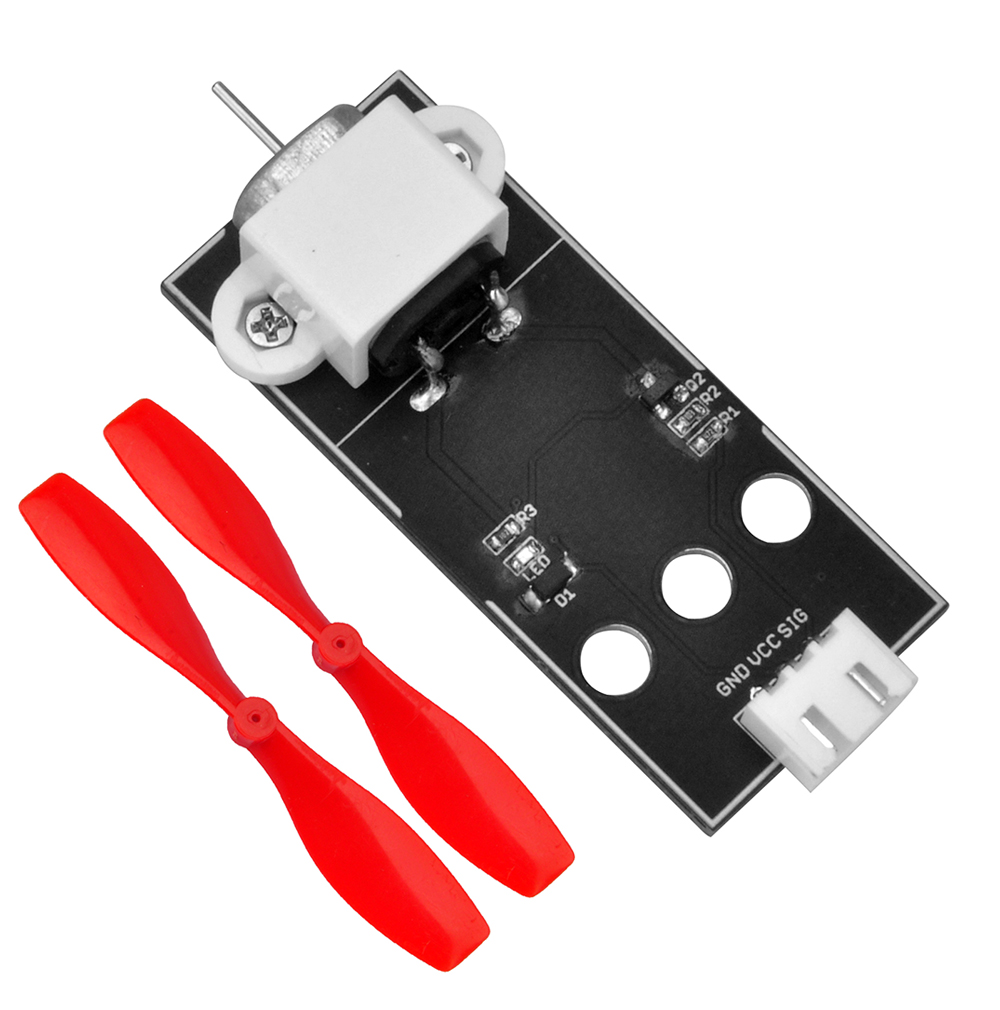
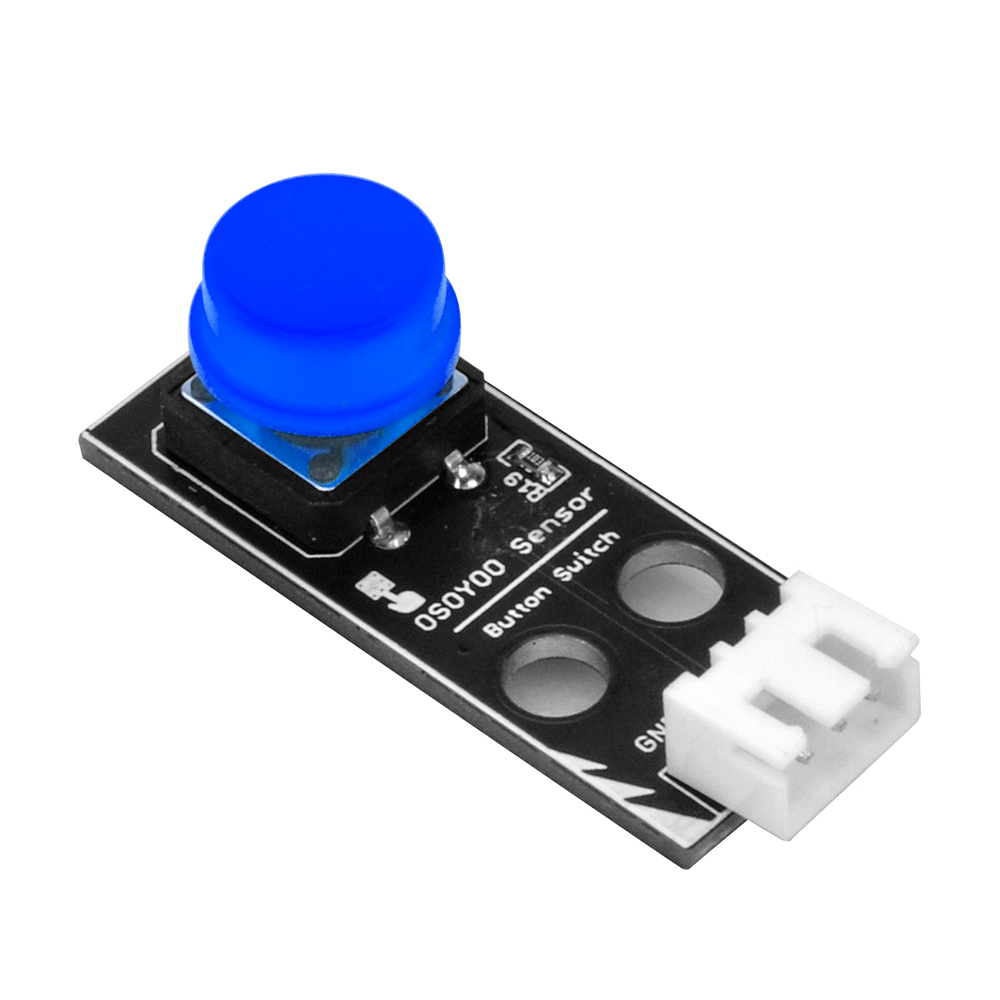
Fan Module – D11
Prerequisite:
You need to install Local Blynk Server, Blynk APP, Arduino IDE, Blynk Libraries before running the code of this lesson. We suppose you have installed them in previous lessons. If you haven’t done these installations, please read following contents in lesson2-1 link:
Note: In the sketch, find these code in line 13,14 as following:
char auth[] =”0ByWpc50cmOJ5O6OyHMaK4OSHkDvUeI-”;
char server_ip[]=”192.168.1.81″; // replace this line with your Blynk Server IP addres;
Replace 0ByWpc50cmOJ5O6OyHMaK4OSHkDvUeI- with your local Blynk Token.
Replace 192.168.1.81 with your local Blynk Server LAN IP address.
If you don’t know how to get token and Server IP address, read this article.
In lines 17,18 and replace *** with your wifi ssid/password
char ssid[] = "***";//replace this line with your wifi ssid
char pass[] = "***"; //replace this line with your wifi password
please replace the *** with your correct wifi SSID and password, otherwise your project can not connect to Internet.
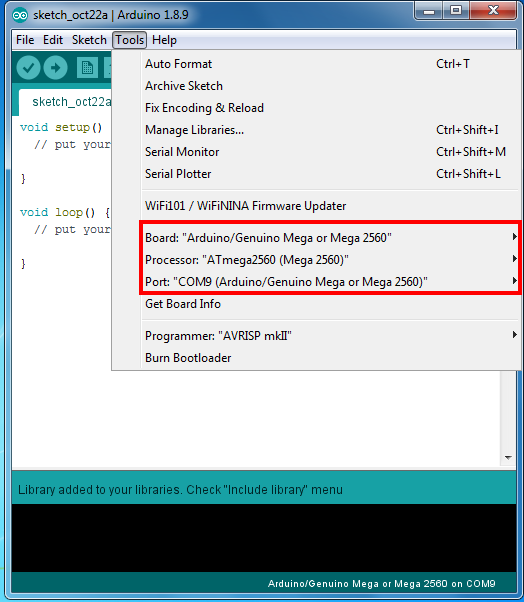
Upload the sketch to the board. Wait until you see something like this:
Done uploading
Now open your Serial Monitor, you will see Arduino is trying to talk to Blynk server. After 20 to 30 seconds, your Serial monitor will finally shows Arduino’s IP address and a “Ready (ping: 25ms)” ending message.
Congratulations! You are all ready! Your hardware is now connected to the Blynk server.
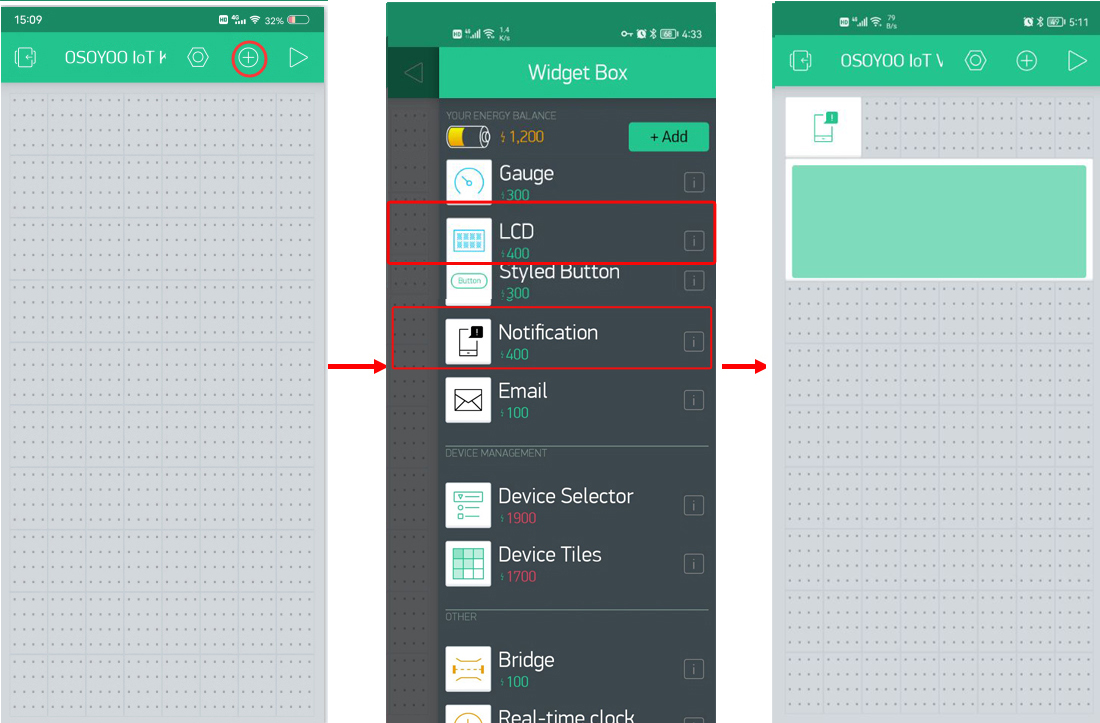
Add Widgets in Blynk legacy APP
Here we need to add the Notification and LCD widgets, and config it as below:
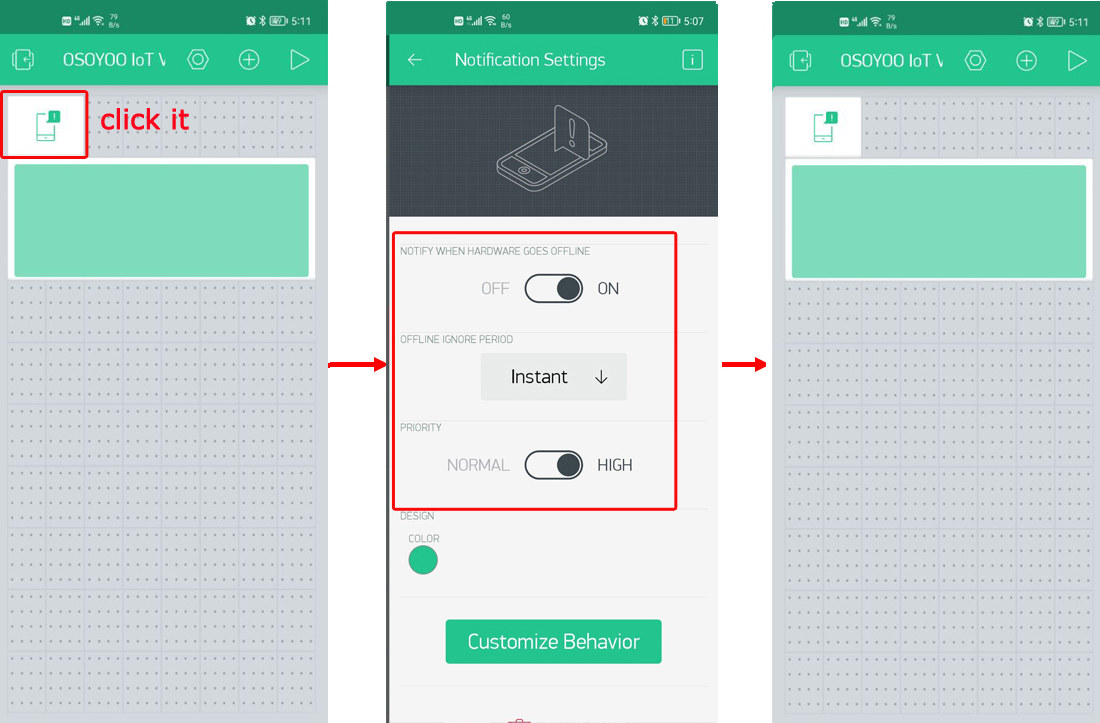
Notification widget:
Notify when hardware goes offline: ON
Offline ignore period: Instant
Priority: HIGH
Then set the Blynk notification to the highest authority in the phone settings.
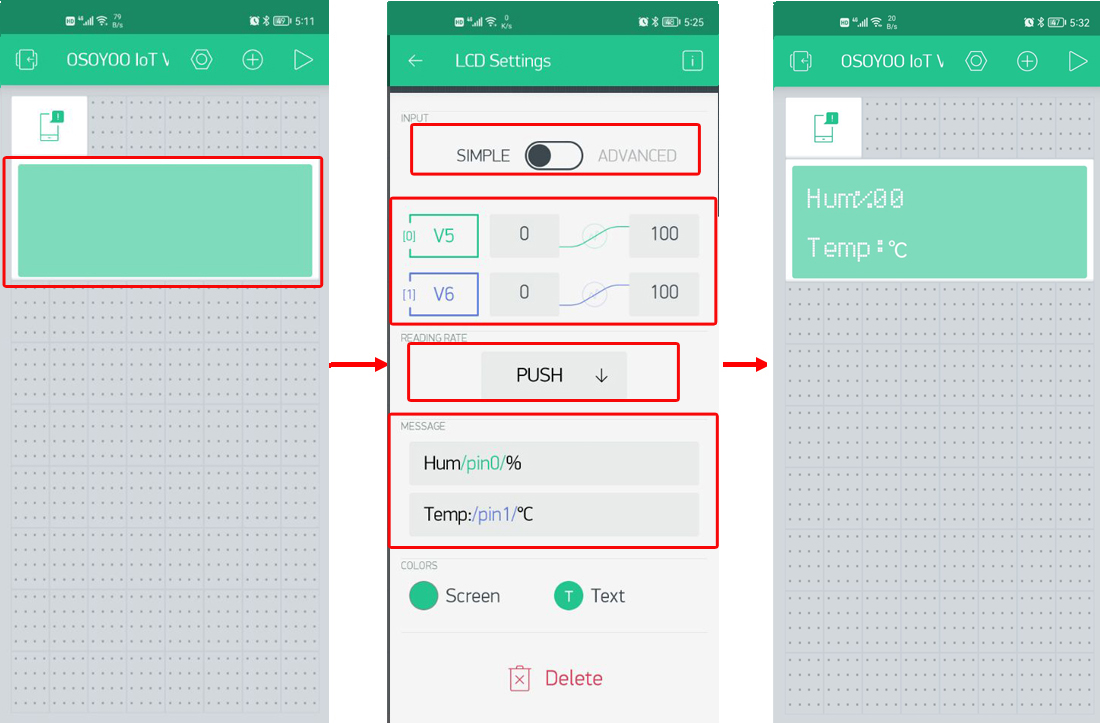
LCD widget:
INPUT: SIMPLE
[0]-V5: 0~100
[1]-V6: 0~100
READING RATE: PUSH
MESSAGE:[Hum: /pin0/% ], [Temp: /pin1/℃ ]
And you can keep other settings as default
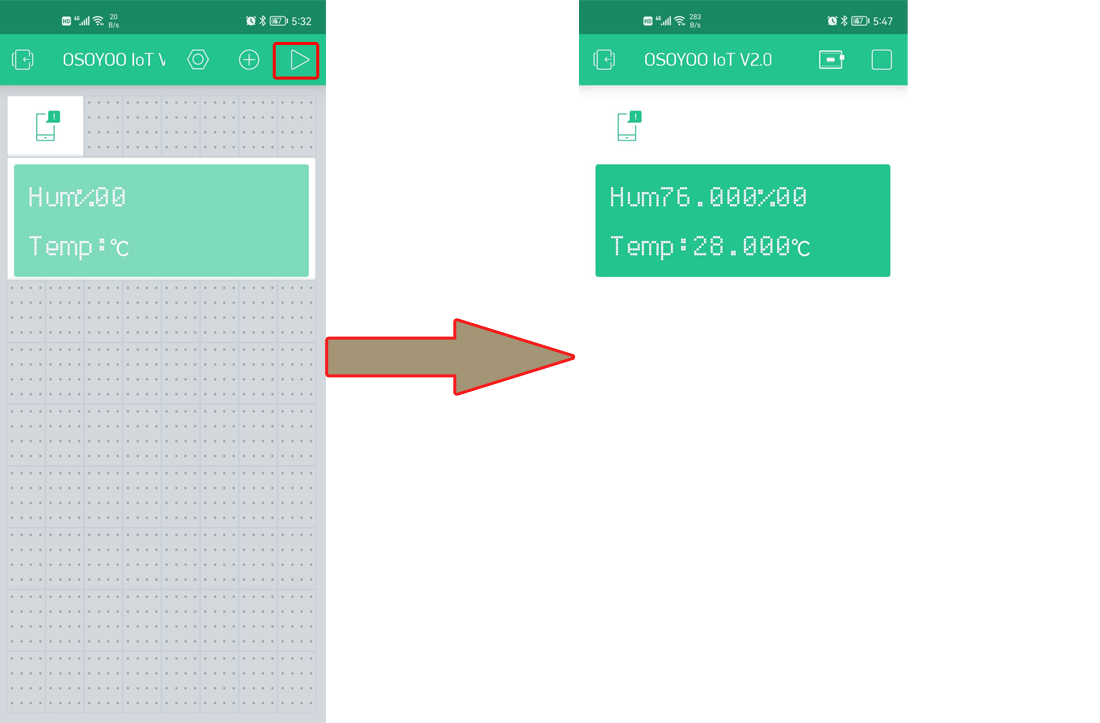
After you finished all above operations, press the “▷“ button. This will switch you from EDIT mode to PLAY mode where you can interact with the hardware.
Let’s start our test now!
With this system, we can know the temperature and humidity of the environment in real time through the Blynk APP, and the temperature and humidity of the environment will be displayed on the local display.
When the temperature is higher than 30 degrees Celsius, the phone will receive a push notification “The temperature is higher than 30°C! The fan is on!”, the air circulation fan will automatically turn on and actively adjust the temperature. When the temperature is lower than the warning value, the fan will automatically shut down.
If your DHT11 sensor is disconnected or stops working for some reason, your local screen and your mobile phone will still receive a prompt message: “DHT11 Failed!” or “NO DHT11!”
If you find the device is offline, please check your code, wiring and app settings, and try again.
Tip: If someone finds that their wiring and code are correct, but the fan module does not rotate, please turn the fan blades by hand, and the fan will rotate slowly! To prevent users from being injured, we have designed the fan module for safety.