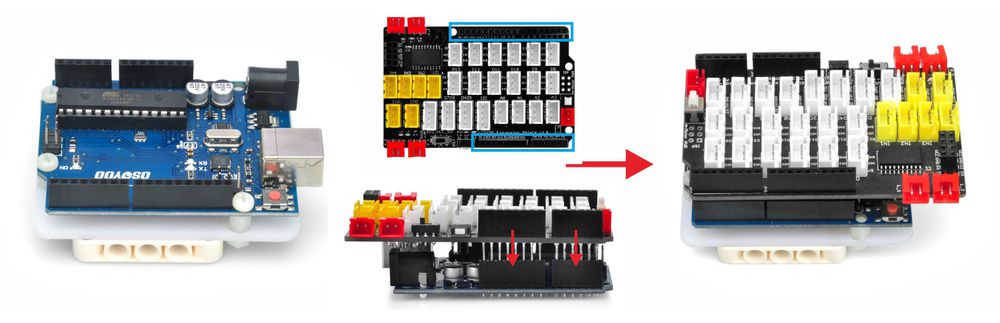
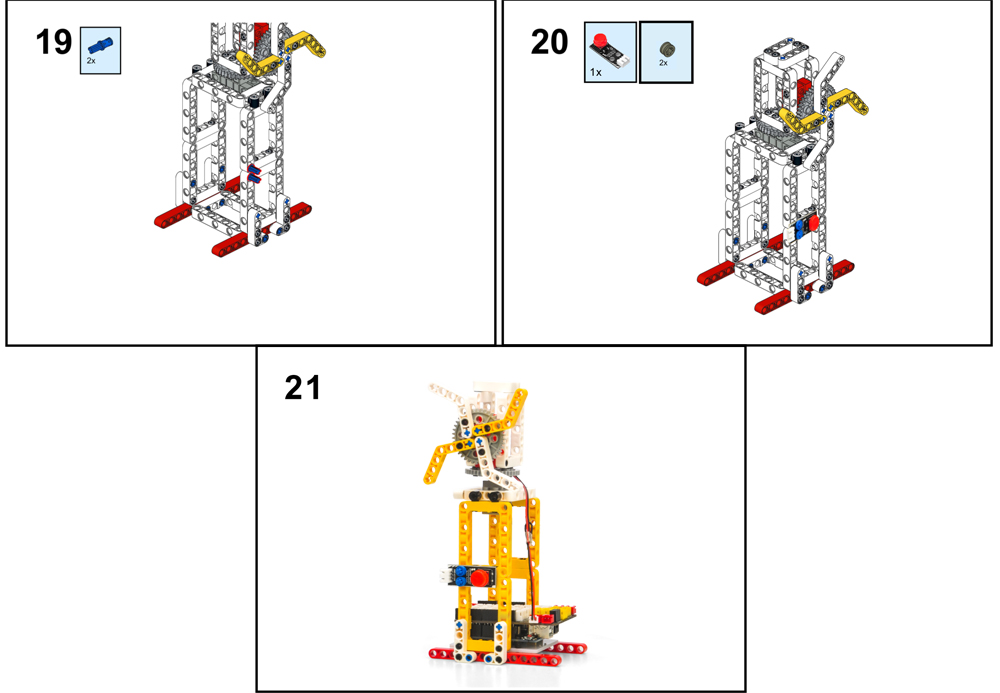
The OSOYOO building bricks is mechanically compatible with leading building bricks. In this lesson, we will use OSOYOO Bricks to build an Oscillating Pedestal Fan.
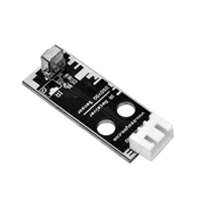
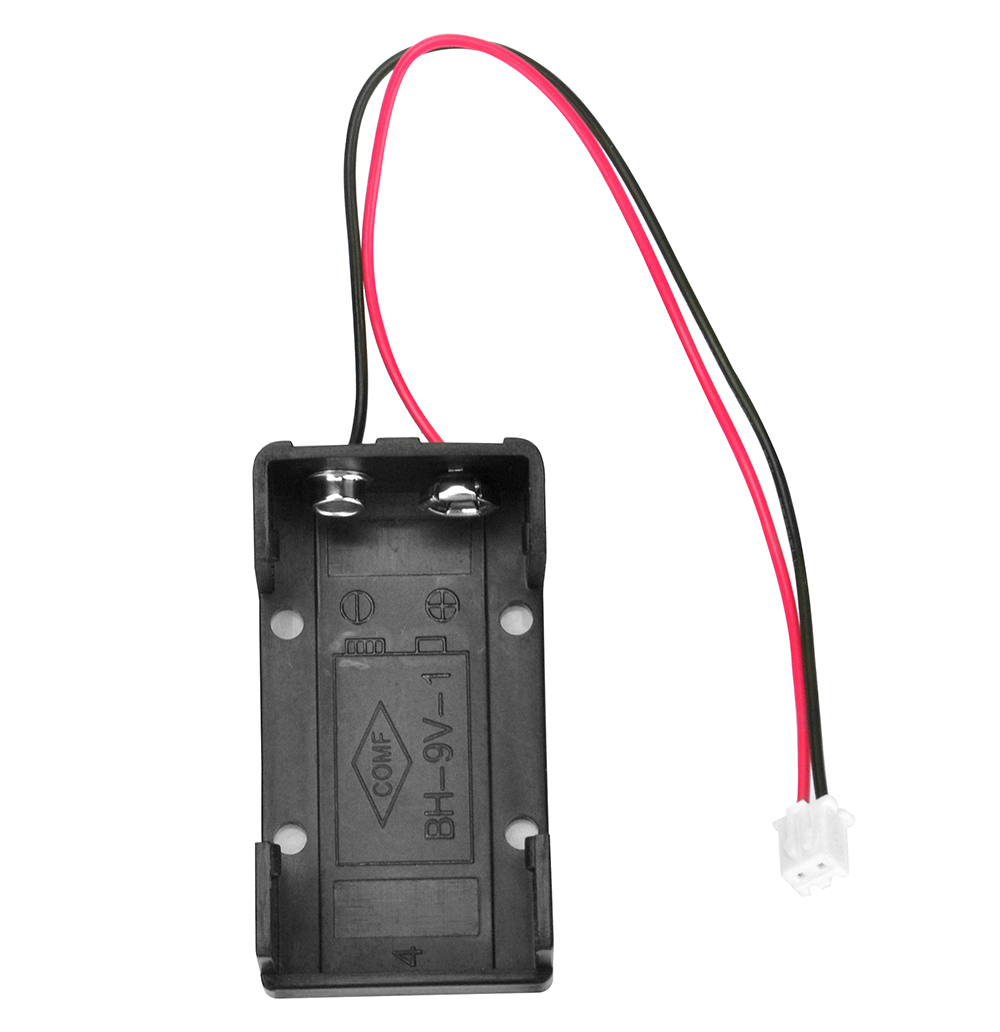
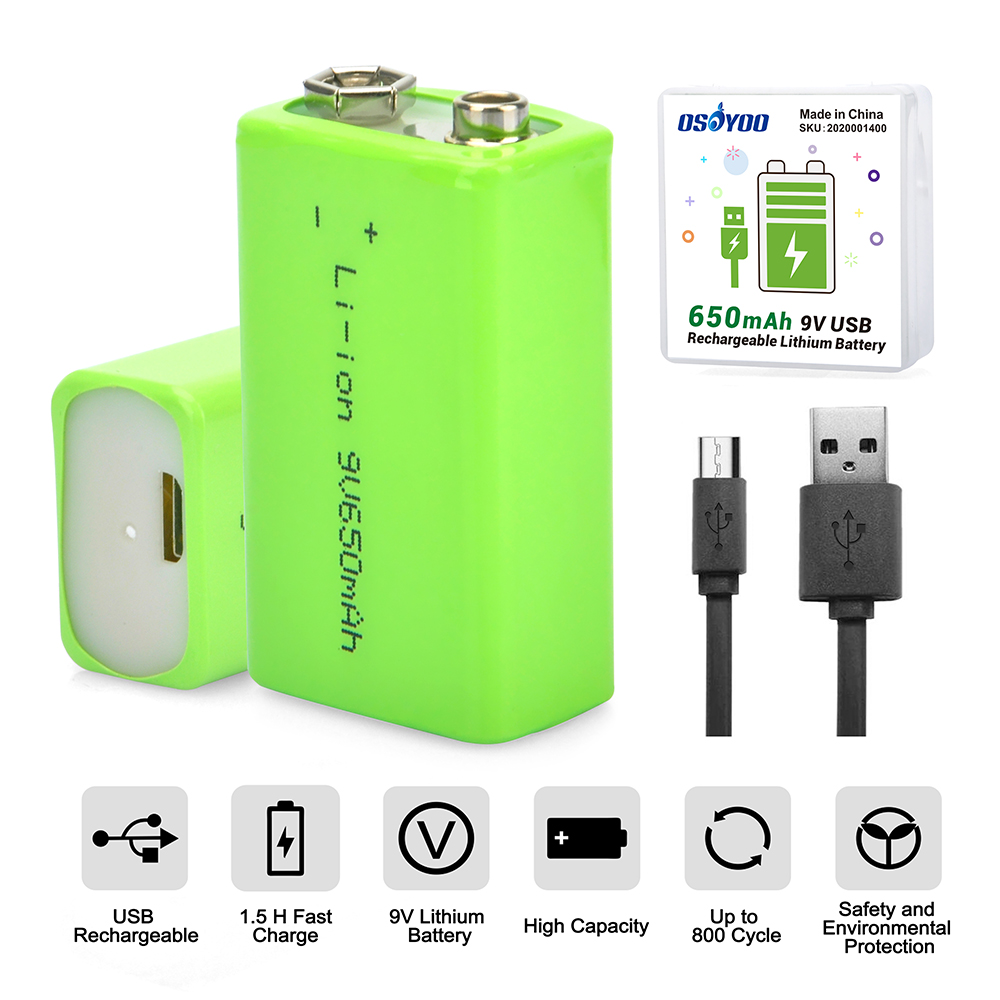
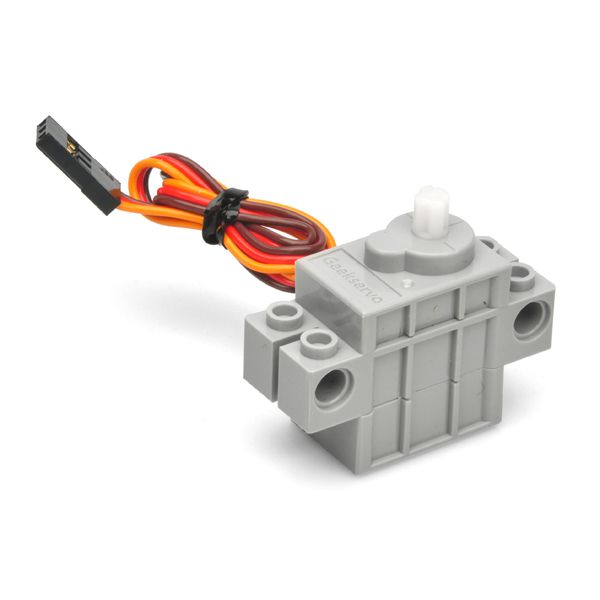
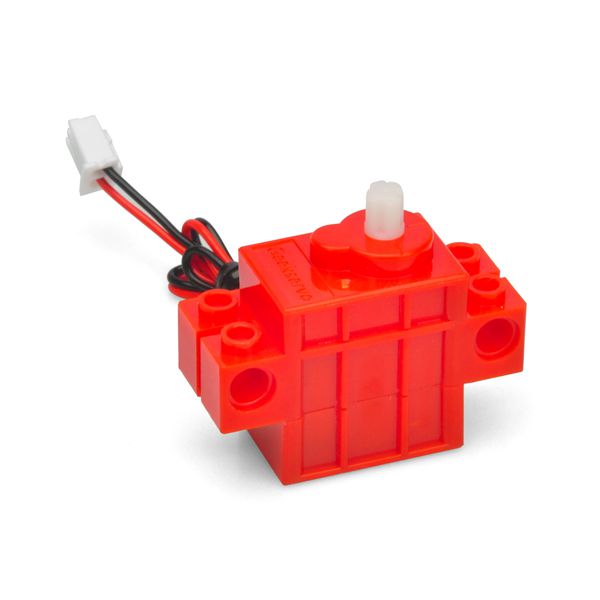
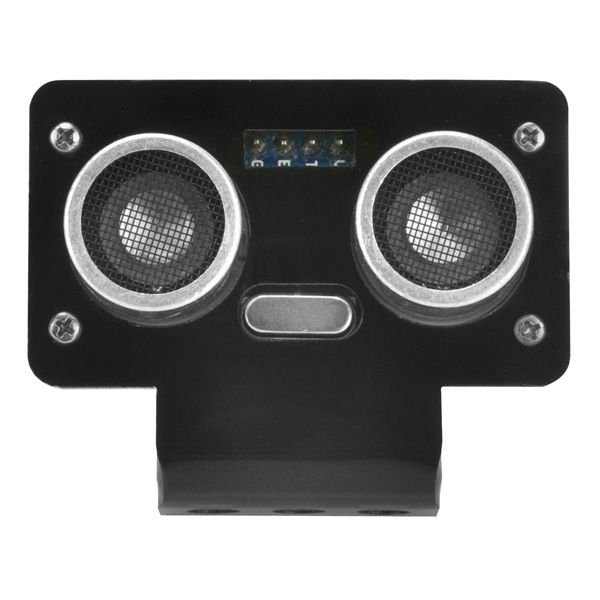
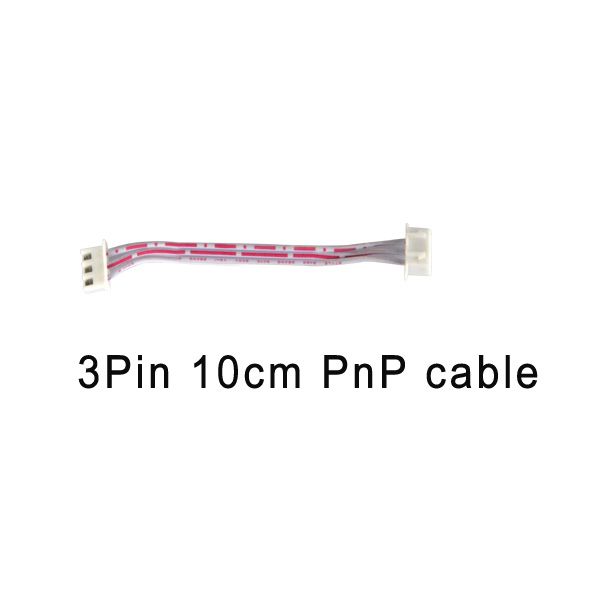
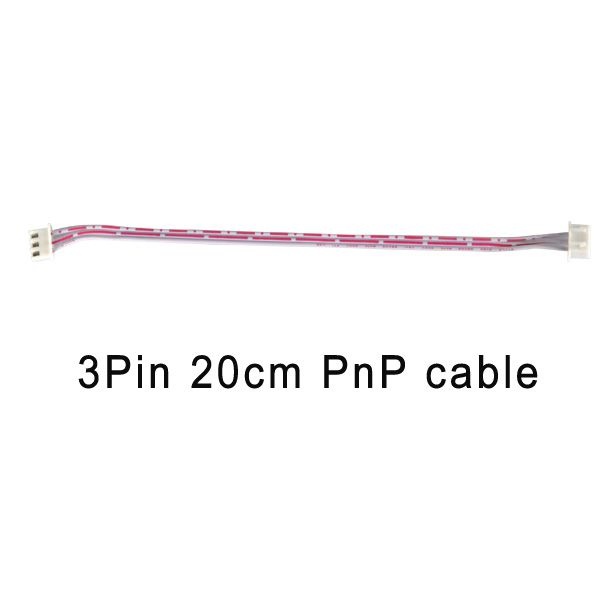
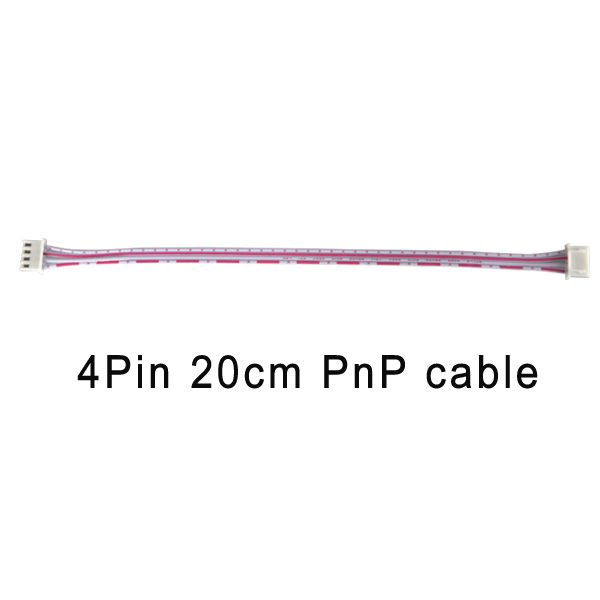
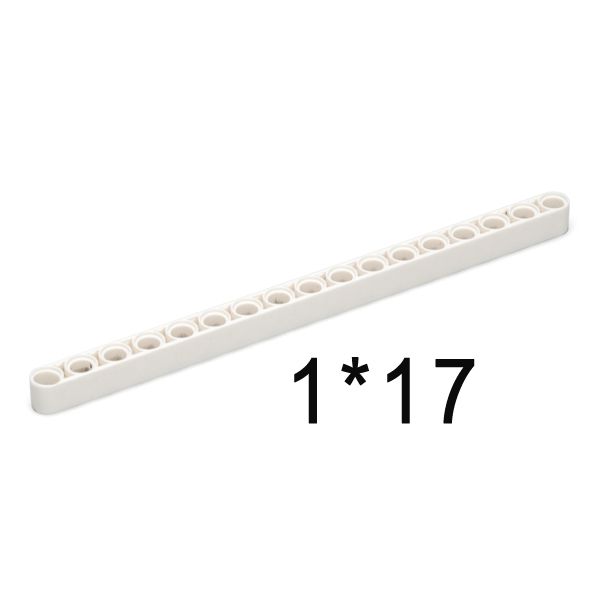
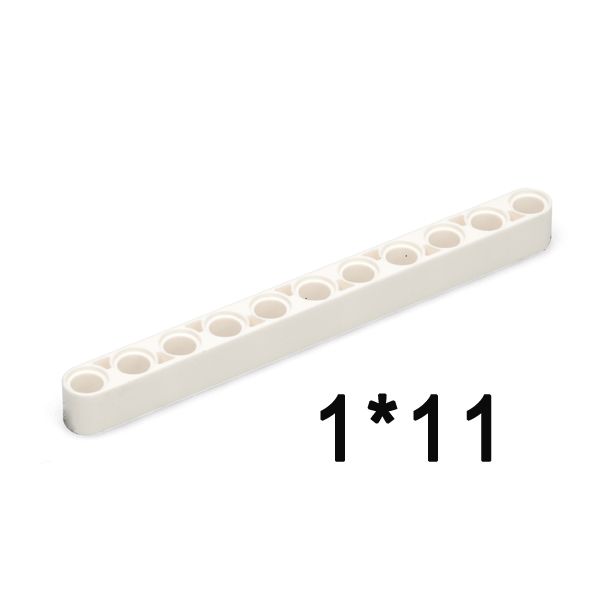
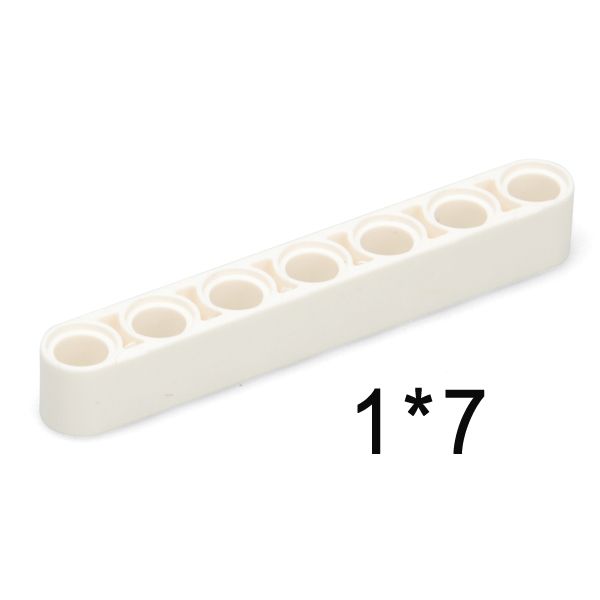
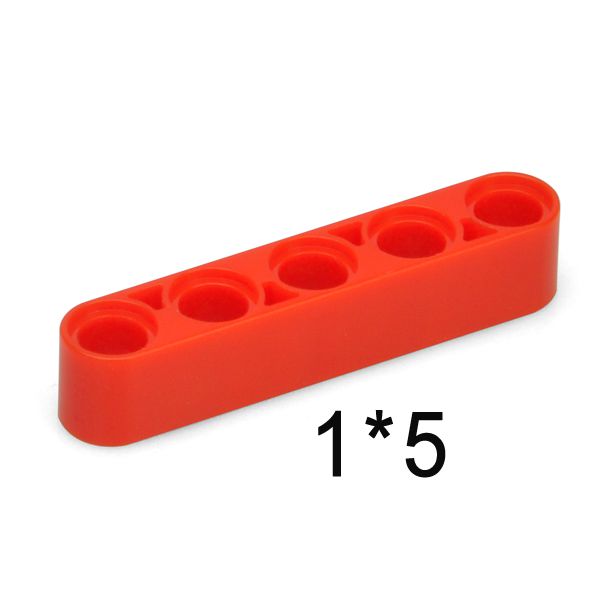
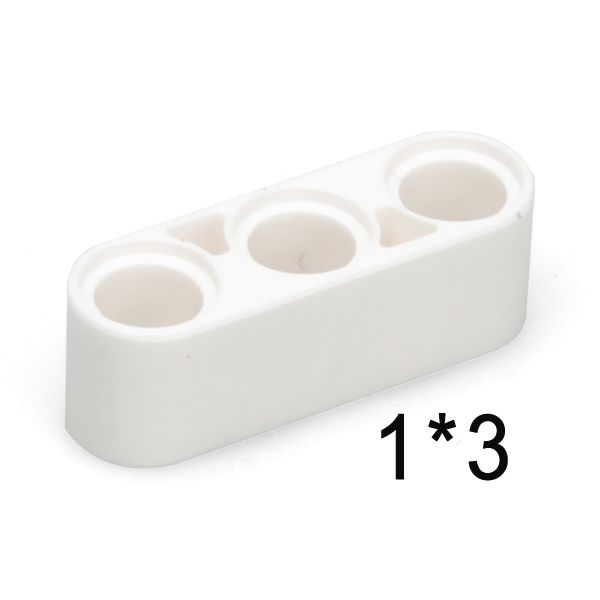
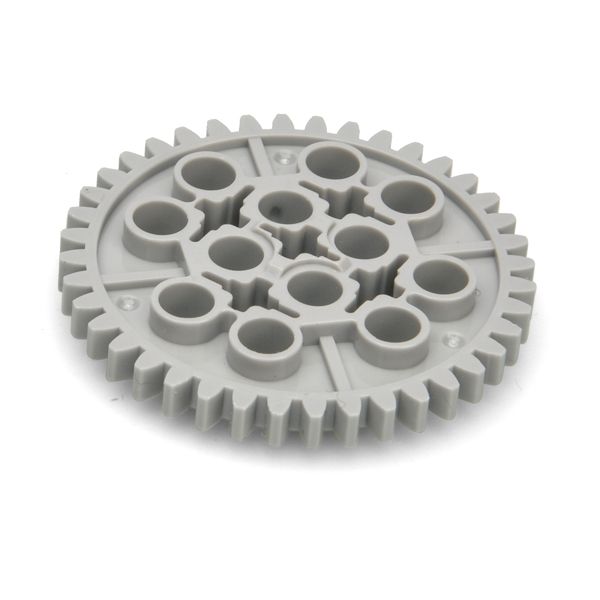
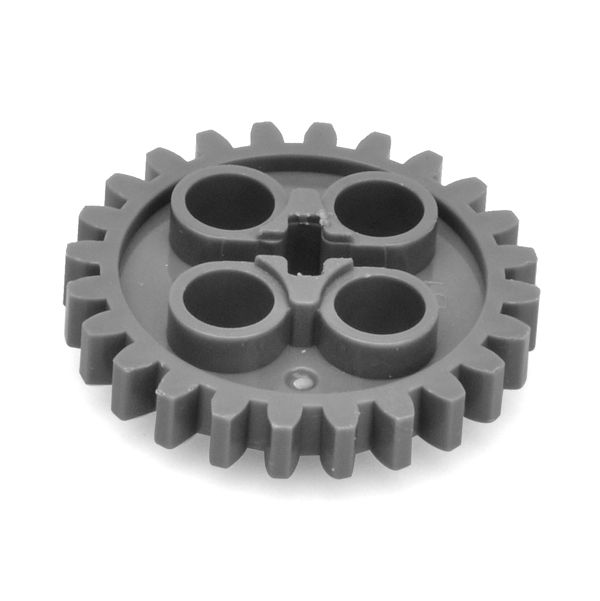
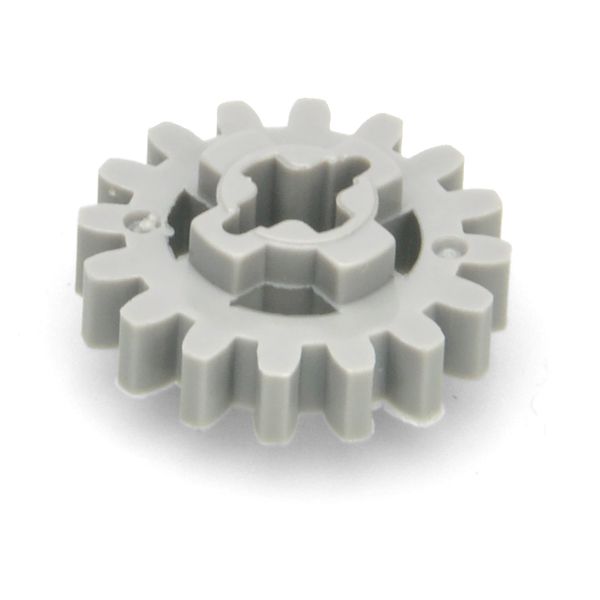
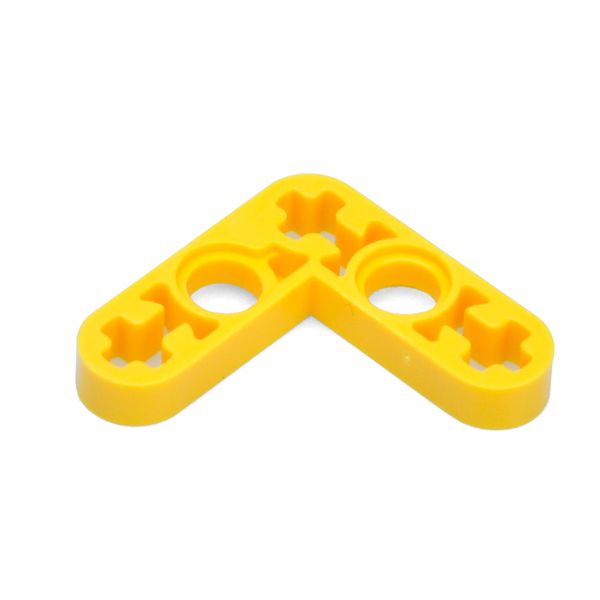
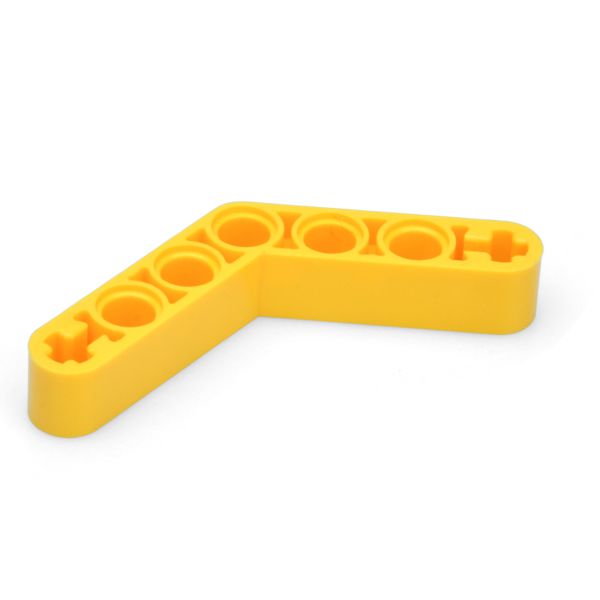
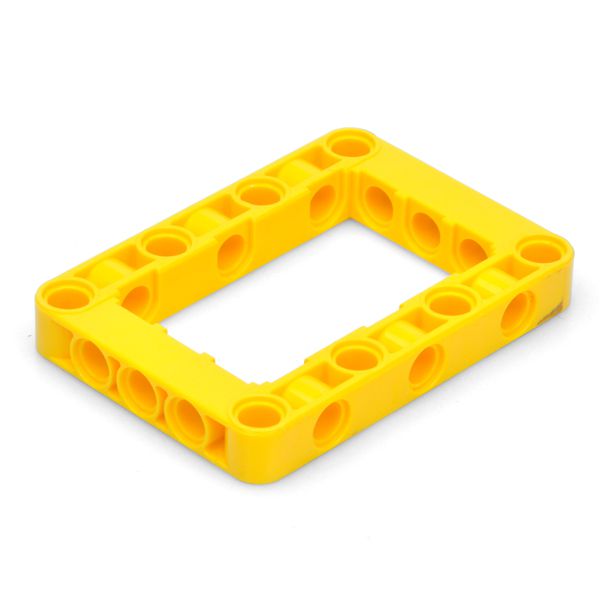
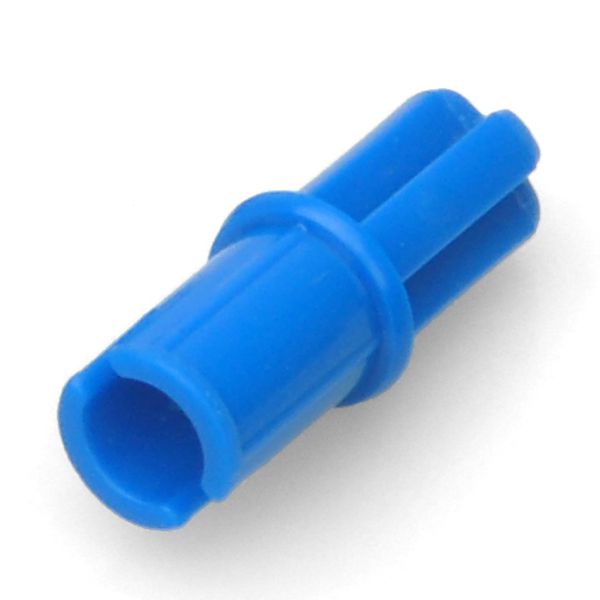
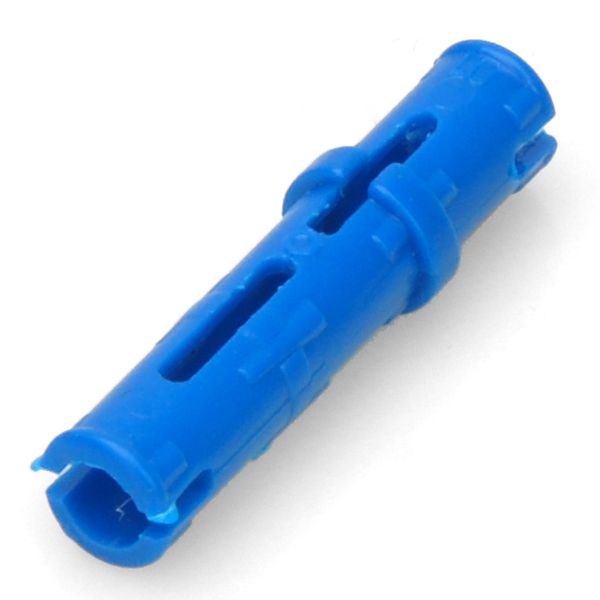
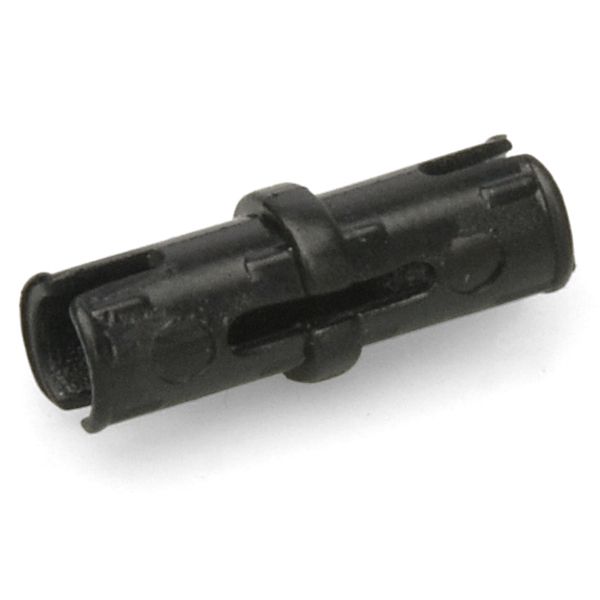
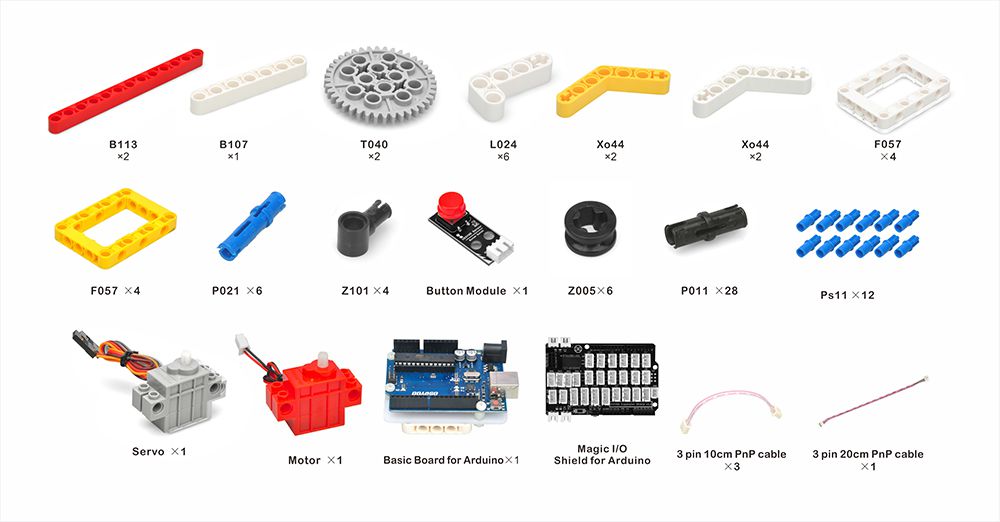
Please prepare the following parts to complete this project
Note: ALL OSOYOO Products for Arduino are Third Party Board which is fully compatitable with Arduino
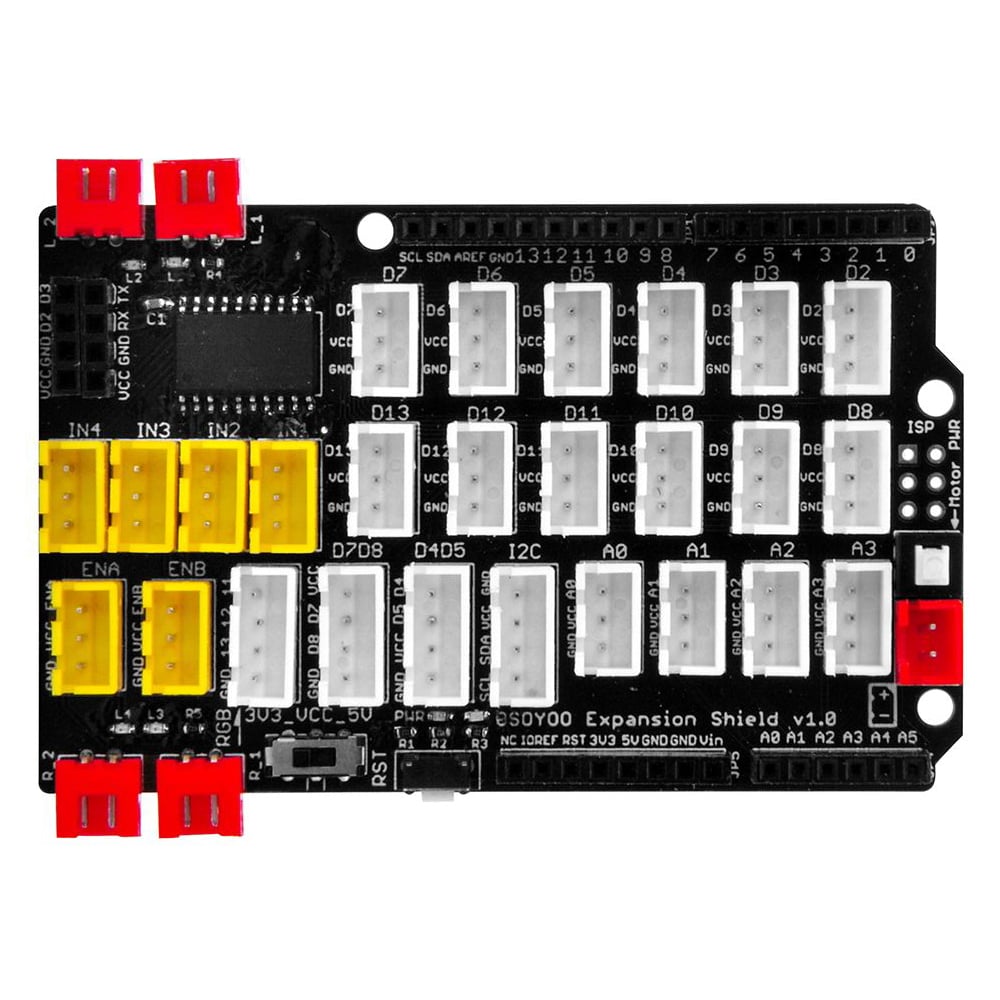
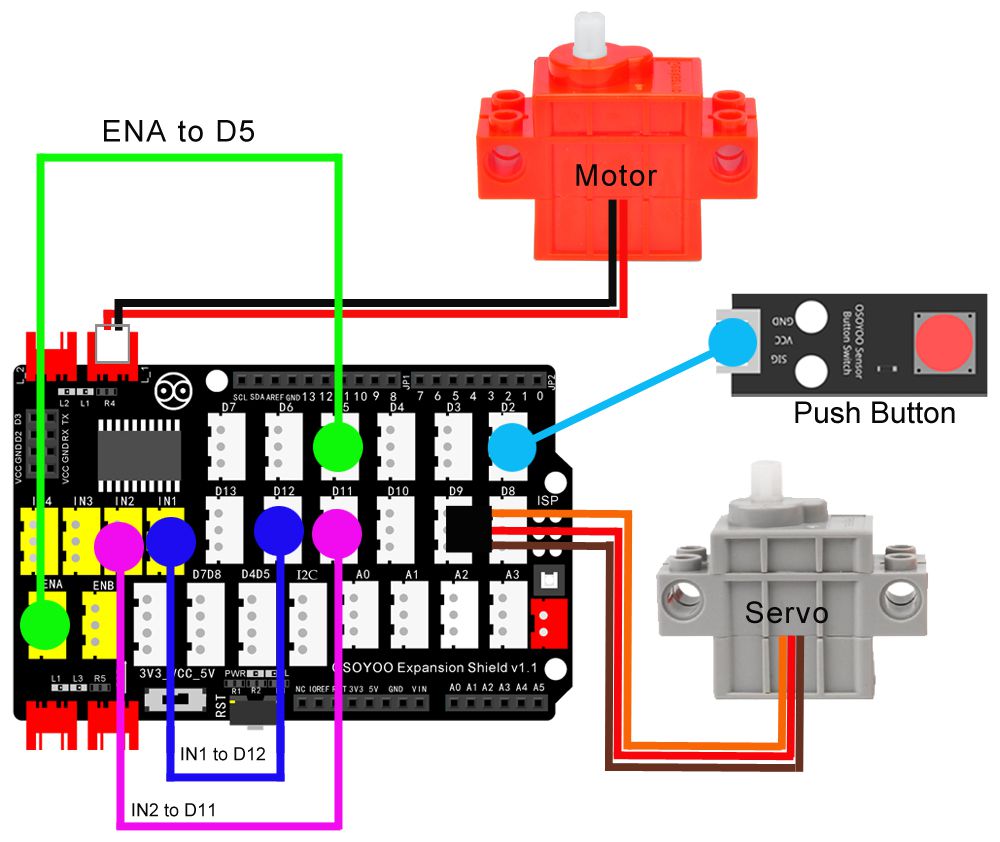
Connect wires as per following picture:
1. Motor(red) to L1 or L2
2. Push Button to D2 port
3. Servo(grey) to D9 port
4. IN1 to D12
5. IN2 to D11
6. ENA to D5
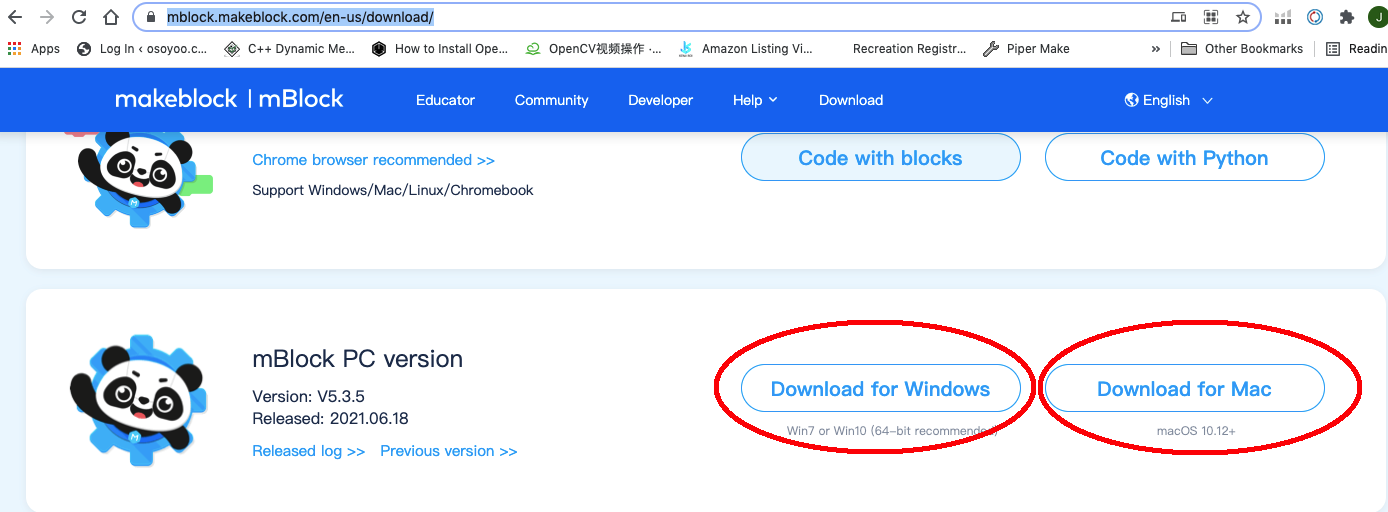
Note: In this kit, we use mblock as programming tool, if you want to learn more about mblock, please visit preparation before class 1: https://osoyoo.com/2021/12/01/preparation-before-class-1 Step 1) Download mBlock PC from https://mblock.makeblock.com/en-us/download/, select the download file as per your computer OS type: Step 2) Download OSOYOO_UNO.mext device file from https://osoyoo.com/driver/mblock/osoyoo_uno.mext Step 3) Run the mBlock PC software by double click the lovely Panda icon. you will see mBlock UI as following picture. Please delete the default device CyberPi by click the cross in the red circle.
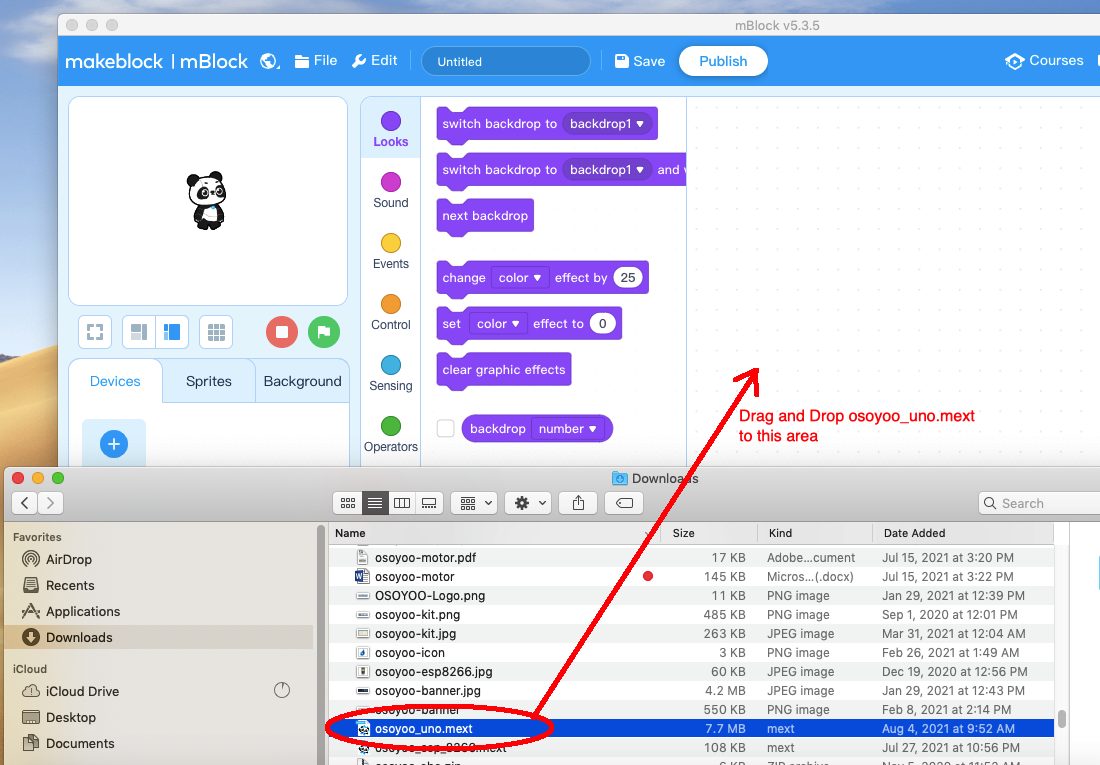
Step 4) Drag and Drop osoyoo_uno_mext file(downloaded in Step 2) to mBlock software as following:
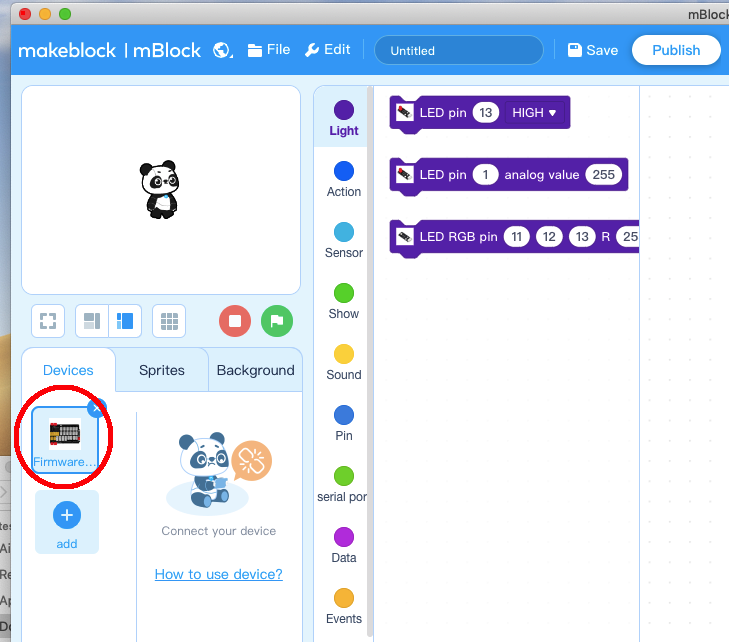
Now you will see a new device firmware in mBlock, see following picture:
Now mBlock software and OSOYOO_UNO device firmware have been successfully installed in our PC!
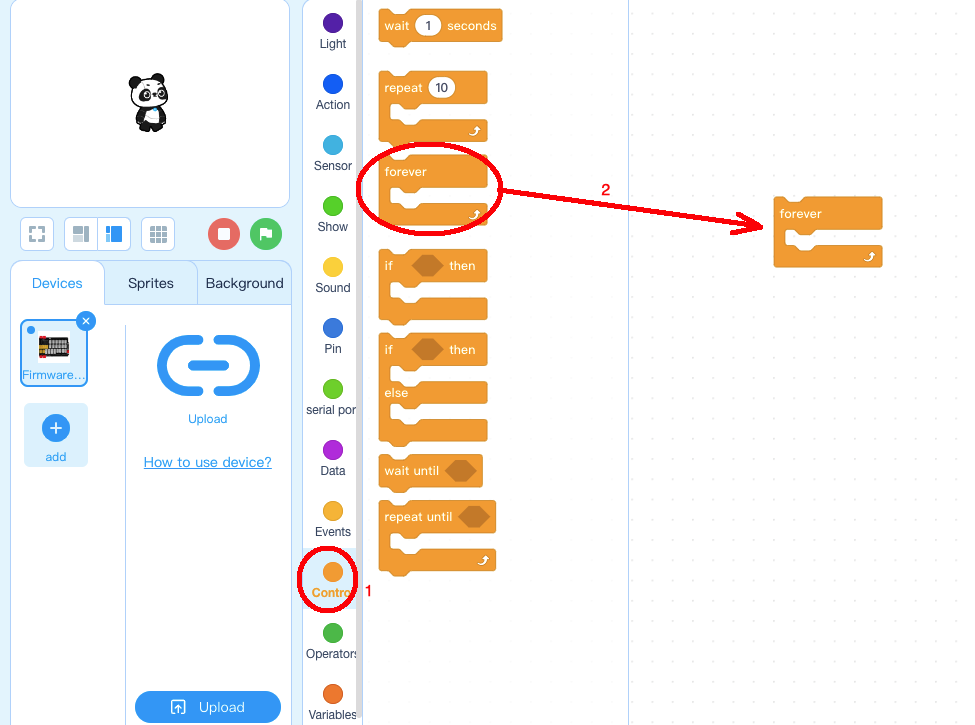
Now we will show you how to use blocks to make our Oscillating Pedestal Fan into reality. Step 1: Click Control, then Drag and drop Forever block to programming area as following:
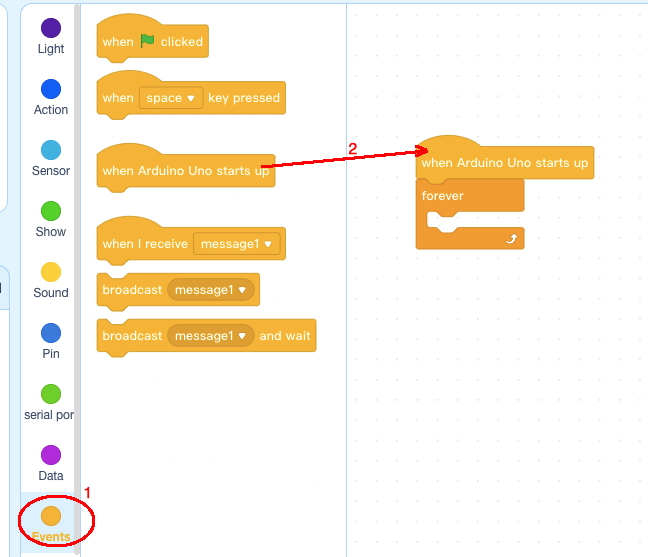
Step 2: Click Events, add when Arduino Uno starts upblock to the top:
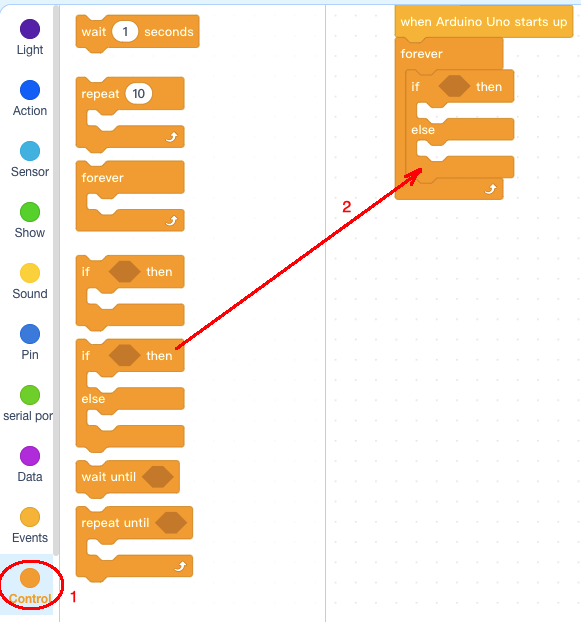
Step 3: Click Control , drag if else block to forever loop,
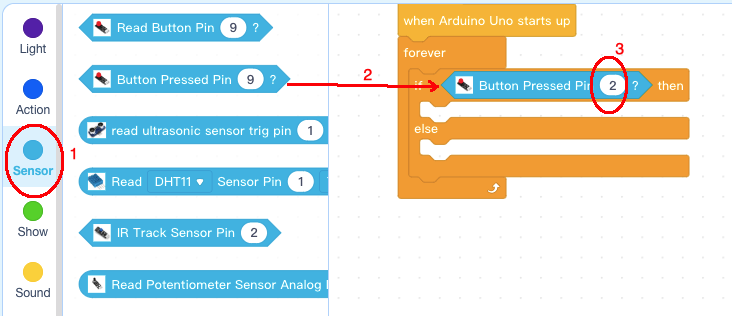
Step 4: Click Sensor, Add Button Pressed blocks to if condition area, change Pin number to 2:
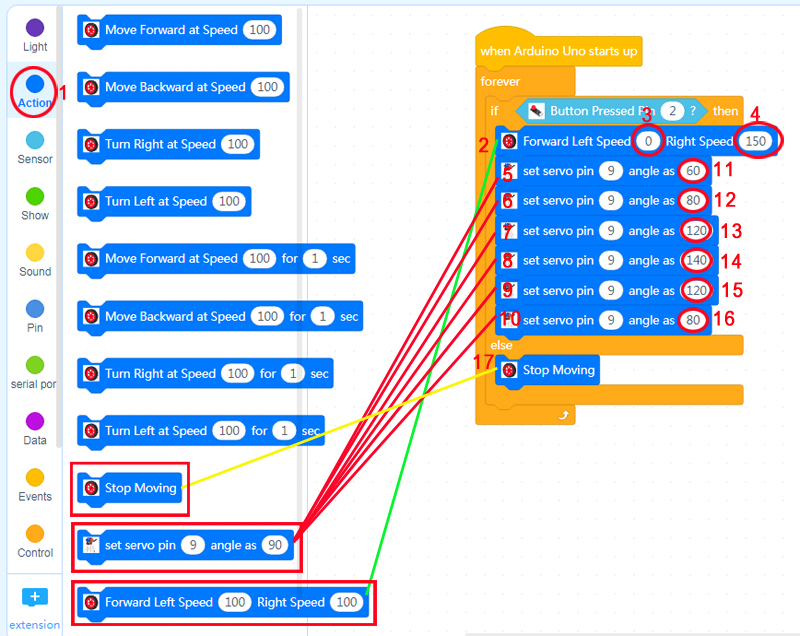
Step 5: Click Action , then drag Move Left Right Speed block, set Servo Pin blocks, and Stop Moving blocks as following:
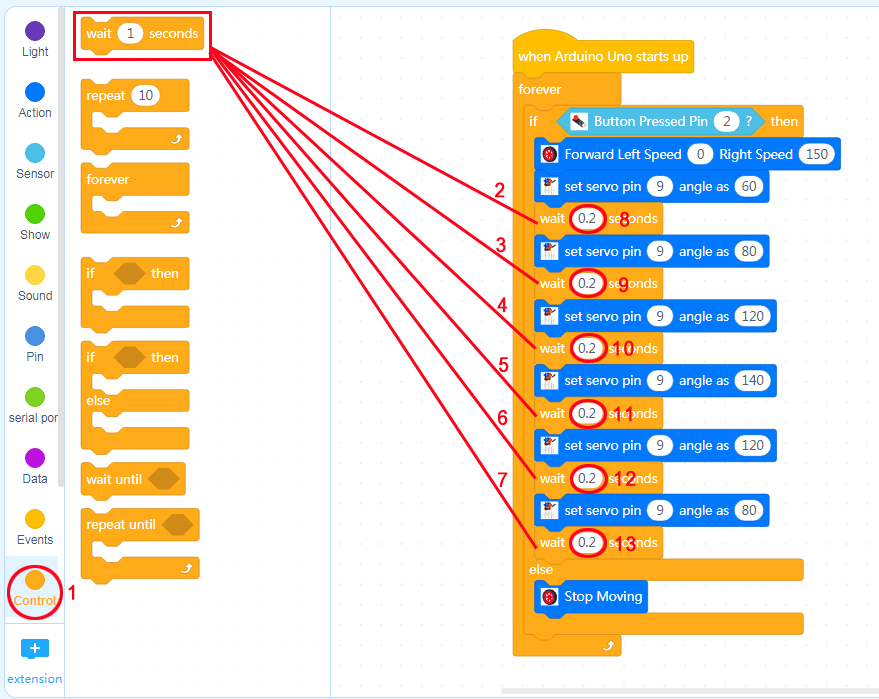
Step 6: Click Control , then add 6 pcs wait block under each set servo pin block, change wait time to 0.2 seconds
Now all the programming blocks have been completed! From above picture, the logic is pretty straightforward:
When Arduino is started, computer will enter a dead loop which will check the button status, when button is pressed, the Fan will rotate at speed 150, at the same time servo will oscillate from 60 degree position to 140 degree position. Each location will stop 0.2 seconds.
When you release the button, the servo and fan will stop after a short time.
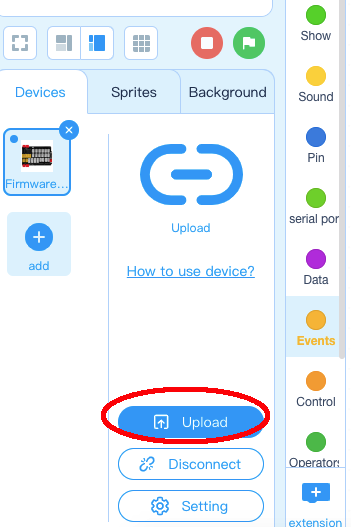
Step 7: Upload the program to OSOYOO basic board
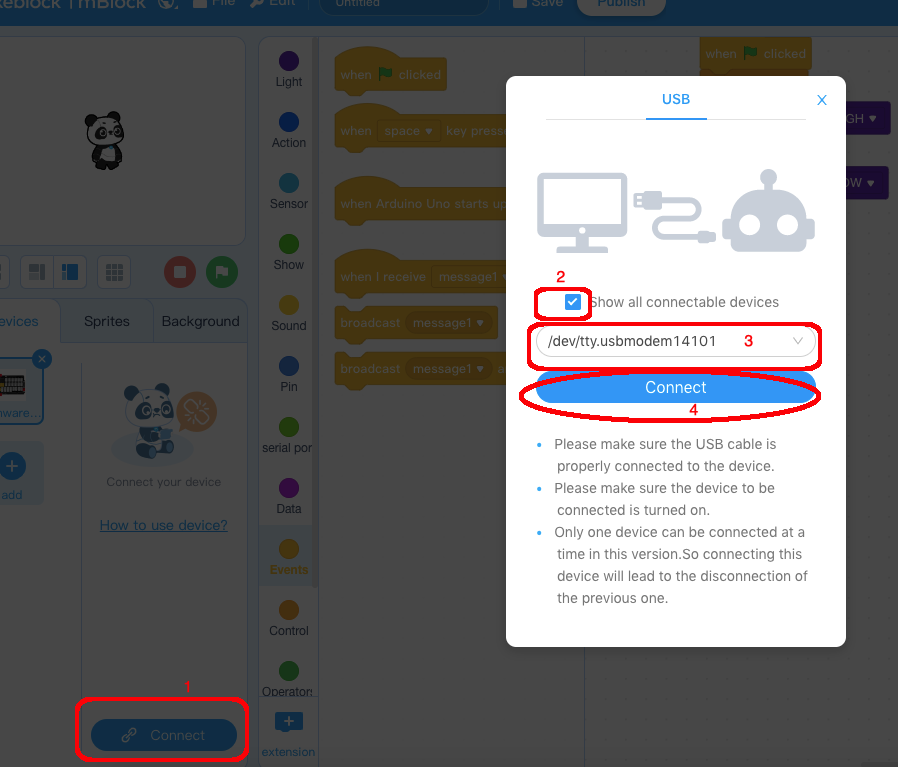
1) you need connect your OSOYOO basic board to your PC with a USB cable first. Then click the Connect button in the bottom of the mBlock software, you will see a USB window pop up,
2) select Show all connectable device check box , then a device drop-down menu will show up,
3) select your port from device drop-down menu
4) click Connect button to connect your PC to OSOYOO basic board.
5)After you PC is connected to OSOYOO basic board, please click Upload button in the bottom of your software, then the code will be uploaded to OSOYOO basic board: Now turn on the power switch in the Magic board, theOSOYOO basic board will start to work. Press the button on D2, your fan begins to rotate and servo start to oscillate. When you release the button, fan and servo will stop moving.


 Now turn on the power switch in the Magic board, theOSOYOO basic board will start to work. Press the button on D2, your fan begins to rotate and servo start to oscillate. When you release the button, fan and servo will stop moving.