- OSOYOO ESP8266 Wifi Module
- OSOYOO W5100 Ethernet IoT learning Kit
- OSOYOO Wifi IoT Learning Kit
- Smart House V2.0 Blynk Control
- Blynk IoT Learning Kit
- LoRa Related
- NodeMCU IoT Kit
- Smart Home Iot Kit
- Smart Home V2.0 UDP APP control
- Project for Raspberry Pi
- FlexiRover Robot Car for Raspberry Pi/Arduino
- IOT kit for raspberry Pi
- Mecanum Wheel Car
- OSOYOO basic kit for Raspberry pi zero
- OSOYOO Robot Car V1 for Raspberry Pi
- OSOYOO Robot Car V2 for Raspberry Pi
- OSOYOO Starter Kit V1 for Raspberry Pi
- OSOYOO Starter Kit V2 for Raspberry Pi
- Screen for Raspberry Pi
- Tank Car for Raspberry Pi
- OSOYOO V4.0 Robot Car for Raspberry Pi
- LilyPad Sewing electronic Kit
- NodeMCU Garden Watering Kit
- OSOYOO 3D Printer Kit
- OSOYOO Advanced Hardware Programming Learning Kit
- OSOYOO Basic Programming Learning Kit
- OSOYOO Cayenne IOT Learning Kit
- OSOYOO Graphical Programming Kit
- Osoyoo Hardware Programming Starter Kit
- OSOYOO IoT Smarthome Kit V0.1
- OSOYOO PNP Programming Learning Kit
- OSOYOO RFID Programming Learning Kit
- Osoyoo Sensor Modules Kit
- OSOYOO Smart Home IoT Kit
- OSOYOO Ultimate Hardware Programming kit
- OSOYOO v3 advanced learning kits
- 16+1 Sensor kit
- Smart Car Kit
- Balance car kit
- Blue Mecanum Wheel Robotic for Arduino Mega2560
- Blue Mecanum Wheel Robotic for Raspberry Pi
- M1.0 Mecanum Wheel Metal Chassis Robotic
- M2.0 Mecanum Wheel Metal Chassis Robotic
- Mars Explorer Mecanum Wheel Robot Kit
- Tank Car Kit V1.0
- Tank Car Kit V2.0
- 2WD Robot Car Starter Kit
- Model-3 V2.0 Robot Car
- OSOYOO Model-3 Robot Learning Kit
- OSOYOO Model-T Robot Car
- OSOYOO Robot Car Starter Kit Tutorial
- OSOYOO Servo Steering Car V3.0 for Arduino MEGA2560
- P3 Servo Steering Robot Car
- SG90 Servo Steering Robot Car
- V2.0 Robot Car kit
- V2.1 Robot car kit
- Sewing eletronic widgets
- Breadboard
- Buzzer
- LED
- Resistor
- Screen
- Sensors
- Temperature sensor
- USB cable
- Wires
- IO-breakout-board-for-ardino-UNO
- IO-breakout-board-for-arduino-nano
- IO-breakout-board-for-arduino-pro-micro
- IO-breakout-board-for-esp32&esp8266
- IO-breakout-board-for-raspberry-pico
- Nano for arduino
- LTG-Nano for Arduino
- Motor driver board
- NodeMCU
- Pro micro for Arduino
- PWM HAT for Rapberry Pi





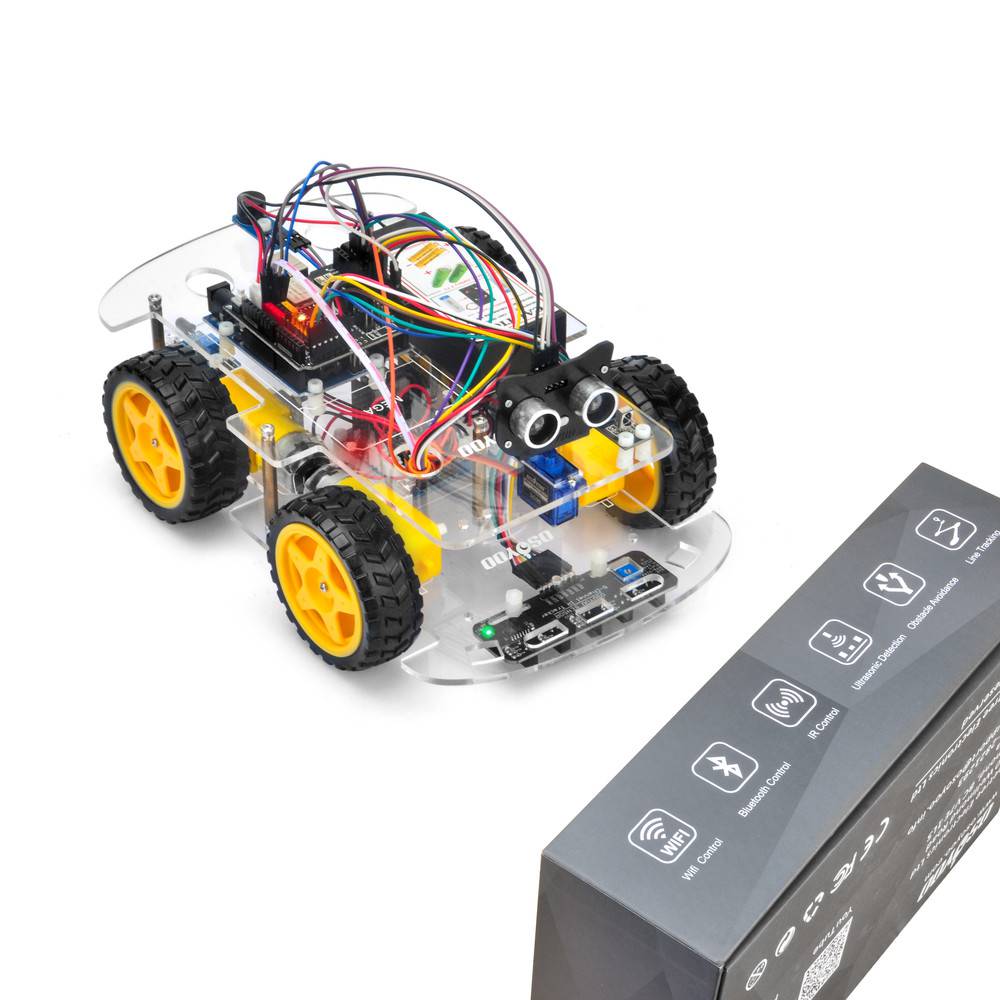

How to make the bot move faster instead of stopping every second?
You can change the following code to adjust the speed:
#define BUZZ_PIN 13
#define FAST_SPEED 250 //both sides of the motor speed
#define SPEED 120 //both sides of the motor speed
#define TURN_SPEED 200 //both sides of the motor speed
#define BACK_SPEED1 255 //back speed
#define BACK_SPEED2 90 //back speed
Elaine
How to make the car not to stop every LPT cycle and let it move continously. I delete every stop_Stop function from the watchsurround function but it still does it? Please I need help. Thanks
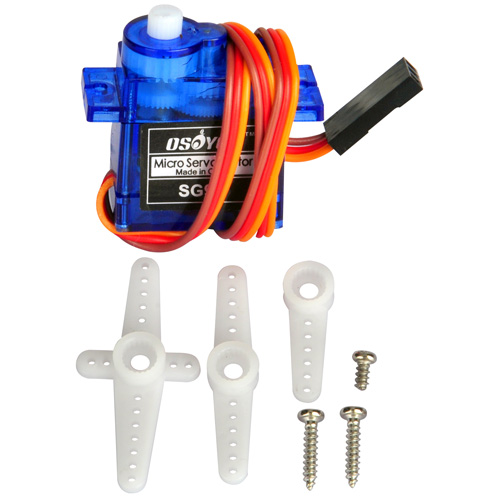
After the robot car is stopped, it detects whether there are obstacles in different directions through the servo and ultrasonic sensors, so that the robot can bypass the obstacles on its way forward.
I don’t know what your code looks like, and I don’t quite understand your purpose of doing this. Can you post your code?
It is normal for the Model X motor driver to flash when only Uno’s board is powered?
Please check the wiring and then check the battery status of the robot
Hi, when I want to move the black wire from D9 to D3, I see that D3 is taken by another wire, specifically the Out (left) wire of the IR Obstacle Avoidance Module from lesson 3. Where should I move the black wire?
Hi, you need to remove the wires of lesson2 and lesson3, when you test the lesson 4 and 5.
Can someone explain to me what this part of the code in the watch() function means?
digitalWrite(Trig_PIN,LOW);
delayMicroseconds(5);
digitalWrite(Trig_PIN,HIGH);
delayMicroseconds(15);
digitalWrite(Trig_PIN,LOW);
echo_distance=pulseIn(Echo_PIN,HIGH);
I think we need to measure the delay of the pulse to know the distance, but it looks like just measuring the pulse width which is fixed to be 15 μs.
Hi Elaine,
Lesson 5. I have removed wires from Lessons 2 & 3.
The robot only moves 3 or 4cms at a time but does not run when well away fro object. I have reduced te distance in the code to 10 but this has not made any difference. What is my problem?
Jim.
hi, James,
What do you mean “The robot only moves 3 or 4cms at a time but does not run when well away fro object” ? Can you send a short video about your current running result. our support email is [email protected]
Thanks
John @osoyoo support team
Hi John,
I have been trying for several days to send you a short video but I am unable to make it short enough to be accepted by the email serrvice. So I will try to explain what is happening.
When switched on in an open space in a room , minimum of one meter from an obstacle. The robot will do a scan of with the distance scanner then move forward about 4cms, that is about 3/4 turn of the wheels then move back slightly, turn slightly to right or left , then do the same again. More or less stayiong within the same square. I have reduced the minimum distance in the code to 10cms but this has made no difference. I would expect the robot , when switched on to move forward until it sees an object 10cms away, stop do a scan, back up, turn away and do another scan then proceed to go forward again etc. Am I expecting wrong?
Do you have Youtube account? Please upload the video to Youtube and send the link to us.
Do you mean the car will detect the object for long distance?
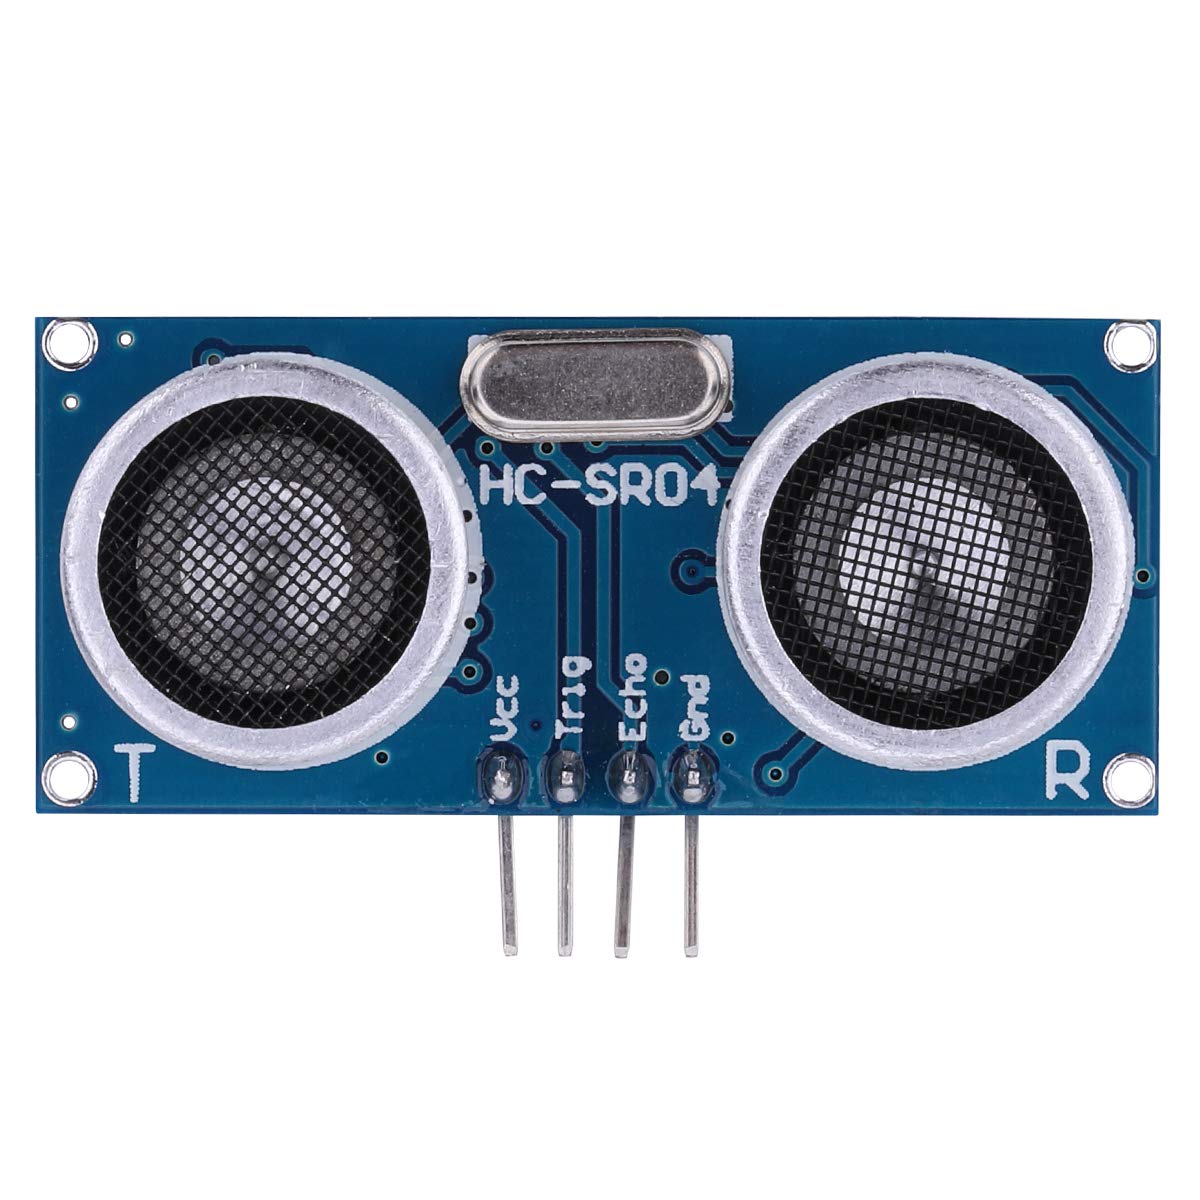
Please check whether the wires on Ultrasonic sensor? whether the echo and Trig are cross wrong?
The M2.2 * 8 screws do not actually attach the motor to the chassis, the chassis’s holes are too big so the motor just moves around
Hi Elaine
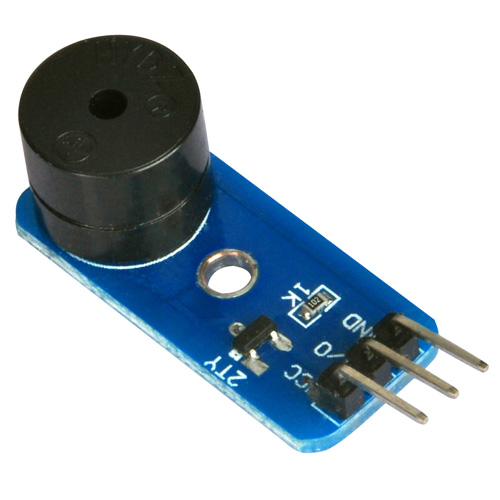
I have now reached Lesson 5. It works OK except the buzzer does not make sound. Wiring is OK
Any suggestions?
Regards, James.
buzzer might be defective. If you want , you can send your order number and address to [email protected] and ask for a new buzzer replacement. Actually buzzer is not quite important, you can keep doing other lessons without buzzer and test lesson 5 after you get new buzzer.
Hi Elaine,
Thanks fort your attention. I will not bother with the buzzer. I have now completed all lessons.
Regards, James.
olá eu montei o carrinho todo mas quando ligo o senssor ultrassonico ele começa a dar um beep constatente sem parar o que que eu faço?
you can remove that buzzer. it is not a necessary part.
Hi Elaine,
the car behaves strangely. It measures the distance to an obstacle correctly and shows it in the serial monitor, but it never goes forward. It either runs backwards or turns in circles.
How do you know the distance to obstacle showing correctly? If the aar always moving back or turning arround, it means the sensor didn’t send proper obstacle signal to Arduino. there is a simple way to test your ultrasonic sensor obstacle detection function is good or bad.
1)Run v2smartcar-lesson5.ino, do not turn on the battery, keep the USB cable connecting Arduino board and your computer. The car’s ultrasonic sensor will rotate but car won’t move.
2)Open Serial monitor , face the car to any direction which as obstacle(for example, your PC screen), then Serial monitor should show something like:
begin str=00100 or begin str=01100 , which tells that in center direction has some obstacles (0 stands for non-obstacle, 1 stands for obstacle , from left to right 5 digits means the obstacle situation from far left , left, center, right, far right).
If you face the car to an area which has no obstacle, it should show 00000 which means no obstacles in 5 directions, then car will move forward. However, if you got 11111 even your car has no obstacles in front, your sensor connection to Arduino must have some problem.
Hope this helps.
my robot shows an obsticle to the center of it, even if there is not one ther, like 00100
one of the 4 wires which connect your obstacle sensor to Arduino UNO board is either broken or wrongly connected, check following picture:

Please use 4 pcs new wires to reconnect the 4 wires in ultrasonic sensor(GND, Echo,Trig,VCC) to Arduino GND,D2,D10,5V again. It will solve your problem.