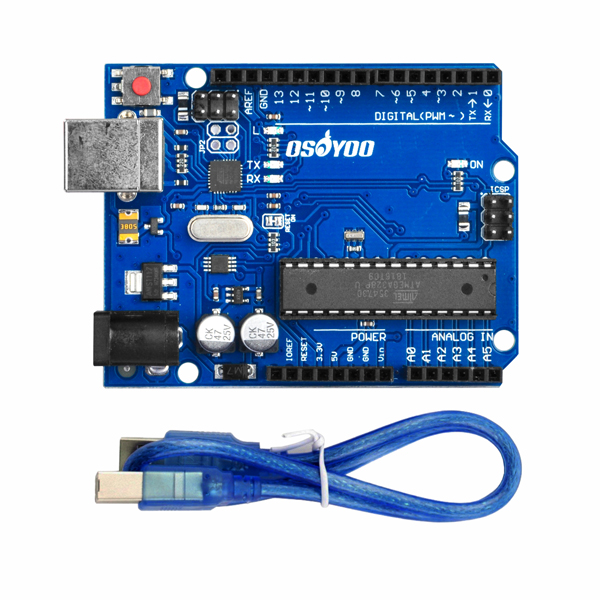
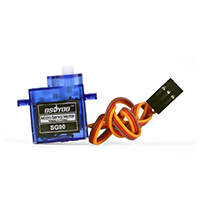
Make sure jumper cap connected E_TX to D4 and E_RX to D5.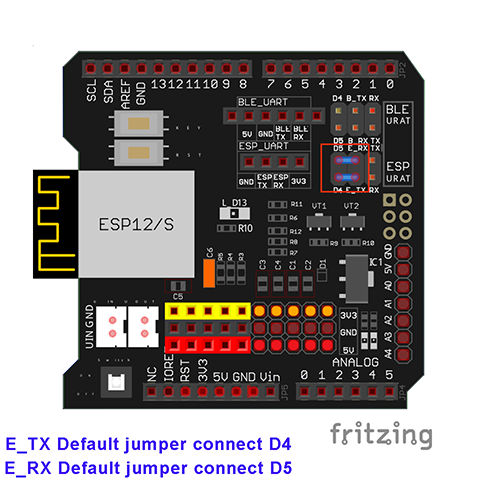 Connect the servo motor SG90 with UNO as following diagram:
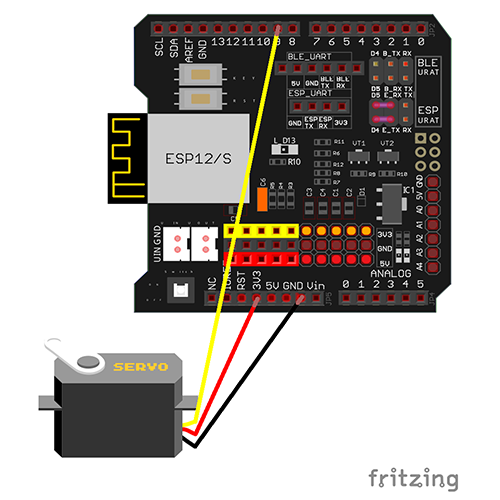
| Arduino WIFI board |
Servo Wire |
| GND |
Brown |
| 3.3V |
RED |
| D9 |
Orange |

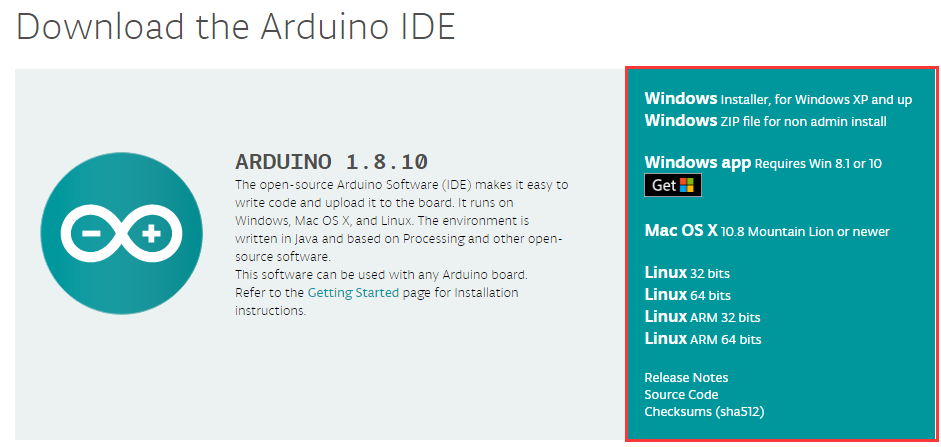
Step A)Install latest Arduino IDE (If you have Arduino IDE version after 1.1.16, please skip this step).Download Arduino IDE from https://www.arduino.cc/en/Main/Software?setlang=en, then install the software.
Step B)Install Servo library: (if you have installed Servo Library, please skit this step)
Download the library from:https://osoyoo.com/driver/Servo.zip
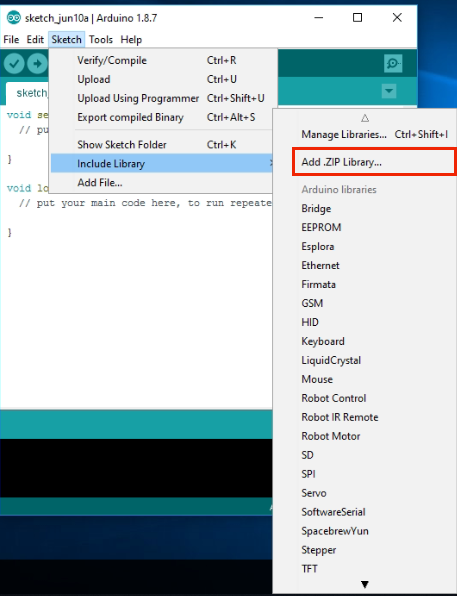
Then in your Arduino IDE ->Sketch->Include Library->Add .ZIP Library and select these two zip files you just downloaded, and upload it to Arduino.
Step C) Connect the Arduino UNO board to computer via USB cable,
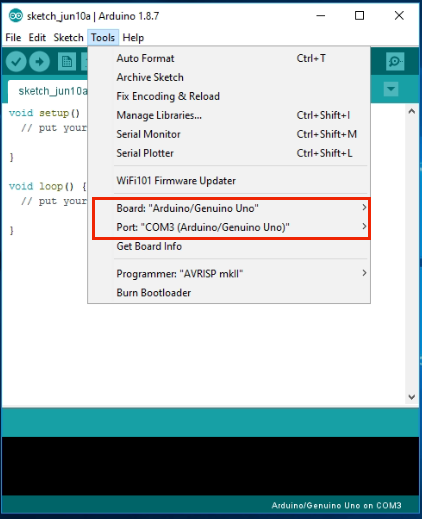
Step D) Open the Arduino IDE and choose corresponding board type and port type for you project.
- Board:”Arduino/Genuino UNO”
- Port: Choose your own Serial Port for your UNO board
Step E) Download sample code from
https://osoyoo.com/driver/wifi-iot/lesson6/esp8266-lesson6C.zip
unzip the file and double click the esp8266-lesson6B.ino file, find following lines:
char ssid[] = "******"; // your network SSID (name)
char pass[] = "******"; // your network password
please replace the ****** with your correct wifi SSID and password, otherwise your project can
 not connect to Internet.
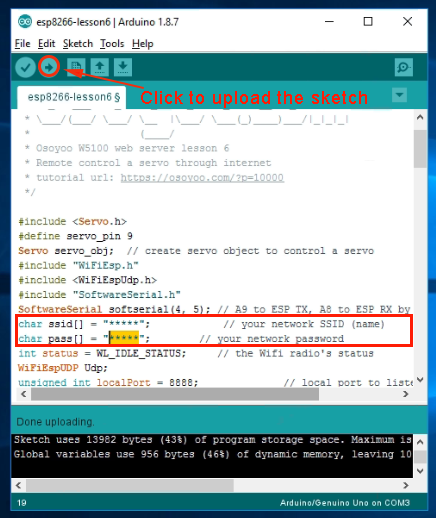
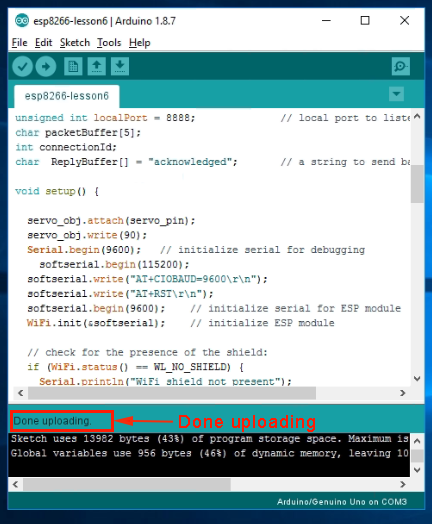
Step F) After change above lines, load the sketch into Arduino IDE.

Open your Serial Monitor, you can see your router will assign an IP address to your Arduino as following:
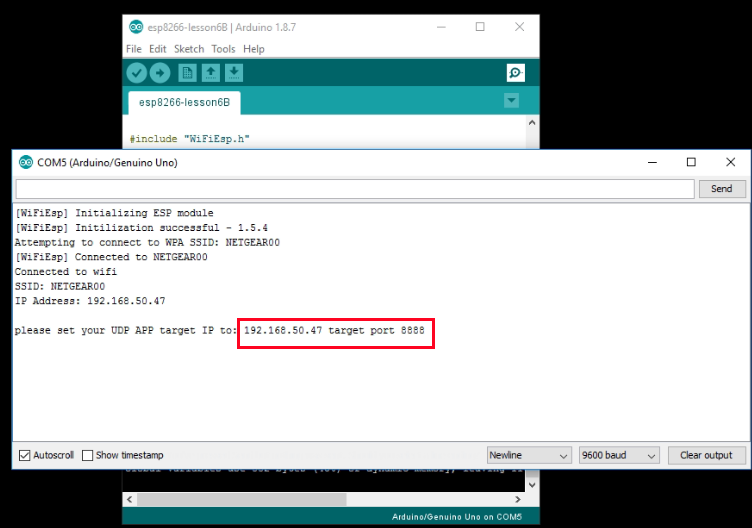
In above result, you can see my Arduino IP address is 192.168.50.47, UDP port 8888 , we will put this IP in Cell Phone APP Setting in next step .
Step G)Install UDP send Mobile APP, If you have already installed OSOYOO WiFi UDP Robot Car APP, please skip this step.
You can use any UDP send APP to run this lesson. In this lesson, we use OSOYOO WIFI UDP Robot Car APP to make test.
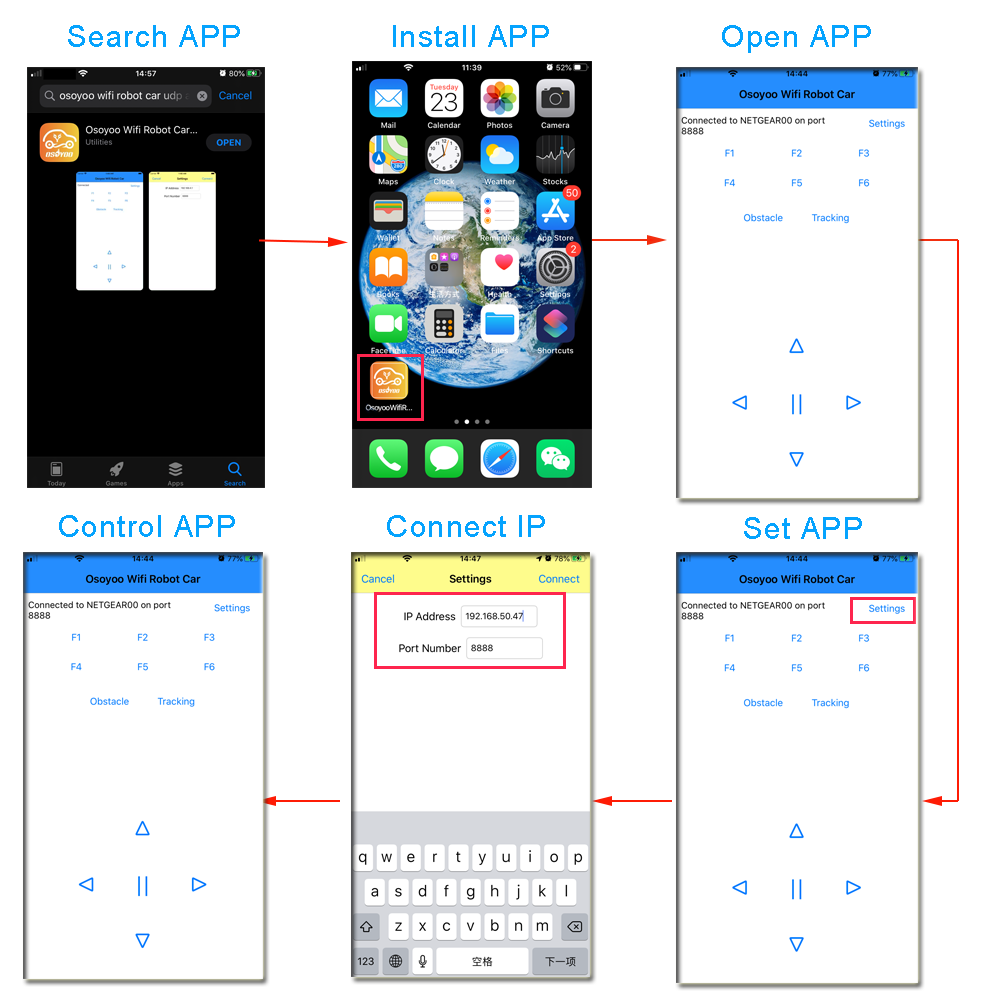
Now in APP UI screen,
click ▲ button, servo will rotate about 5 degree counterclockwise(left side)
click ▼ button, servo will rotate about 5 degree clockwise(right side)
click > button, servo will rotate to right end (0 degree position)
click < button, servo will rotate to left end (180 degree position)
click Square button, servo will rotate to central position (90 degree position)
FAQ about the WIFI UDP APP and sketch Code:
Q 1)What happened when you press buttons in OSOYOO WiFi UDP Robot Car APP ?
A: When you press a button of the APP, APP will send a single-letter message through UDP protocol to target device (in this example, our Arduino WIFI Shield)
| Button |
UDP message |
| F1 |
F |
| F2 |
G |
| F3 |
H |
| F4 |
I |
| F5 |
J |
| F6 |
K |
| ▲ |
A |
| ▼ |
B |
| > |
R |
| < |
L |
| square |
E |
Q2: How do Arduino react to App command
A: Our sample code (esp8266-lesson6B.ino) line 75 to line 89 switch statement handle the remote UDP command:
      switch (c)    //serial control instructions
      {

        case 'A': angle=angle+5 ;break; //▲ button pressed, rotate 5 degree counterclockwise
        case 'B': angle=angle-5 ;break; //▼ button pressed, rotate 5 degree clockwise
        case 'L': angle=180 ;break; //< button pressed, rotate to 180 degree position case 'R': angle=0 ;break; //> button pressed, rotate to 0 degree position
        case 'E': angle=90 ;break; //SQUARE button pressed, rotate to 90 degree position

        default:break;
      }
      if (angle<0) angle=0; if (angle>180) angle=180;
       servo_obj.write(angle);
    }
You can see the comments in above code and understand the control logic.
Learn More about parts


 Connect the servo motor SG90 with UNO as following diagram:


