Raspbian should be upgraded to latest version in order to support RPI.GPIO module
Please run following commands in shell:
sudo apt-get update
sudo apt-get upgrade
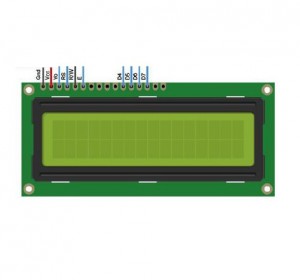
Raspberry Pi and 1602 LCD pin connection
LCD Pin
Description
Pi Function
RasPi Pin
01
GND
GND
06
02
+5V
+5V
02
03
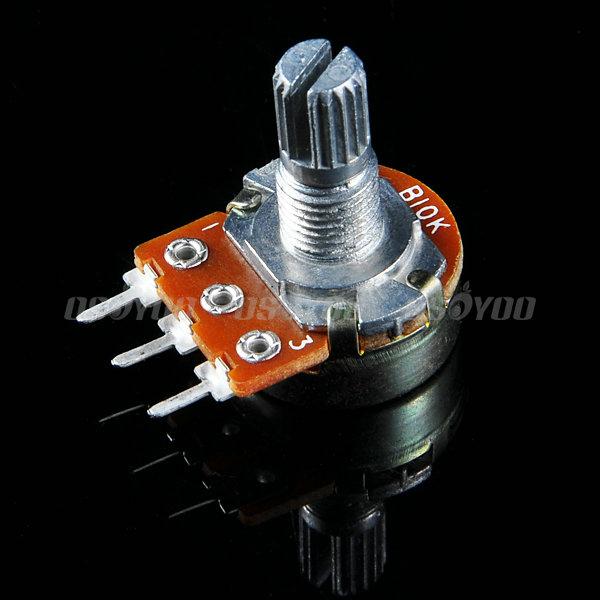
Contrast
To Potentiometer middle pin
04
RS
GPIO7
26
05
RW
GND
06
06
Enable
GPIO8
24
11
D4
GPIO25
22
12
D5
GPIO24
18
13
D6
GPIO23
16
14
D7
GPIO18
12
15
+5V
+5V
02
16
GND
GND
06
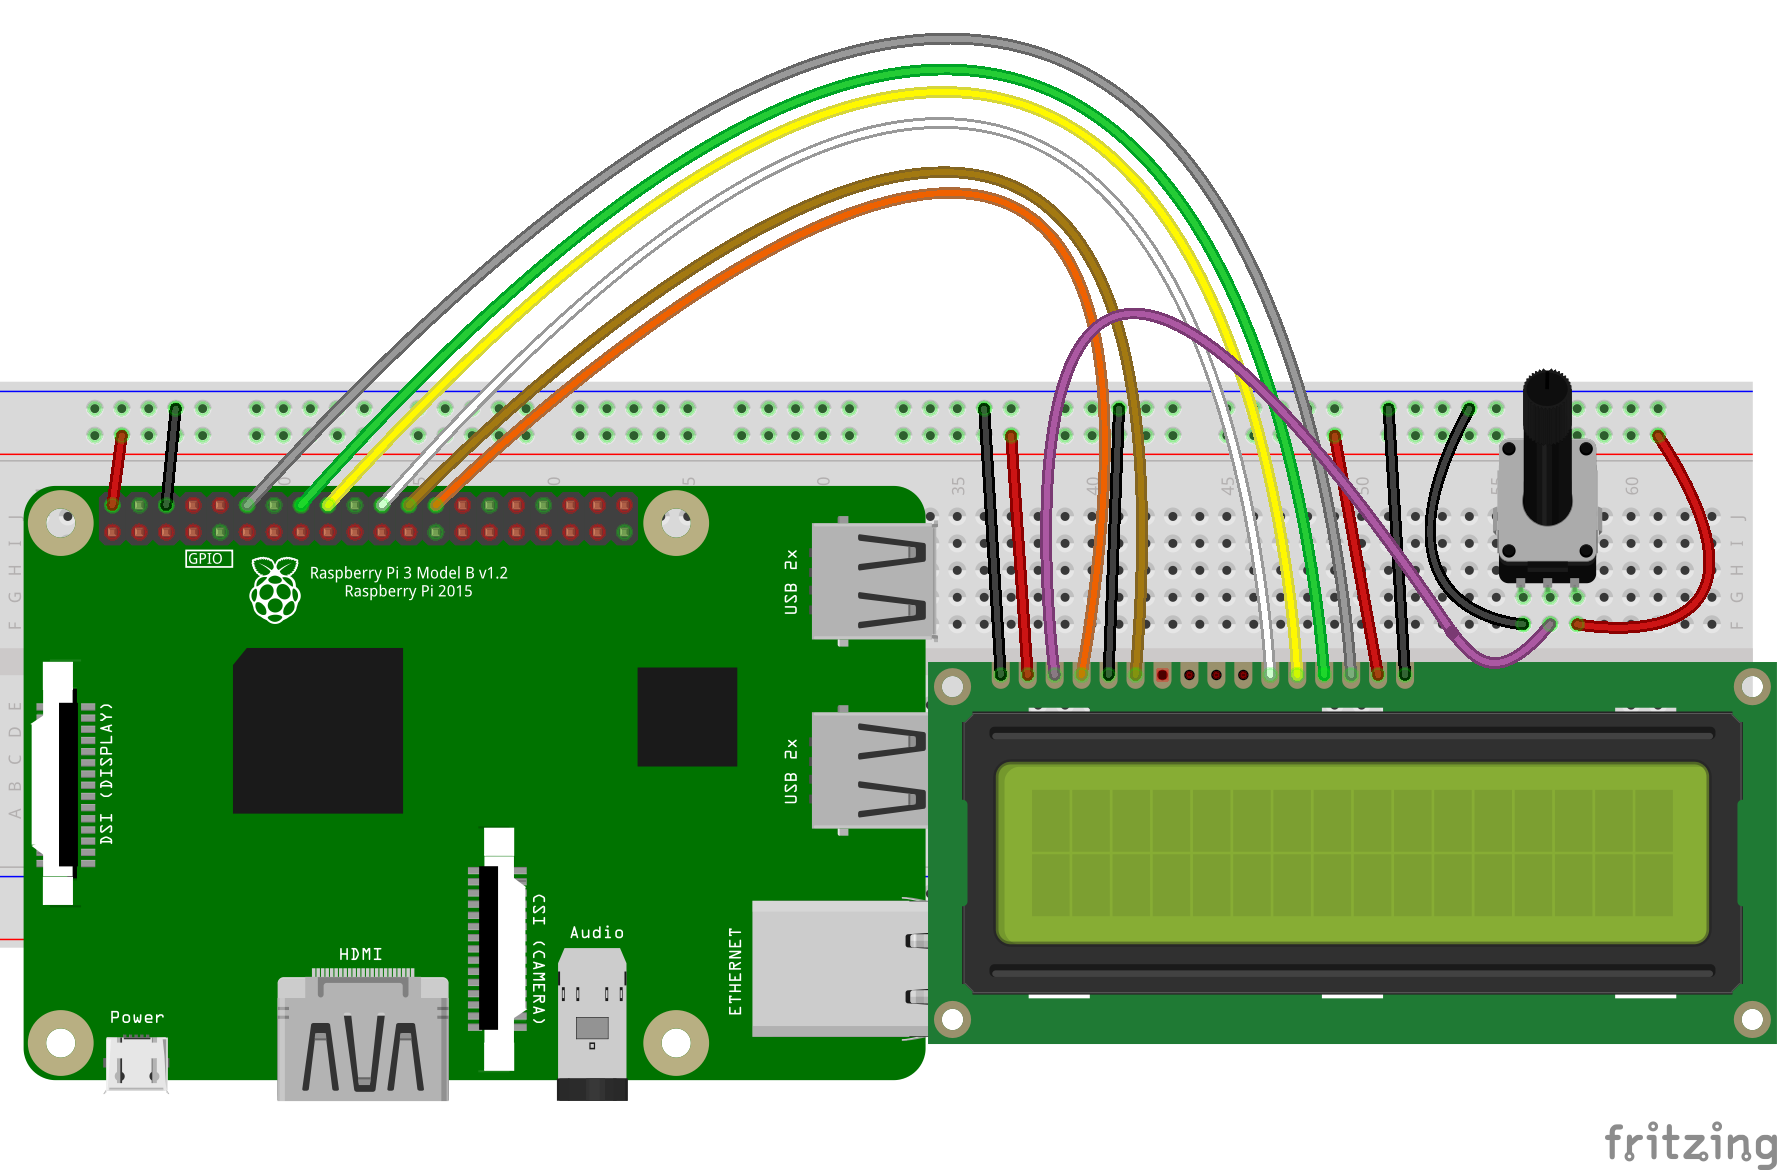
Circuit Graph:
Caution: Unlike Arduino board 5V input voltage, Raspberry GPIO pin accept only 3 Volt. Wrong voltage input might damage the Pi board. Please be very careful!
Write python code
You have two ways to write python code:
Option 1)
download https://osoyoo.com/driver/pi_lcd.py and copy/paste it to raspberry pi
Option 2)
You can also download above python file from our server by typing following shell command:
sudo wget http://osoyoo.com/driver/pi_lcd.py
Finally, run following command in shell window:
sudo python pi_lcd.py
Adjust the Potentiometer to make LCD text displaying clearly. You will see following text string rolling in LCD screen: LCD work with
Raspberry Pi!


まず、この例の場合はLCDの裏にあるI2Cの接続は行わないので注意。
回路図が分かりづらいが、「Raspberry Pi と 1602 LCD pin の接続」表に従い
接続すればよい。
「Raspberry Pi と 1602 LCD pin の接続」表について。
LCD上の記載は
VSSはGND、VDDは+5V、V0はContact
に該当する。ここら辺は一般的なのか??
ピンの接続はゆるいので要注意。
サンプルプログラムをそのまま実行して動作するが
LCDの制御仕様が分からないので、自分なりにカスタマイズする部分が限られるのが残念。
this lesson is not I2C 1602 LCD. If your LCD is I2C LCD, please read another lesson as following:
https://osoyoo.com/2016/06/01/drive-i2c-lcd-screen-with-raspberry-pi/
お問い合わせ、ありがとうございます。
こちらの文章は16×2 LCD (without I2C)のサンプルプロジェクトです。
もし、お客様が16×2 LCD (with I2C)を使用の場合、下記の文章をご参照くださいませ。
https://osoyoo.com/ja/2016/06/01/drive-i2c-lcd-screen-with-raspberry-pi/
どうぞよろしくお願い致します。
thanks for your comments, we will fix the error in this tutorial very soon.