Work principle
There are active buzzer and passive buzzer, then what’s the difference between active and passive buzzer? there is an oscillator in active buzzer, it make a noise when connected to a DC power supply. The passive one may just be a bare transducer, and must be driven by a pulsed voltage to make a noise. In this project we use active buzzer. the long lead of Buzzer is positive electrode(anode), the short lead is negative electrode(cathode)
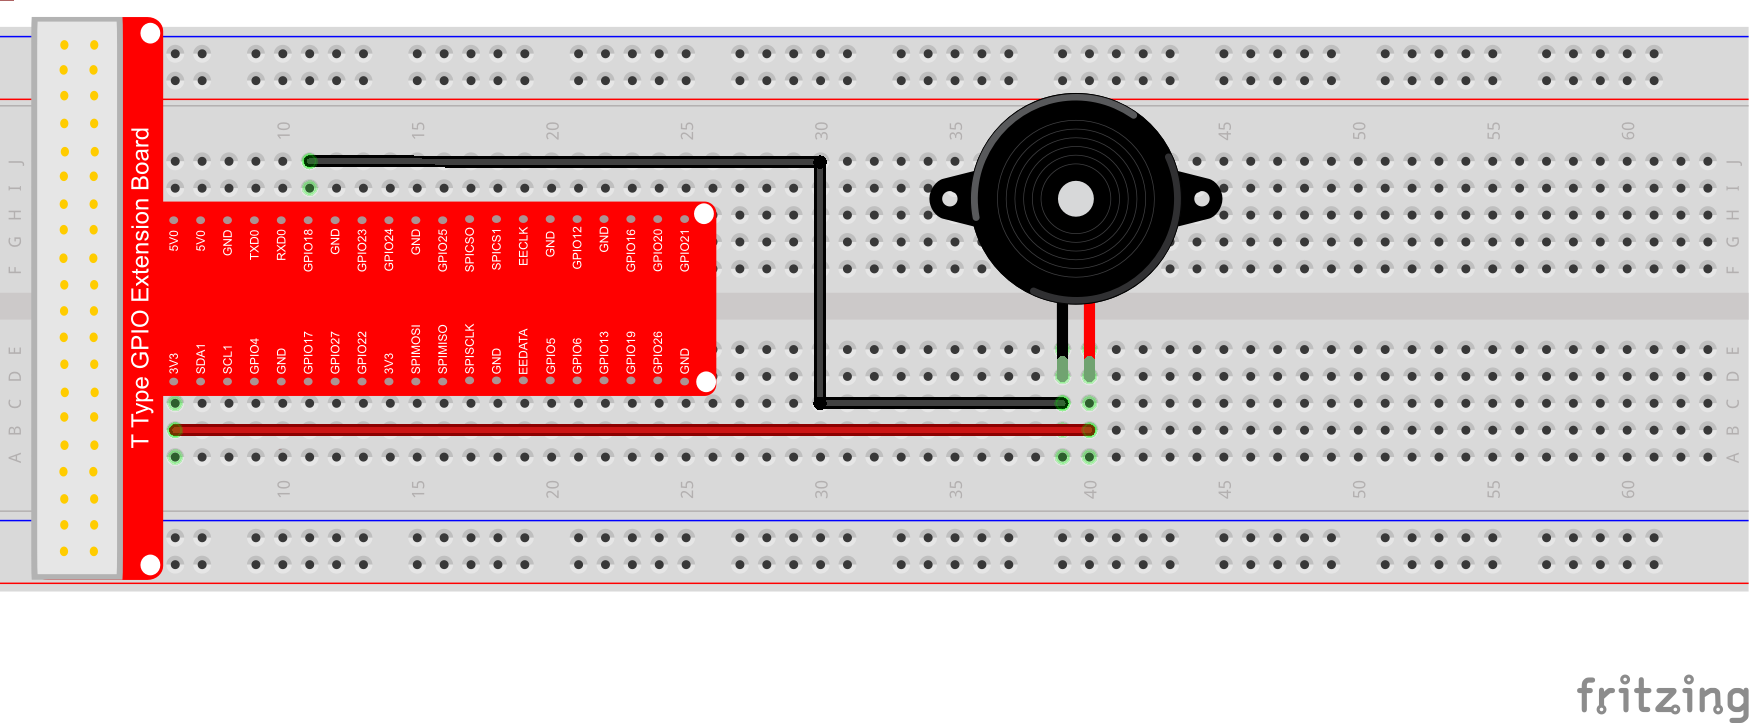
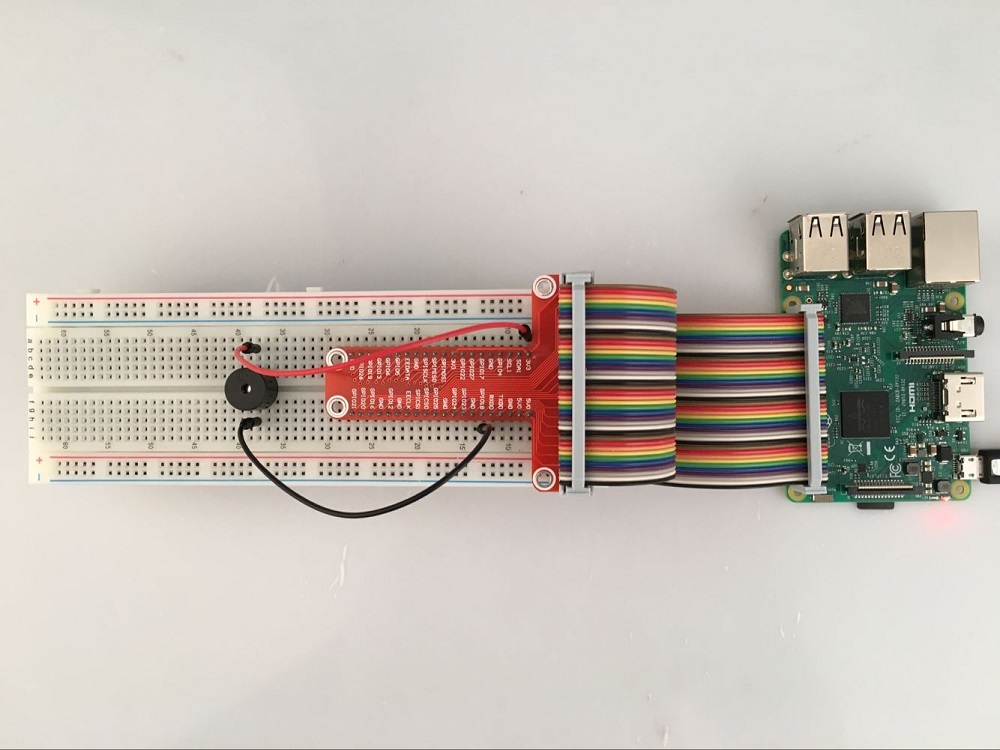
Hareware Setup
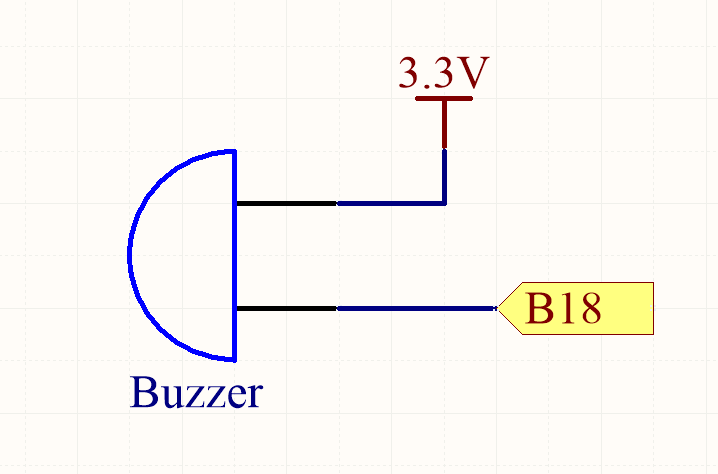
Assembling the Circuit as following Connection Graph, negative electrode to Raspberry Pi GPIO1(BCM_GPIO 18), Positive electrode to 3.3V
Sample Code:
we’ll provide two kinds of codes for C language users and Python language users.
For C Language users, please take following steps:
Step 1) Download breathing_led.c sample code by typing following command:
cd ~ sudo wget http://osoyoo.com/driver/pi3_start_learning_kit_lesson_8/buzzer.c
Step 2) Compile Code
C language is high level language. Before running the project, the code need to compile as an executable file. Please enter the following command: gcc -Wall -o buzzer buzzer.c -lwiringPi Note: gcc: is GNU Compiler Collection. If you want to write your own C code and compile to run it, you need to master gcc. for more information about gcc, please visit here -Wall: to get more error when compile the code -o: to name the compiled file. You can name the file as your like. here we name as buzzer.c buzzer.c: means the original file which is compiled -lwiringPi: is to load the library wiringPi (l is short for library)
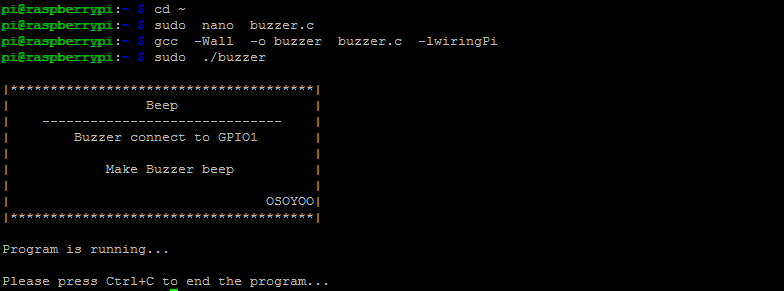
Step 3) Run the Program by typing following command in terminal:
sudo ./buzzer
4) Running Result
Once run the program, the buzzer will make different sound tone.
C language Code Analysis
//Beginning of pi3_start_learning_kit_lesson_8/buzzer.c
#include < wiringPi.h>
#include < stdio.h>
#include < stdlib.h>

 // defined Buzzer pin1 connect to GPIO1(BCM GPIO 18)
#define BuzzerPin 1

for(;;){
        for(i=0;i<70;i++){
            //beep on
            digitalWrite(BuzzerPin, LOW);
            delay(3);// delay 3 ms to make tone in low frequency

            //beep off
            digitalWrite(BuzzerPin,HIGH);
            delay(3); // delay 3 ms to make the tone in low frequency
        }
        delay(100);
            for(i=0;i<100;i++){
            //beep off
            digitalWrite(BuzzerPin, HIGH);
            delay(1); //delay 1 ms to make the tone in high frequency
            //beep on
            digitalWrite(BuzzerPin,LOW);
            delay(1);//delay 1 ms to make the tone in high frequency

        }    }
// end of pi3_start_learning_kit_lesson_8/buzzer.c
For Python language user:
If your Raspberry Pi is connected with a Monitor through HDMI cable,then you can program in Python 3(IDLE) GUI environment directly,for more details please visit:
If your Pi is not connected with a monitor, you can use command line to remote access Pi through ssh client. for more details, please visit:
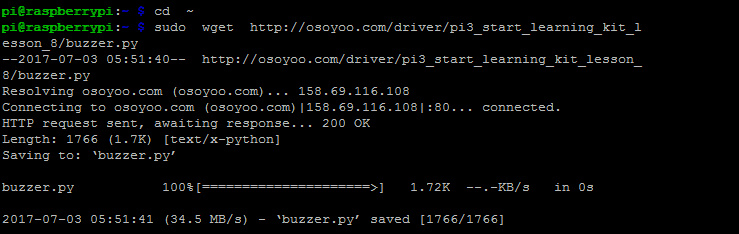
Step 1) download buzzer.py file by typing following command in terminal:
import RPi.GPIO as GPIO
import time

# Set #18 as buzzer pin
BuzzerPin = 18
Import Python GPIO Library and time library. The GPIO library is the library for interacting with the GPIO in Python. It does the job of simplifying the process. The time library is there so we can put a delay in. Set Buzzer pin connect to GPIO1(BCM GPIO 18)
 def setup():
    # Set the GPIO modes to BCM Numbering
    GPIO.setmode(GPIO.BCM)
    # Set BuzzerPin's mode to output,
    # and initial level to High(3.3v)
    GPIO.setup(BuzzerPin, GPIO.OUT, initial=GPIO.HIGH)
Set BuzzerPin to output mode, set the initial level as high level (3.3V)
you can install zerogpio if you like. But we have never tested this library before. We feel RPI.gpio library is more friendly to beginner who has no library installation experience.


Why is there not more zerogpio? Fot python?
you can install zerogpio if you like. But we have never tested this library before. We feel RPI.gpio library is more friendly to beginner who has no library installation experience.
If you like to install zerogpio, check the link here:
https://gpiozero.readthedocs.io/en/latest/