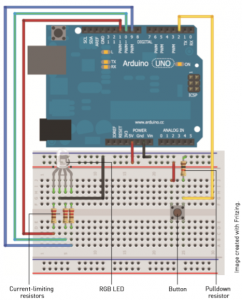
You can configure a debounced button to cycle through a selection of colors each time you press it. To do this, it is useful to add an additional function to Image created with Fritzing.
set the RGB LED to the next state in the color cycle. In the following program (see Listing 2-6), I have defined seven total color states, plus one off state for the LED. Using the analogWrite() function, you can choose your own color-mixing combinations. The only change to the loop() from the previous example is that instead of flipping a single LED state, an LED state counter is incremented each time the button is pressed, and it is reset back to zero when you cycle through all the options. Upload this to your Arduino connected to the circuit you just built and enjoy your nightlight. Modify the color states by changing the values of analogWrite() to make your own color options.
The kit includes:

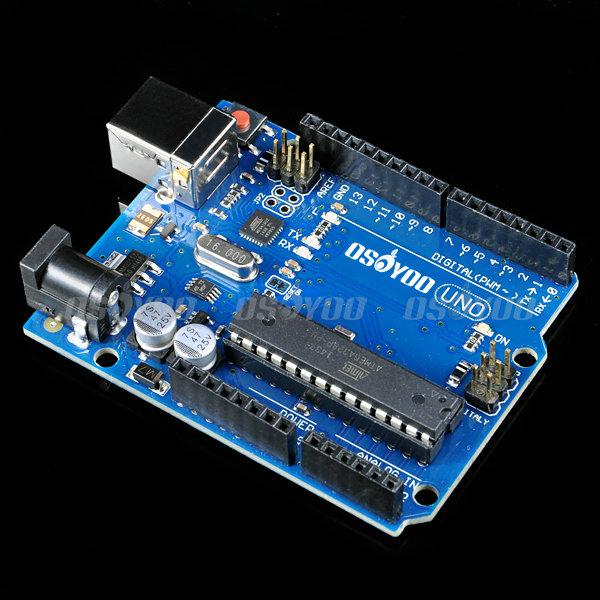
1 x Arduino uno r3
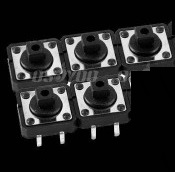
1 x push buttons
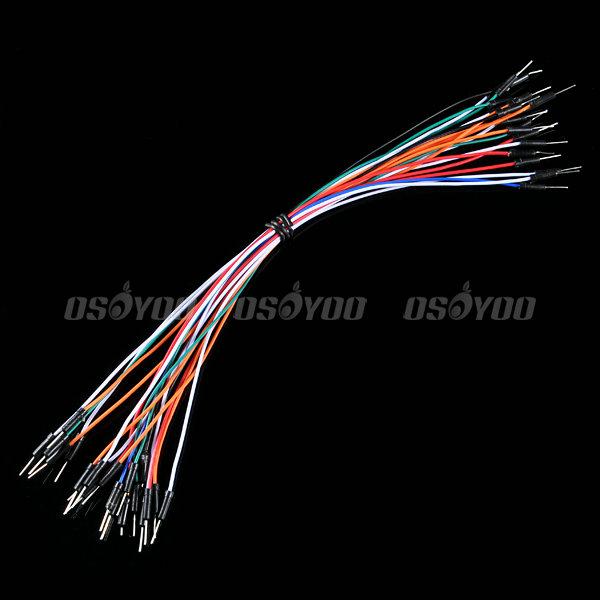
Jumper Wires
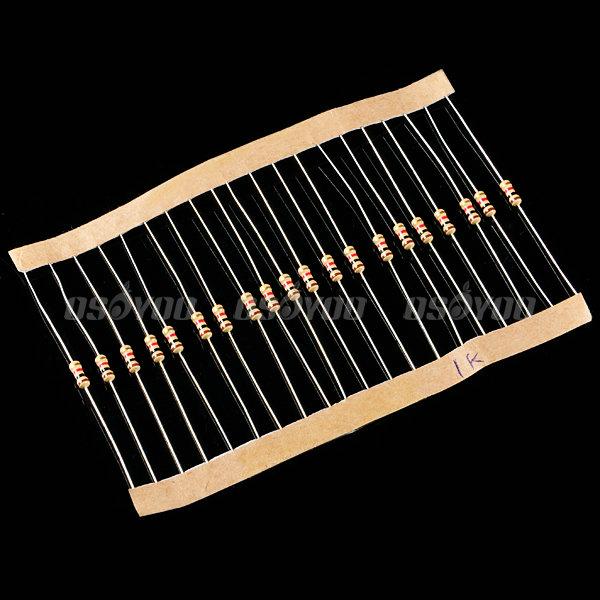
Resistors (220ohm x 15pcs, 470ohm x 15pcs, 1K ohm x 15pcs,20Kohm x 15pcs)
1 x LED
Circuit Graph:
Running results:
You can configure a debounced button to cycle through a selection of colors each time you press it.
Pressing a button LED RGB will be issued a color of light, then it will turn into the next color of the light, according to the seven after the light source. Press again to start the cycle again .
The code:
const int BLED=9; //Blue LED on Pin 9
const int GLED=10; //Green LED on Pin 10
const int RLED=11; //Red LED on Pin 11
const int BUTTON=2; //The Button is connected to pin 2
boolean lastButton = LOW; //Last Button State
boolean currentButton = LOW; //Current Button State
int ledMode = 0; //Cycle between LED states
void setup()
{ pinMode (BLED, OUTPUT); //Set Blue LED as Output
pinMode (GLED, OUTPUT); //Set Green LED as Output
pinMode (RLED, OUTPUT); //Set Red LED as Output
pinMode (BUTTON, INPUT); //Set button as input (not required)
}
/*
* Debouncing Function * Pass it the previous button state,
* and get back the current debounced button state.
*/
boolean debounce(boolean last)
{
boolean current = digitalRead(BUTTON); //Read the button state
if (last != current) //
if it’s different…
{
delay(5); //wait 5ms
current = digitalRead(BUTTON); //read it again }
return current; //return the current value }
/*
* LED Mode Selection * Pass a number for the LED state and set it accordingly. */ void setMode(int mode)
{ //RED if (mode == 1)
{ digitalWrite(RLED, HIGH); digitalWrite(GLED, LOW); digitalWrite(BLED, LOW); } //GREEN else if (mode == 2)
{ digitalWrite(RLED, LOW); digitalWrite(GLED, HIGH); digitalWrite(BLED, LOW); } //BLUE else if (mode == 3)
{ digitalWrite(RLED, LOW); digitalWrite(GLED, LOW); digitalWrite(BLED, HIGH); } //PURPLE (RED+BLUE) if (mode == 4)
{ analogWrite(RLED, 127); analogWrite(GLED, 0); analogWrite(BLED, 127); } //TEAL (BLUE+GREEN) else if (mode == 5)
{ analogWrite(RLED, 0); analogWrite(GLED, 127); analogWrite(BLED, 127); } //ORANGE (GREEN+RED) else if (mode == 6)
{ analogWrite(RLED, 127); analogWrite(GLED, 127); analogWrite(BLED, 0); } //WHITE (GREEN+RED+BLUE) else if (mode == 7)
{ analogWrite(RLED, 85); analogWrite(GLED, 85); analogWrite(BLED, 85); }
//OFF (mode = 0) else
{ digitalWrite(RLED, LOW); digitalWrite(GLED, LOW); digitalWrite(BLED, LOW); } }
void loop()
{ currentButton = debounce(lastButton); //read deboucned state if (lastButton == LOW && currentButton == HIGH) //if it was pressed…
{ ledMode++; //increment the LED value }
lastButton = currentButton; //reset button value //if you’ve cycled through the different options, //reset the counter to 0 if (ledMode == 8) ledMode = 0; setMode(ledMode); //change the LED state }