1) Objective:
IntoRobot Nut is a tiny open-source Wi-Fi MCU board to develop IoT projects. It is easy to use, powerful and cost-effective. If you are new to Nut MCU, please read the NUT Quick Start in https://osoyoo.com/2016/11/15/intorobot-nut-quickstart/
IntoRobot NUT has an integrated Light sensor which can get light strength value of the environtment. In this project, we will use IntoRobot to get environment light data and send it to IntoRobot IOT cloud, then we will use browser and mobile app to read the real-time data from internet.
2) Parts and devices:
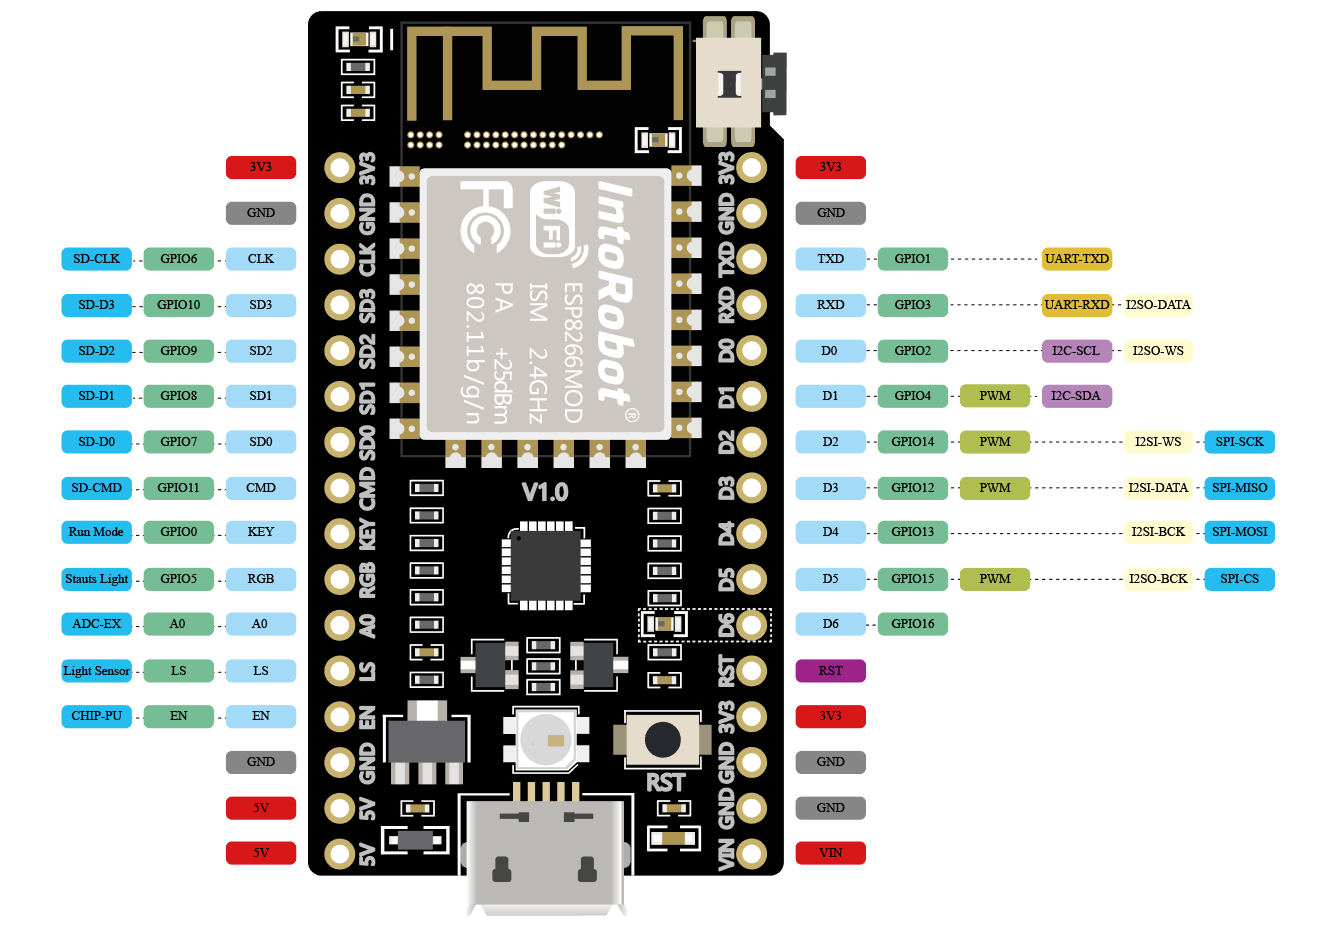
3) Circuit graph
Use jumper wire to connect Nut LS pin(light sensor) to A0 pin. Pin map as following:
4) Register and Login to your IntoRobot Account, if you don’t have IntoRobot account ,please read https://osoyoo.com/2016/11/13/intorobot_account/
5)Connect your IntoRobot NUT device with your IntoRobot cloud account, you can read detail in https://osoyoo.com/2016/11/15/intorobot-nut-quickstart/
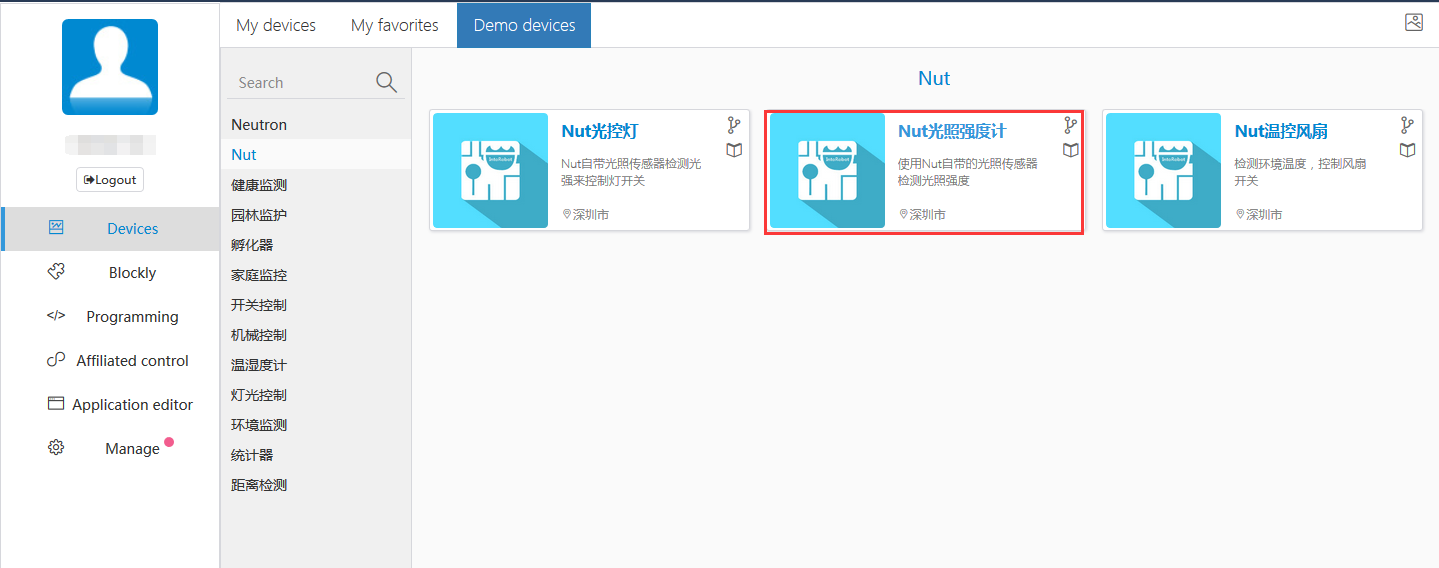
5) In IntoRobot control panel, click My devices->Demo devices->Nut->Nut光照强度计
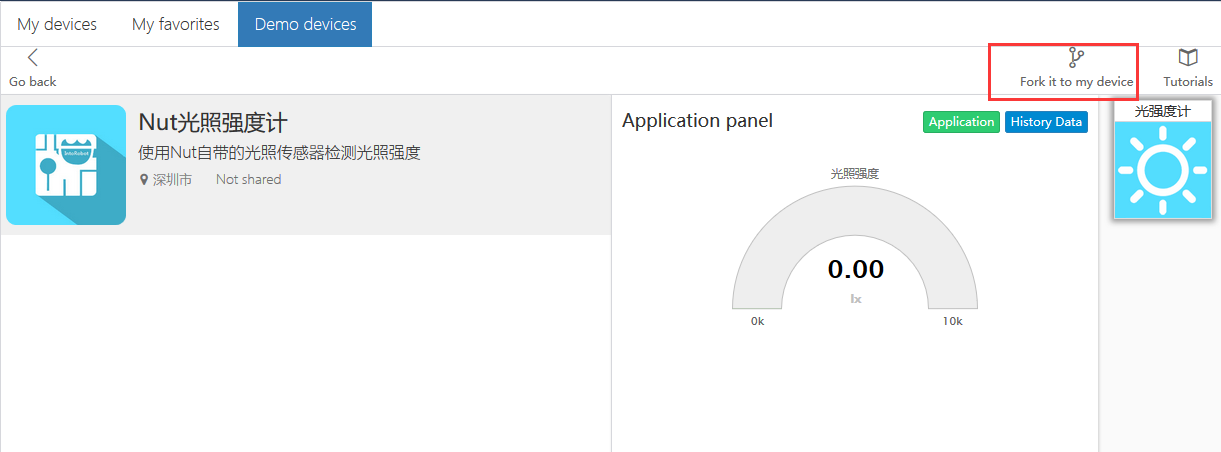
6) click “Fork it to my device”:
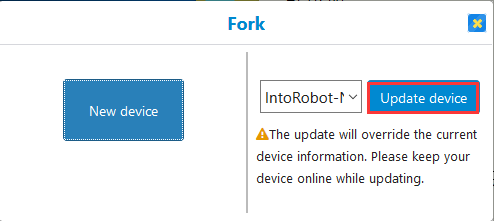
7) You will see a device drop-down menu, select the Nut board you just added to cloud and click update device
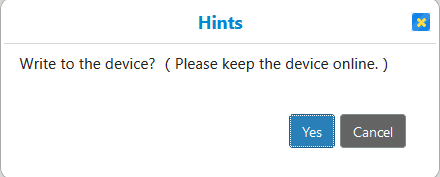
4、 click Yes to confirm the question “Write to the devices?”
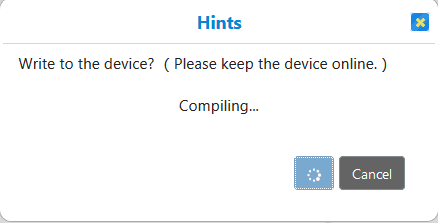
The code will be compiling.
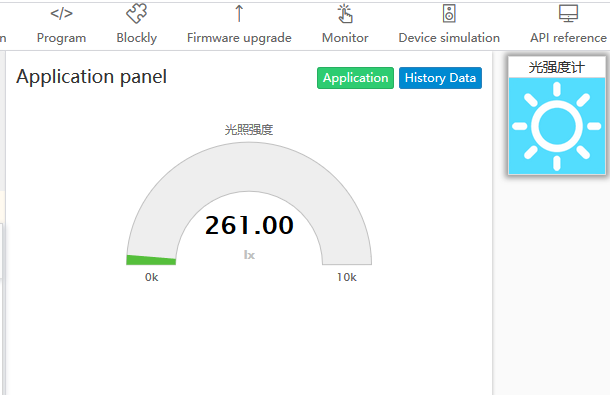
After the code is compiled and loaded into NUT board, you will see Light data as following:
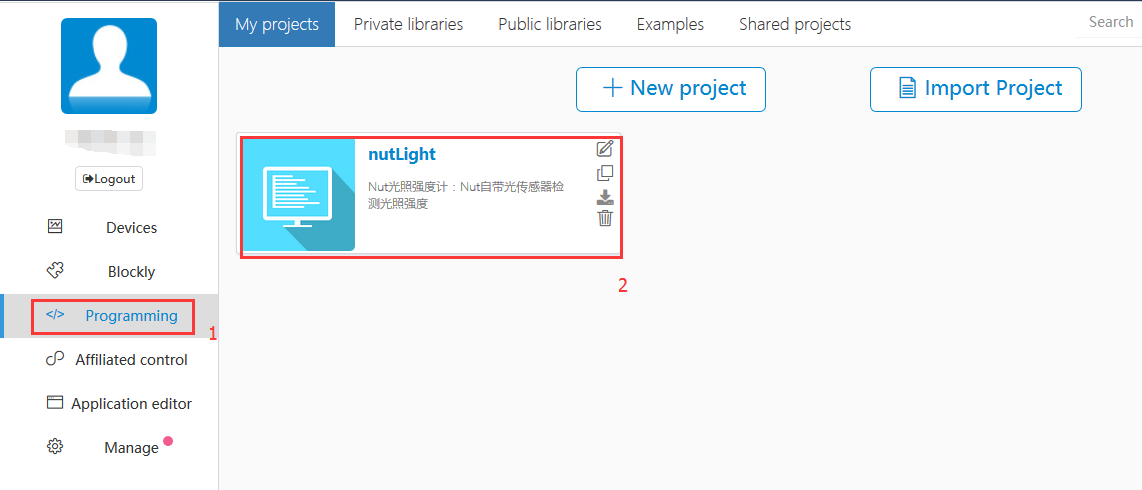
Click programming ->NutLight, you can see the source code, you can change the source code to make new application.