
Contents

Authorized Online Retailers:
Purchase from US Purchase from Japan


Parts and Devices

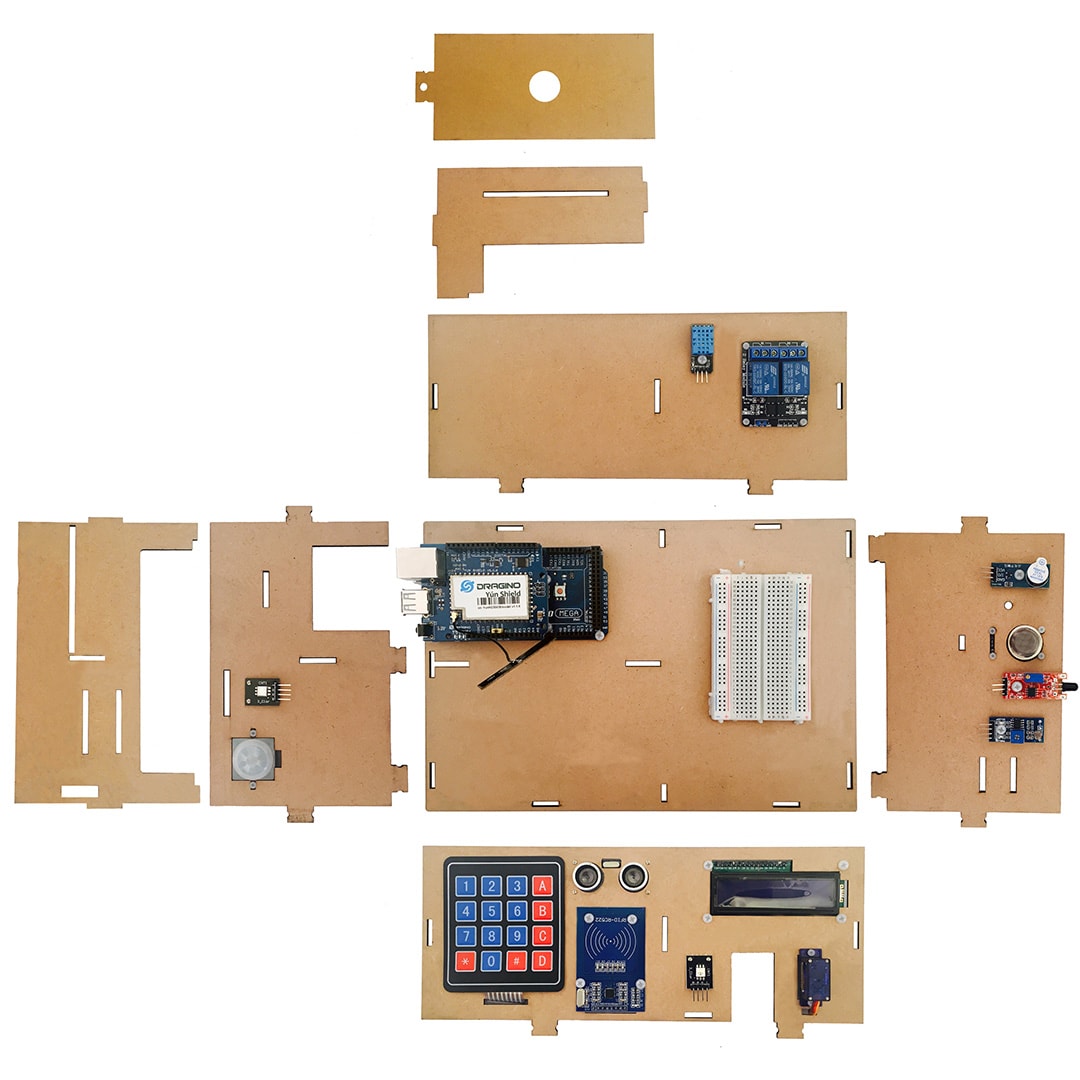
Model Installation
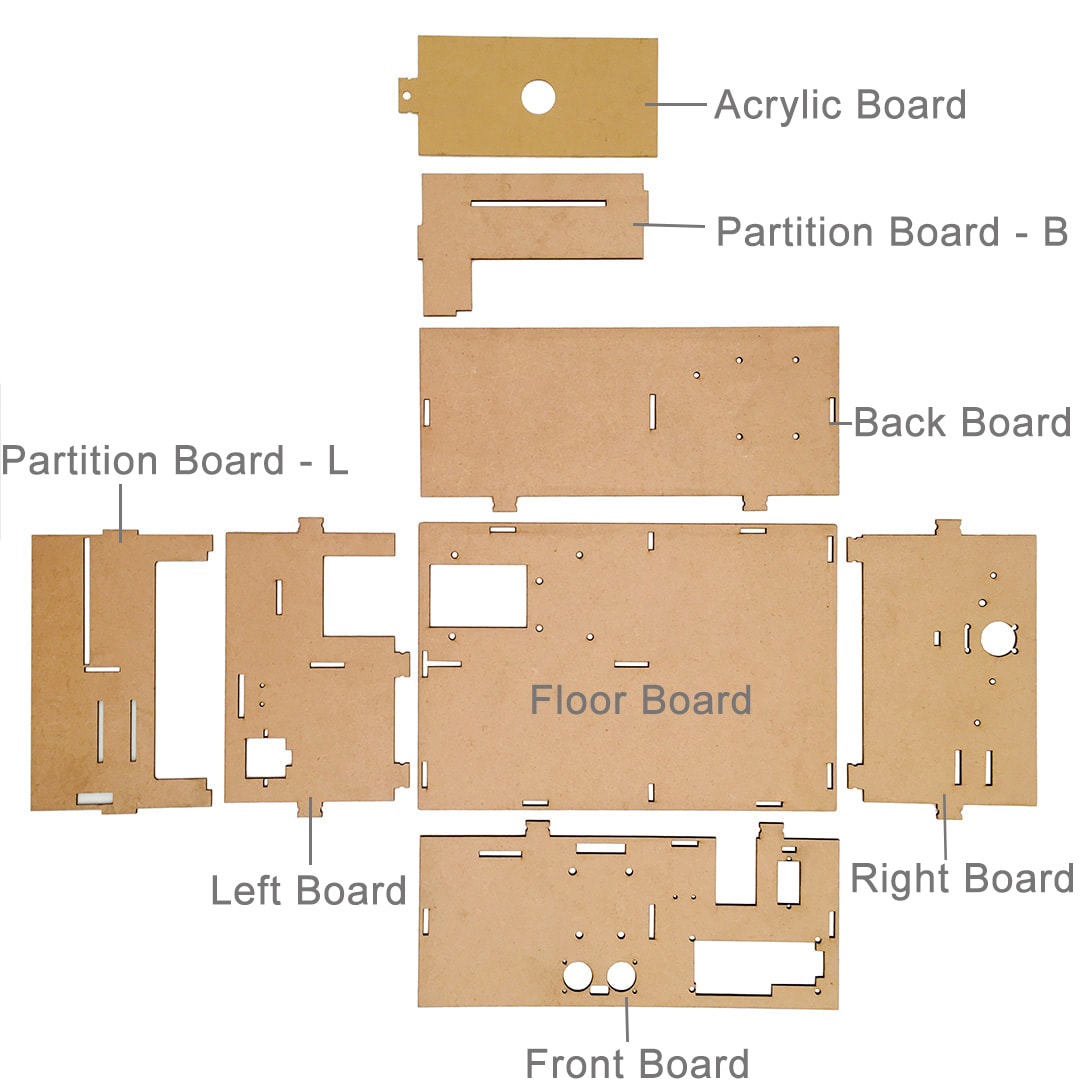
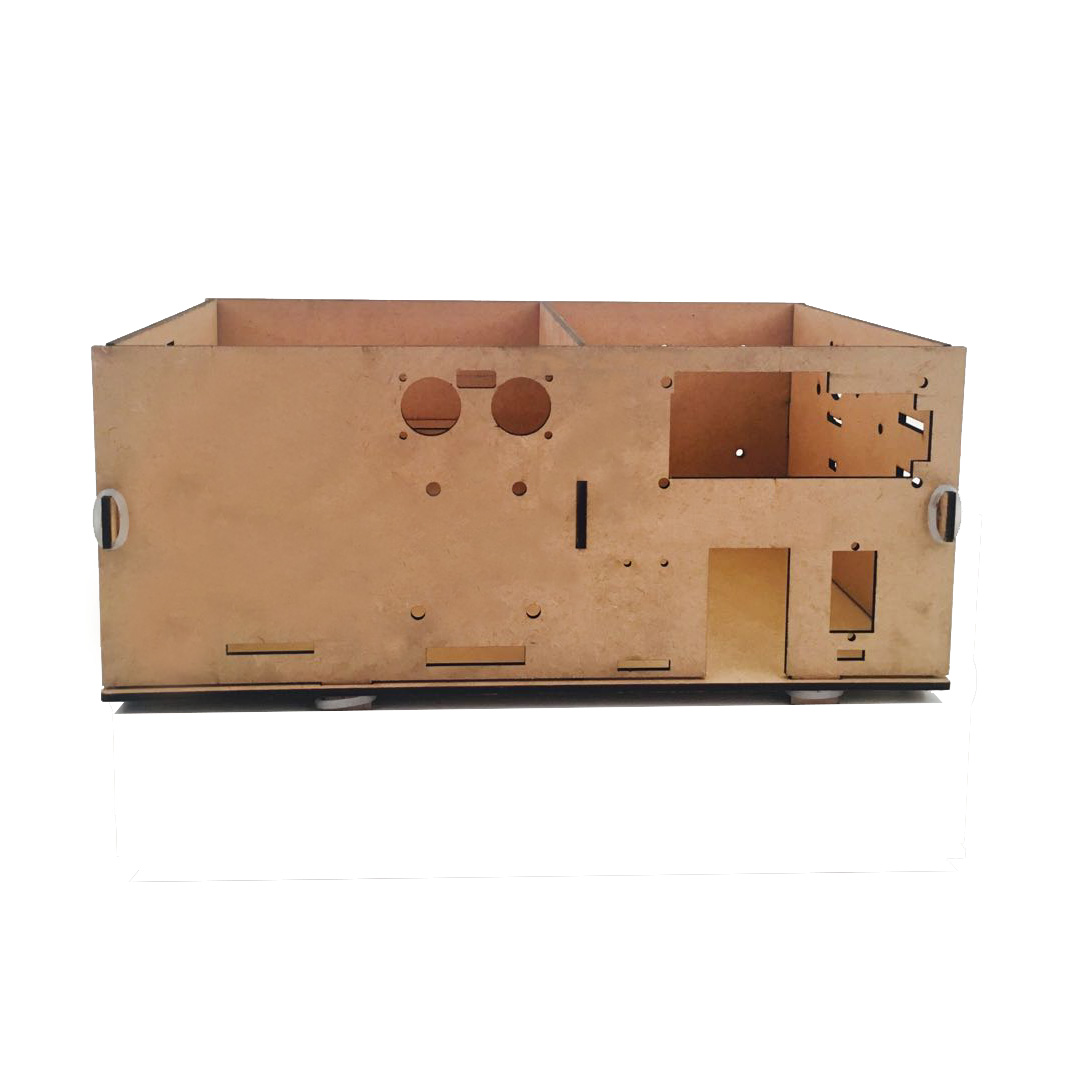
1 Floor Board
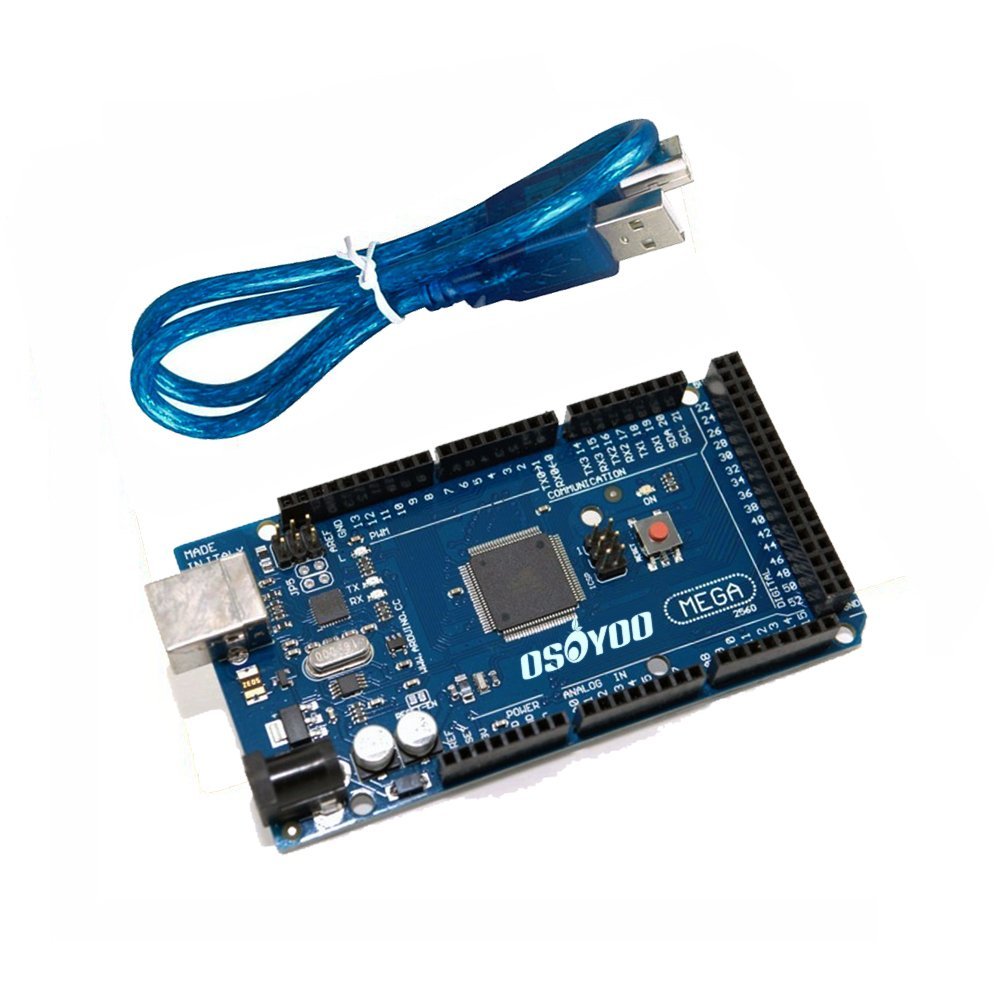
OSOYOO Mega2560 board:
- M3*10 Screw x 5
- M3*10 Nut x 5
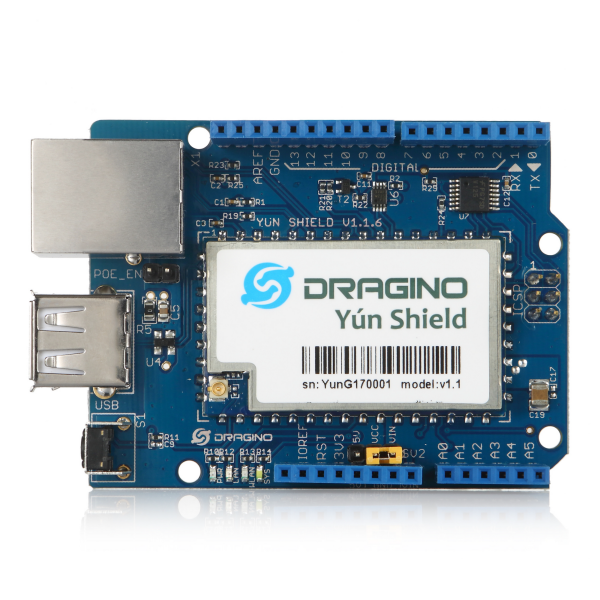
Use M3*10 screws&nuts to install OSOYOO Mega2560 board on the wooden floor board, then plug Yun Shield v1.1.6 in OSOYOO Mega2560 board.
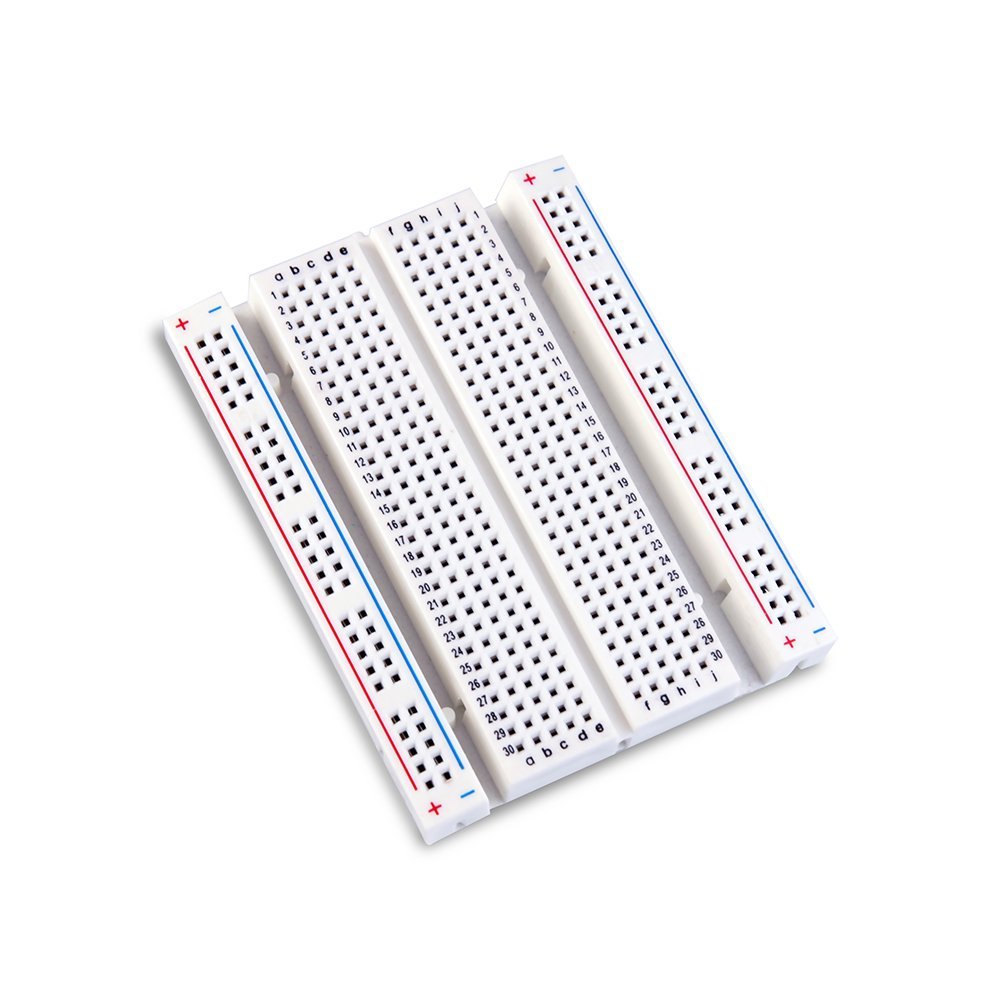
Remove the release paper from the half size breadboard, then stick the half size breadboard on the floor.

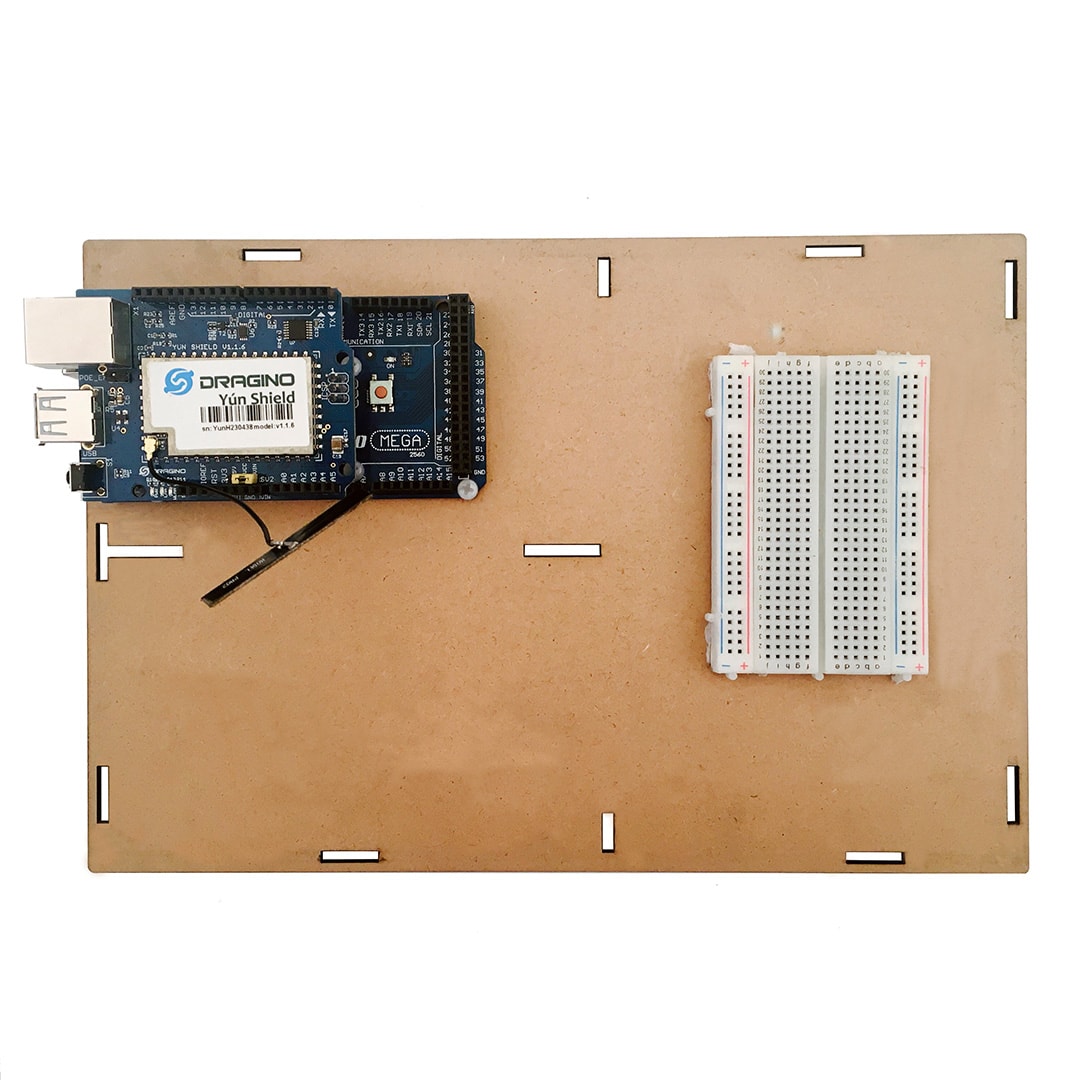
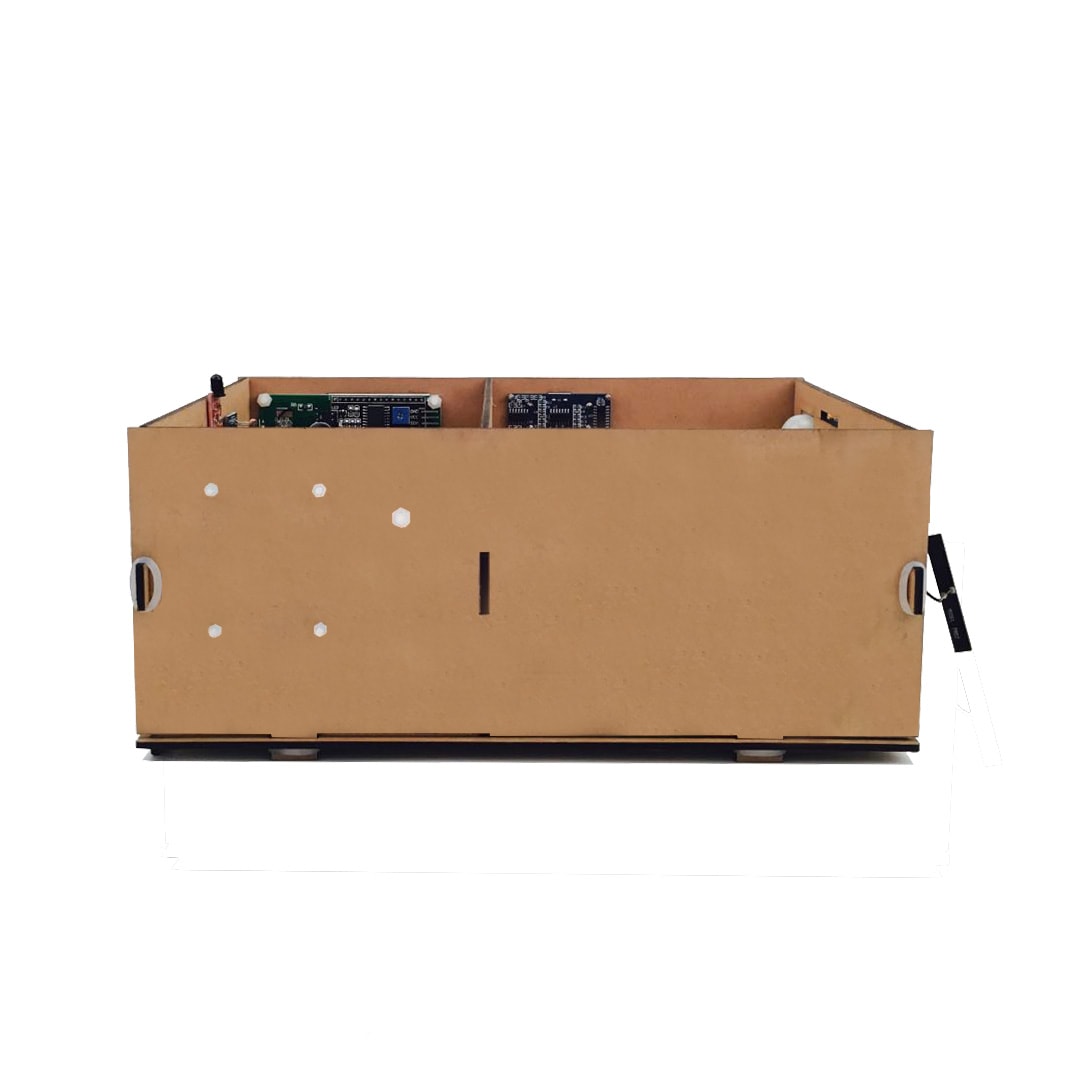
2 Back Board
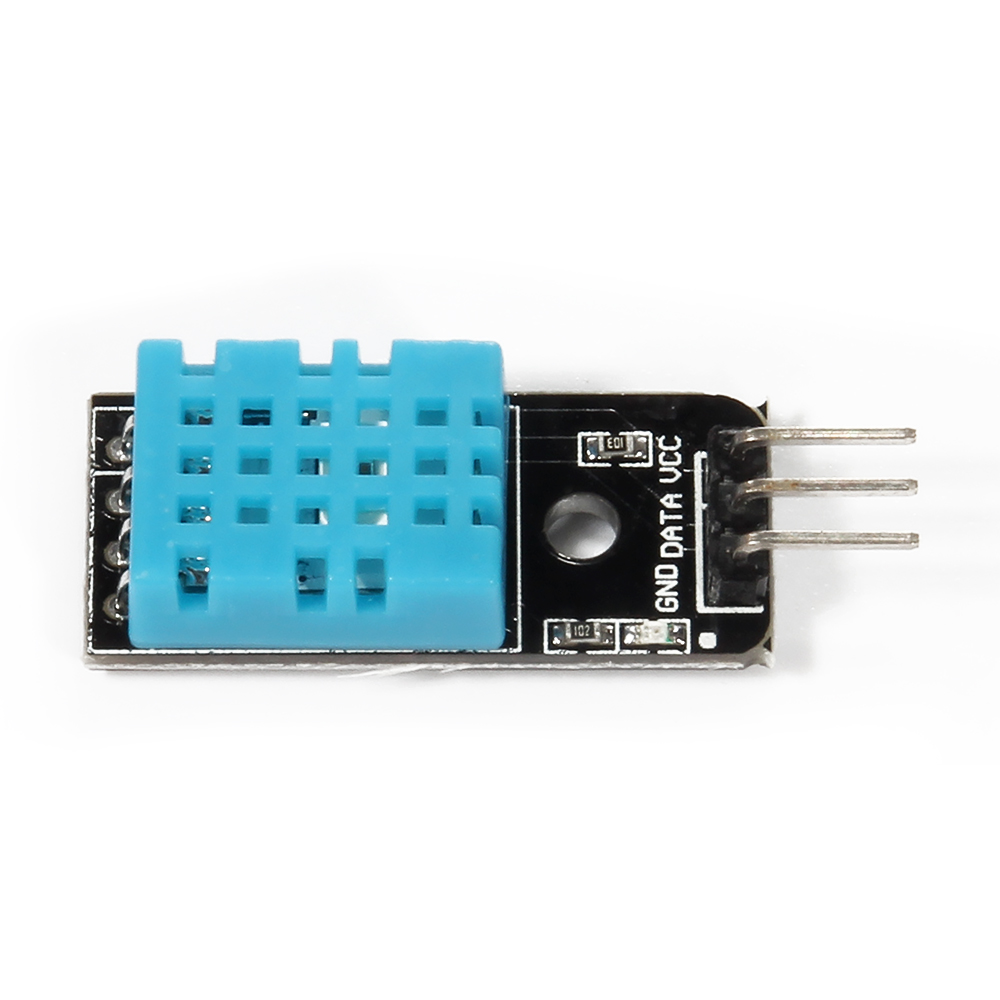
DHT11 Sensor Module:
- M3*10 Screw x 1
- M3*10 Nut x 1
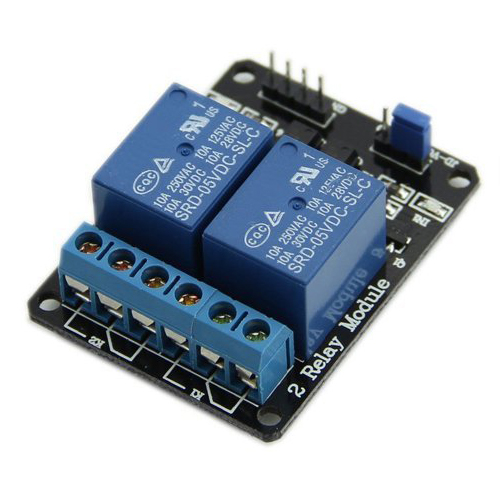
2-Channel Relay Module:
- M2*10 Screw x 4
- M2*10 Nut x 4
Respectively use M3*10 screw&nut and M2*10 screws&nuts to install DHT11 Sensor Module and 2-Channel Relay Module on the wooden back board.
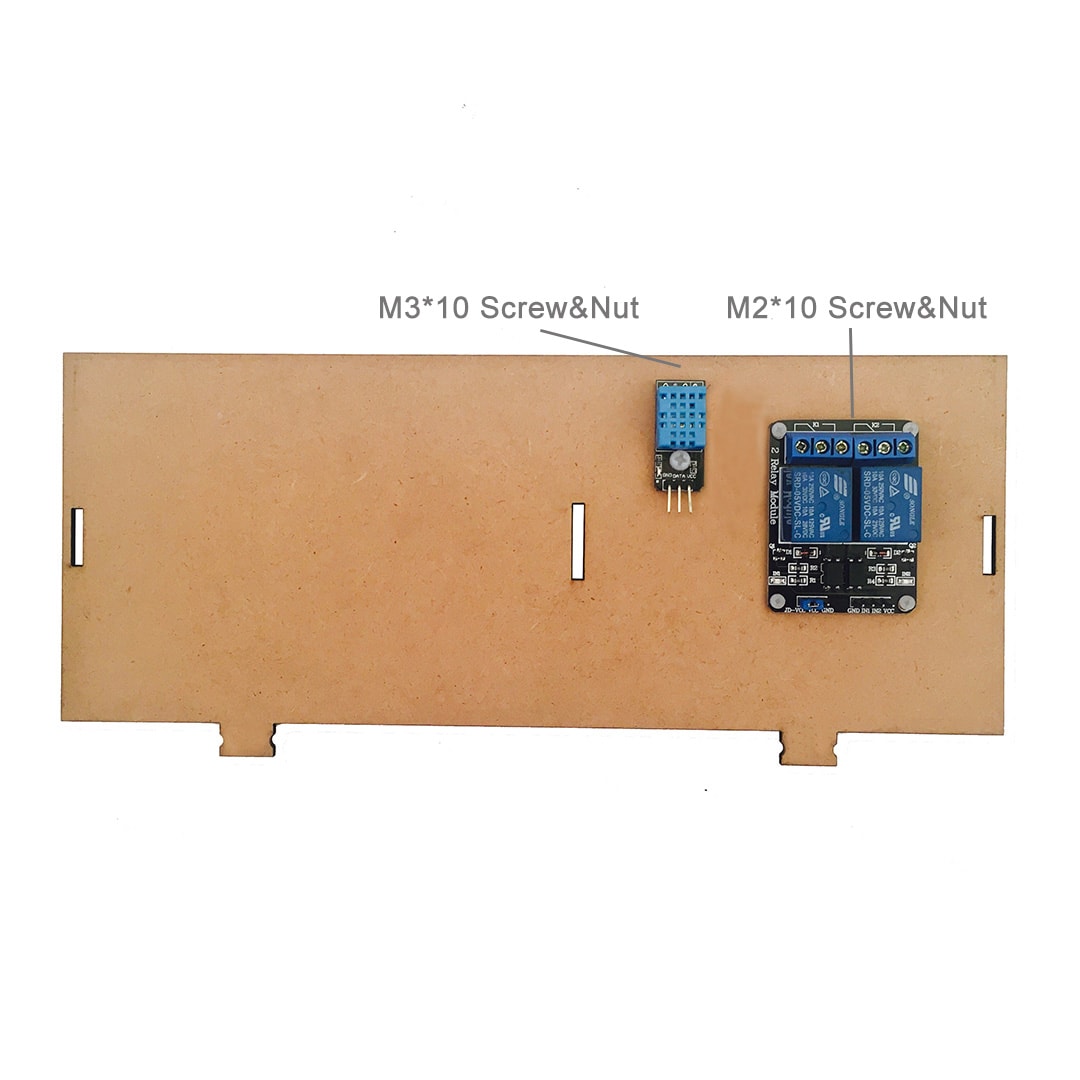
3 Left Board
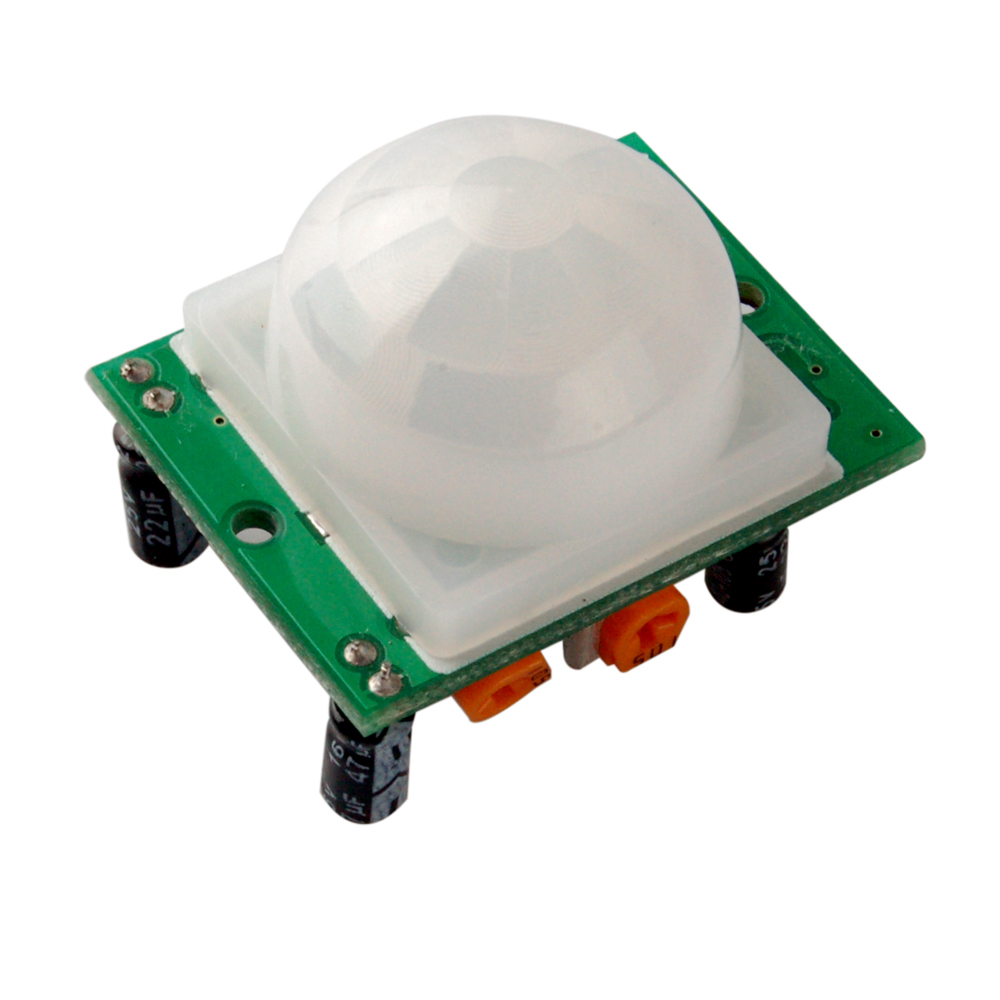
PIR Motion Sensor:
- M2*10 Screw x 2
- M2*10 Nut x 2
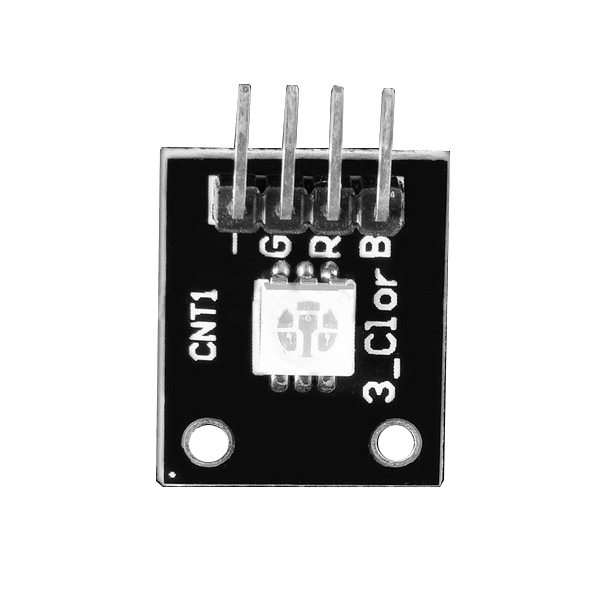
RGB LED Module:
- M1.4*10 Screw x 2
- M1.4*10 Nut x 2
Respectively use M2*10 screws&nuts and M1.4*10 screws&nuts to install PIR Motion Sensor and RGB LED Module on the wooden left board.
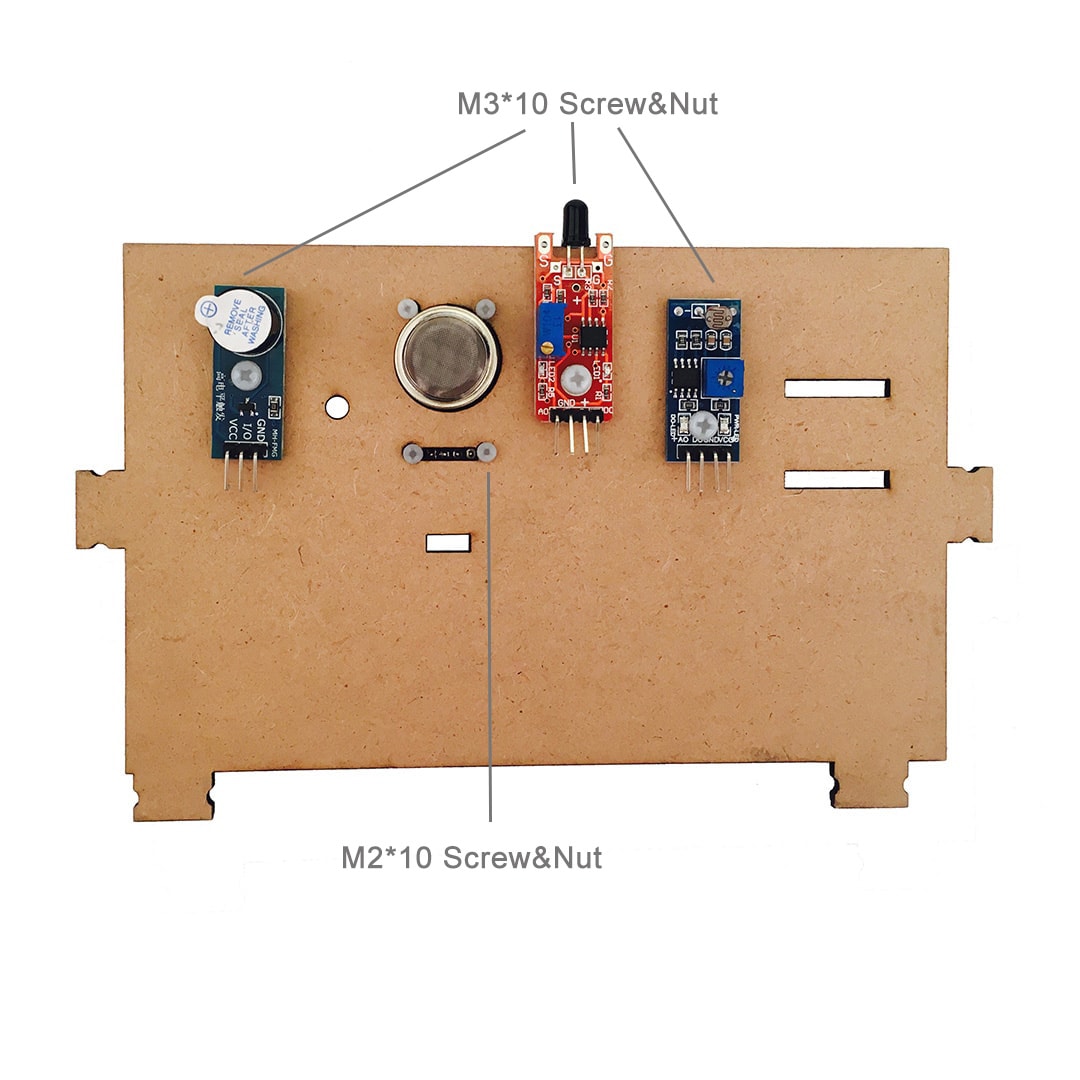
4 Right Board
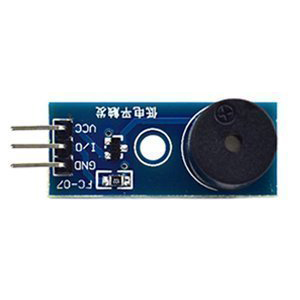
Positive Buzzer Module:
- M3*10 Screw x 1
- M3*10 Nut x 1
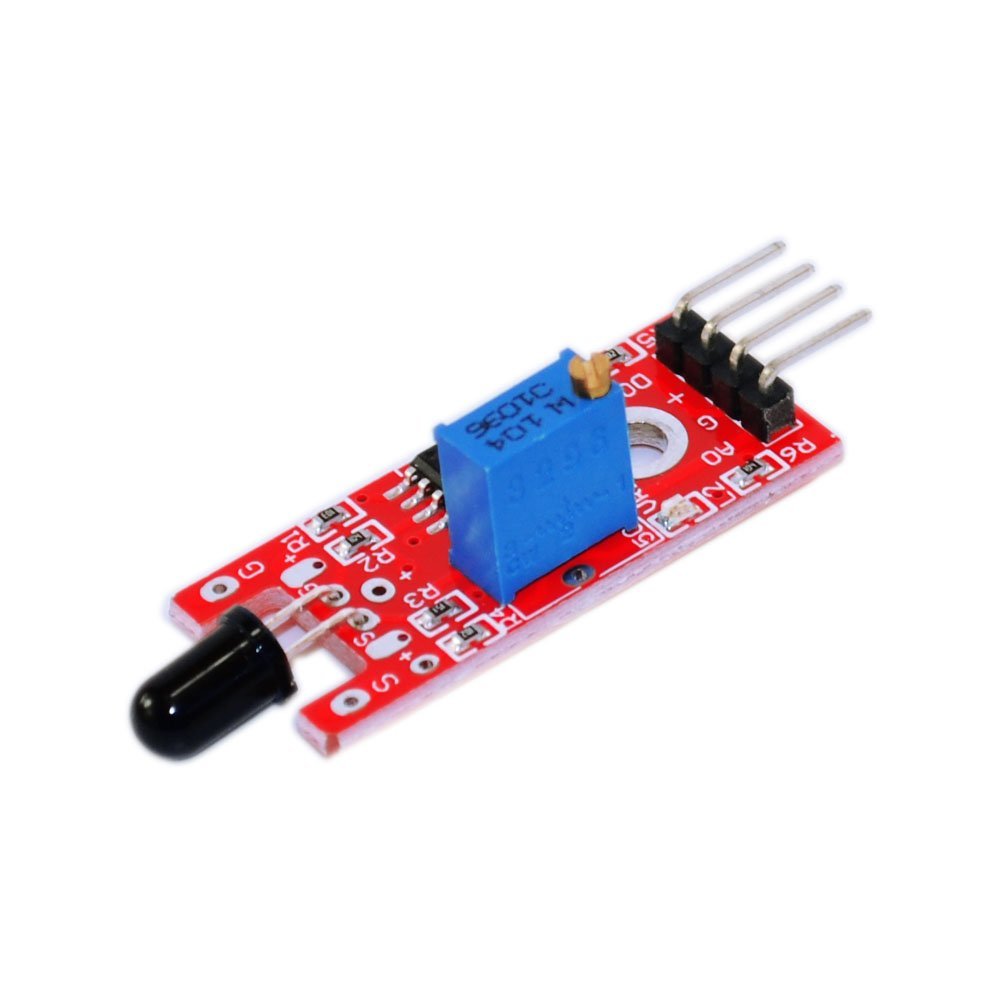
Flame Sensor Module:
- M3*10 Screw x 1
- M3*10 Nut x 1
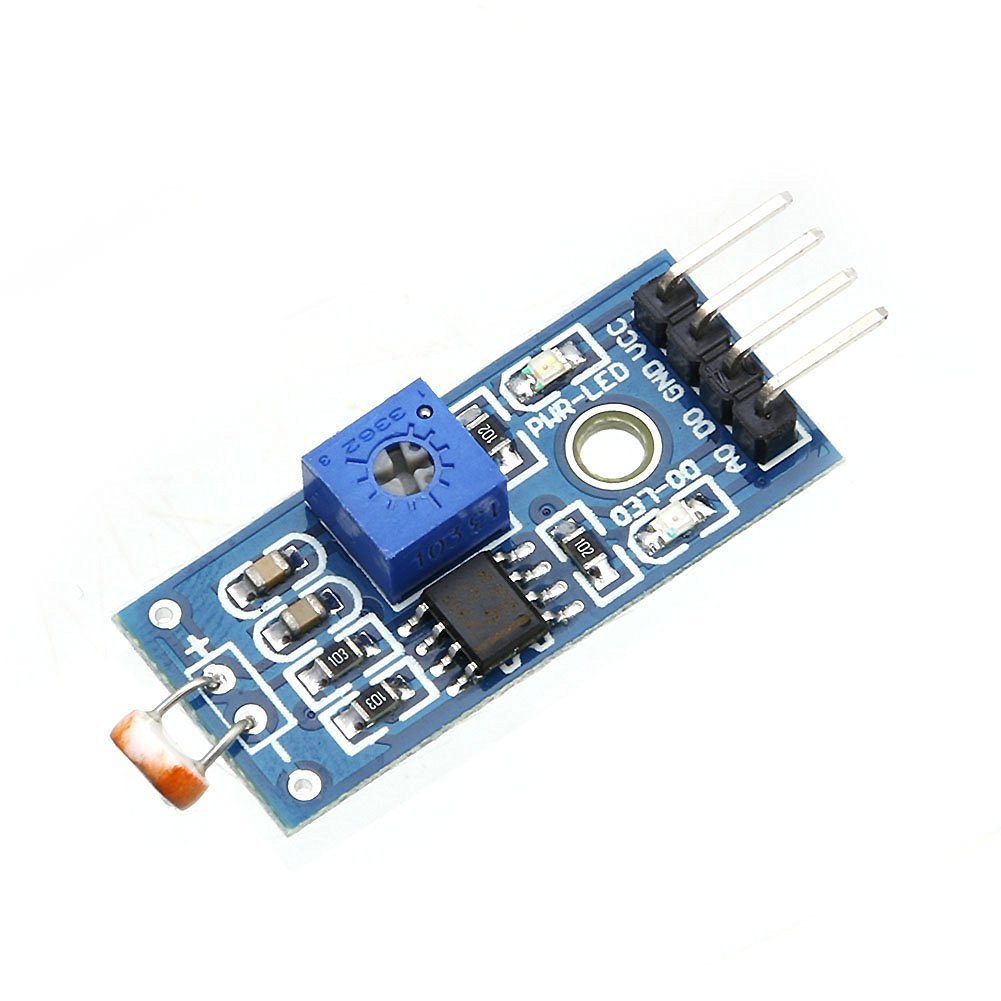
Photoresistor Module:
- M3*10 Screw x 1
- M3*10 Nut x 1
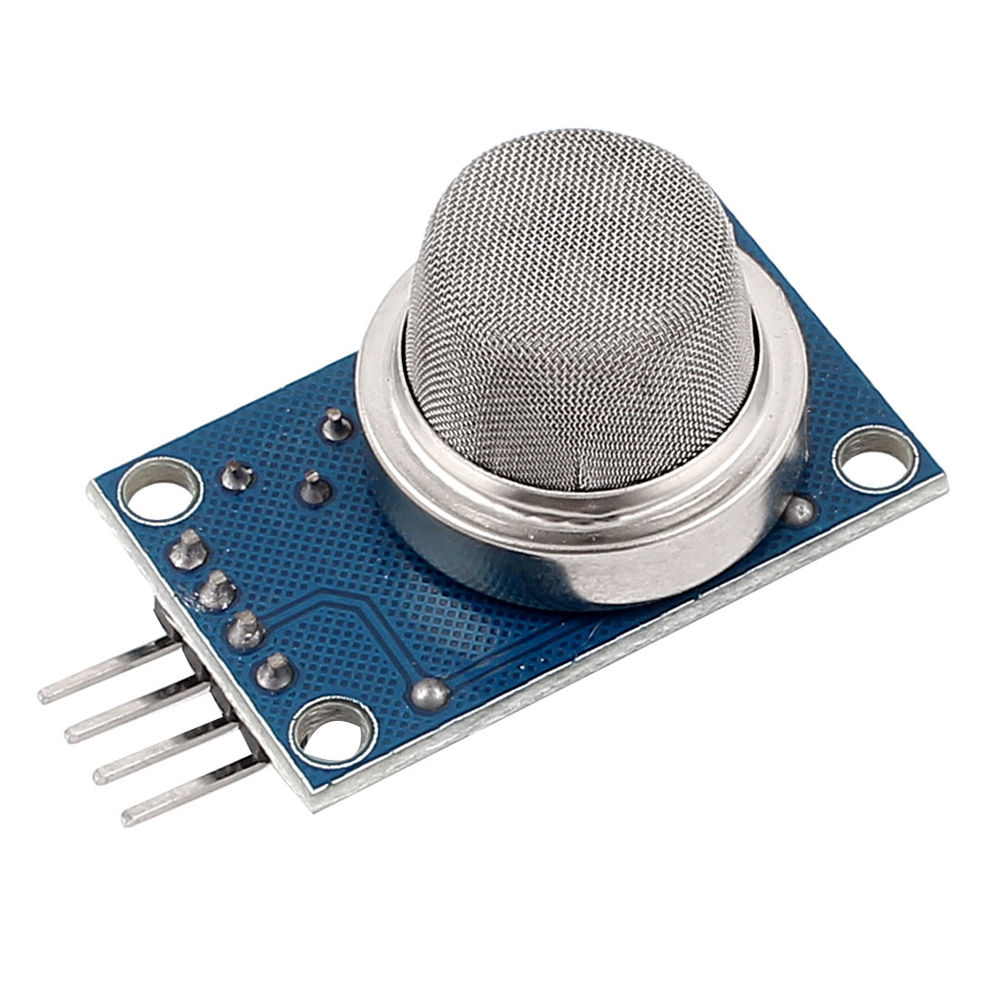
MQ2 Gas Module:
- M2*10 Screw x 4
- M2*10 Nut x 4
Use M3*10 screws&nuts to install the Positive Buzzer Module, Flame Sensor Module and Photoresistor Module on the wooden right board, use M2*10 screws&nuts to install the MQ2 Gas Module on the wooden right board.
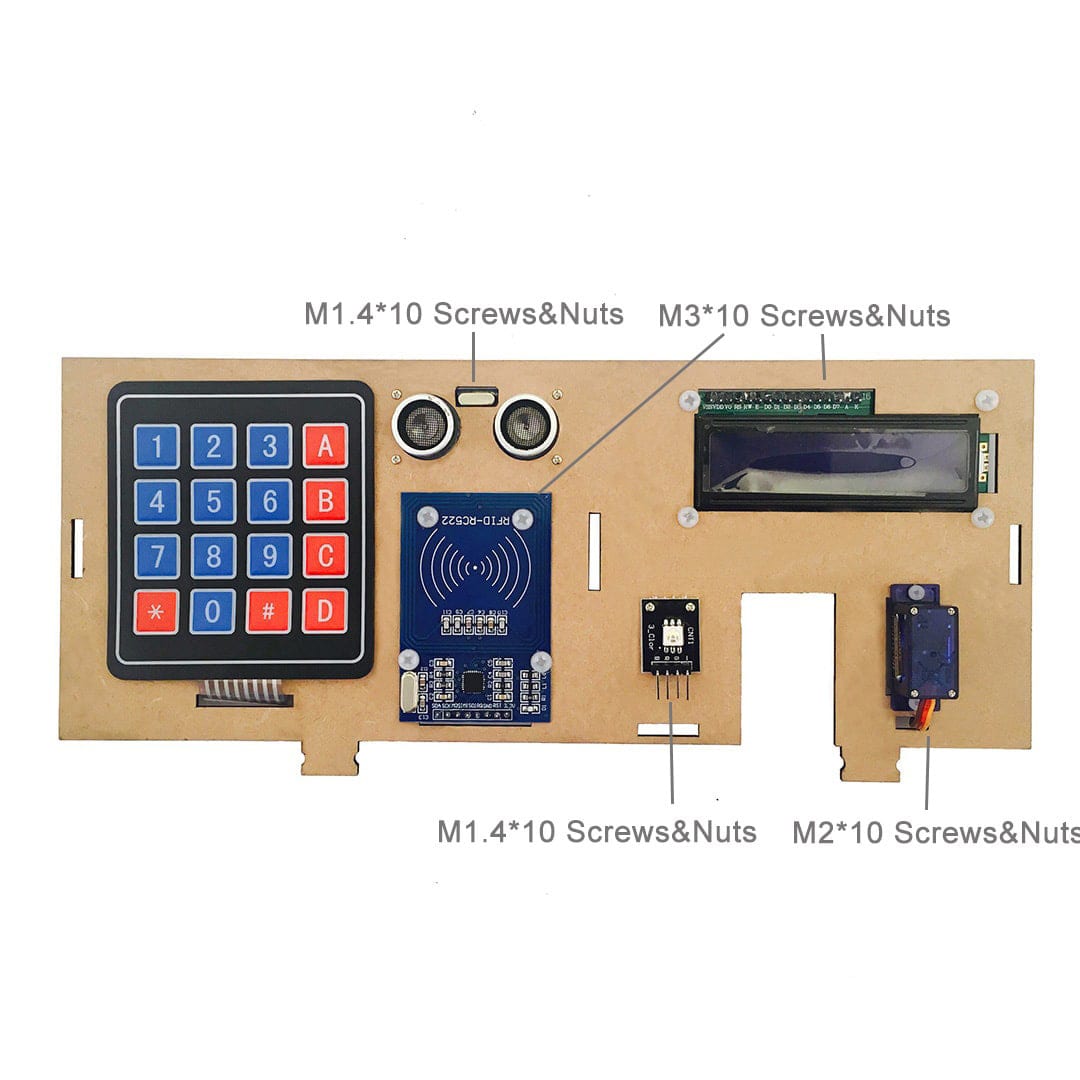
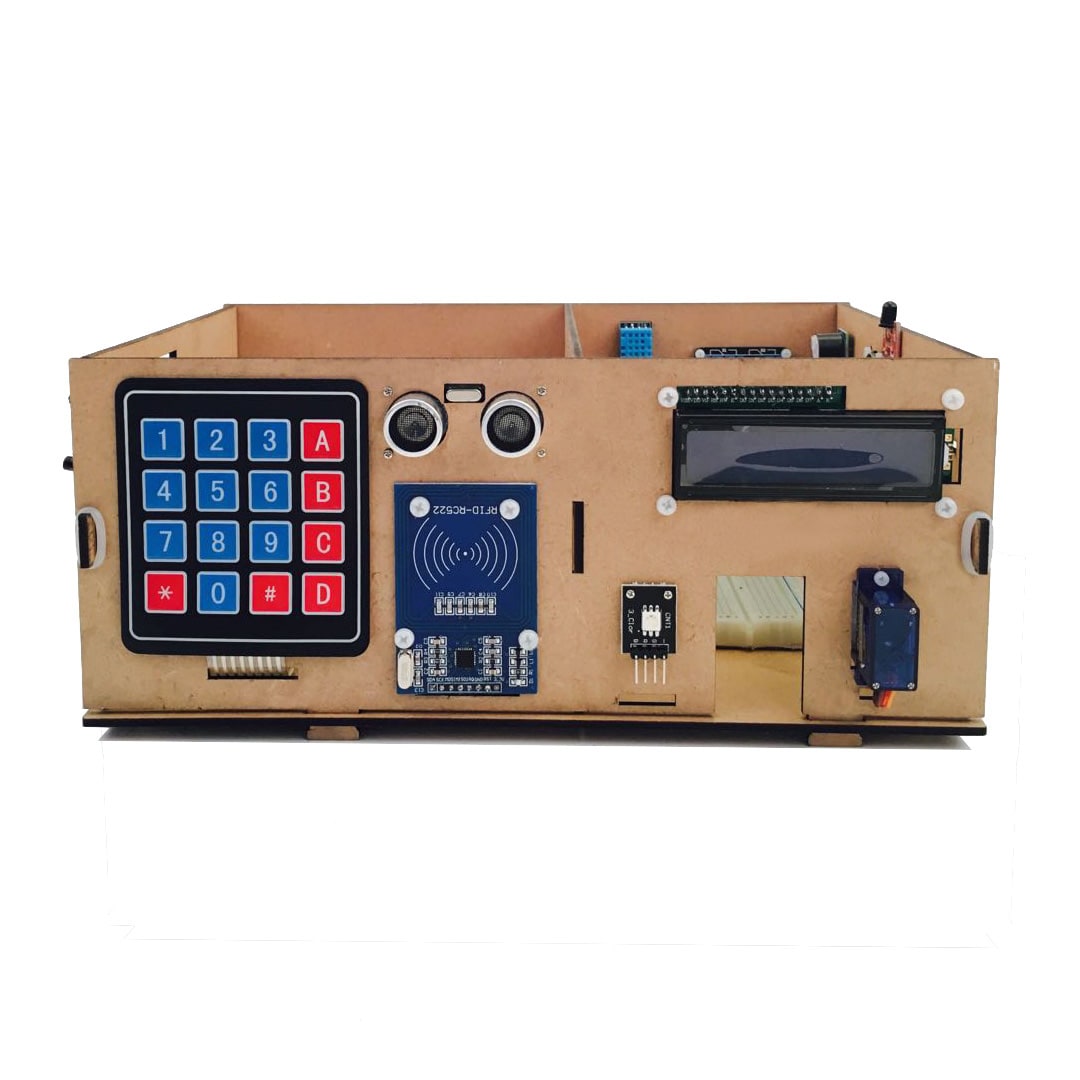
5 Front Board
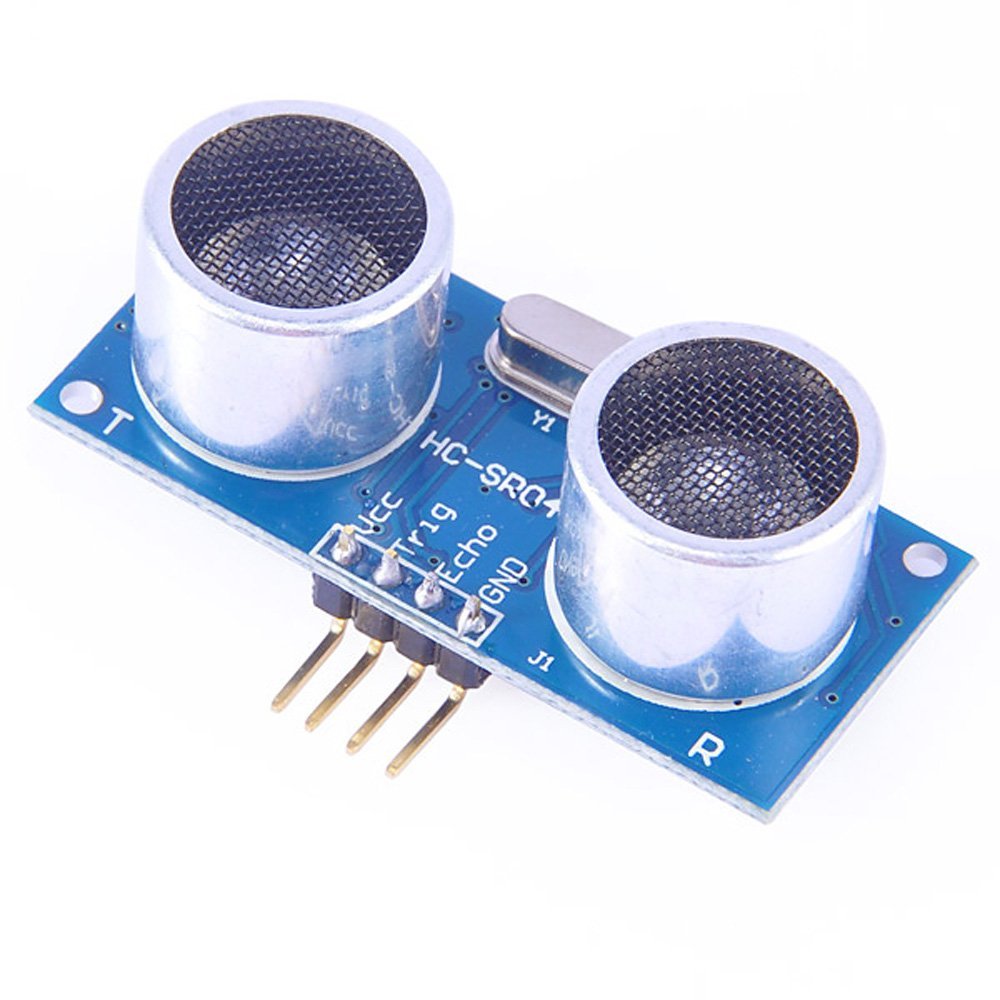
Ultrasonic Sensor HC-SR04:
- M1.4*10 Screw x 4
- M1.4*10 Nut x 4
Alphanumeric I2C Liquid Crystal Display Module:
- M3*10 Screw x 4
- M3*10 Nut x 4
RFID Module:
- M3*10 Screw x 4
- M3*10 Nut x 4
RGB LED Module:
- M1.4*10 Screw x 2
- M1.4*10 Nut x 2
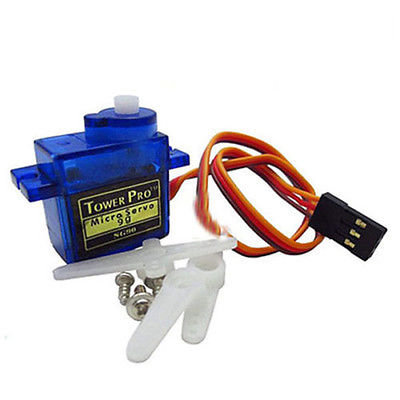
SG90 Micro Servo Motor:
- M2*10 Screw x 2
- M2*10 Nut x 2
4×4 Keypad:
Use M1.4*10 screws&nuts to install the Ultrasonic Sensor HC-SR04 and RGB LED Module on the wooden front board, use M3*10 screws&nuts to install the Alphanumeric I2C Liquid Crystal Display Module and RFID Module on the wooden front board, use M2*10 screws&nuts to install the SG90 Micro Servo Motor on the wooden front board, use double side tape to stick the 4×4 keypad on the wooden front board.
6 Assemble
Assemble the whole wooden model as the pictures show:
Top View
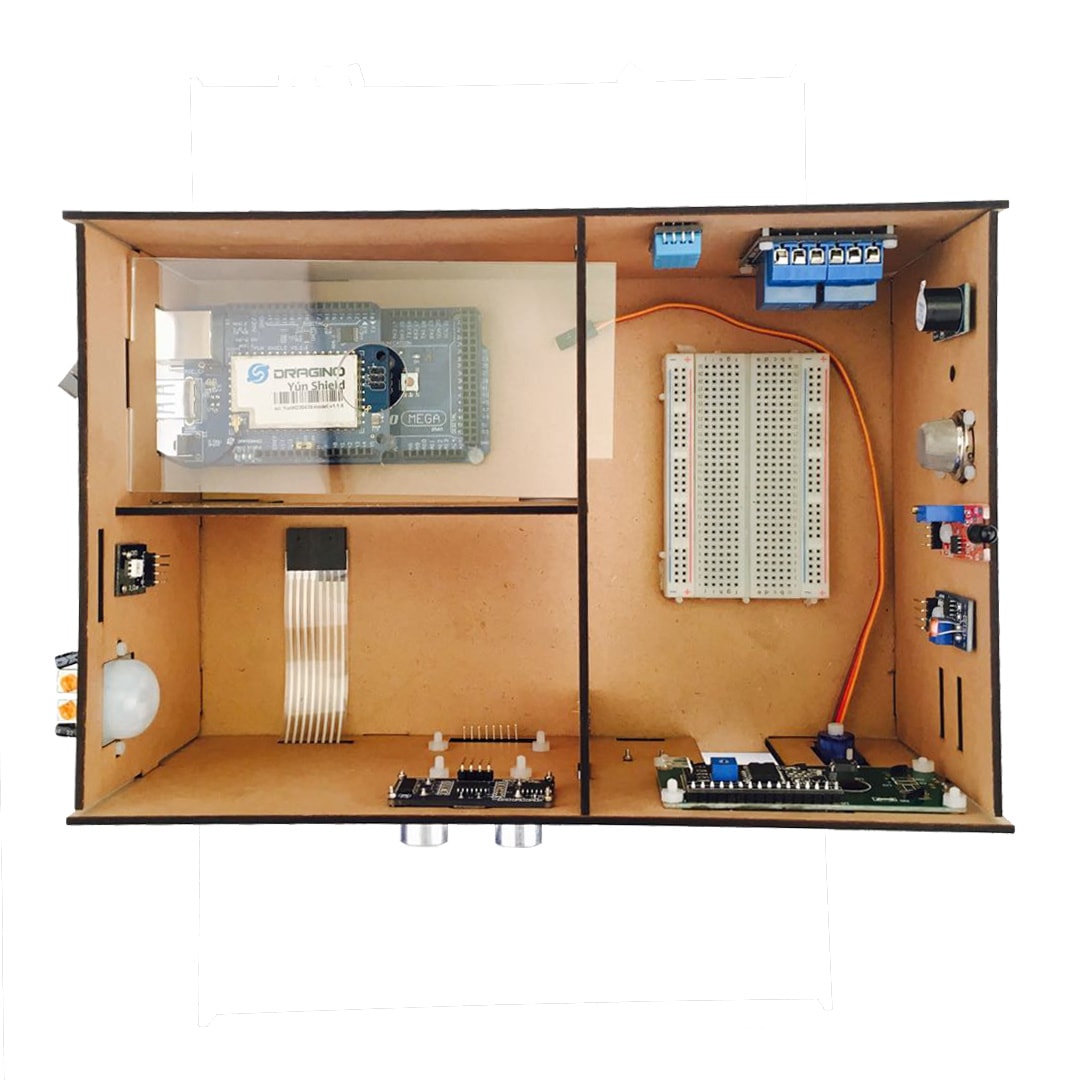
Front View
Left View

Right View

Back View
The model installation is completed, the wire connection and projects please view the subsequent lessons of OSOYOO Yun IoT Kit.