Smart home is an intelligent place which can assist the residents to live independently and comfortably with the help of modern technology. In a smart home, all the mechanical and digital devices are connected with each other and can be controlled by computer through the internet.
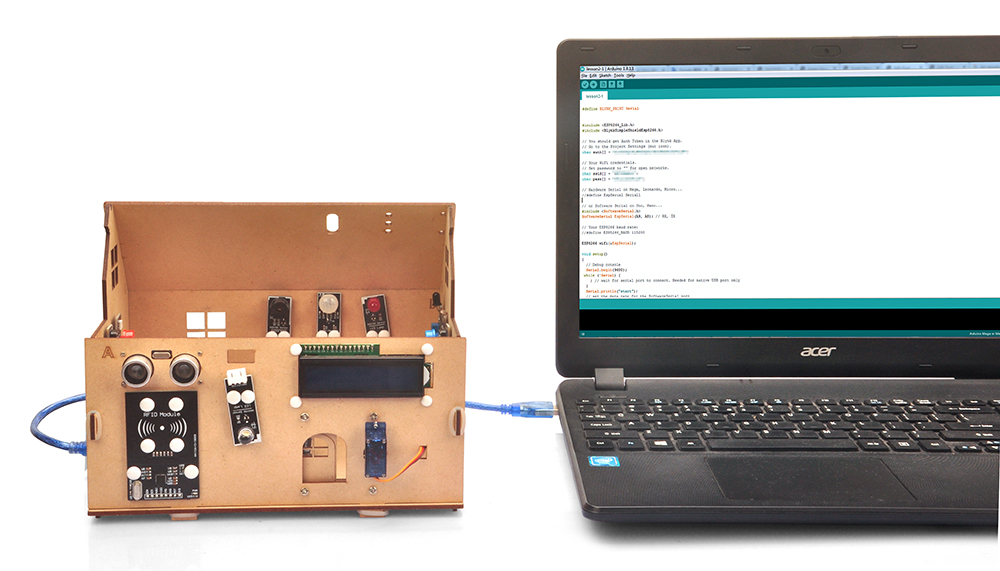
In this capstone project, we will build a comprehensive smart home project using many parts inside OSOYOO Smart Home IoT kit.
HARDWARE
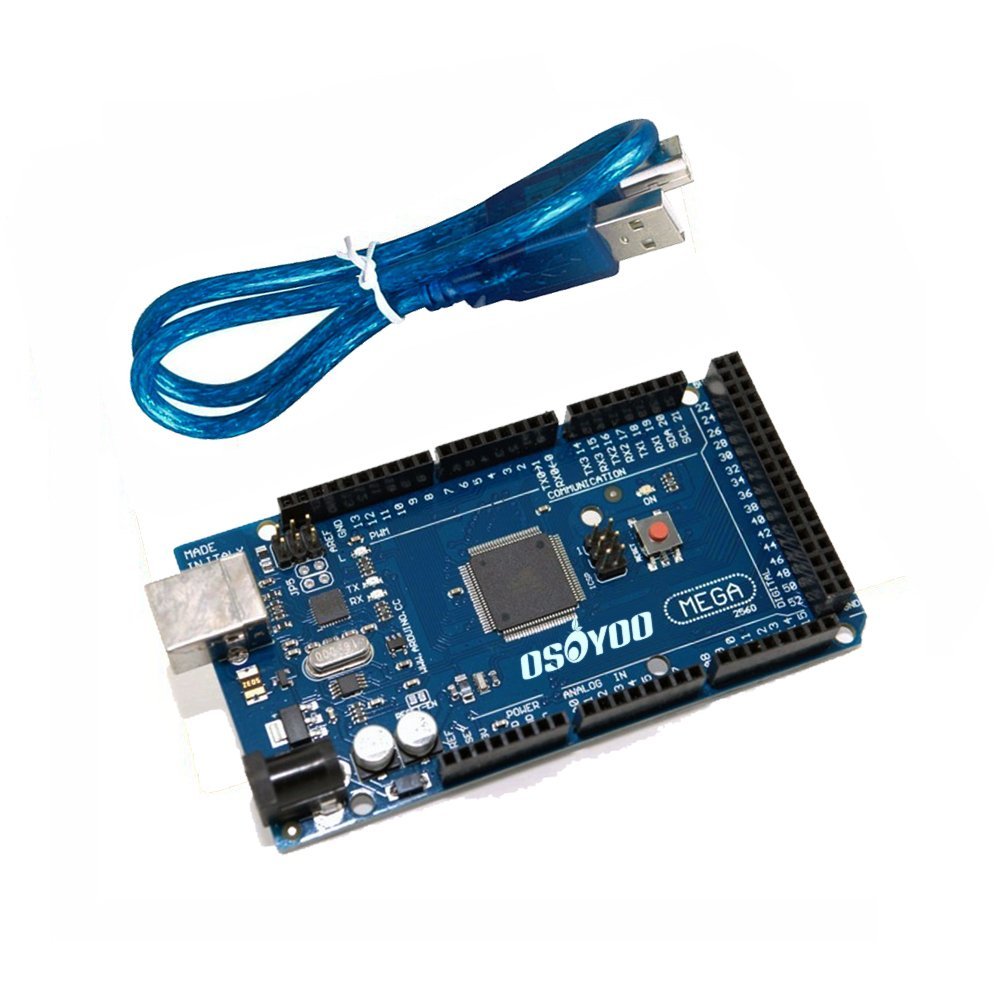
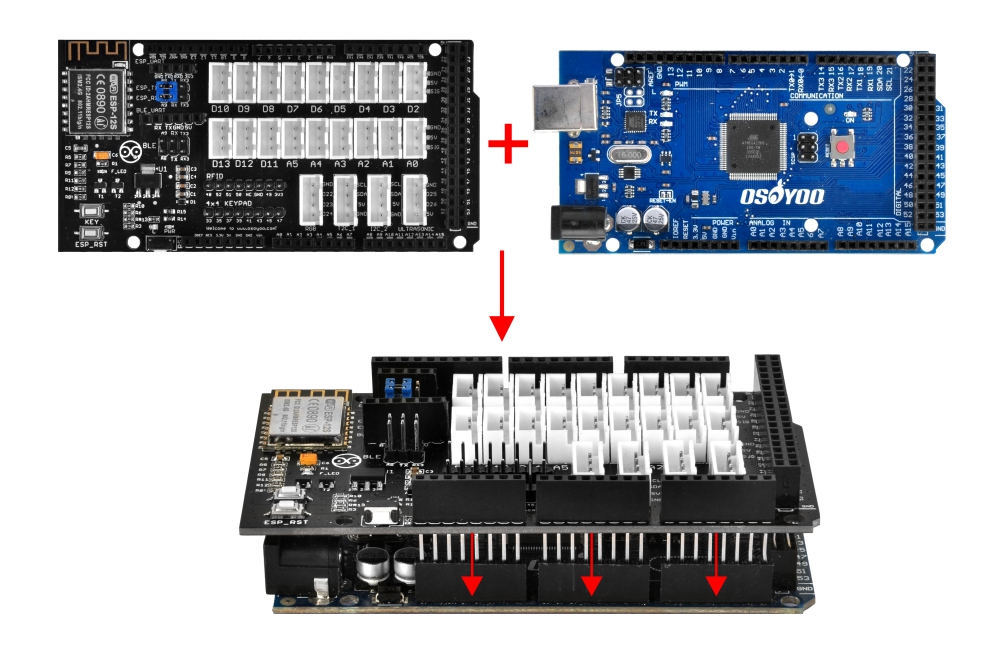
OSOYOO Mega2560 board (fully compatible with Arduino MEGA2560) x 1
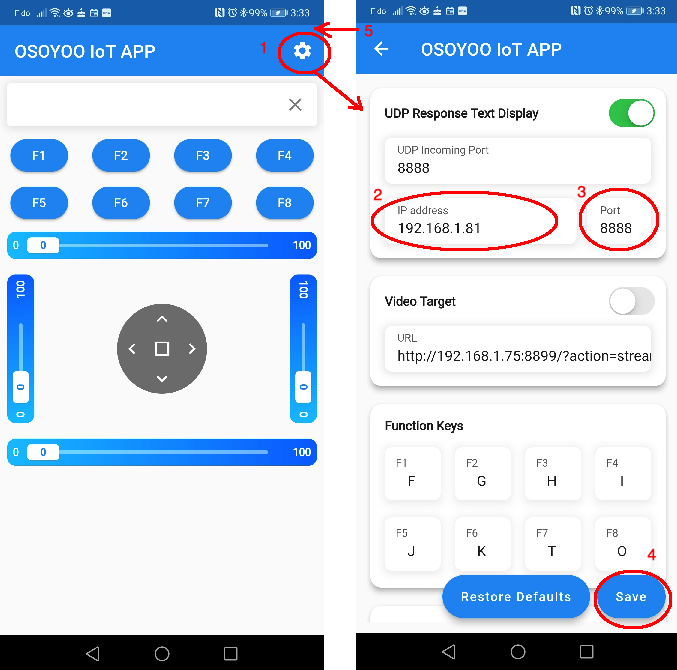
Step 2):Make sure your Cell phone is in the same Local Network of Arduino. Open the APP, click Settings, enter your Arduino IP address from Step F and Port to 8888 in settings:
This function of this capstone projects:
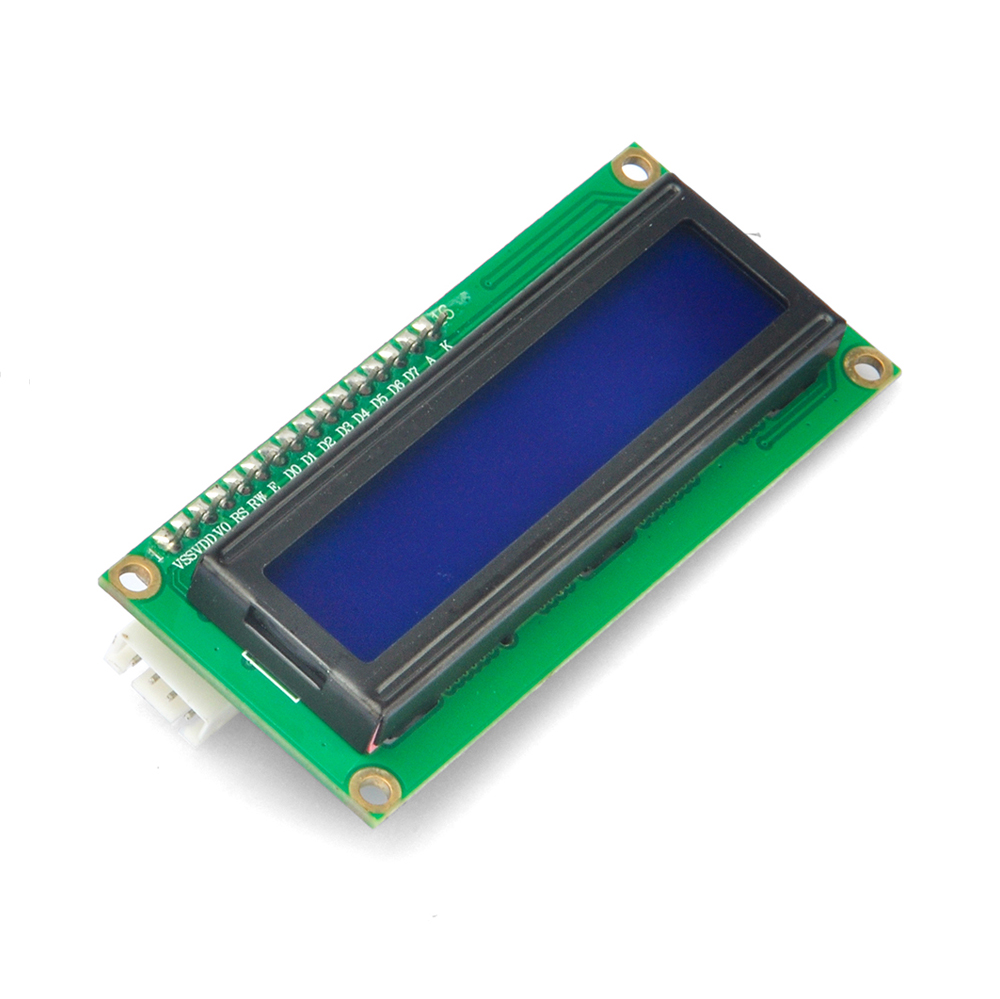
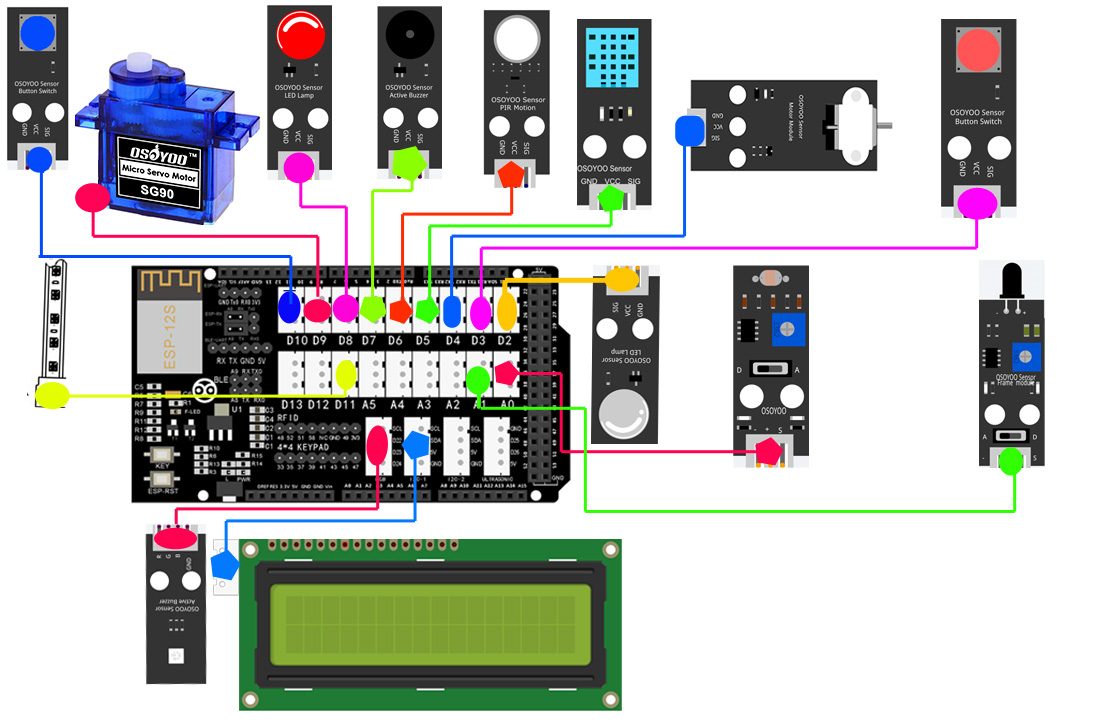
1)After Starting the Arduino, you will see the Arduino IP address in LCD for two seconds, then LCD will display Temperature and Humidity data which are read from DHT11 sensor.
RGB module color at the beginning is GREEN, which means no alert.
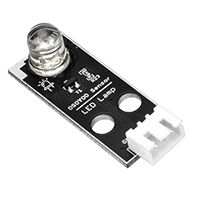
2)Automatic Light
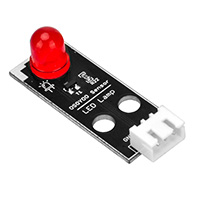
When environment is darker than some pre-defined value(enable_led in line 39), Arduino will turn on light (WHITE LED in D2)
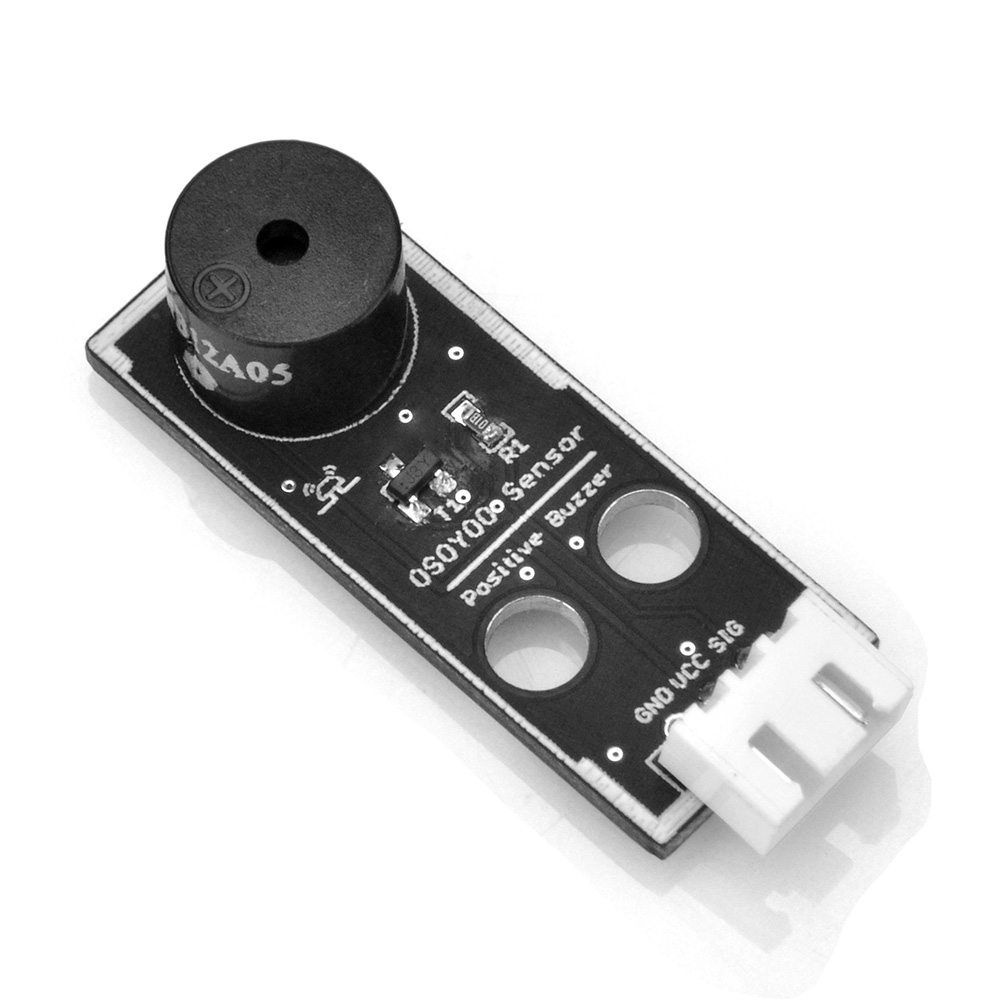
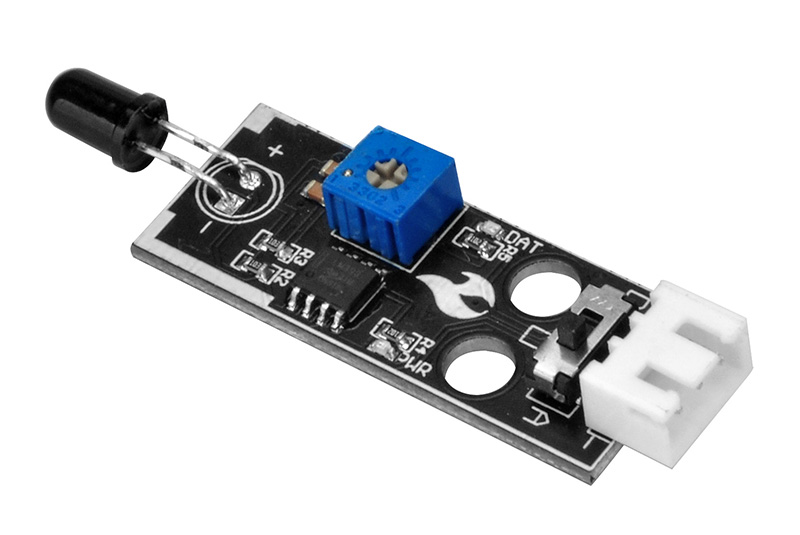
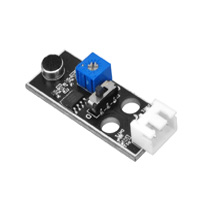
3)Flame detect and alert
If flame sensor data in A1 is lower than some pre-defined value (flame_alert in line 38), it means flame is detected, then Arduino will trig buzzer alert and send flame message to LCD and cell phone APP. Also, the RGB color will change to RED!
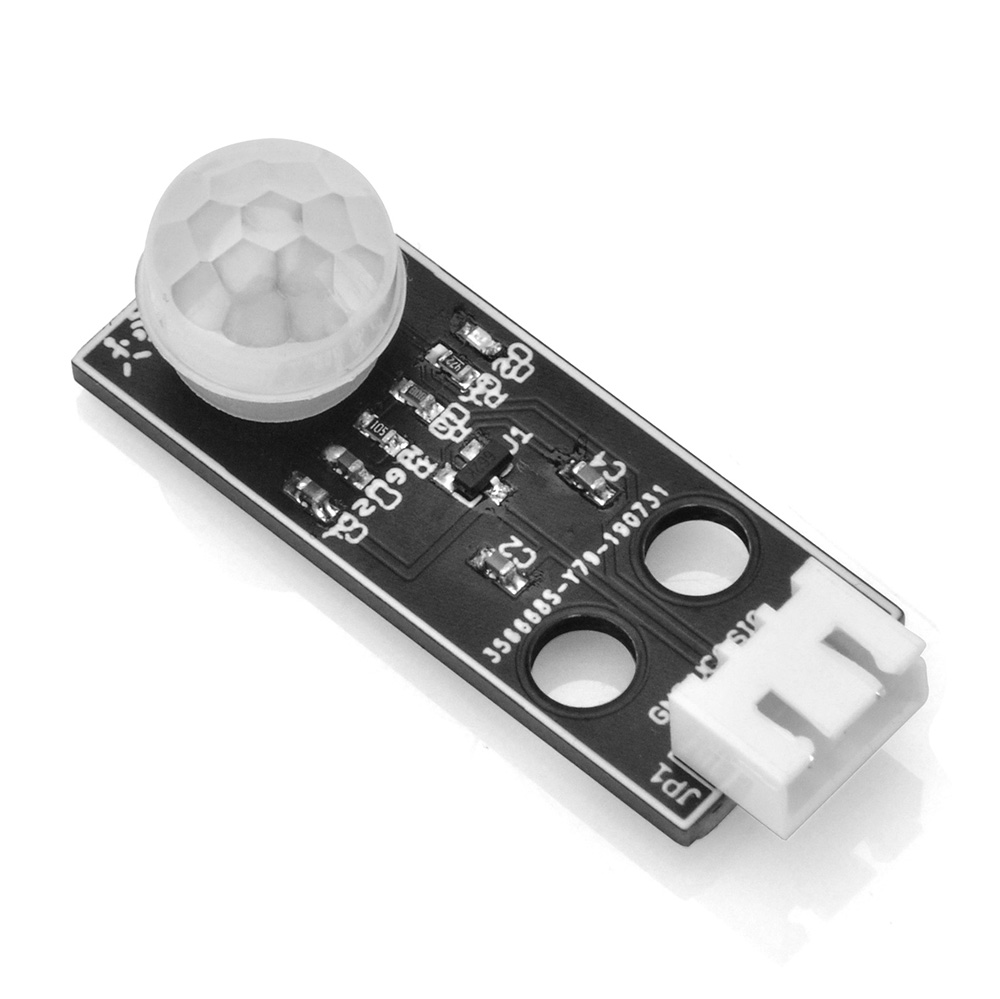
4)Intruder detect and alert
If PIR motion sensor data in D6 detects motion, then Arduino will trig buzzer alert and send Intruder message to LCD and cell phone APP. Also, the RGB color will change to Blue!
5)Manually stop intruder and flame alert
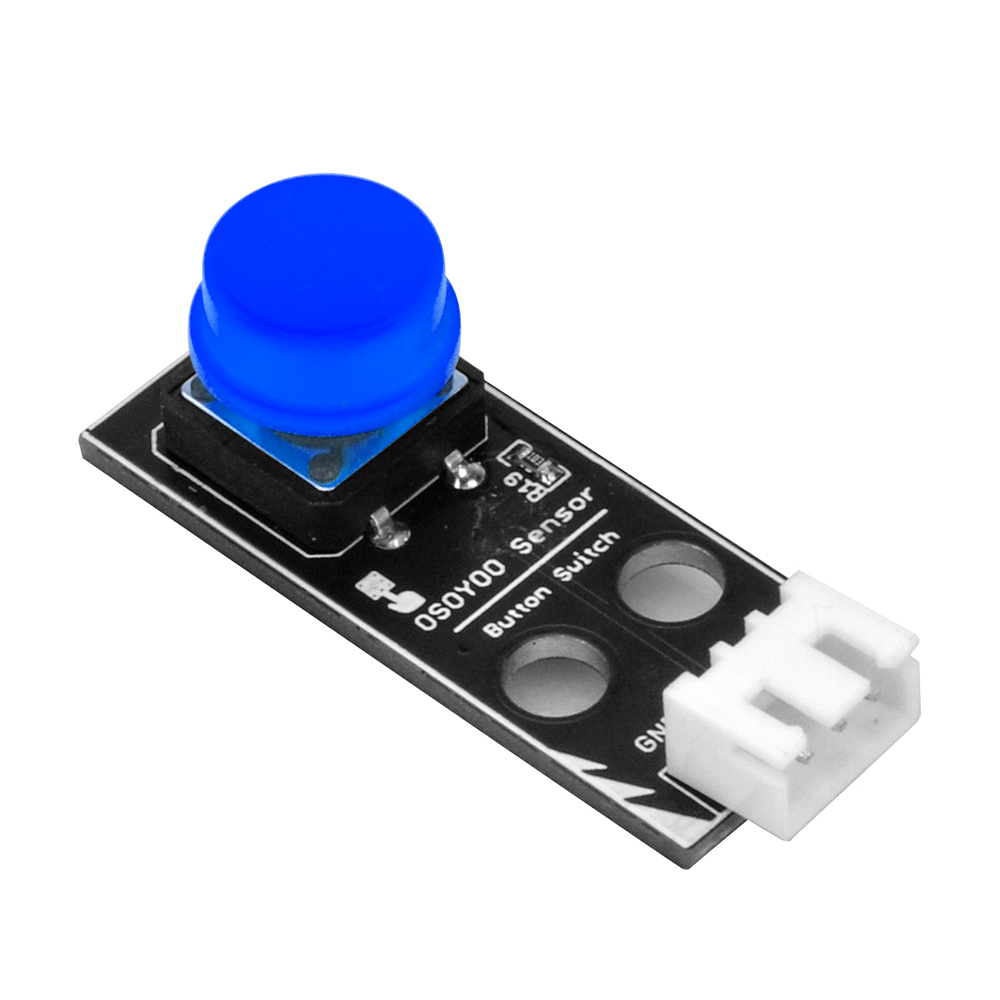
You can press Blue button in D10 or Press F1 key in APP to stop buzzer beep and remove alert message in LCD and APP.
6)Using APP to open the Door
You can press the F8 key to rotate the servo to D9 and open the door. The Red LED in D8 will turn on when the door is open. After 2 seconds, the door will automatically close and the red LED will turn off.
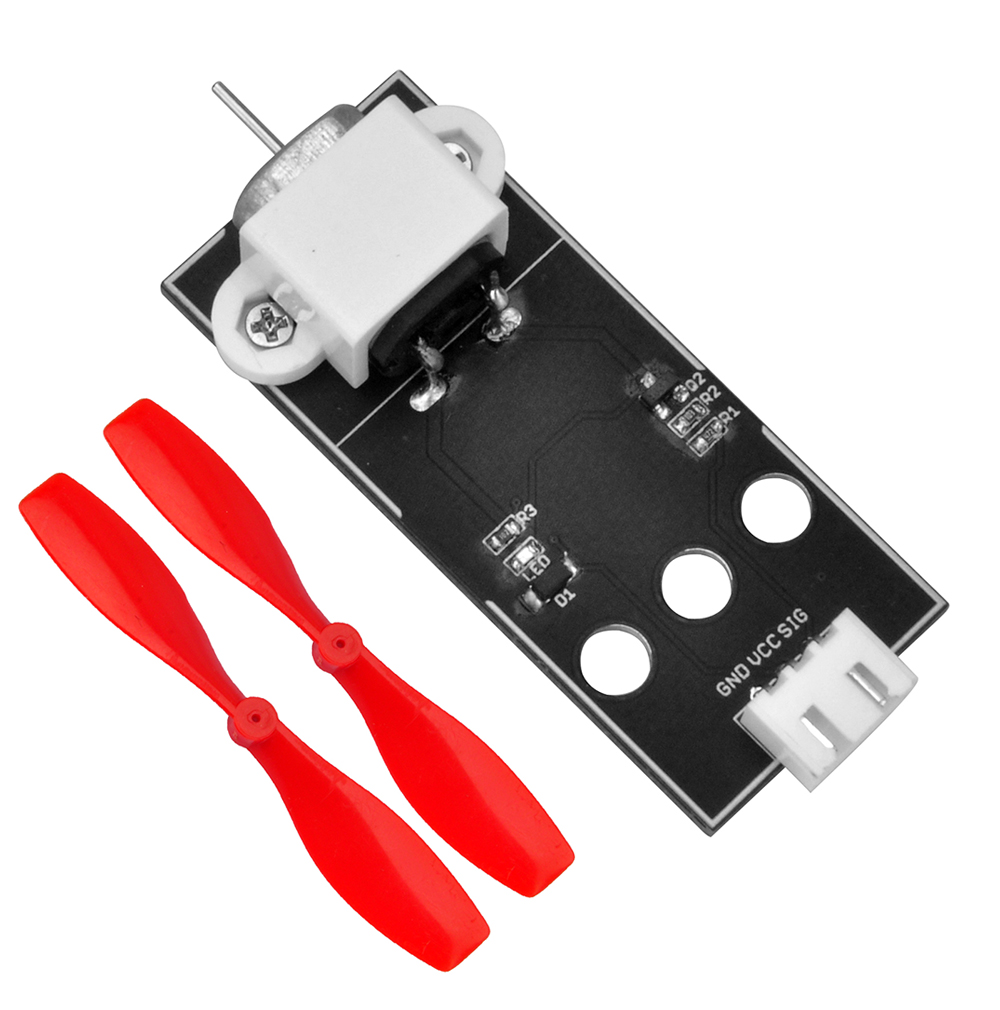
7)Toggle Strip LED and Fan by Red button in D3
Red button in D3 is attached to hardware interrupt in line 109. When you press Red button each time, the interrupt handler function changeflag() in line 115 to 117 with switch the strip LED and Fan ON/OFF status.
8)Control Strip LED and Fan by APP
In addition to red button, you can also to turn on the strip LED and Fan by press F2 key in APP,
You can turn off the strip LED and Fan by press F3 key in APP.


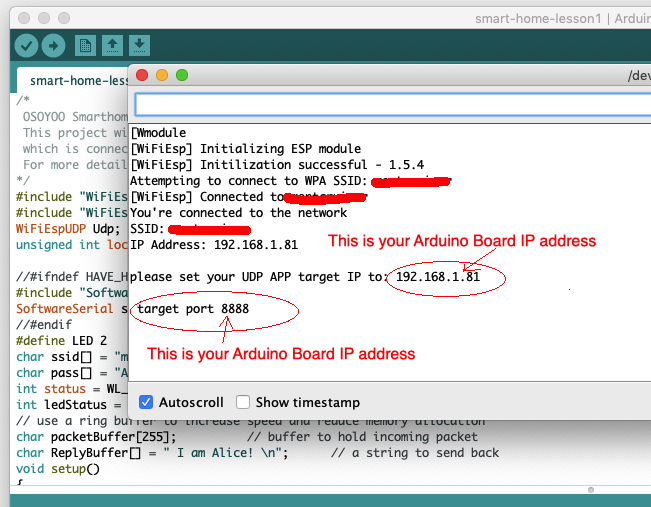 In above example,192.168.1.81 is the IP address of Arduino, please set it to APP in next step