| Buy from US |
Buy from UK |
Buy from DE |
Buy from IT |
Buy from FR |
Buy from ES |
ここでご購入を! |
 |
 |
 |
 |
 |
 |
 |

In this lesson, we will show you how to use Python3 Flask and Camera Stream software to control a Raspberry Pi Robot Car through the Internet. You will monitor the car’s real-time movement through its eye (front camera).

OSOYOO Mecanum wheels robotic car chassis x1
OSOYOO Wheels and motors x4 (left-wheels x2/right-wheels x2)
Raspberry pi 4B board
OSOYOO PWM HAT shield x1
OSOYOO Model Y driver board x1
OSOYOO Voltage meter x1
OSOYOO CSI camera with cable x1
OSOYOO Camera holder x1
OSOYOO Battery box x1
OSOYOO 3pin female to female jumper wire x1
OSOYOO 6pin female to female jumper wire x2
OSOYOO 2 pin XH2.54 female to female x1
18650 Batteries(3.7V) x2
Battery charger x1

Step 1: You must complete Lesson 1 basic framework, Servo Must be installed and connected PWM 15 port.( Ignore if already installed)
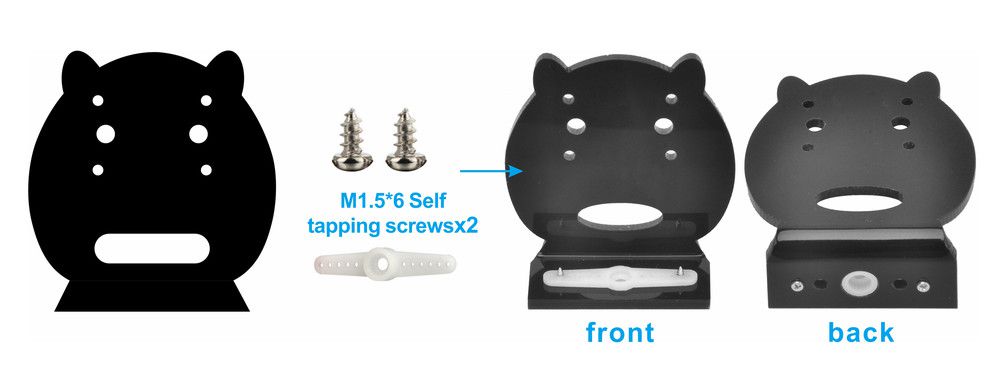
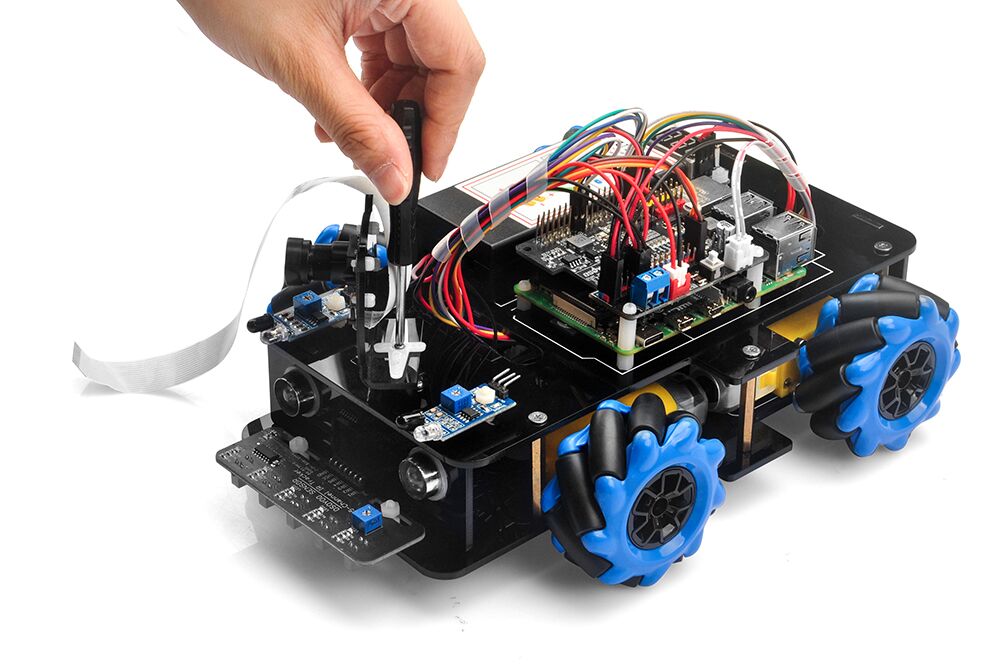
Step 2: Choose slotted bracket in servo motor to cross Camera holder from top to bottom and fix blade with M1.5*6 Self Tapping Screws.
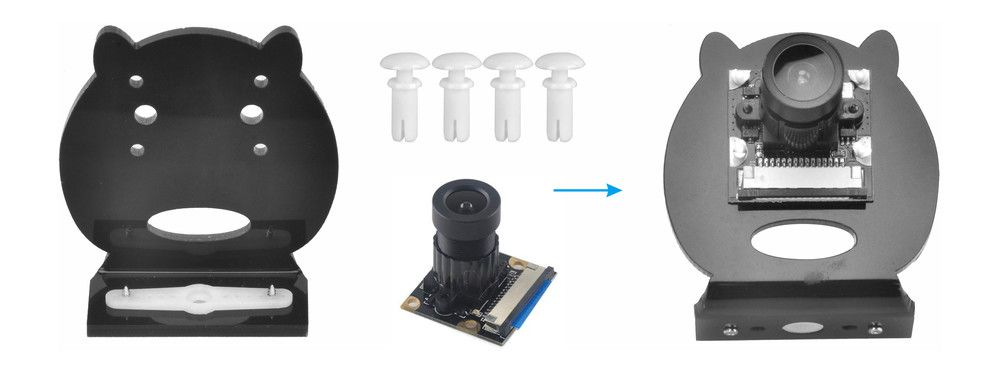
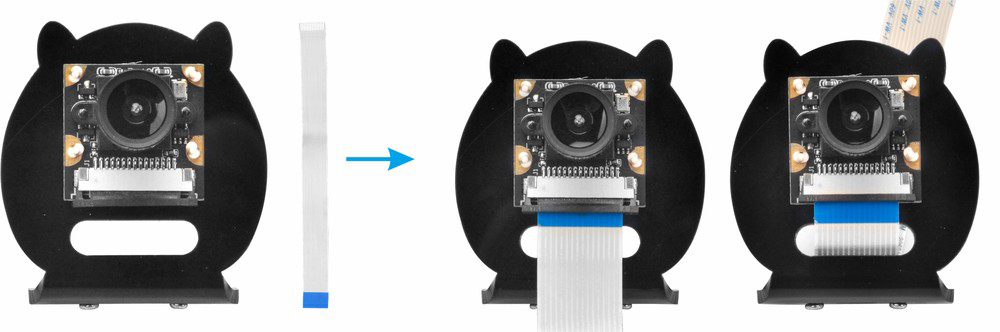
Step 3: Install CSI camera to camera holder with 4pcs M2 push pin rivets.
Step 4: Connect the CSI ribbon cable to the CSI camera.
Step 5: Install camera holder on servo motor with M2*4 Self Tapping screw.
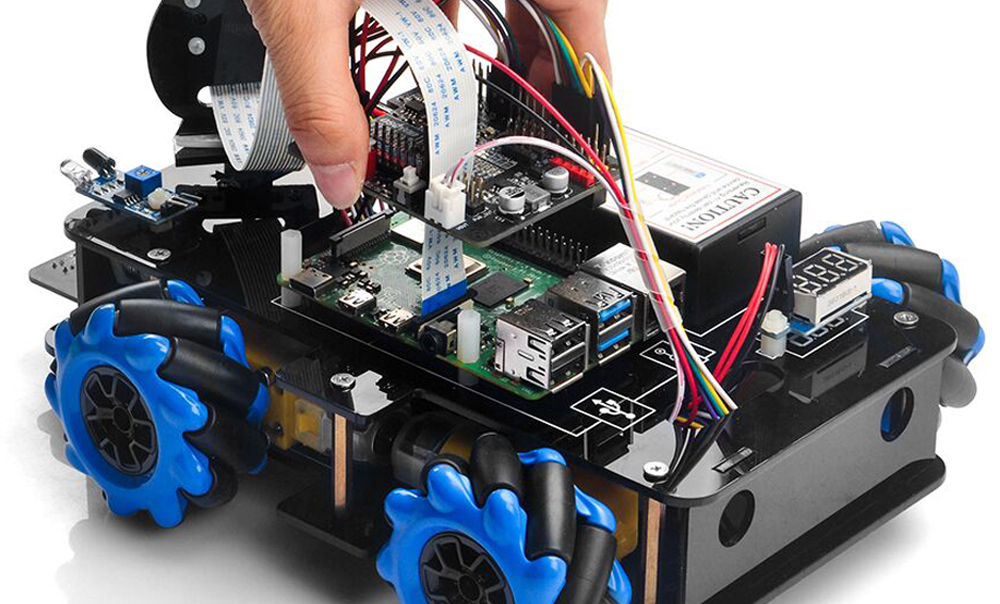
Step 6: Connect the CSI camera to CSI Slot of Raspberry Pi with CSI ribbon cable (Please pay attention to the connections of the cable before you install it.)

Step 7: Install OSOYOO PWM HAT on raspberry pi board
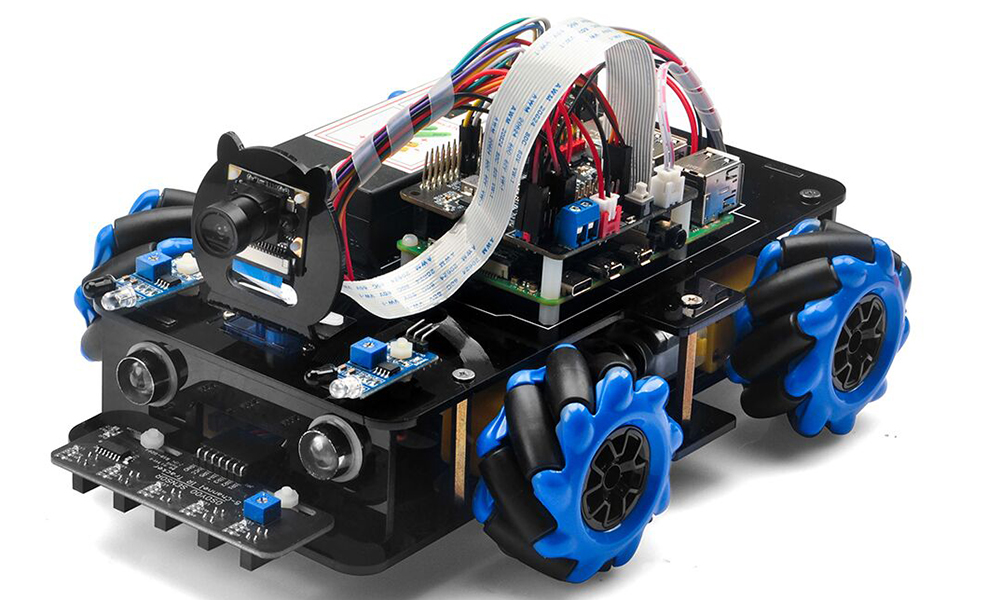

Make sure you have installed rpi.gpio, adafruit-pca9685 library and enable I2C in lesson 1, and power on the robot car.
Please use following command to start picamera streamer server in your Raspberry Pi
Step 1: Please enable Camera in Raspberry Pi by typing following command (Note: If you burn BOOKWORM OS, you needn’t enable Camera)
sudo raspi-config
Then select → Interfacing Options→ Camera→ No→ Ok→ Finish (Please reboot the Raspberry Pi according to the notice.)
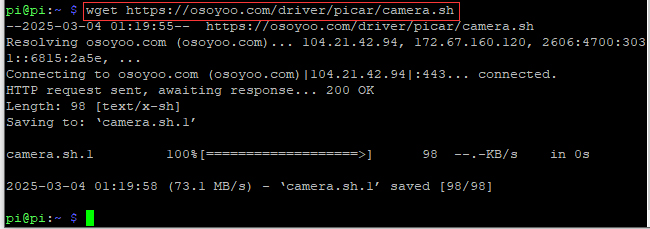
Step 2: Type following command to download Osoyoo Camera Stream Software software :
wget https://osoyoo.com/driver/picar/camera.sh

Step 3: Install Osoyoo Camera Stream Software, this is an one-time installation task, you only need to install the software once by typing the following command:
bash camera.sh
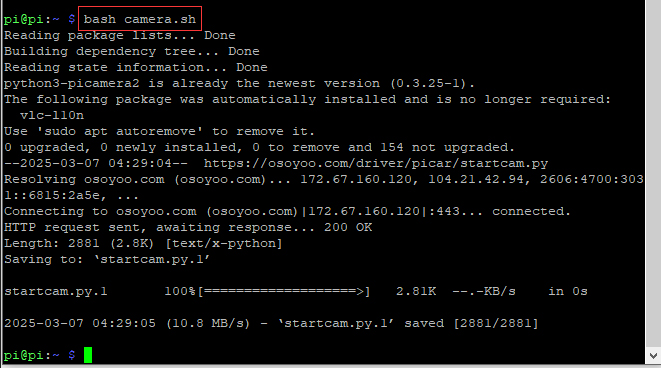
After running above commands, Osoyoo Camera Stream software is installed in your Raspberry Pi. So Simple!
NOTE: Camera Stream Software only need install ONCE! So if you want to run camera stream in future, you just follow next step (STEP 4) and execute python startcam.py file.
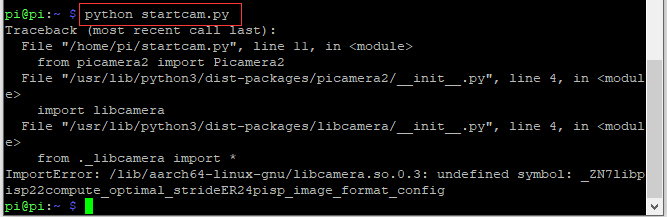
Step 4: After installing the camera server, start it by running the following command in your Raspberry Pi terminal:
python startcam.py
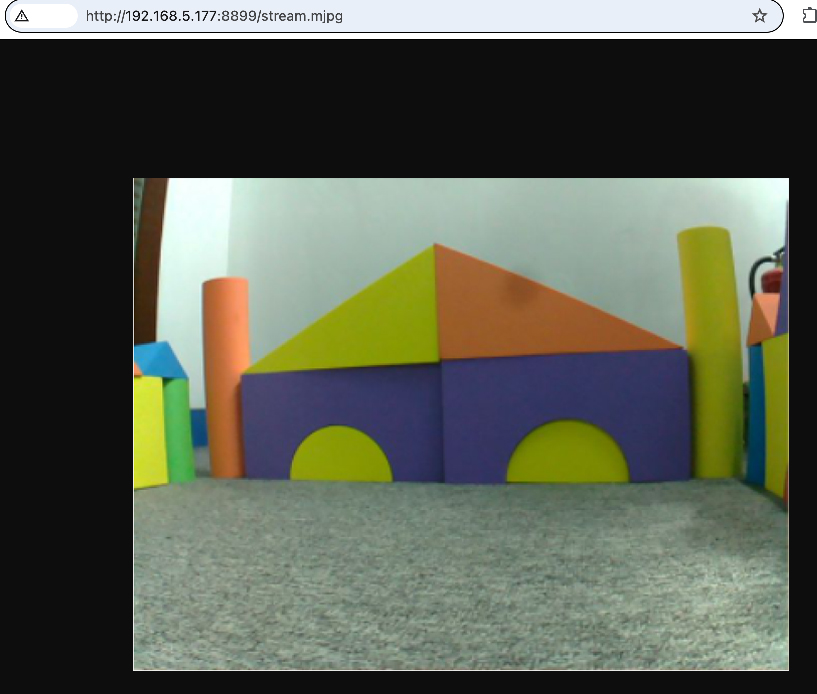
Step 5: Now you can use your browser to test the surveillance video. Now please visit http://your_raspberry_pi_ip:8899/stream.mjpg (in my case http://192.168.68.227:8899/stream.mjpg), you will see the video surveillance.
Method 1: Use browser to control a Raspberry Pi Robot Car through the Internet
Step 1: Open a new terminal window and run the following code to install the OSOYOO web camera controlled robot car software
wget https://osoyoo.com/driver/mecanum/osoyoowebcar.sh -O osoyoowebcar.sh
Step 2: type the following command:
bash osoyoowebcar.sh
After running above commands, you will automatically create a directory called osoyoowebcar, the structure is as follows:
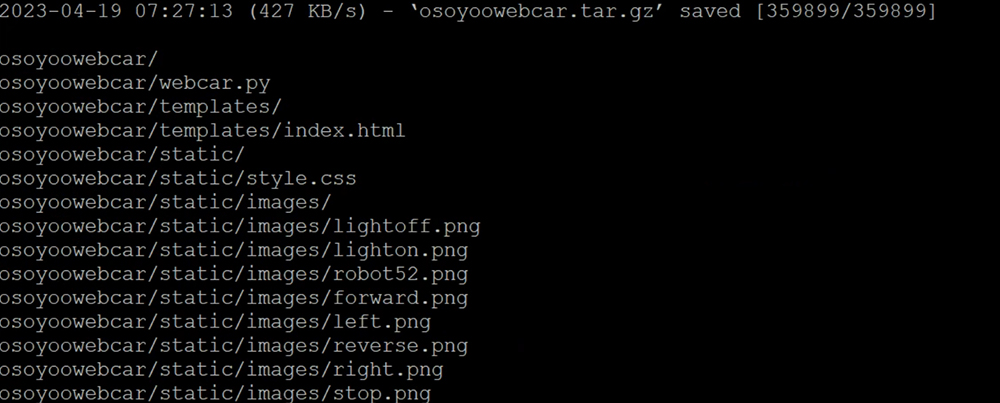
Step 3: type the following command to enter the folder osoyoowebcar
cd osoyoowebcar

Step 4: Then type the following command to edit the file templates/index.html
nano templates/index.html
Step 5: Please replace 10.0.0.89 in line 34 with your pi’s IP address, and click “Ctrl“+”X” then “Y” to save the file and then click “enter” to exit the file
Step 6: put the car on the ground and run the code by typing the following command
sudo python ~/osoyoowebcar/webcar.py
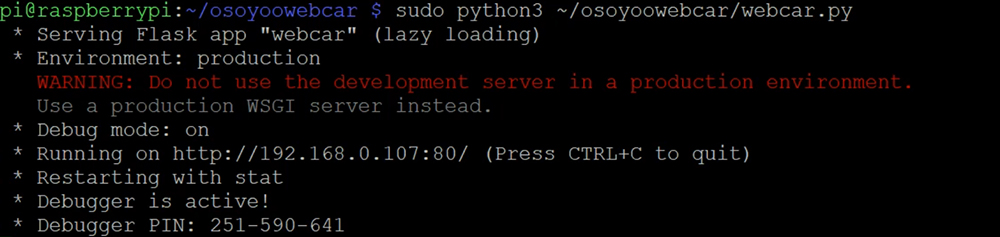
Step 7: In your PC or cell phone which is the same Wi-Fi network of your Raspberry Pi, open the browser and visit http://your_RaspberryPi_ip_address.
The arrows buttons are direction control keys, the red circle button in the middle is the STOP key. There are four speed control buttons in the bottom:
- 0 key means the slowest speed
- — key means the 2nd slow speed
- == key means regular speed
- ++ key means fastest speed
In the top of the page, there is a Camera Direction Slider, you can move the slider to make shift movement.
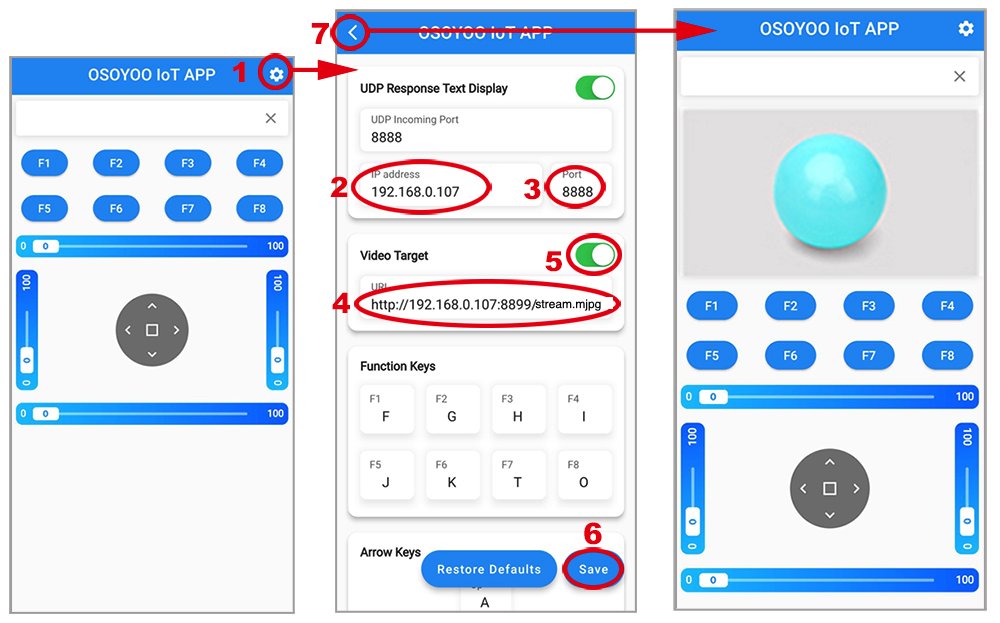
Method 2: Use APP to control a Raspberry Pi Robot Car through the Internet
Step 1: Open a new terminal window and run the following code to download the sample code for APP control
wget https://osoyoo.com/driver/mecanum/udpmecan5.py -O udpmecan5.py
Step 2: Type the following command to run the sample code (ATTENTION: please select a correct command according to your Pi board):
python udpmecan5.py
The Slider at the top of direction keys can rotate the car, if slider goes to left, car makes left turn, if slider goes to right, car turns to right.
▲key makes car move forward, ▼key makes car move backward.
◄ key make car shift to left side, ►key makes car shift to right side.