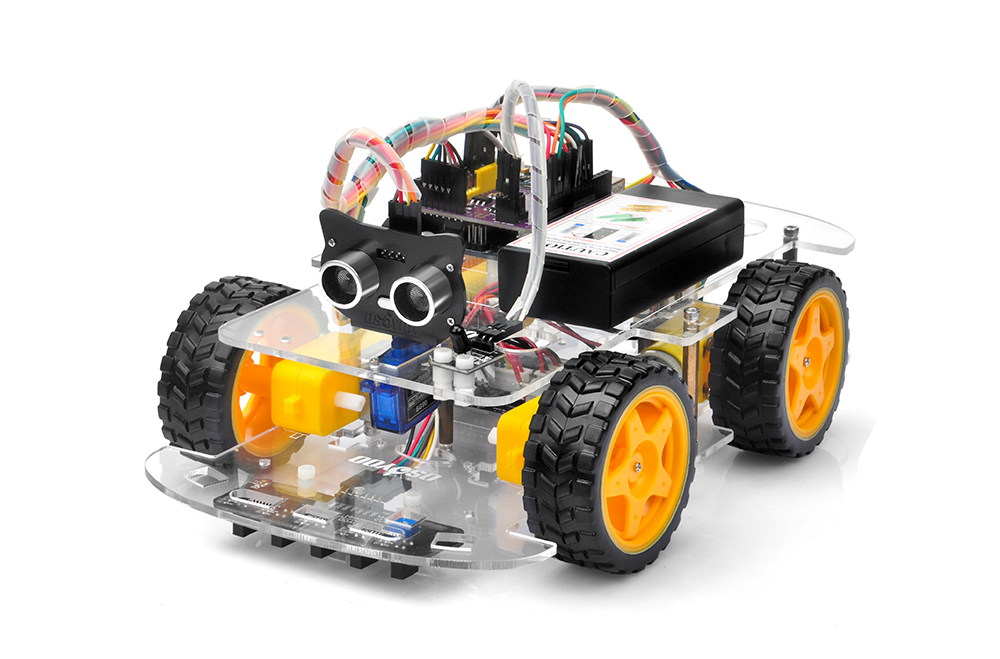
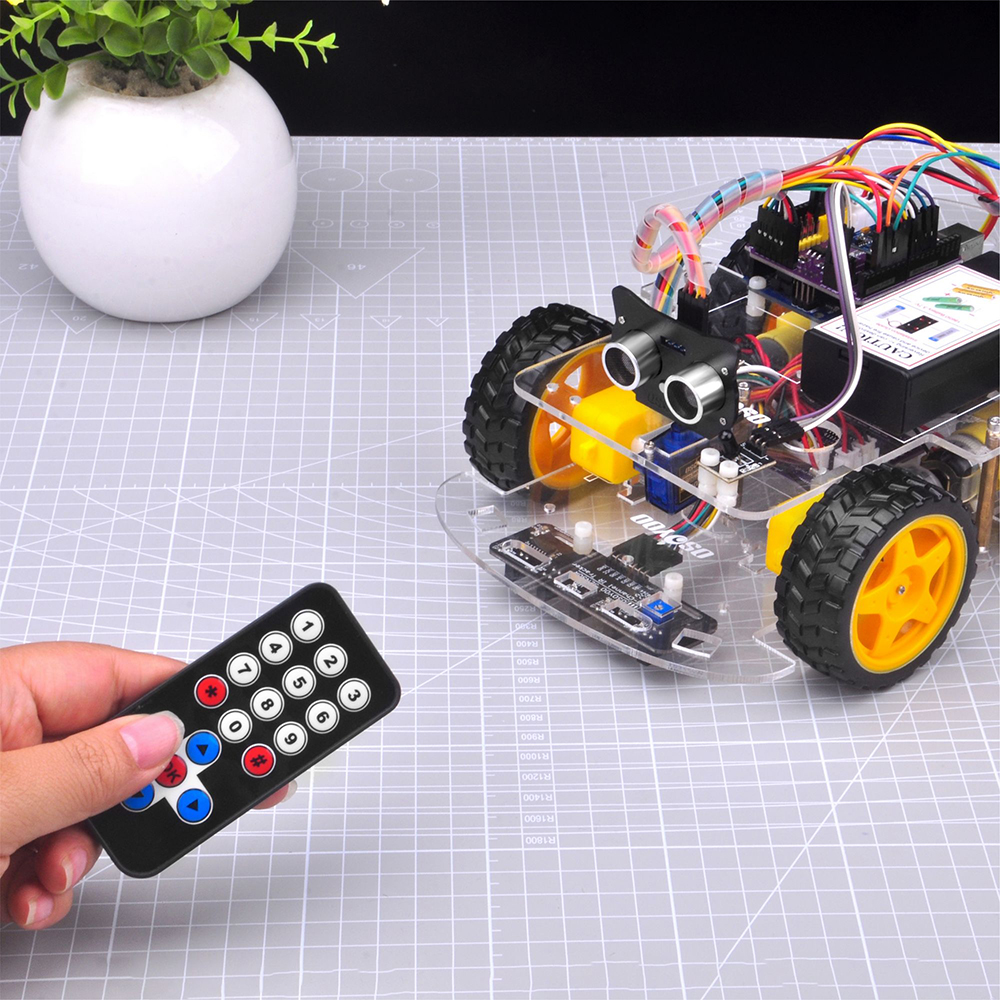
In this lesson, you will control your OSOYOO V3 Robot Car using an infrared (IR) remote controller.
Unlike Bluetooth or WiFi control, infrared communication does not require wireless pairing or network configuration. Instead, commands are transmitted using invisible infrared light and received by an onboard IR receiver module.
This project introduces one of the simplest and most widely used forms of wireless communication in embedded systems. Infrared remote control technology is commonly found in televisions, air conditioners, media players, and many consumer electronic products.
After completing this lesson, you will be able to:
Understand how infrared communication works
Decode infrared remote control commands
Control a robot wirelessly using an IR remote
2Parts and Devices:
For the initial assembly phase, the following components are required. Please ensure all parts are accounted for prior to commencing the build
No.
Picture
Device
Qty.
Accessories
Link
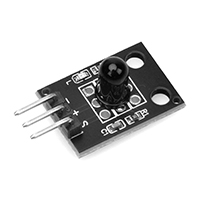
1
IR receiver
1
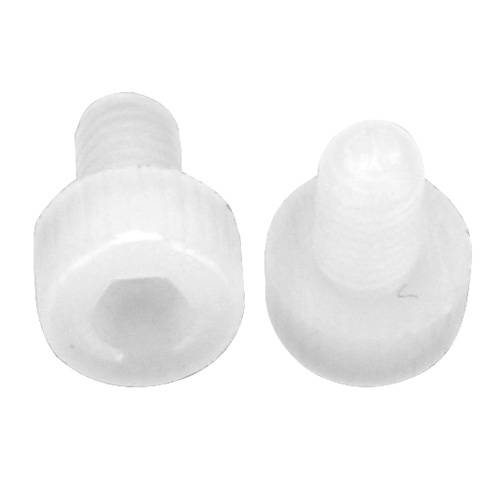
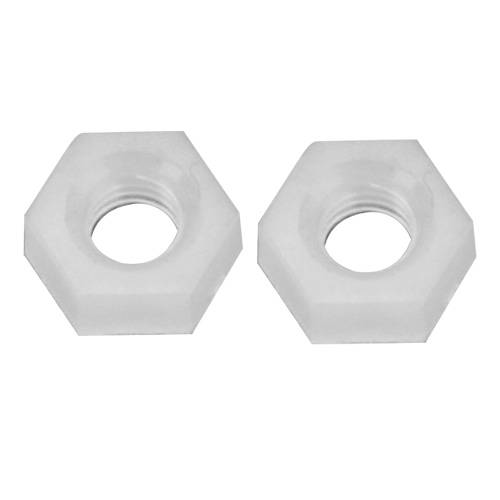
M3 Plastic Screw x 2
M3 Plastic Nut x 2
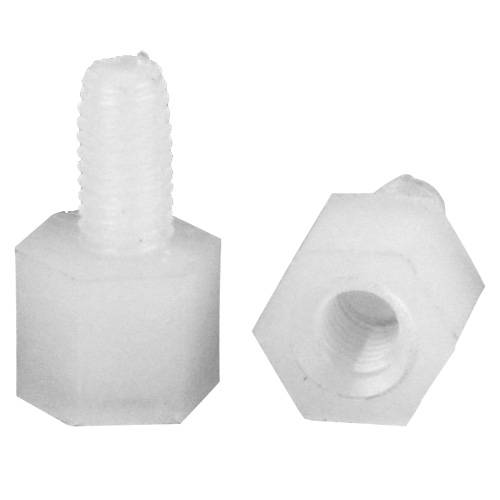
M3 Plastic Pillar x 2
Unlike Bluetooth or WiFi, infrared communication uses pulses of invisible light.
When you press a button:
The remote controller generates a digital command.
The command modulates an infrared LED.
The IR receiver detects the infrared signal.
The receiver removes the carrier frequency and outputs the decoded pulse sequence.
The Arduino decodes the pulse timing into a button code.
The robot performs the corresponding action.
This entire process takes only a few milliseconds.
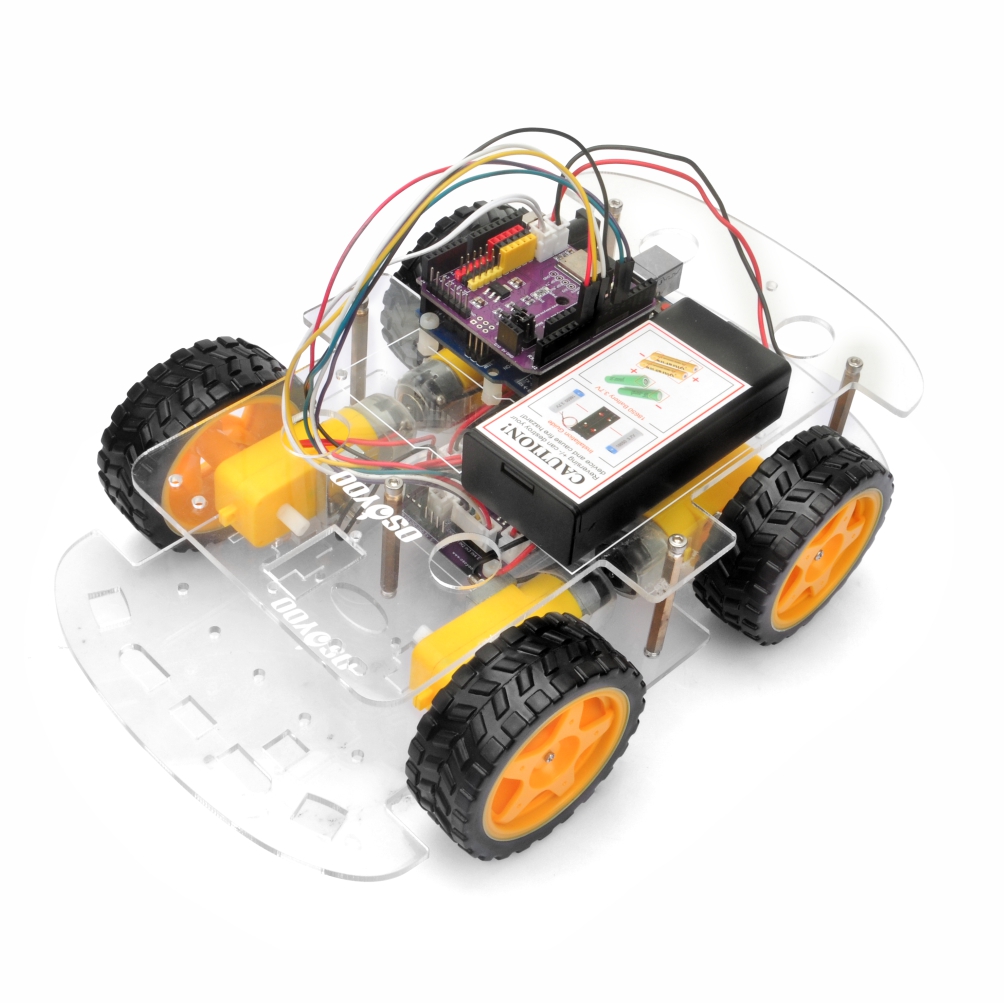
4Hardware Installation
Step 1: Install basic framework as robot car Lesson 1 . If you complete lesson 2, lesson 3, lesson 4, and lesson 5, please remove jumper wires on D10.
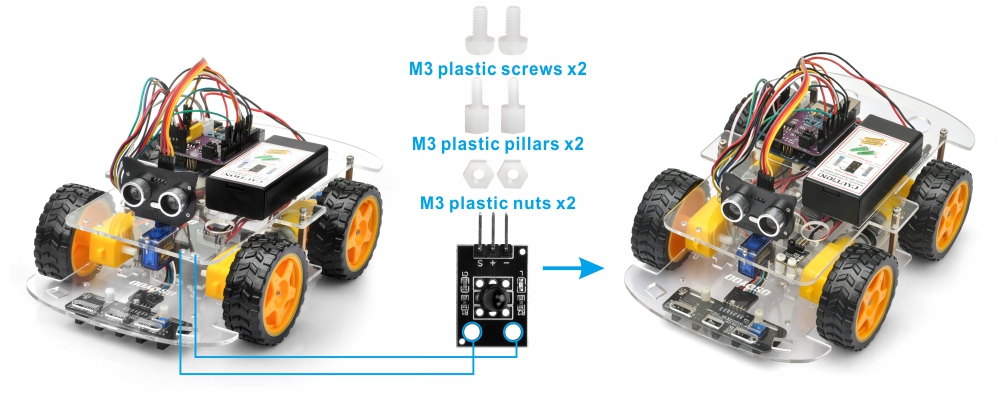
Step 2: Add an IR receiver module onto the car. Install the IR receiver module with 2pcs M3 plastic screws, M3 plastic pillars and M3 plastic nuts at the front of upper chassis.
Step 3: Connect the S pin in IR receiver to D10 pin in your board, GND to GND, VCC to 5V, as the following photo (Remember : DO NOT remove any existing wires installed in Lesson 1 )
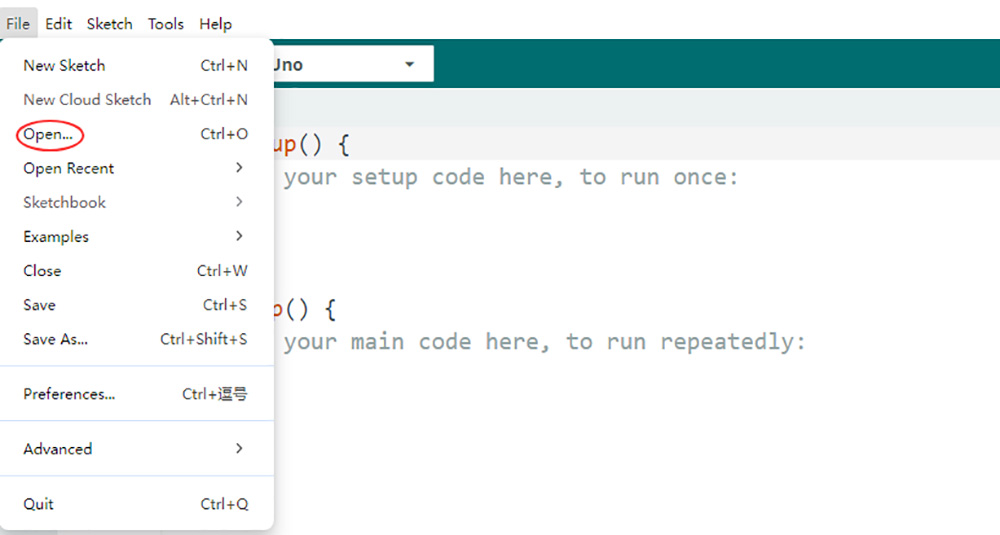
2. Code Acquisition: Download the provided sample code for Lesson 8 from here. Extract the contents and you will get a v3car-lesson8.ino in the folder v3car-lesson8. Open the v3car-lesson8.ino sketch in the Arduino IDE.
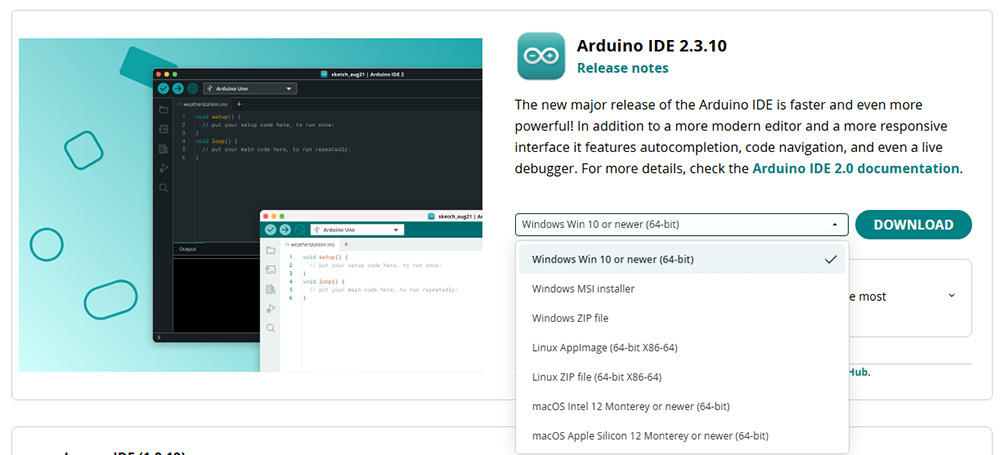
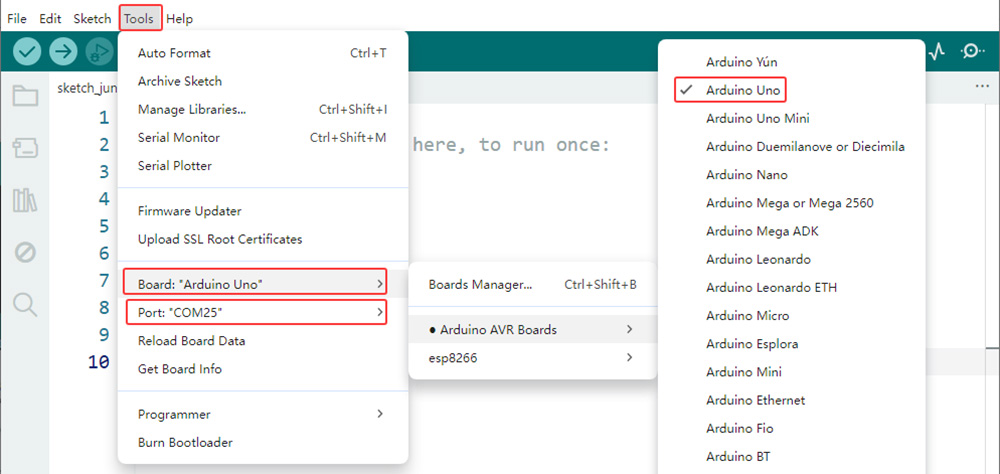
4. Board and Port Selection: Connect the OSOYOO Basic Board (compatible with Arduino UNO) to your computer via a USB cable(Crucially, ensure the robot car’s power switch is OFF and the battery is disconnected before connect the board to your PC). Launch the Arduino IDE. Navigate to Tools > Board and select Arduino Uno. Then, go to Tools > Port and select the appropriate serial port. If unsure, check your operating system’s device manager for the assigned port.
5. Code Upload: Click the “Upload” button (right arrow icon) to compile and transfer the sketch to OSOYOO Basic Board.
6Test the Car
Now you can put the car onto the ground, turn on the power. Point the remote controller toward the IR receiver and press the control buttons.
Expected Behavior
Remote Button
Robot Action
▲
Move Forward
▼
Move Backward
◄
Turn Left
►
Turn Right
OK
Stop
For best performance:
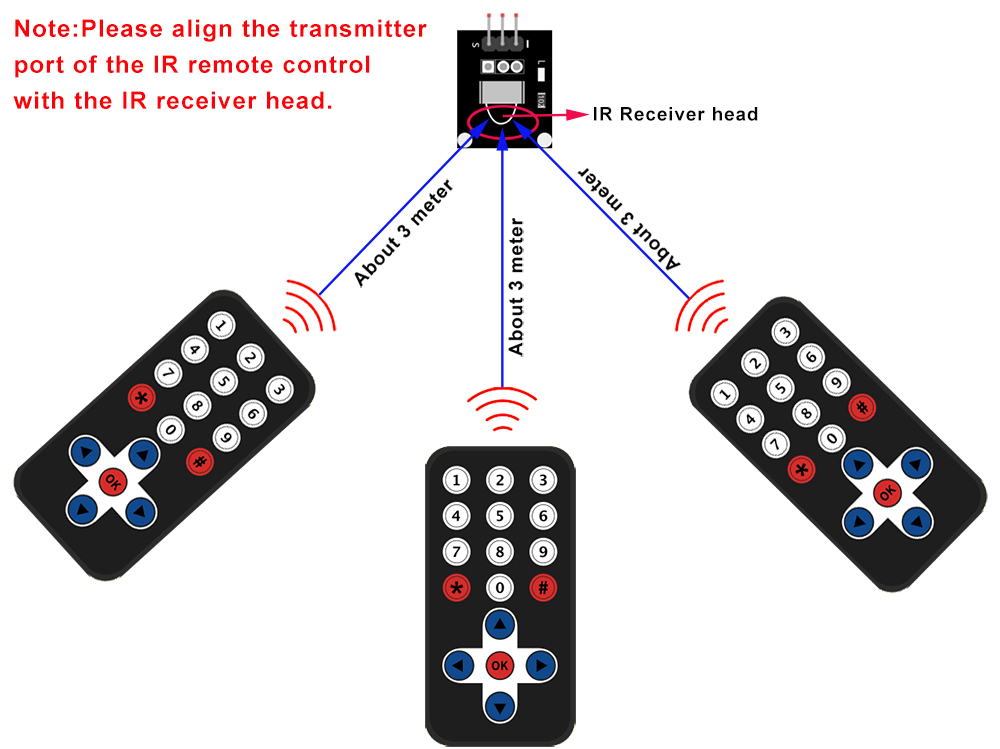
Keep the remote within 1–3 meters.
Point the transmitter directly at the receiver.
Press buttons briefly and steadily.
7 Troubleshooting
1. Robot Does Not Respond
Check:
Battery voltage
IR receiver wiring
Program upload status
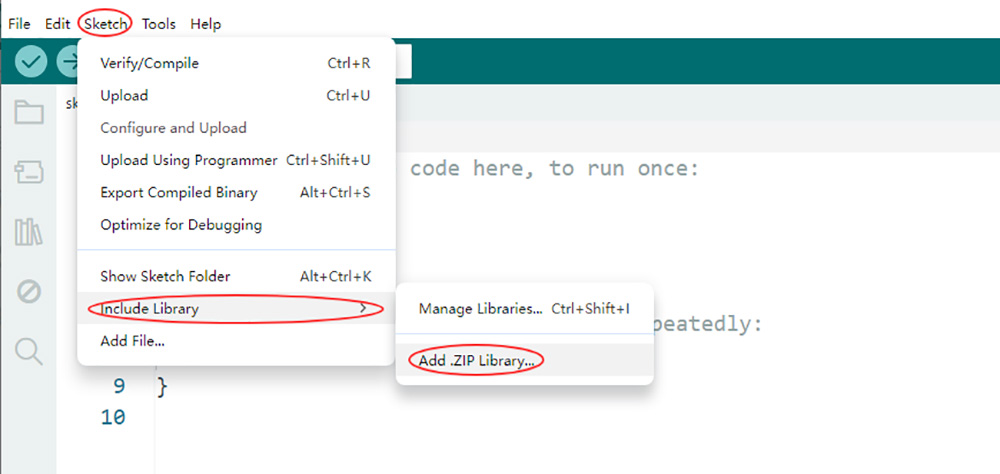
IRremote library installation
Some user found that this IR remote does not work. The reason might be the IR remote sends different button code which does not match our sample code. In order to solve this problem. Please take following steps: Step A) Get the IR code of each button in your IR remote. https://osoyoo.com/download/driver/irdemo.zip
upload above sketch into your board and open the serial monitor in your upper-right corner.
press the ◄ ► ▲ ▼ “OK” button in your remote, you will see their IR code as following picture:
Write down the IR code of your control buttons ◄ ► ▲ ▼ “OK” button,
STEP B)replace the IR code in lesson 2 sketch file:
Open your Lesson 2 code again, then you will see following lines define the IR CODE of each button:
#define IR_ADVANCE 24 //code from IR controller “▲” button
#define IR_BACK 82 //code from IR controller “▼” button
#define IR_RIGHT 90 //code from IR controller “>” button
#define IR_LEFT 8 //code from IR controller “<” button
#define IR_STOP 28 //code from IR controller “OK” button
#define IR_turnsmallleft 13 //code from IR controller “#” button
Please change the value of each button in above lines to match the code from Step A). If you don’t know how to change, just Send Email to us and give us the code of each button from Step A), I can help you to change the code and email new sketch file to you.
Above method can also allow you to use other IR sending device (i.e TV remote, DVD remote, air conditioner remote etc) to control the car. Just use Step A) to get the key code of your remote and change the sketch file in Step B), it will work.
Note: 1) Please try to align the transmitter port of the IR remote control with the IR receiver head as the picture in the attachment. 2) Please press remote control gently and at regular intervals
2. Remote Works Only Occasionally
Possible causes:
Remote not aimed at the receiver
Low remote battery
Strong ambient sunlight
Receiver partially obstructed
3. Compilation Errors
If you encounter library conflicts, remove the RobotIRremote library before compiling the sketch.