In this project, we will use a push button to control LED through MEGA2560 Board. Furthermore, we will also use OSOYOO IoT APP to read the LED On/Off status and control the LED through UDP protocol.
HARDWARE
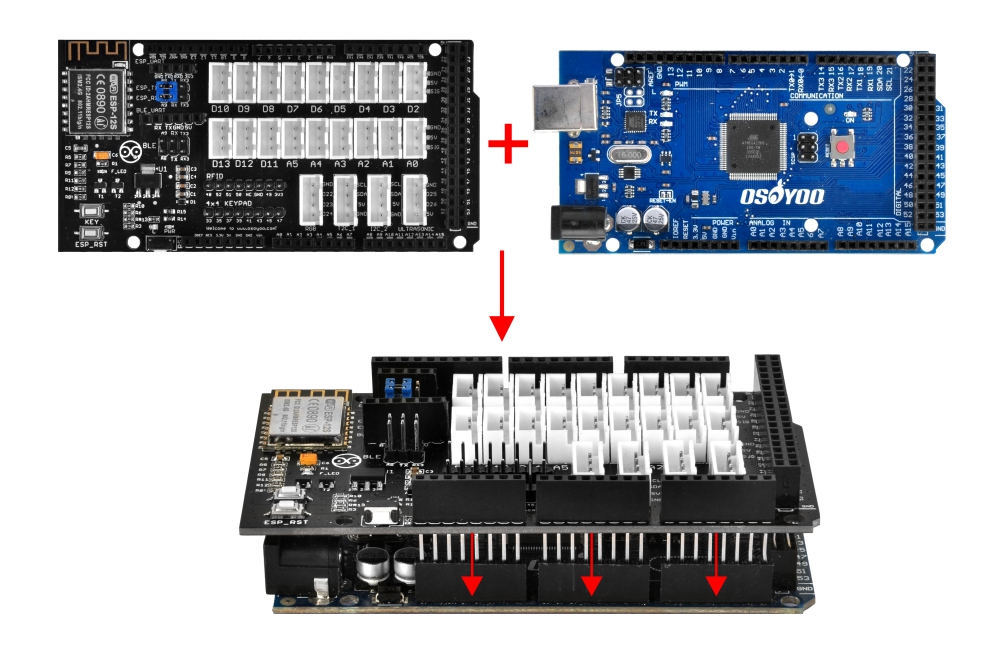
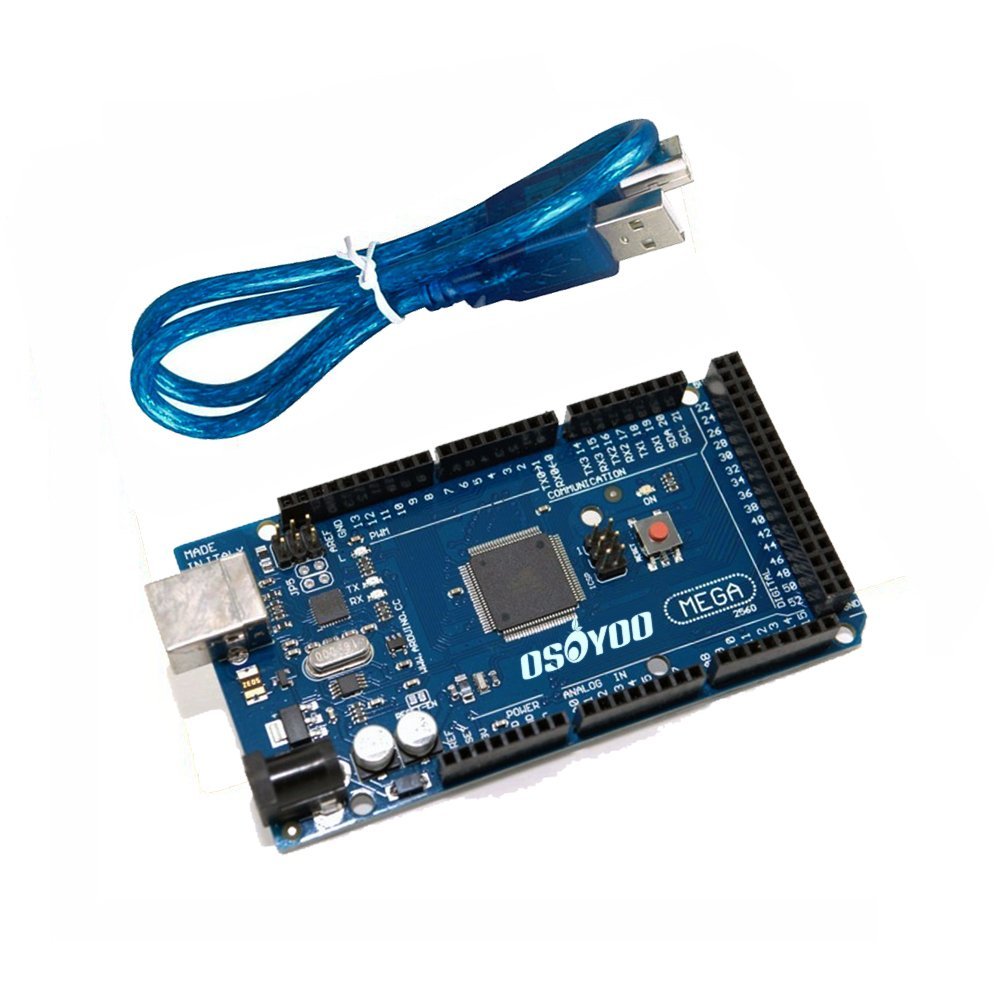
OSOYOO Mega2560 (Fully compatible with Arduino MEGA2560) x 1
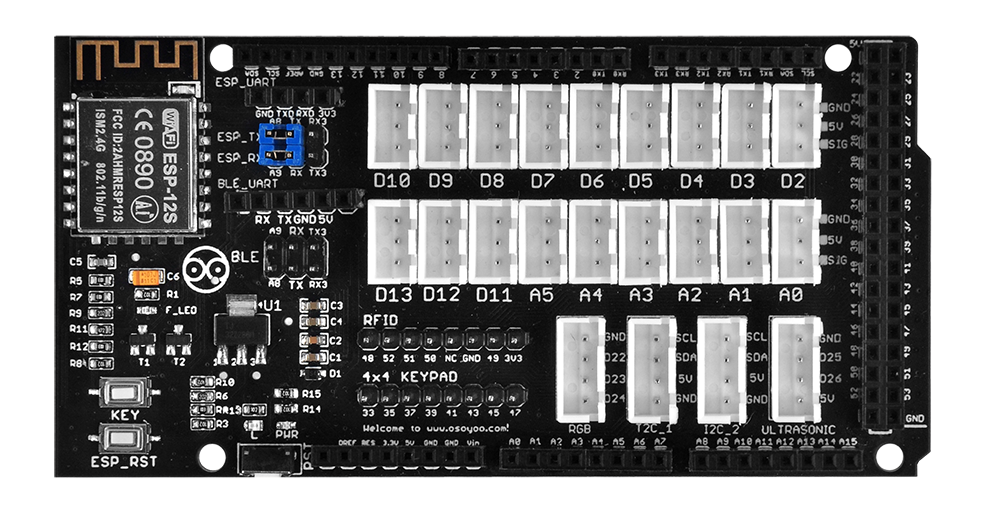
First, please plug OSOYOO MEGA-IoT Extension Board into MEGA2560 board:
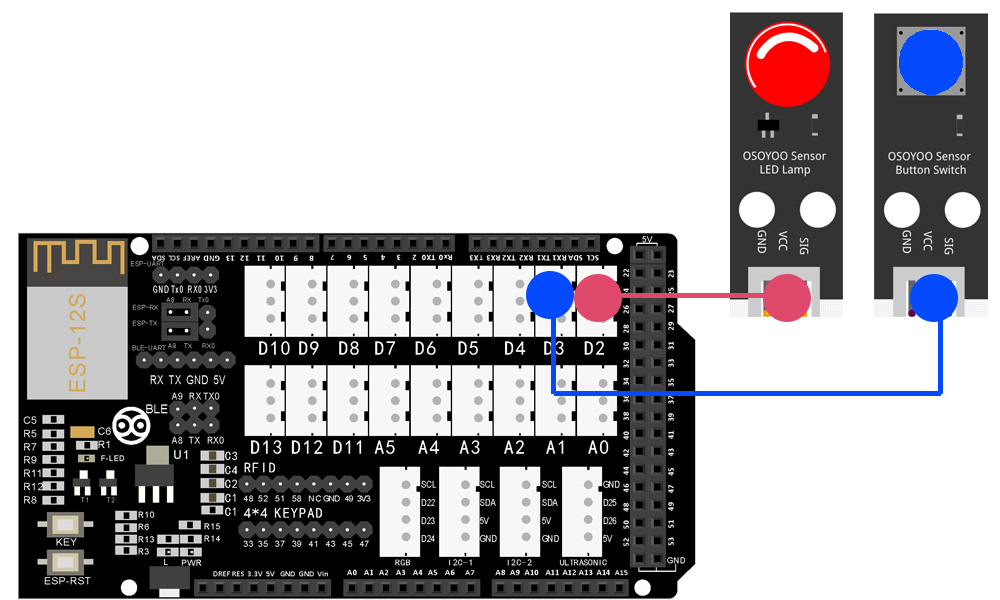
Build the circuit as below:
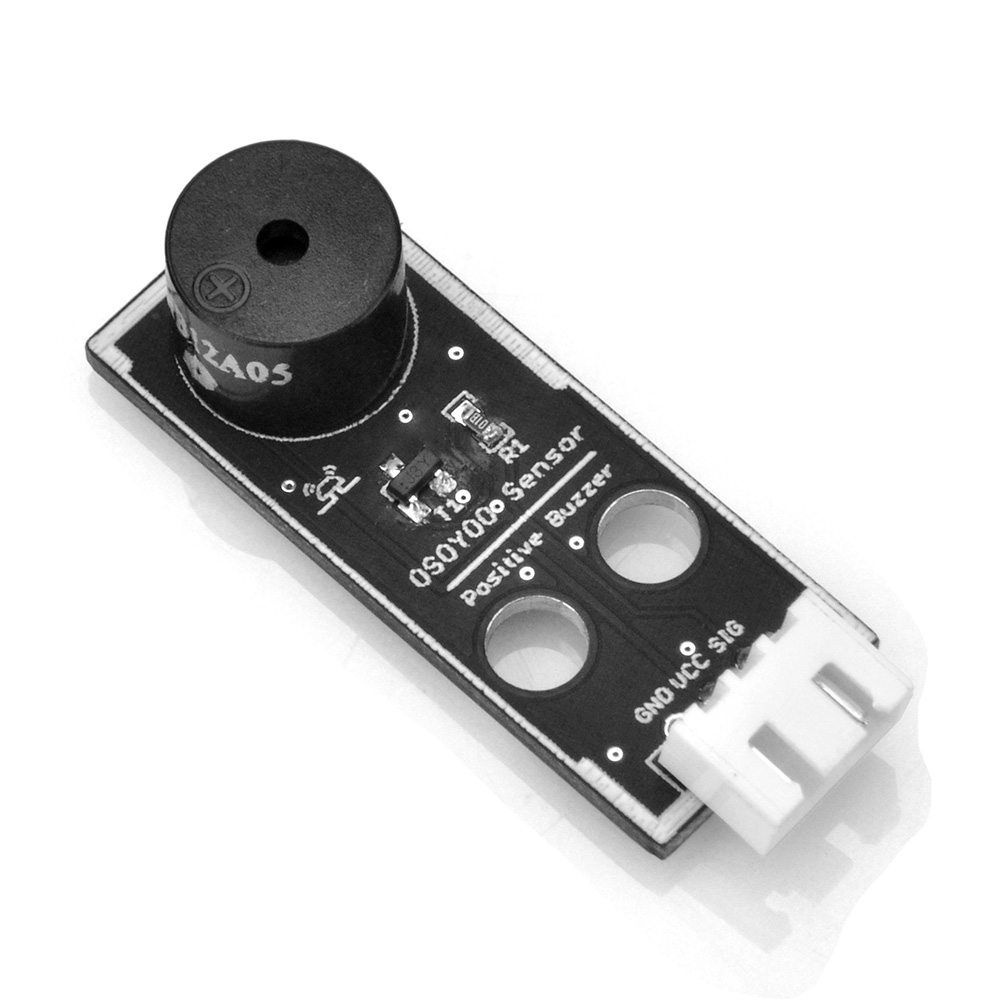
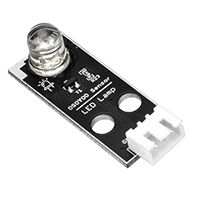
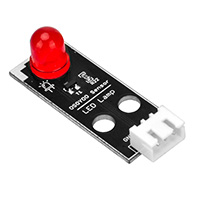
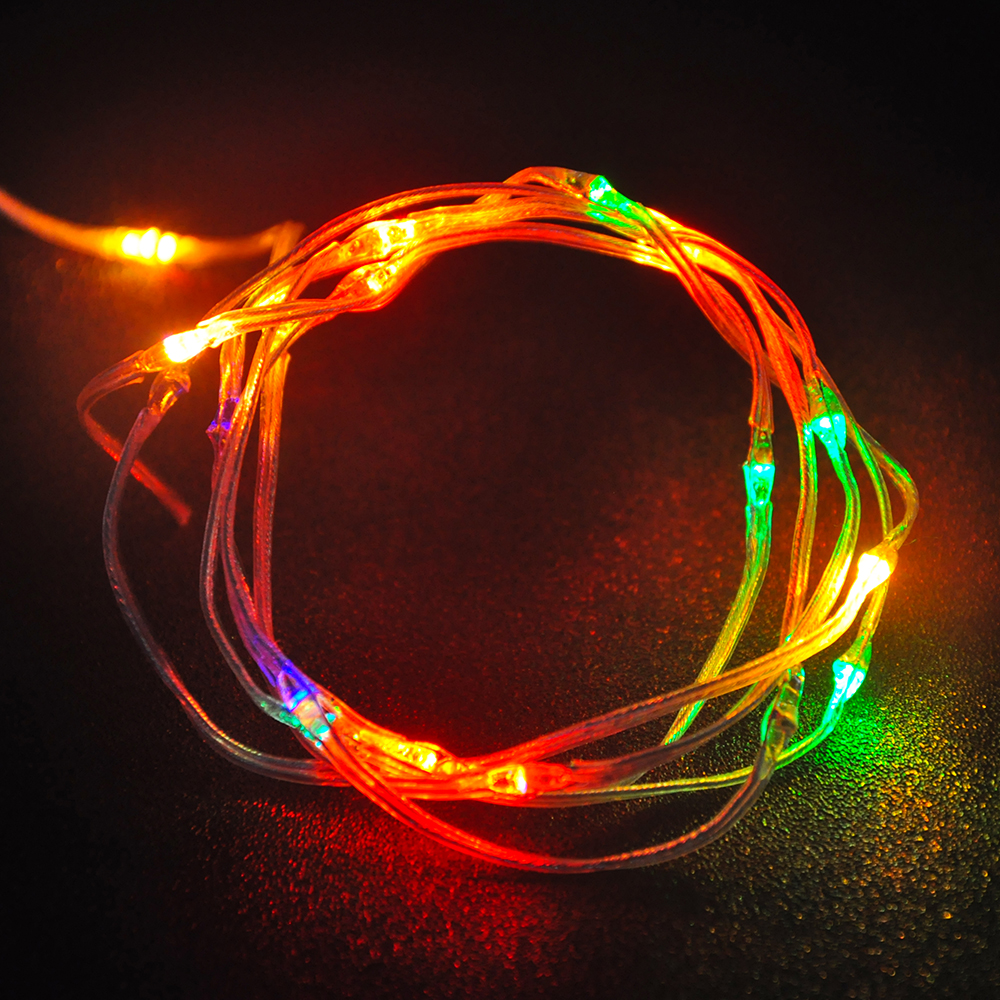
LED Module – D2
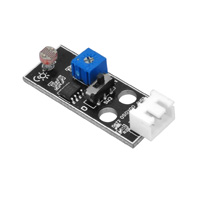
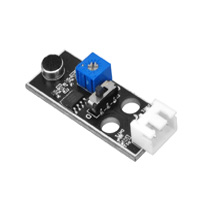
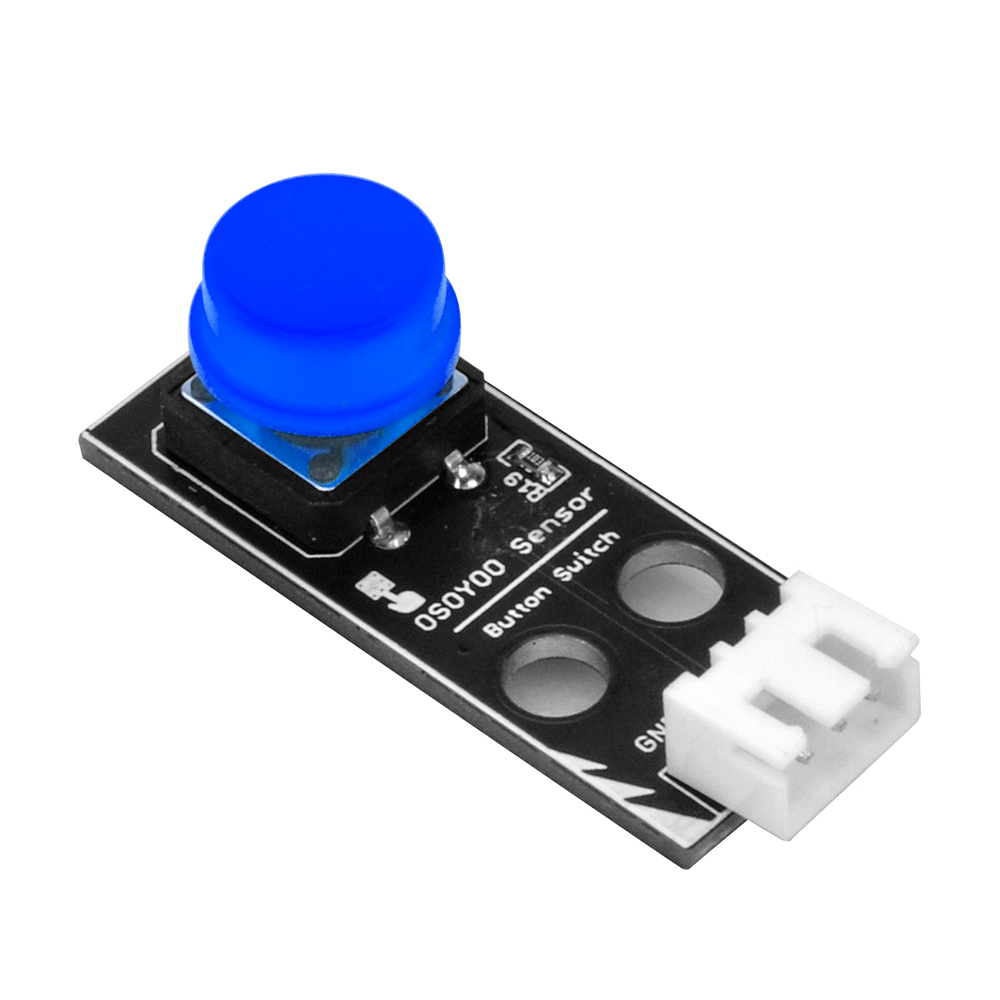
Button Module – D3
Prerequisite:
Before you’re running the code, please make sure have already downloaded and installed the following libraries. If you have installed them in lesson 1, please skip this step. WifiEsp-master library, download link:https://osoyoo.com/driver/WiFiEsp-master.zip PWMServo library, Download link: https://osoyoo.com/driver/sg90car/PWMServo.zip OsoyooIOT Library, Download link: https://osoyoo.com/driver/wifi-iot/OsoyooIOT.zip
Download OSOYOO IoT APP by searching OSOYOO IoT UDP robot car app from Apple Store(iPhone/iPad) or Google Play Store (Android device)
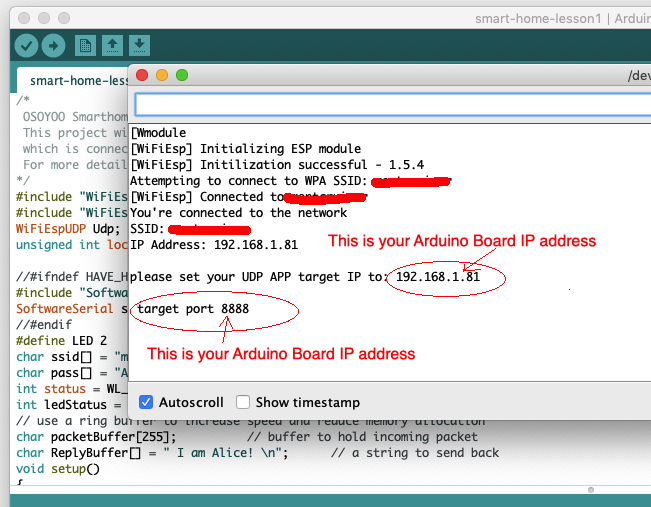
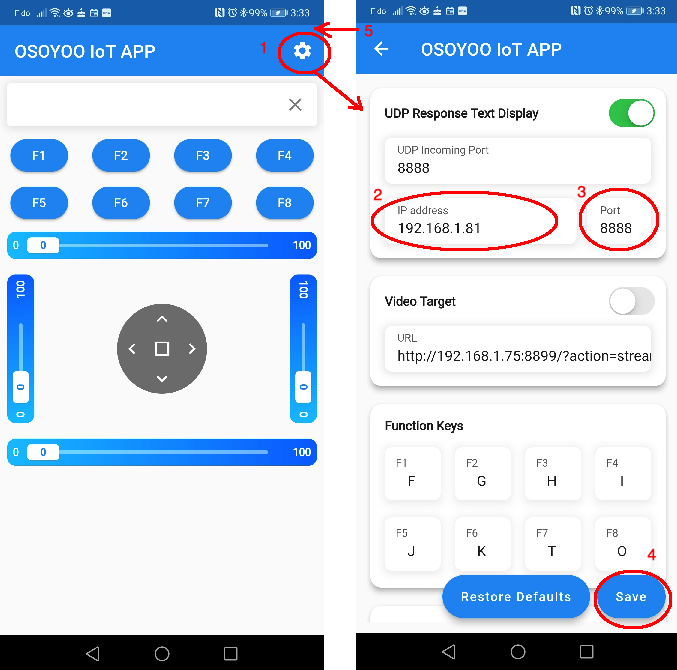
Step 2):Make sure your Cell phone is in the same Local Network of Arduino. Open the APP, click Settings, enter your Arduino IP address from Step F and Port to 8888 in settings:
The button in D3 port is a toggle, press once, LED in D2 port will turn on. Press the button again, the LED will be turned off.
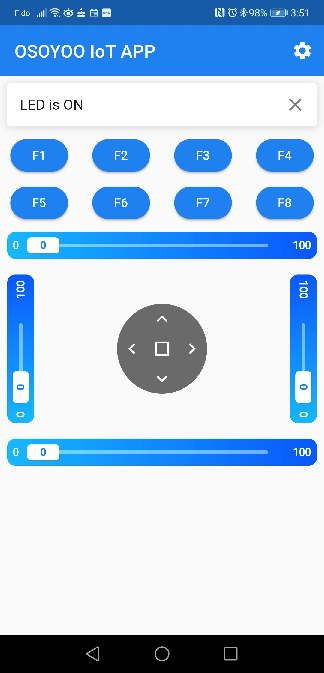
Also, you can press F1 key in APP to turn on LED in D2 port, Press F2 to turn off LED.
Press any key in the APP, you will see the current LED status in the APP as the following picture: