You can download the user manual from:

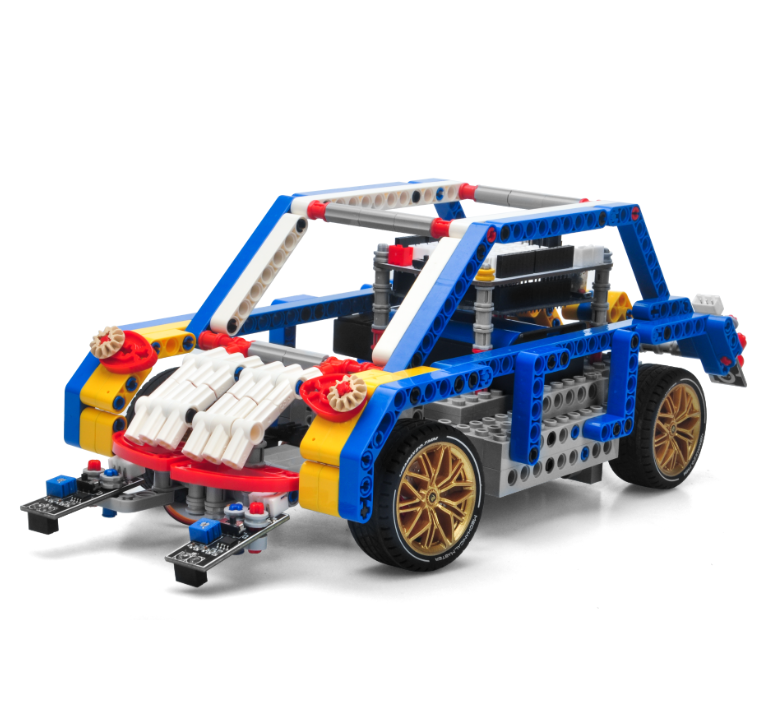
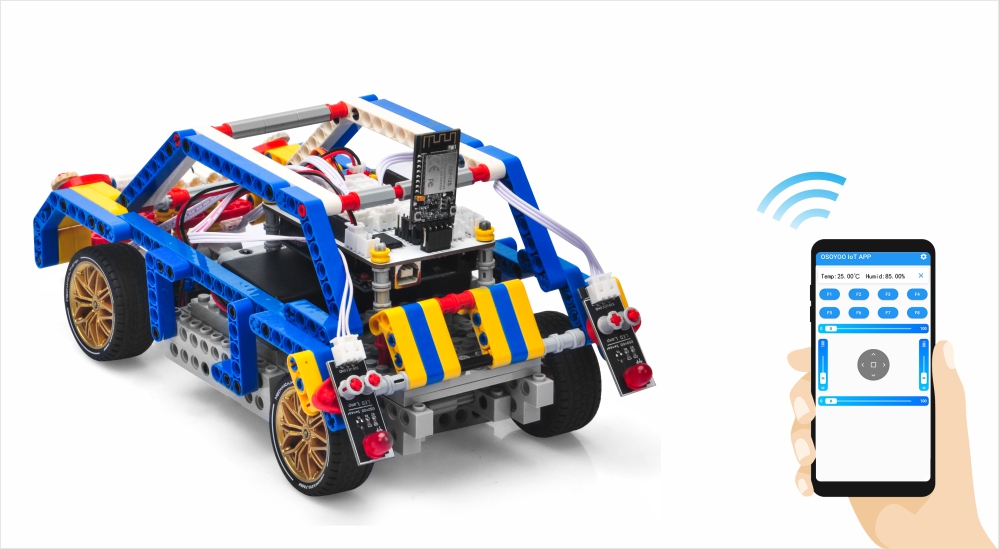
In this lesson, we will use Mobile to control our robot car and make an imitation driving. Since is a mock driving, we will use a virtual steering wheel and gear in our APP to imitate their counterparts in real car.
You must complete lesson 2 Basic Movement before you continue on with this lesson.
If you don’t complete the frame of car, please review lesson 1

If you don’t complete the basic wire connection, please review lesson 2
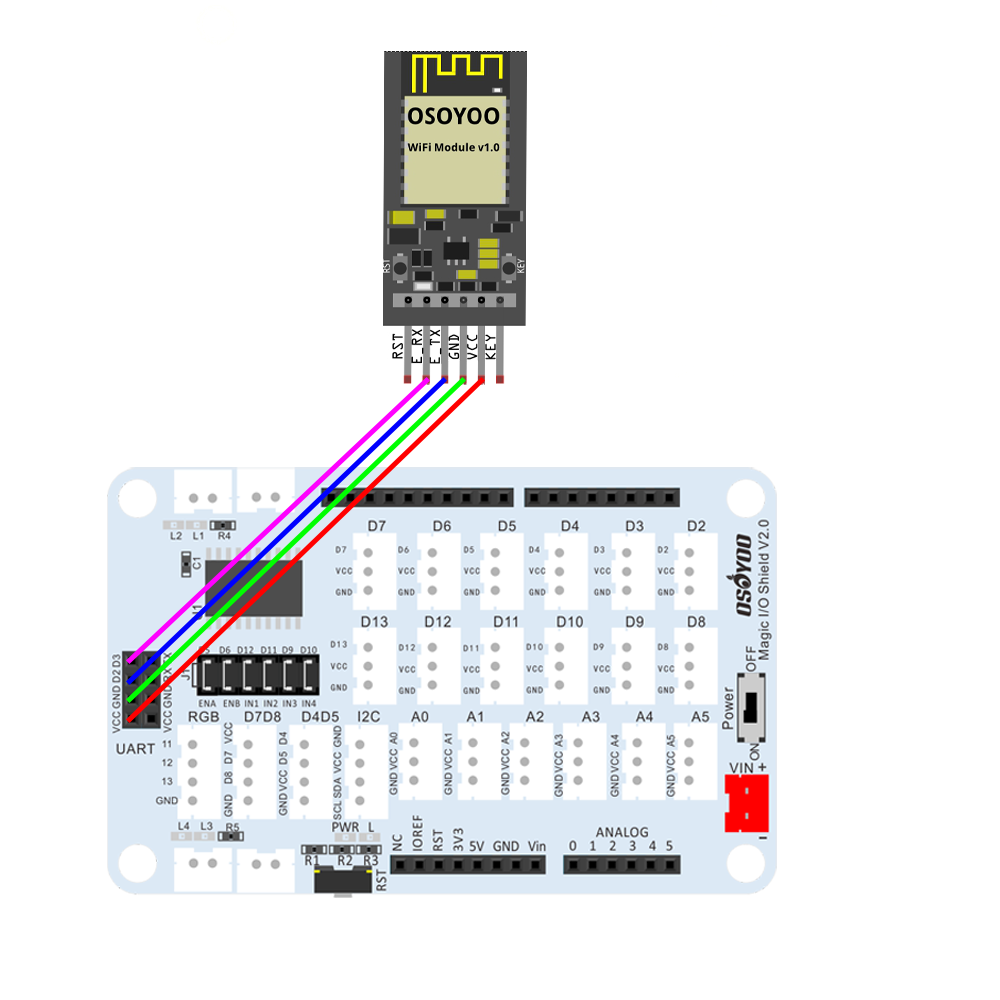
Connection:
Remove Jumper caps on ENB,IN3,IN4
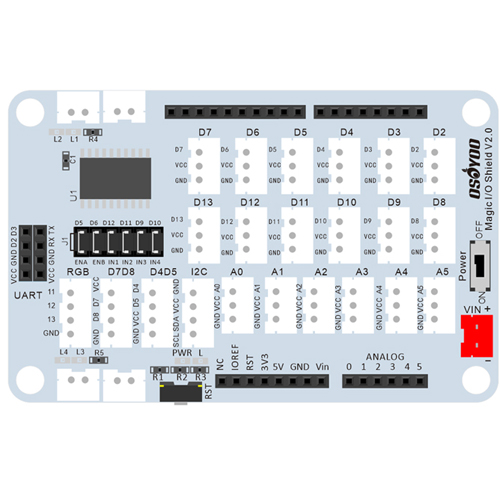
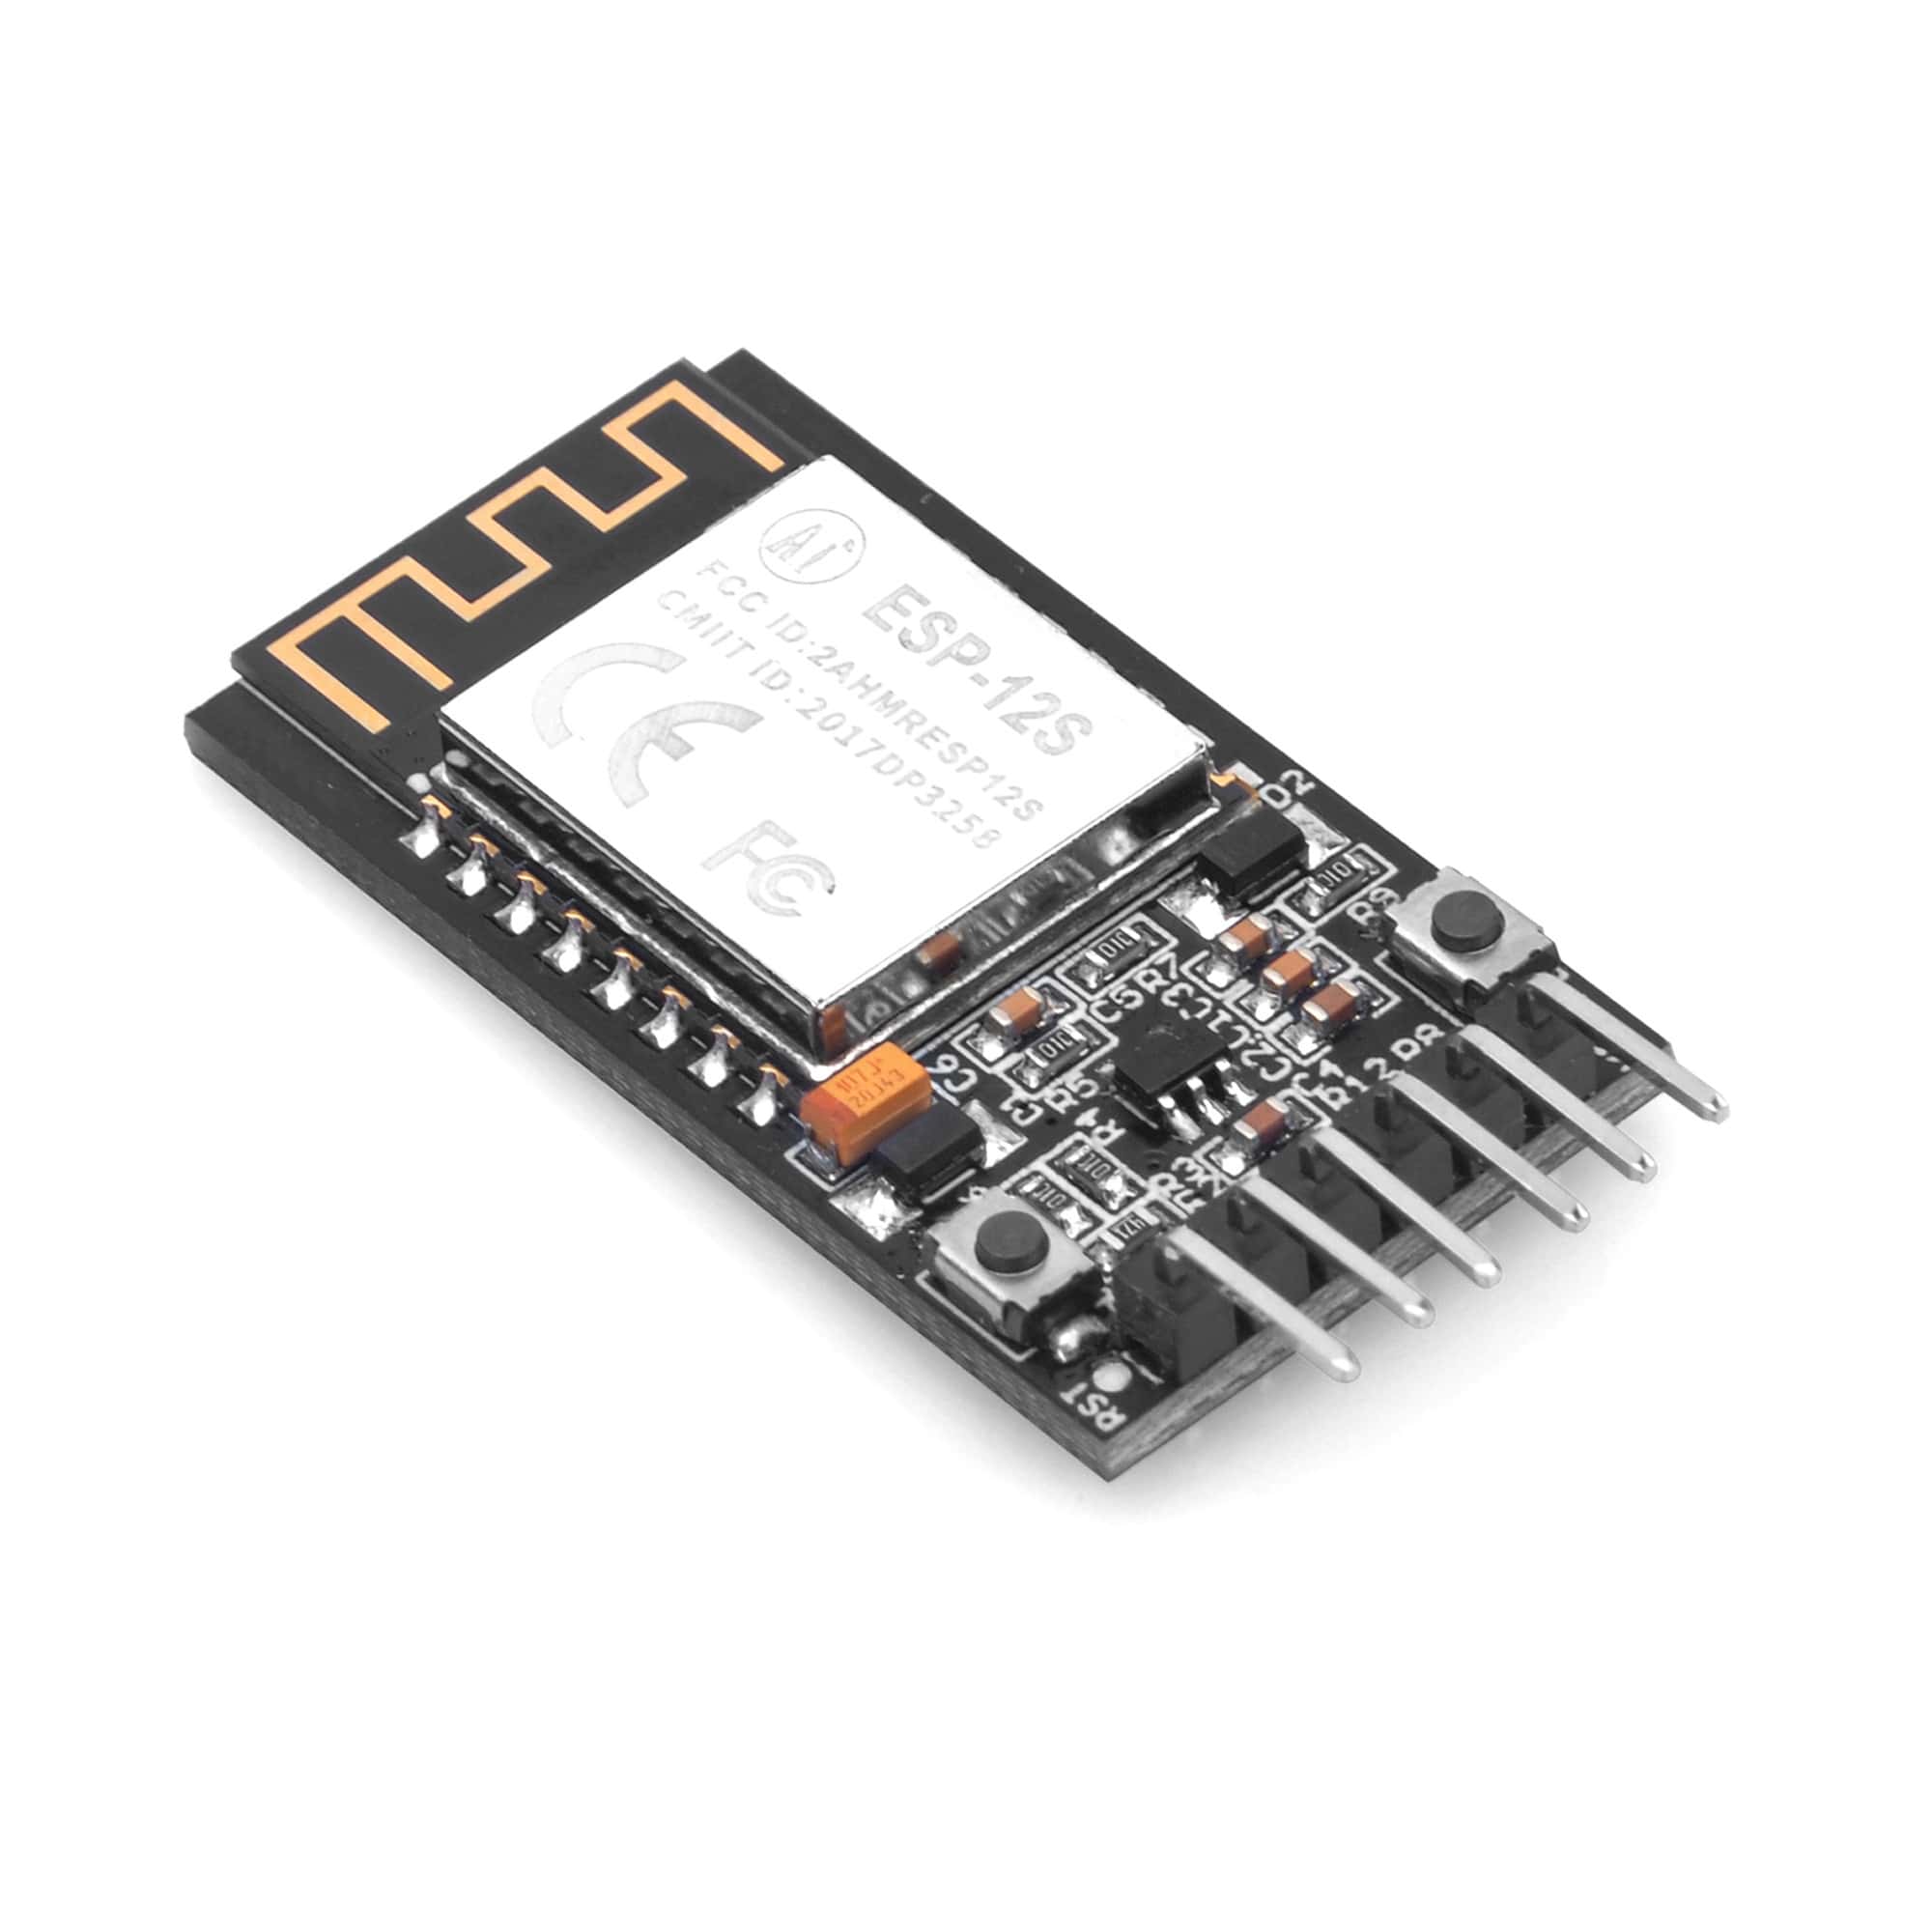
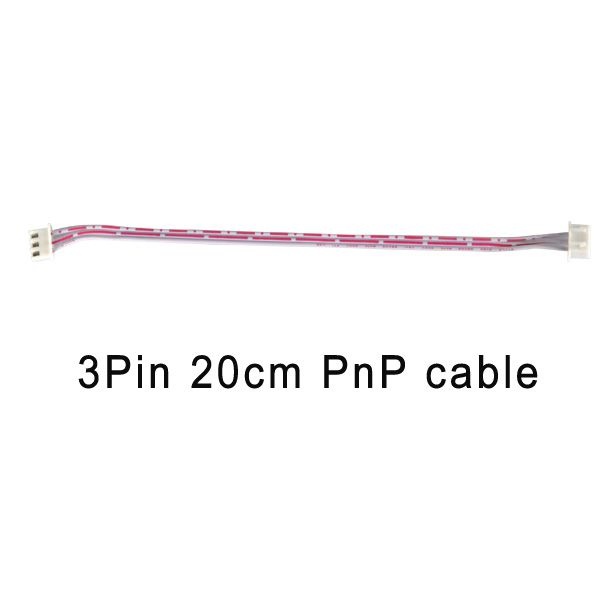
Insert WiFi Module (VCC,GND,D2,D3) into OSOYOO motor shield as following graph (Remember: DO NOT remove any existing wires installed in Lesson2):
| PART |
Motor Shield |
| IN1 jumper |
D12 |
| IN2 jumper |
D11 |
| ENA jumper |
D5 |
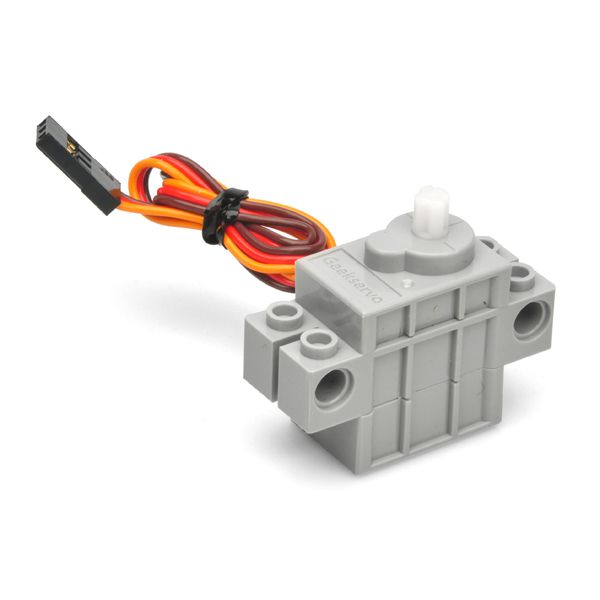
| Steer Servo |
D9 |
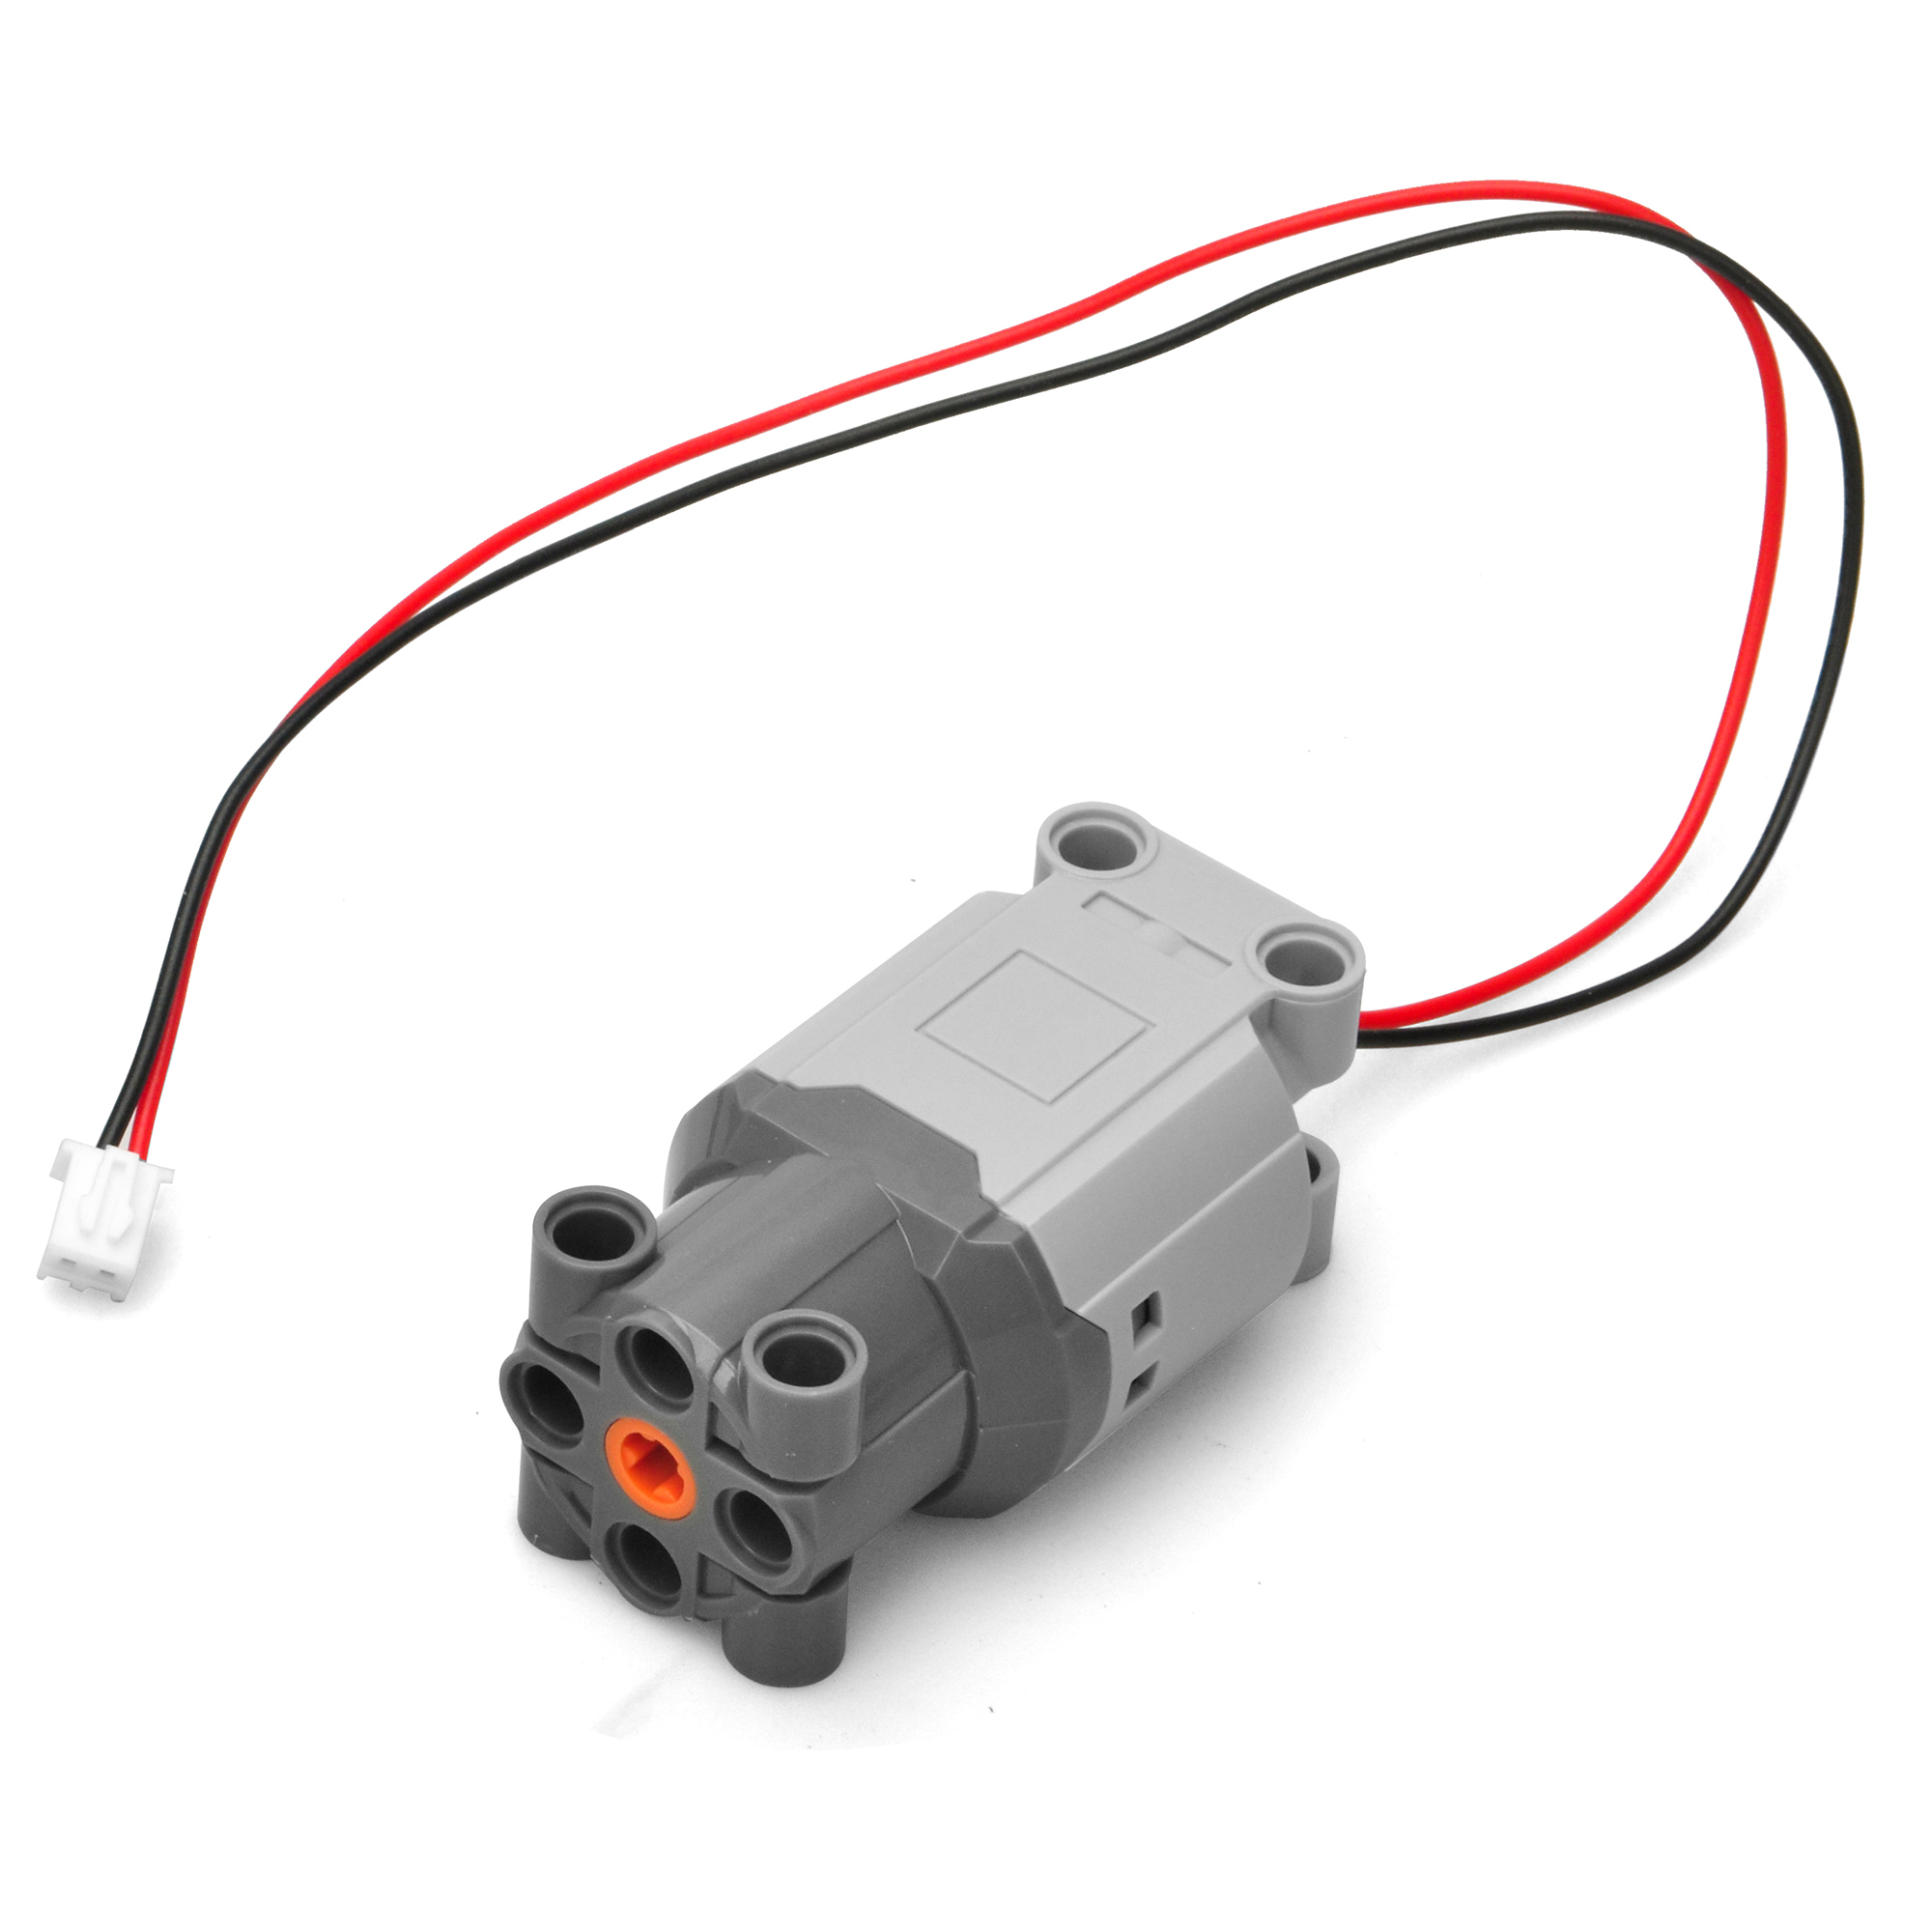
| Back Motor Cable |
K1 or K2 |
| Left Tracking Sensor |
D6 |
| Right Tracking Sensor |
D7 |
| E_TX jumper |
D4 |
| E_RX jumper |
D11 |

Step 1)
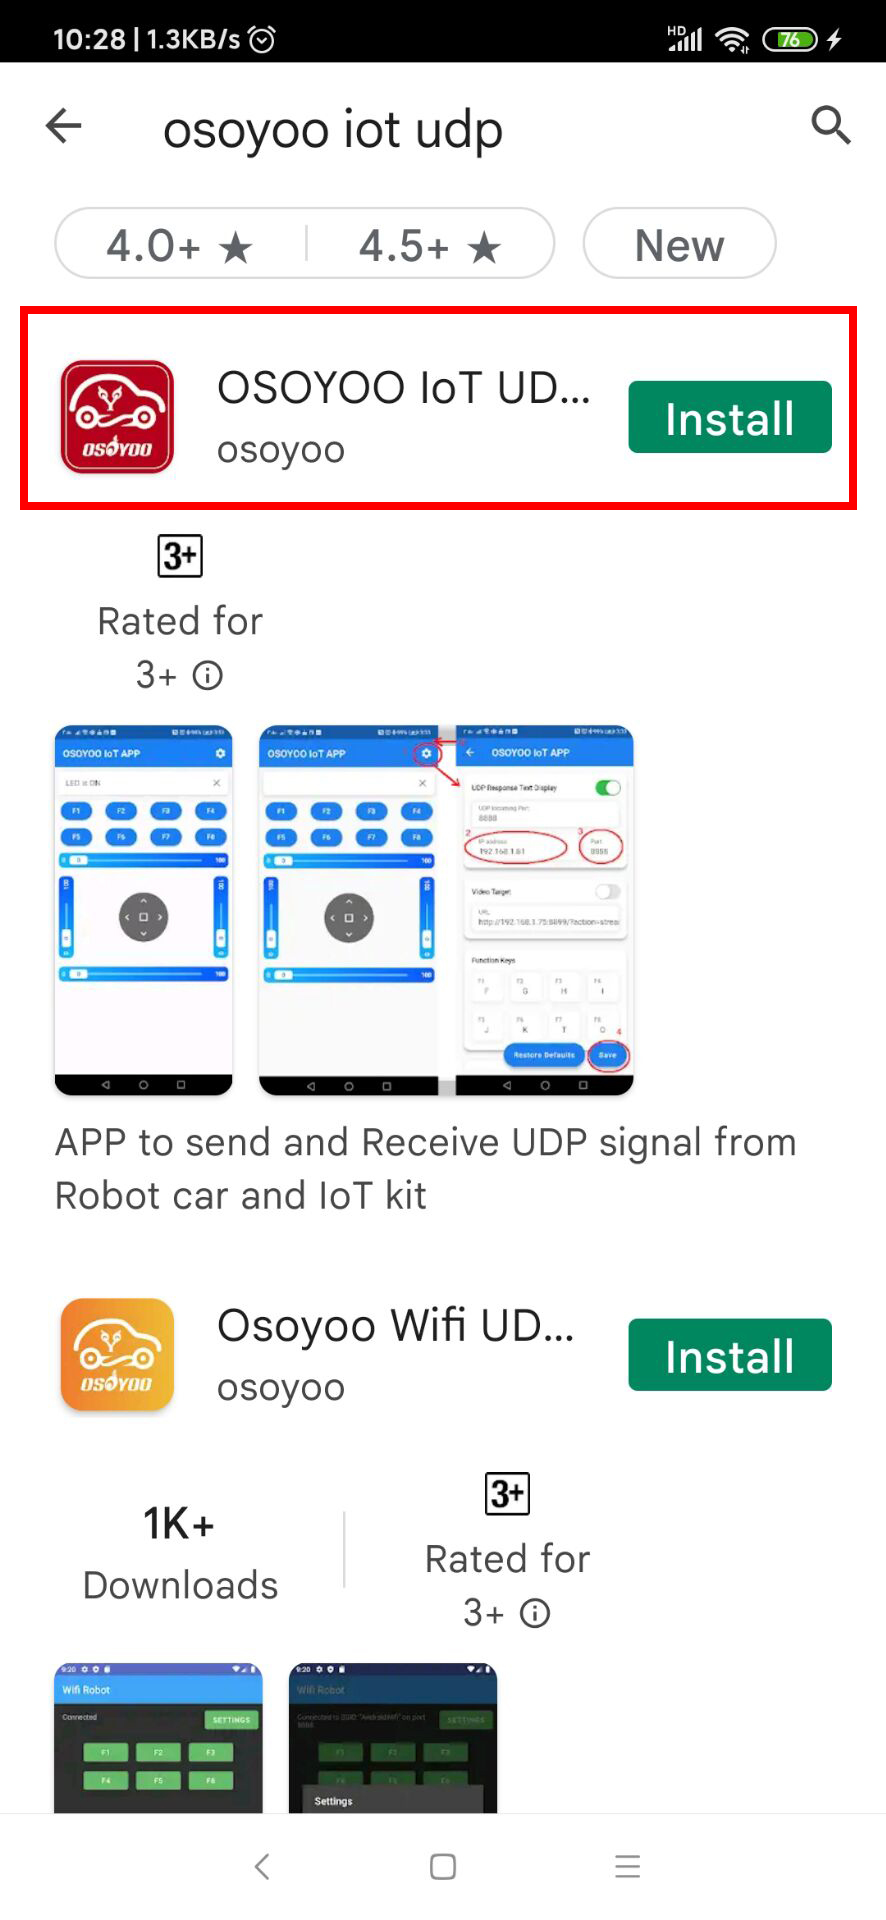
Download OSOYOO WIFI UDP Robot Car control APP
In Google Play or Apple Store, please search key words “OSOYOO iot UDP Robot Car”, you will find a red icon APP as following:
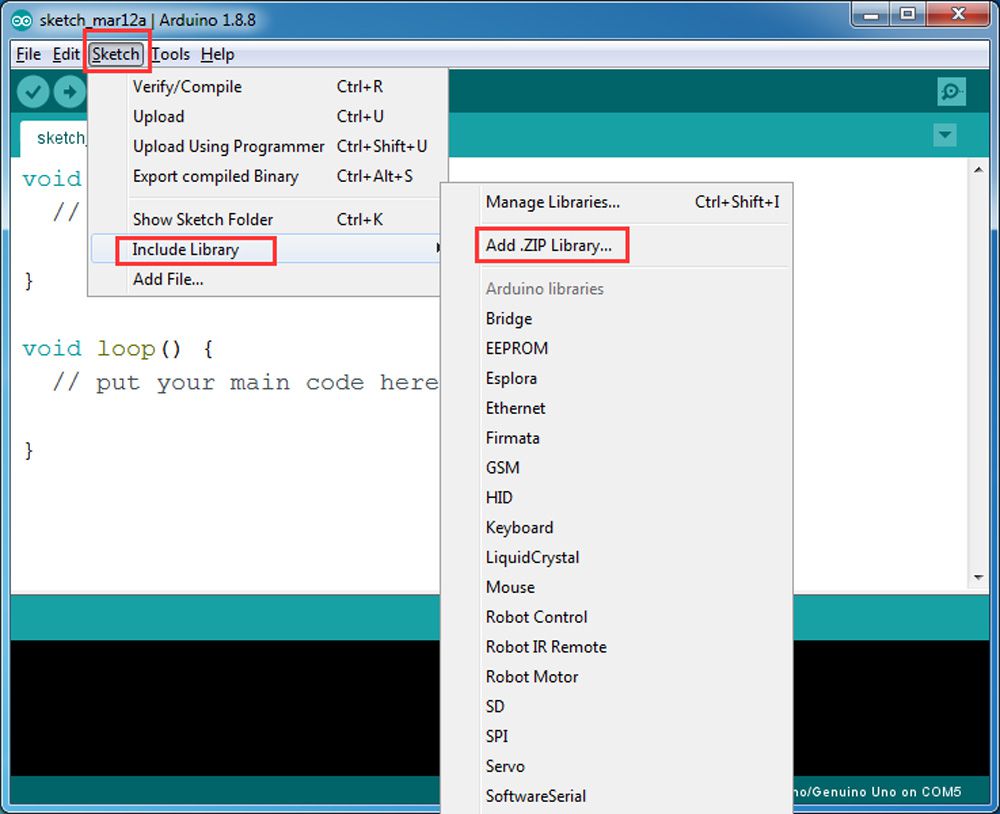
Step 2)Please download PWMServo library from https://osoyoo.com/driver/sg90car/PWMServo.zip if you haven’t installed the library in lesson 2.
Also Please download the WifiESP-Master library zip file from https://osoyoo.com/driver/WiFiEsp-master.zip
Now Open Arduino IDE ->click Sketch ->Include Library ->Add .ZIP library , then load above two zip files into OSOYOO Basic Board for Arduino.
Step 3) Sketch code Installation:
1) Please download sketch code from https://osoyoo.com/driver/2022008400/lesson5.zip . Unzip the file, you will see a folder lesson5.ino . Open Arduino IDE -> click file -> click Open -> choose code file lesson5.ino in above folder, load the code into OSOYOO Basic Board for Arduino

2) You need change the wifi SSID and passsword in line 52,53
char ssid[] = “***”; // replace *** with your router wifi SSID
char pass[] = “***”; // replace *** your wifi password
3) Please change the default value 90 in the following line as the FRONT value in the option 2 in Step 5 of lesson2. If you align the wheel direction manually as the option 1 in Step 5 of lesson2, please skip this step.
#define FRONT 90 // steering to front
4) Upload the sketch to OSOYOO Basic Board for Arduino. Finally, click the Serial monitor window in upper right corner of Arduino IDE, you will see following result:
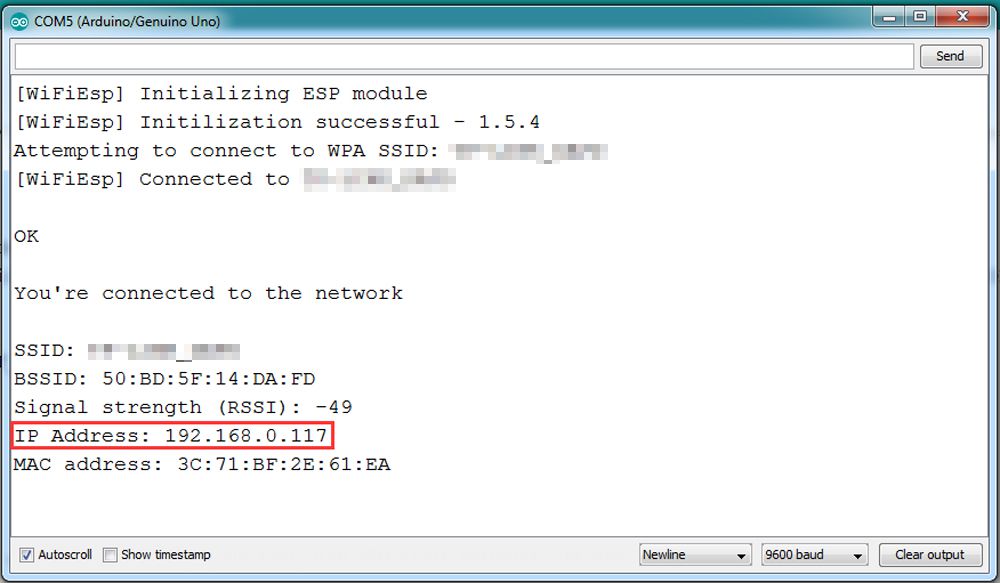
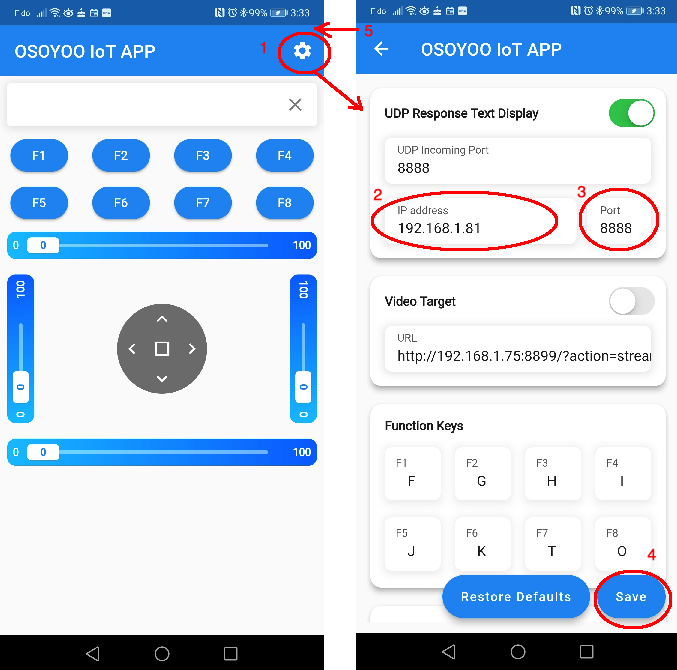
5) In this mode, your will see an IP address which is our LAN IP address assigned by my router. Please write down this IP address and click Setting to set up robot IP address and set this IP address to your APP Setting section and Port to 8888 in settings.
Now your Robot car is connected to your LAN, you can use Mobile phone under same LAN to control the robot car. If your APP is in WAN, you need to go to your Router Control Panel, forward Port 8888 to Robot car LAN IP address, then you can use Router IP to control the car. This feature makes our robot car A REAL INTERNET OF THING device

Turn on the car. Now click Setting to set up robot IP address.
A) you need connect cell phone to the same LAN ssid of your robot car and set IP address same as the Robot IP showed in Arduino Serial Monitor.
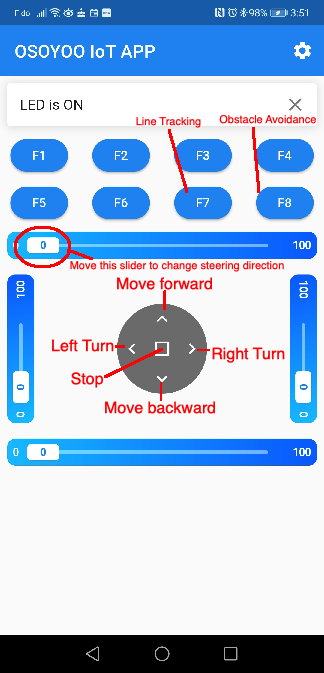
You can click the ◄ button to make left turn(rotate steering wheel counterclockwise) , click ►button to make right turn (rotate steering wheel clockwise)
▲ button will make car move forward and ▼ key will make car move backward.
If you press F7 key, the car will do line tracking.


Could I contoll my car with my chrome browser?
thanks