Authorized Online Retailers:
| Buy from US |
Buy from UK |
Buy from DE |
Buy from IT |
Buy from FR |
Buy from ES |
Buy from JP |
 |
 |
 |
 |
 |
 |
 |
Authorized Online Retailers:
1)Overview
In Lesson 2, we learned how to use browser send control signal to a remote mainboard device and turn On/Off an LED. In this lesson, we’ll show how to read remote sensor data to your browser. We will use a photoresistor(light sensor) to read remote environment light value. This is very useful in farms, greenhouses to control the light of plants.
2) Parts and Devices
|
Quantity |
| OSOYOO Basic board |
1 |
| Ethernet shield W5100 |
1 |
| USB cable |
1 |
| Photoresistor sensor Module |
1 |
| Jumper wires |
several |
| Bread board |
1 |
3) Circuit Graph
Connect your Photoresistor with Uno as following diagram
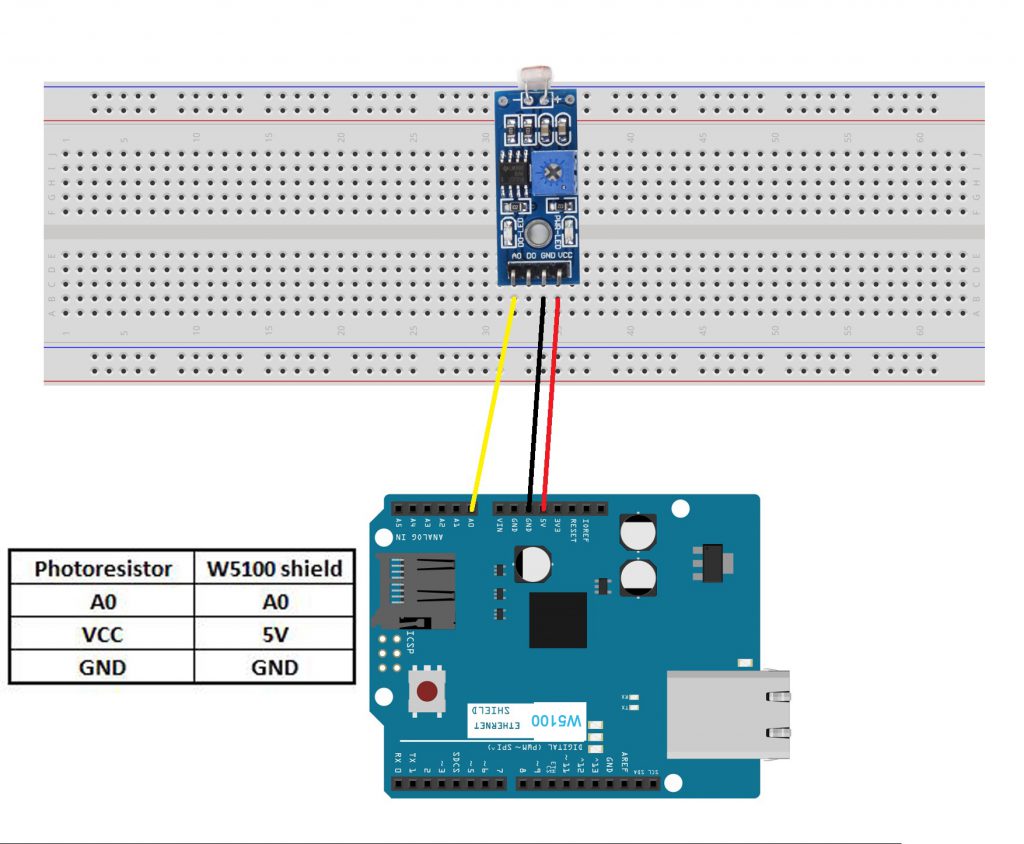
A couple of notes before you get started:
- The Photoresistor uses analog output, so you will need to use the analog pins on the mainboard.
- In this example, we are using a 5v power supply from the mianboard, but we could use the 3.3v as well.
- The provided diagram is just an example of how to connect the hardware. There are many ways to connect devices, so try what works best for you!
4)Software Installation
Download the sketch file from : https://osoyoo.com/driver/ethernet_iot/lesson3/w5100-lesson3.zip
Unzip the download file and enter the folder W5100-lesson3, double click the w5100-lesson3.ino file, upload the sketch to your mainboard. Open your Serial Monitor, you can see your router will assign an IP address to your mainboard as following:
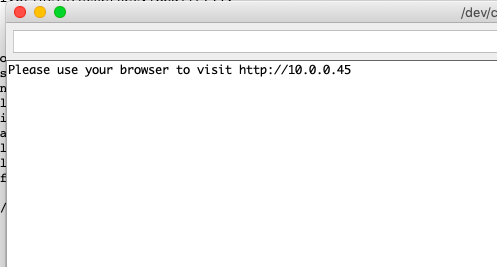
In above example, 10.0.0.45 is the IP address of my mainboard.
Now use another computer or your cell phone’s browser to visit url : http://10.0.0.45
In your photoresistor sensor is exposure under light. Your browser will show following result:
IoT kit for Arduino Lesson 3
Real time Photoresistor value: 19, 99% of maximum sensor value
99% means the environment is very bright.
If you use hand to block the photoresistor from light, your will see following result
IoT kit for Arduino Lesson 3
Real time Photoresistor value: 1020, 1% of maximum sensor value.
1% means the environment is very dark.