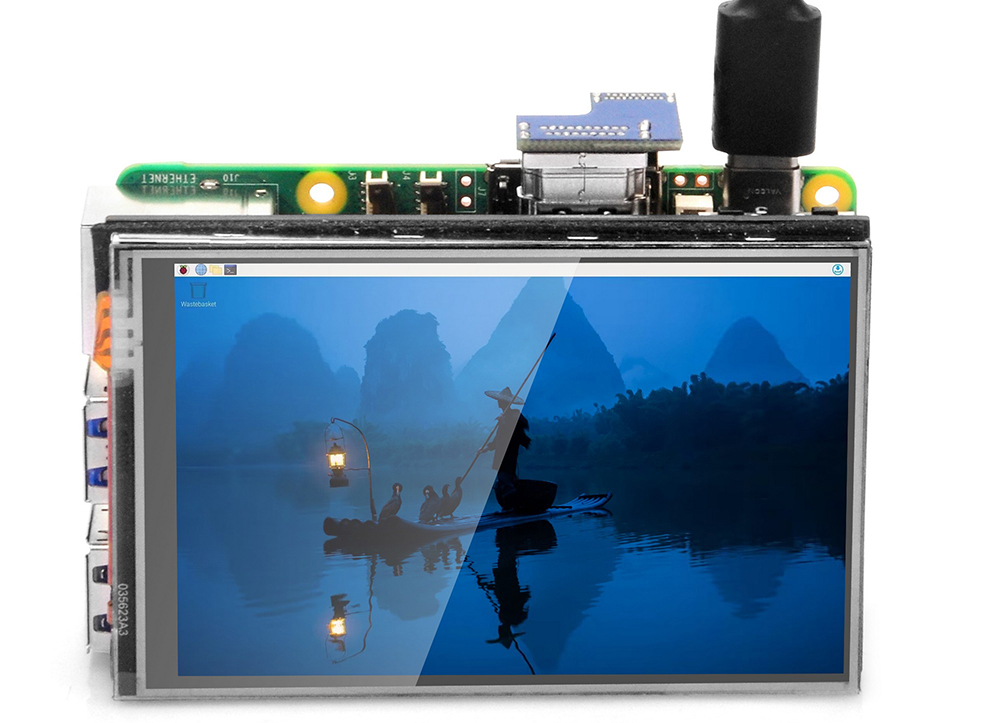
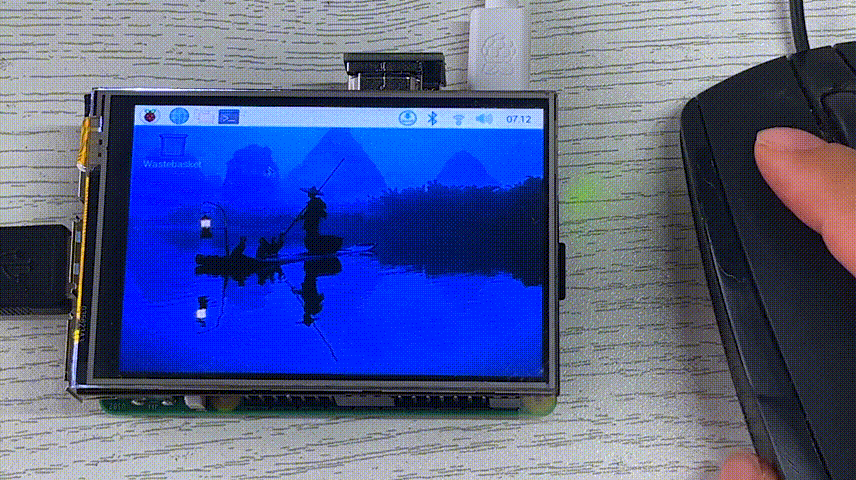
Product: Osoyoo 3.5″ HDMI Resistive Touchscreen
Applicable OS: Raspberry Pi OS Bookworm & Trixie (Version: 2025-10-01 and earlier)
Compatible: Raspberry Pi 5, 4, 3B+, 3, 2
Display System: X11 (Required for touch)
Buy 3.5″ HDMI Screen with Case:
1Overview
The OSOYOO 3.5 HDMI resistive touchscreen does not work properly when using the default Wayfire graphics system on the Raspberry Pi. However, if you change the default graphics system on these models to X11, it will work fine.
The tutorial you mentioned for adapting the OSOYOO 3.5 HDMI resistive touchscreen on the Bullseye/Buster system should still be applicable. However, the touchscreen functionality does not seem to work on Bookworm’s default Wayfire graphics system. If you want to adjust this resistive touchscreen to the default Wayfire graphics system in Bookworm, you may need to perform additional configuration steps. In this case, you may need to explore other methods or configurations to make the ADS7846 touchscreen compatible with Wayfire in Bookworm. It is recommended that you consult the official documentation or community forums for Bookworm and Wayfire for further assistance in adjusting the touchscreen.
2Installation for Bookworm/Trixie OS
2.1 Hardware Connection
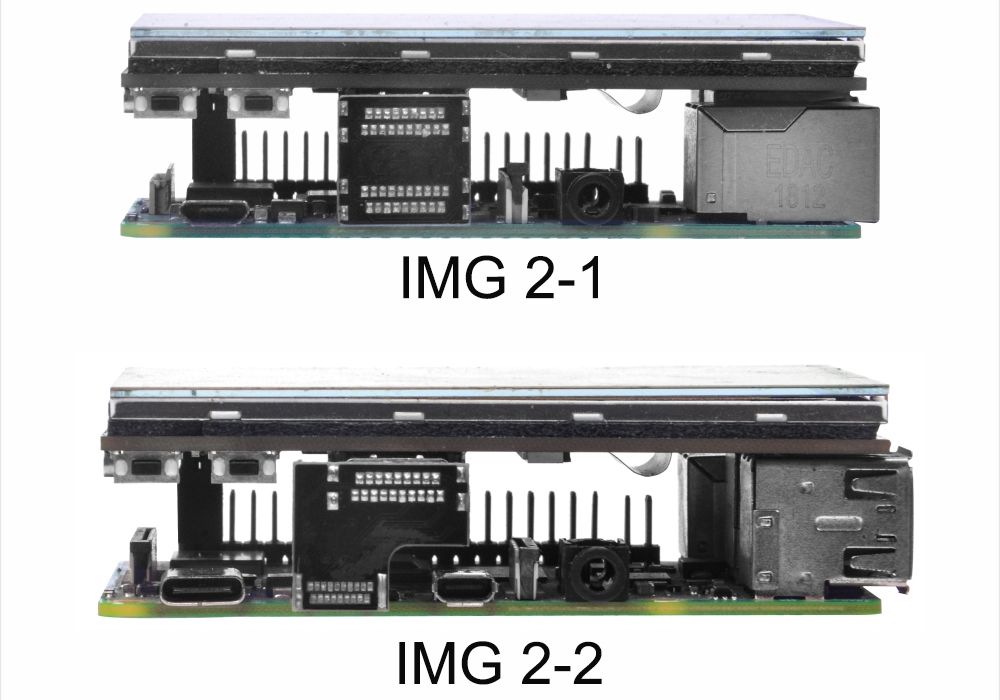
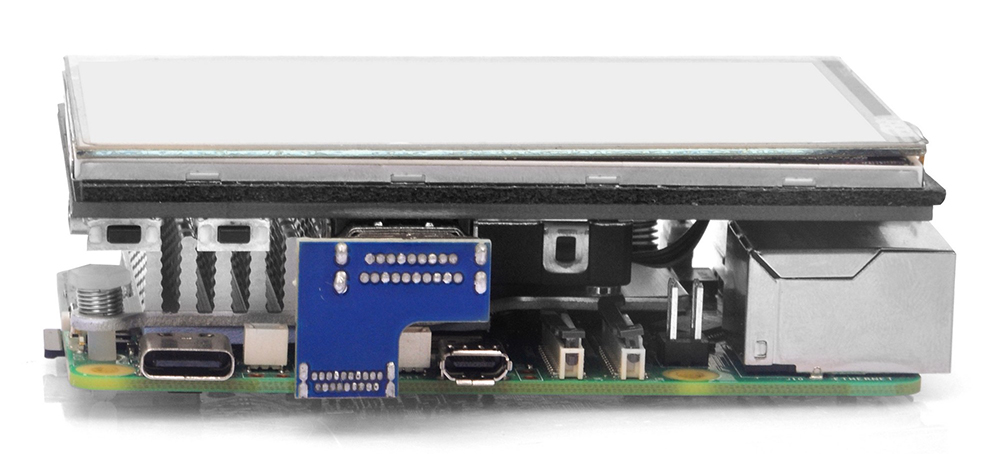
Connect the GPIO and HDMI interface. Raspberry Pi leads out 40 GPIO pins, while the screen leads out 12 pins. When connecting, pay attention to the corresponding pins and Raspberry Pi pins.
2.2 Install Image File & Driver Install
2) After the image has finished writing, open the config.txt file in the root directory of the TF card, add the following code at the end of config.txt, then save and quit the TF card safely.
dtoverlay=bw-ads7846,penirq=25,xmin=200,xmax=3900,ymin=200,ymax=3900,speed=50000
3) Download the bw-ads7846.dtbo file. Copy this file to the overlays directory (/boot/overlays/).
Or you can download bw-ads7846.dtbo via SSH after connecting your Raspberry Pi to the network:
sudo wget -O /boot/firmware/overlays/bw-ads7846.dtbo https://osoyoo.com/driver/HDMI-3.5/bw-ads7846.dtbo
4) Quit the TF card safely.
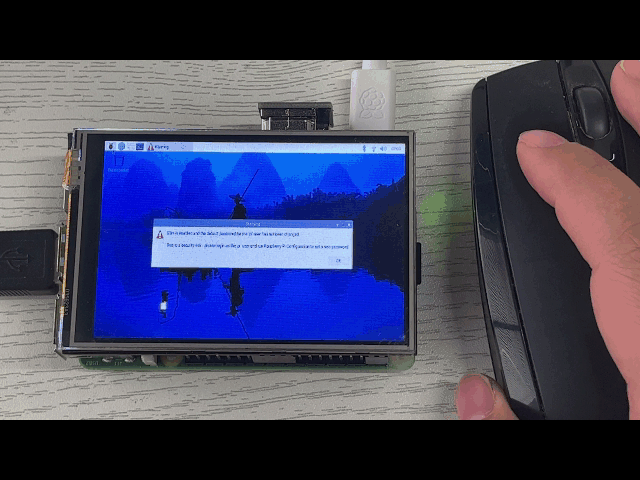
5) Insert the TF card into the Raspberry Pi, power on the Raspberry Pi, and wait for more than 10 seconds to display normally. But the touch is abnormal at that time, and the touch needs to be calibrated as the following steps.
2.3 Touch Settings
Note: Recommend to remotely control Raspberry Pi via SSH, VNC or other remote desktop tools, as the resolution is too high as default. (Here we use PuTTY for Windows users. You can learn more about remotely control Raspberry Pi from:
https://osoyoo.com/?p=56660)
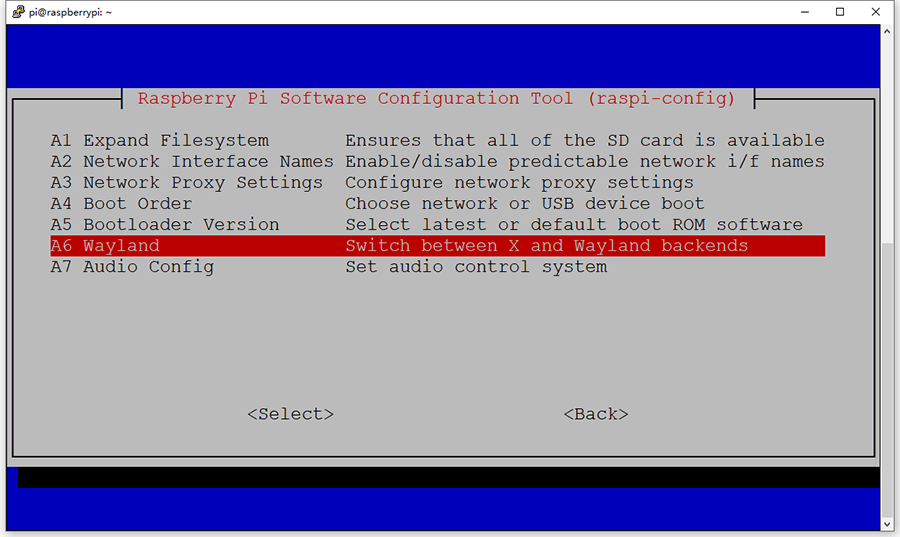
Step 1) Set to use X11 instead of Wayland
1. Run the following command firstly:
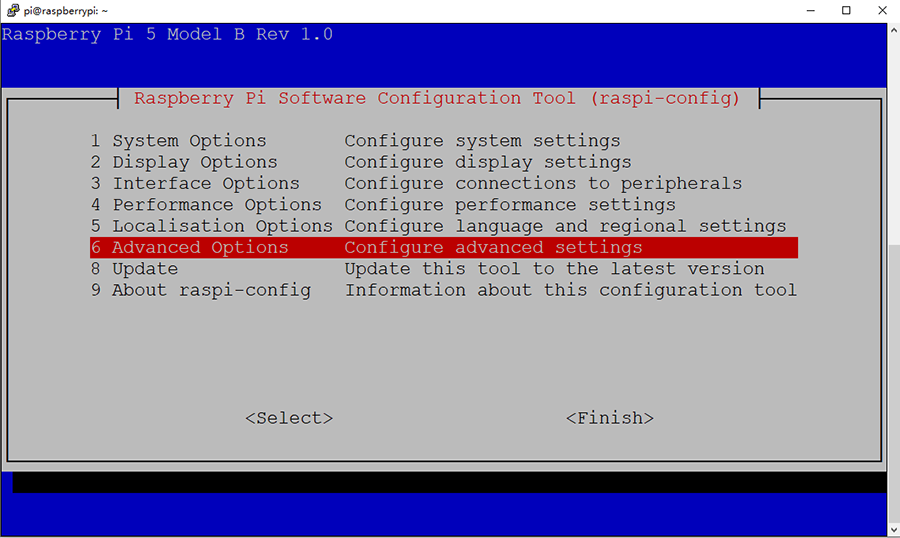
sudo raspi-config
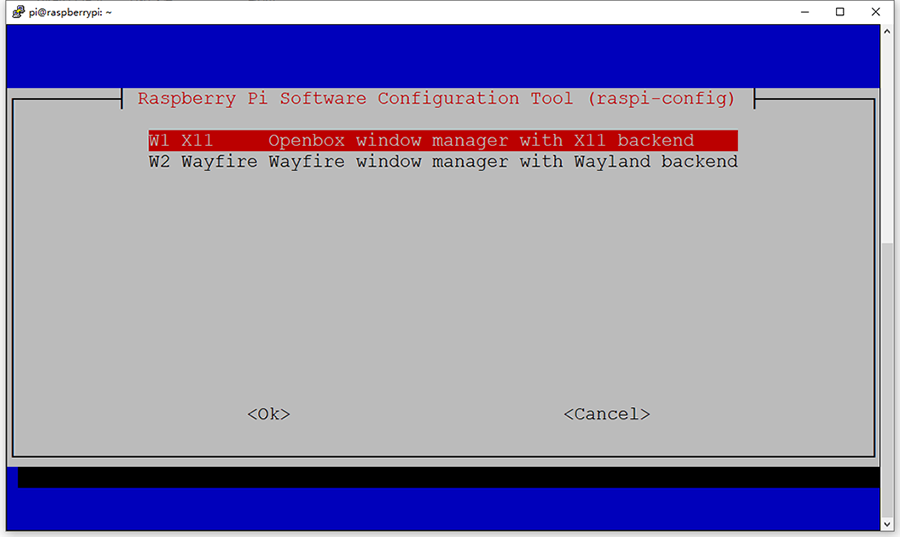
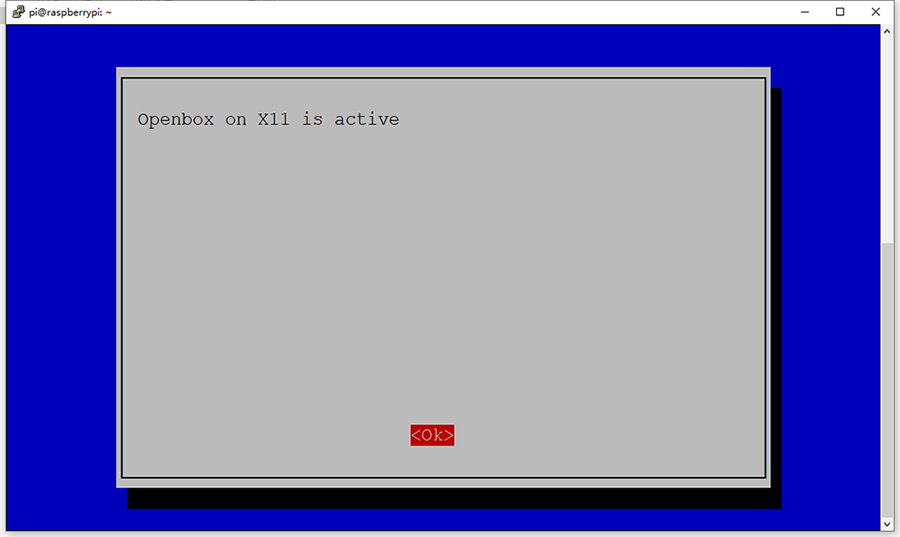
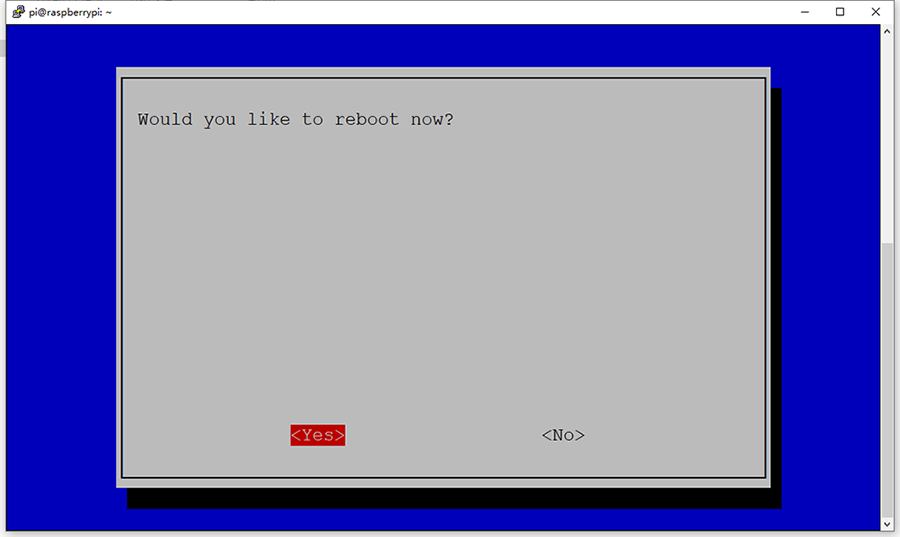
2. Then select Advanced Options, then Wayland which now controls which backend to use for the desktop, then X11. Save your settings and reboot the Raspberry Pi. In Bookworm it now defaults to Wayland on the PI4 & PI5, so we need to switch it to W1 X11.
Step 2) Change the Screen Configuration
Use a mouse to control your screen, then click the Raspberry Pi icon → Preferences → Screen Configuration, in the new window, click layout → screen → HDMI → resolution → 640×480, then click Apply, and click OK in the new pop. We recommend setting the resolution to 640×480.
Note: Raspberry Pi OS Bookworm branch system, since dtoverlay=vc4-kms-v3d is loaded by default, it is invalid to modify the resolution in /boot/config.txt.
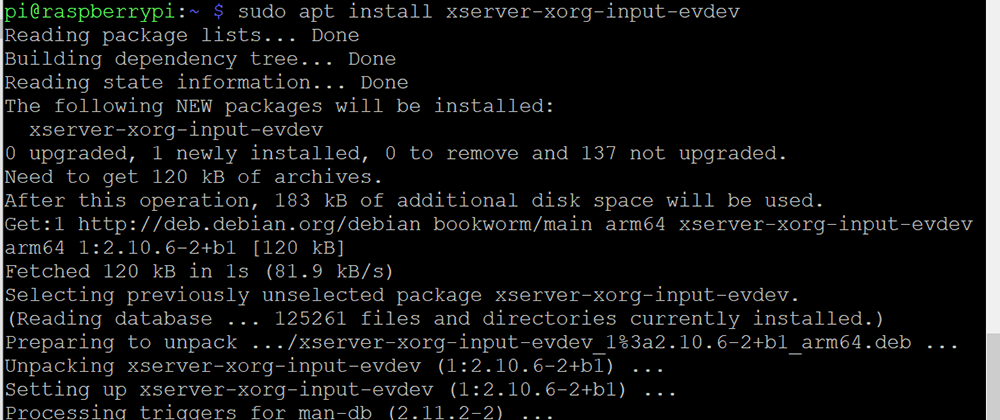
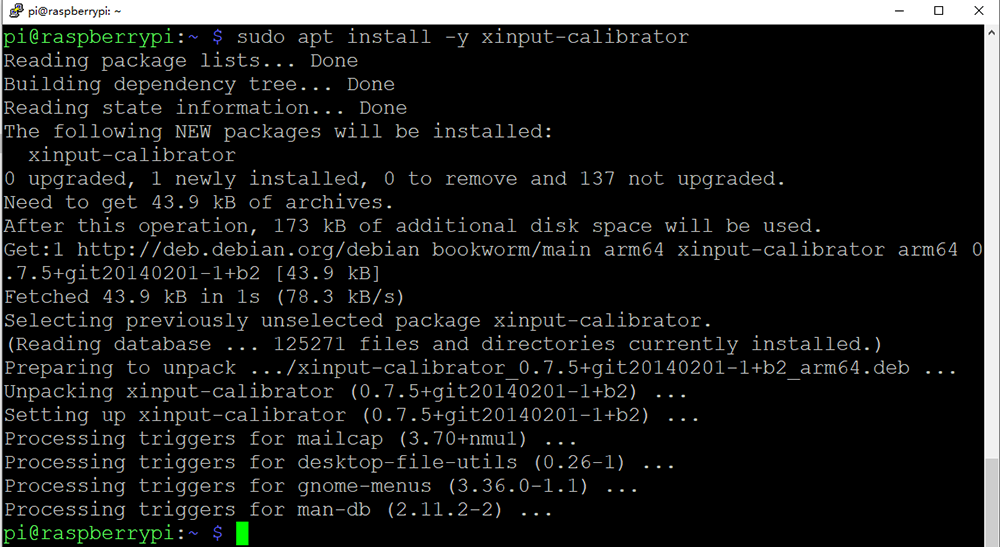
Step 3) Install XPT2046 Driver and Calibrator
Install xpt2046 driver and calibrator by typing the following commands:
sudo apt install xserver-xorg-input-evdev
sudo apt install -y xinput-calibrator
Step 4) Config Touch Calibration Files
1. Run the following commands:
sudo cp -rf /usr/share/X11/xorg.conf.d/10-evdev.conf /usr/share/X11/xorg.conf.d/45-evdev.conf
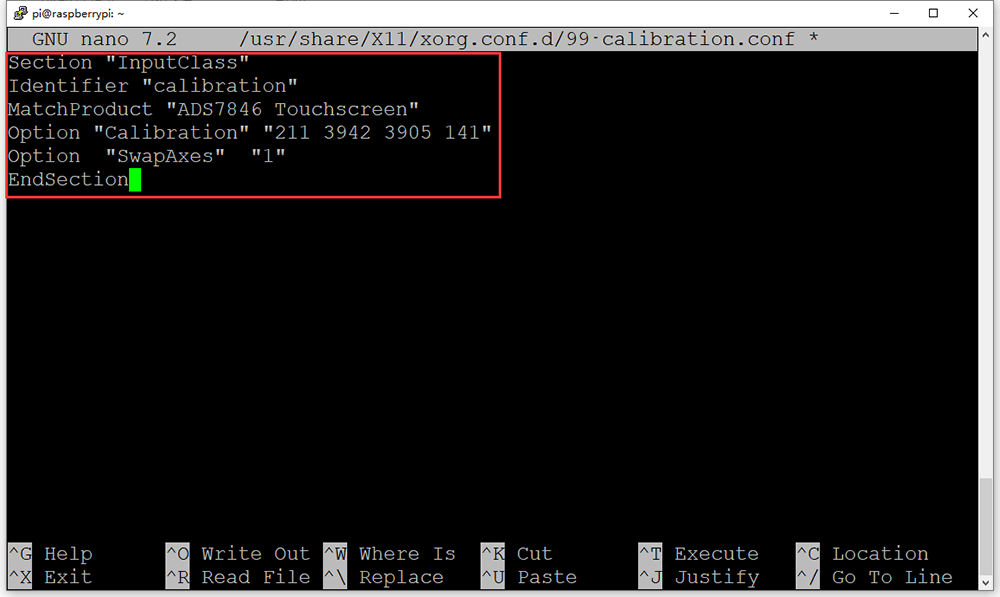
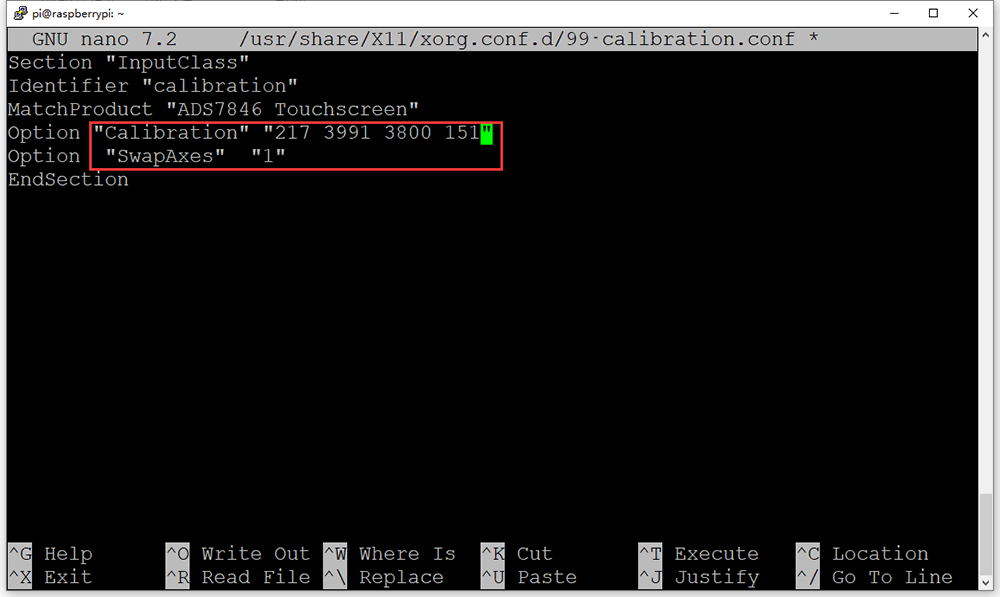
sudo nano /usr/share/X11/xorg.conf.d/99-calibration.conf
2. Add the following parameters in 99-calibration.conf:
Section "InputClass"
Identifier "calibration"
MatchProduct "ADS7846 Touchscreen"
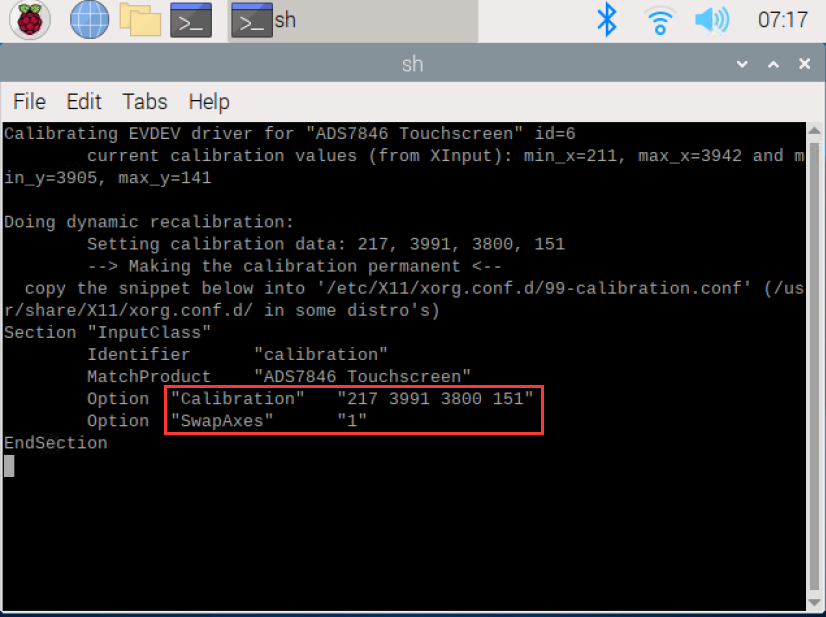
Option "Calibration" "211 3942 3905 141"
Option "SwapAxes" "1"
EndSection
3. Press Ctrl + X then Y, then Enter to save this file, then run the following command to reboot your Raspberry Pi:
sudo reboot
Step 5) Calibrate Touch
a. Use mouse to control your screen, then click [Preferences] → [Calibrate Touchscreen] from main menu, (or enter DISPLAY=:0.0 xinput_calibrator in the terminal), click four crossbar points on corners, it will show the calibration values which are similar to previously written to the 99-calibration.conf file.
b. After calibration (click four cross bar points on corners), it will show the calibration values which are similar to previously written to the 99-calibration.conf file.
c. Edit 99-calibration.conf file again by typing the following command:
sudo nano /usr/share/X11/xorg.conf.d/99-calibration.conf
d. Replace the following lines with new values shown in the calibration result (from step b). Check touch, repeat calibration if it is not correct.
Option  "Calibration" "211 3942 3905 141"
Option  "SwapAxes" "1"
Remark: Doing so means you are no longer using Wayland. Might be a temporary solution only as all Pi’s will be ‘converted’ to use Wayland and then that option will be dropped most likely. Yes – it would be great if I could figure out how to calibrate within Wayland, but I just couldn’t find anything.
For now, Wayland is only the default on Raspberry Pi 4 and 5. The performance of Wayfire on earlier platforms is still being optimized, so for now they will continue to run the old X11 display server and the Openbox window manager, but at some point these platforms will also be switched to Wayfire.
2.4 How to Verify That Your X11 Desktop System is Running Properly
You can tell which one you are running by using the following command in a terminal (Connecting to the system using SSH-like tools and executing this command will not produce any results):
echo $GDMSESSION
LXDE-pi-wayfire means WaylandLXDE-pi-x means X11
3Screen Orientation Settings
Click the Raspberry Pi icon → Preferences → Screen Configuration, in the new window, click layout → screen → HDMI → orientation → Select the appropriate direction, then click Apply, and click OK in the new pop.
Important: After completing the rotation, you need to recalibrate the touch as above operations.
We’ll be following the official Raspberry Pi posts and updating the tutorials!
4Tech Support
Need help or have feedback? Submit a ticket and our team will get back to you within 1-2 working days.
Working Time: 9 AM – 6 PM GMT+8 (Monday – Friday)
Contact Us: [email protected]


I’ve followed all this through, and the display and touch is working fine. However, I can’t figure out how to turn the display off (and on)?
Things like:
echo 100 > /sys/class/backlight/rpi_backlight/brightness
sudo brightnessctl set 100%
…don’t seem to work. There’s a little button on the display that turns it off, and the Amazon description suggested it was possible in software, but how?
I found the answer… You need to:
1) apt install ddcutil
2) use raspi-config to enable I2C
3) See here for details: https://osoyoo.com/2023/08/06/osoyoo-3-5-inch-hdmi-screen-v1-2-ddc-ci-function/
TLDR; `ddcutil setvcp d6 3` -> turns the display to suspend/off
`ddcutil setvcp d6 1` -> turns the display to on