OSOYOO 3.5″ HDMI Screen V2.0 – Introduction & Setup Guide (Model # 2023005100)
Product: Osoyoo 3.5″ HDMI Touchscreen Display
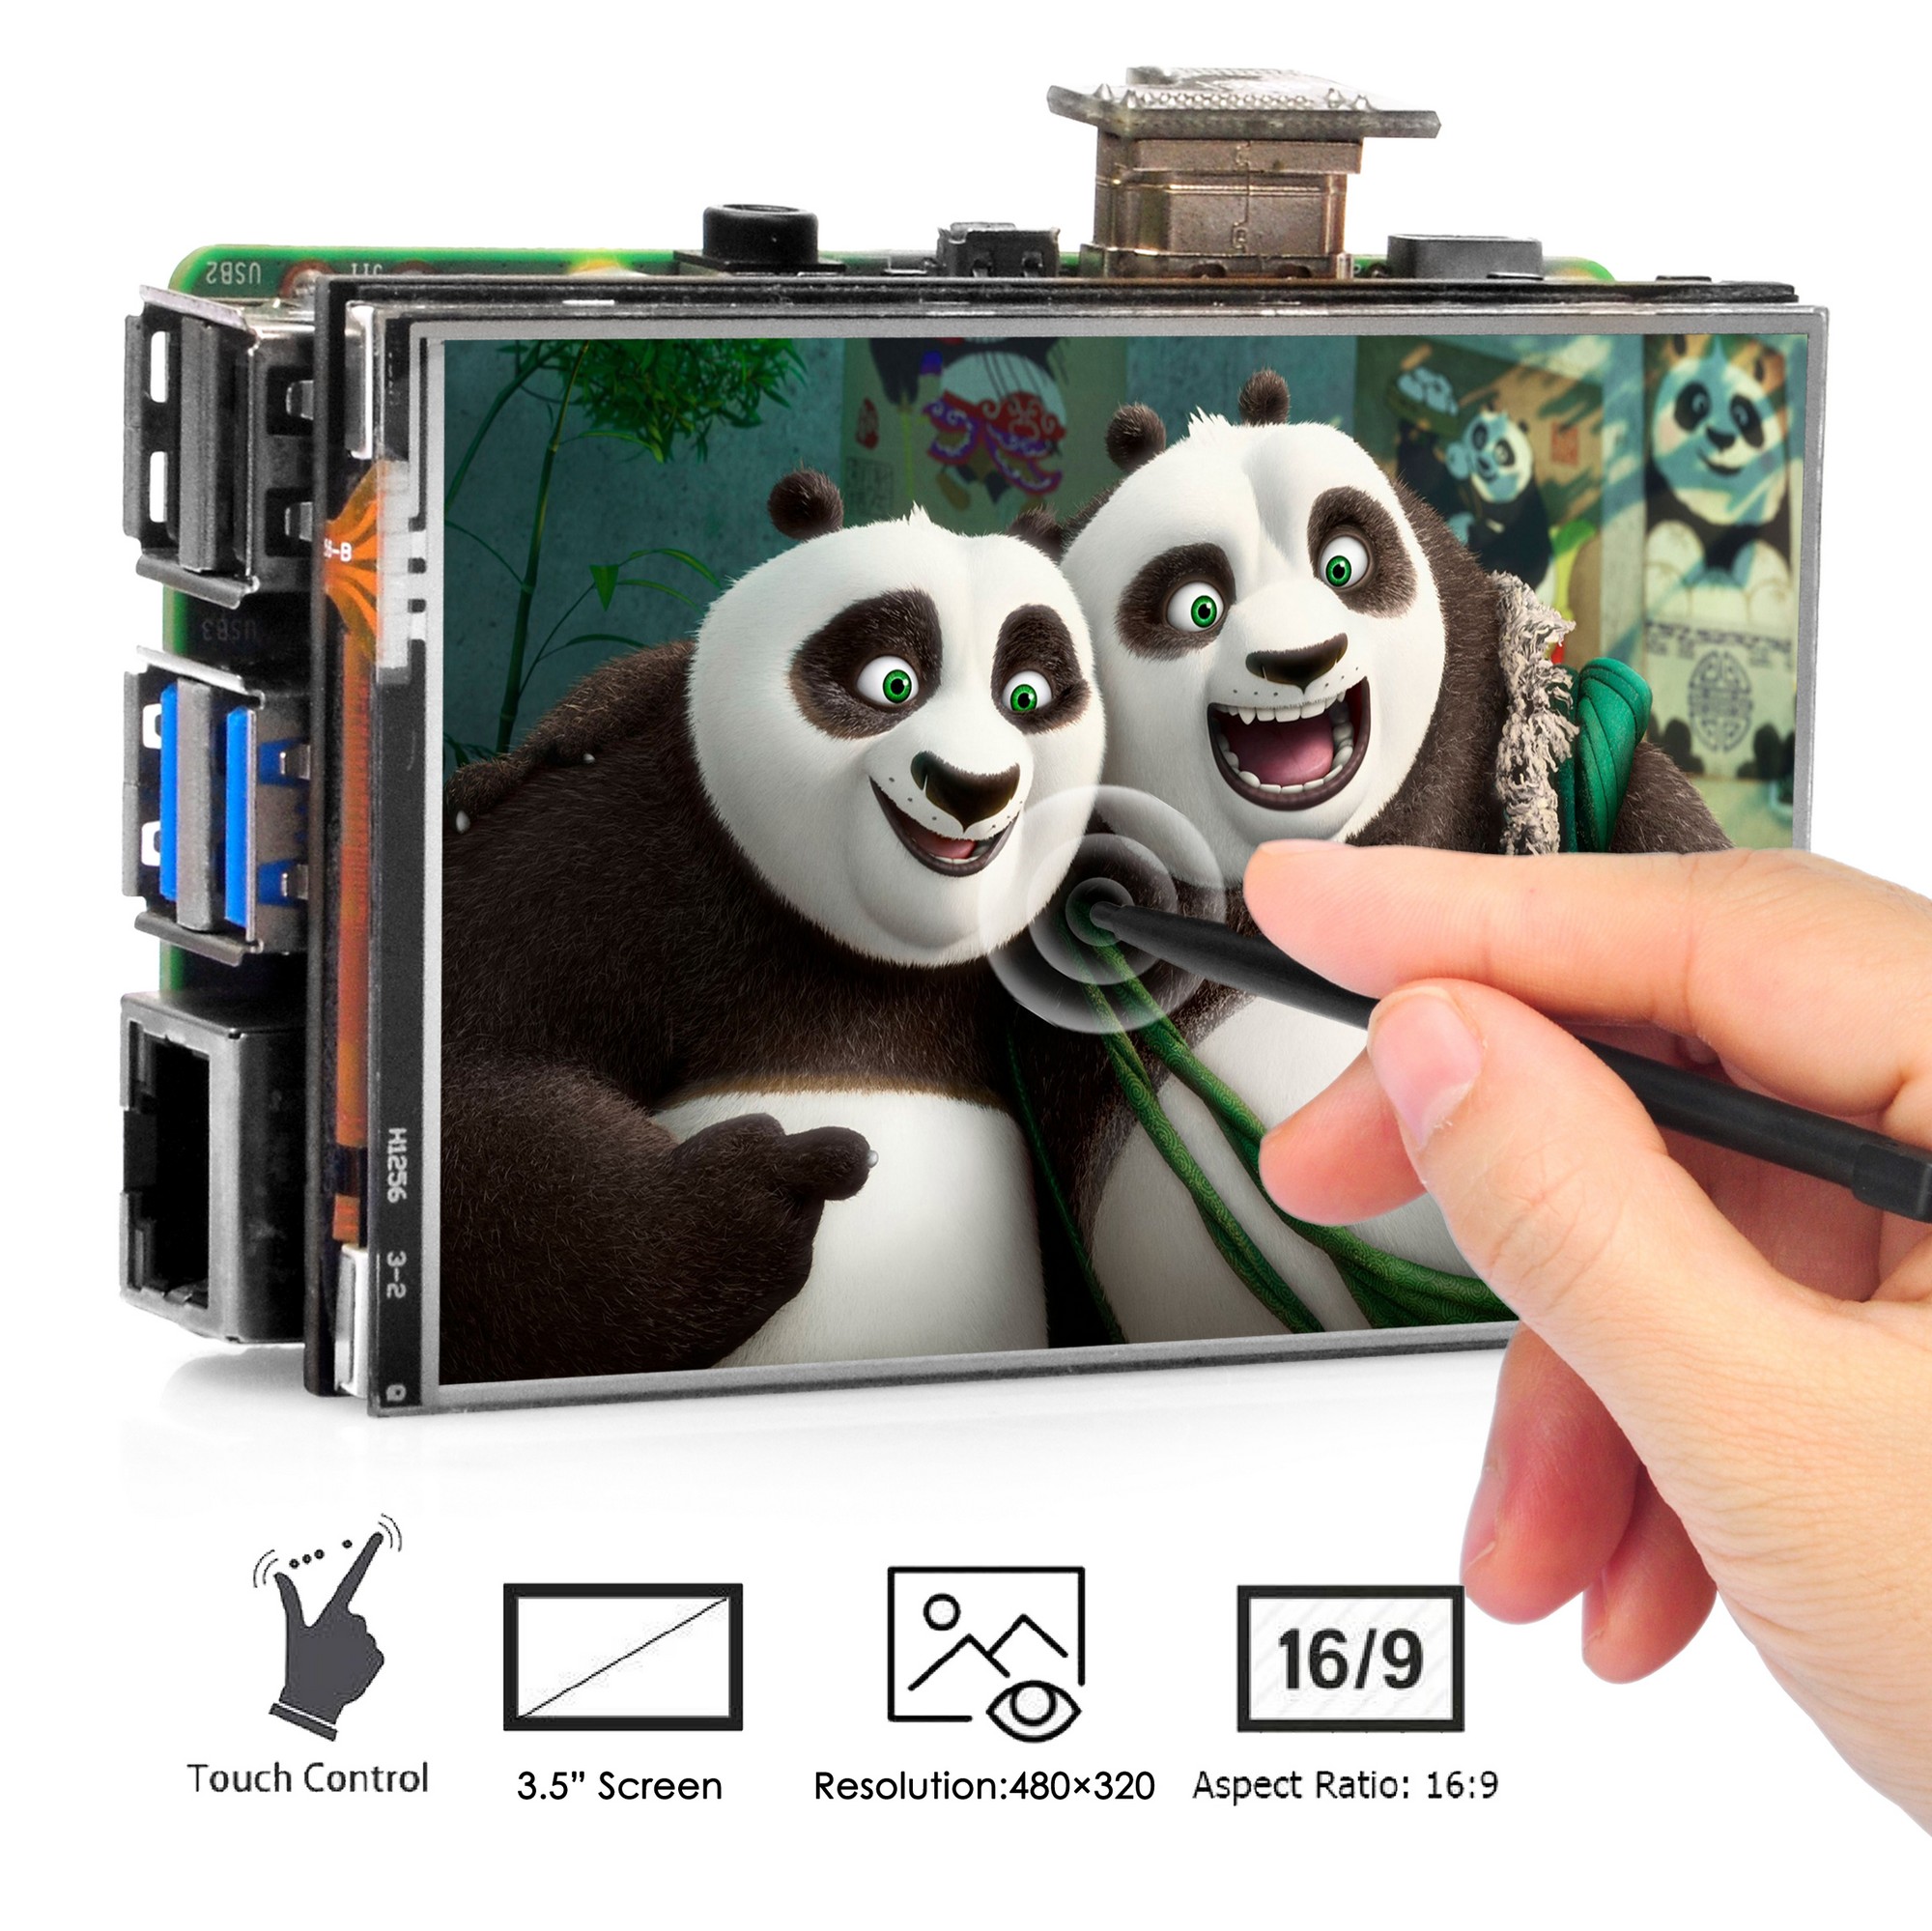
Resolution: 480×320 (Physical) / Up to 1920×1080 (Input)
Compatible: Raspberry Pi 3B/3B+/4/5, Pi Zero, PC/Laptop, etc
Touch Support: Raspberry Pi OS only
Buy 3.5″ HDMI Screen with Case:
1Overview
OSOYOO 3.5 inch HDMI screen is a touchscreen display designed for Raspberry Pi. It can also be used as a general purpose HDMI monitor for PC/laptop (display only, no touch).
Note: Touch input function only works with Raspberry Pi OS. When using with PC/laptop, only display function is available.
2Features
- Power Supply: GPIO 5V pin or USB Type-C (5V/1A for display, 5V/3A if also powering Pi)
- Power Switch: Toggle on/off (suspend mode), LED indicates status
- Brightness Button: Adjusts 10~100% in 10% steps, value saved
- Display Rotation: Hold brightness + press power = rotate 180°
- DDC/CI Support: Adjust brightness, contrast, colors via HDMI commands
- Auto Scaling: RTD2660 chip scales any resolution (up to 1920×1080) to 480×320
Note:
- The power switch is a toggle push button, toggles power on (normal mode) and power off (suspend mode) status. The power indicator LED lights on when the display is suspended. DDC/CI function is always ready even it is in suspend mode, and the display can wakeup programmatically by DDC/CI commands.
- The brightness value is stored to the non-volatile memory, and updated in every button click or DDC/CI brightness command.
3Specification
- Physical LCD resolution: 3.5 inch 480×320 (ILI9488)
- Configurable software resolution: max 1920×1080, 60~75fps
- Default video resolution: 720×480 (3:2 ratio)
- Auto fill screen area
- TN LCD, View angle 12 O’Clock
- XPT2046 Resistive touch with pen
- LED power status indicator (Off: active, On: suspend)
- USB Type-C port for power supply only
- Power consumption:
- Normal mode: 5V, 200~230mA (max brightness)
- Standby mode: 5V, 70~90mA (no signal, standby)
- Suspend mode: 5V, 20mA (power switch off)
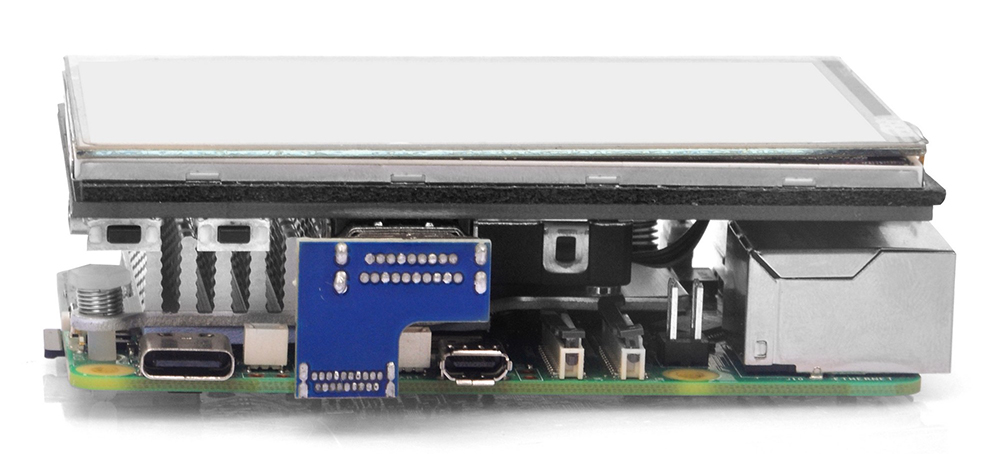
- Mechanical size: Board 85mm × 56mm, LCD view area 73.4mm × 49mm
- Full Compatible with Raspberry Pi 3B, 3B+, 4, 5
- Touch driver compatible with: Raspberry Pi OS
- Display function works with all HDMI devices
- Only touch function requires GPIO; display doesn’t use GPIO
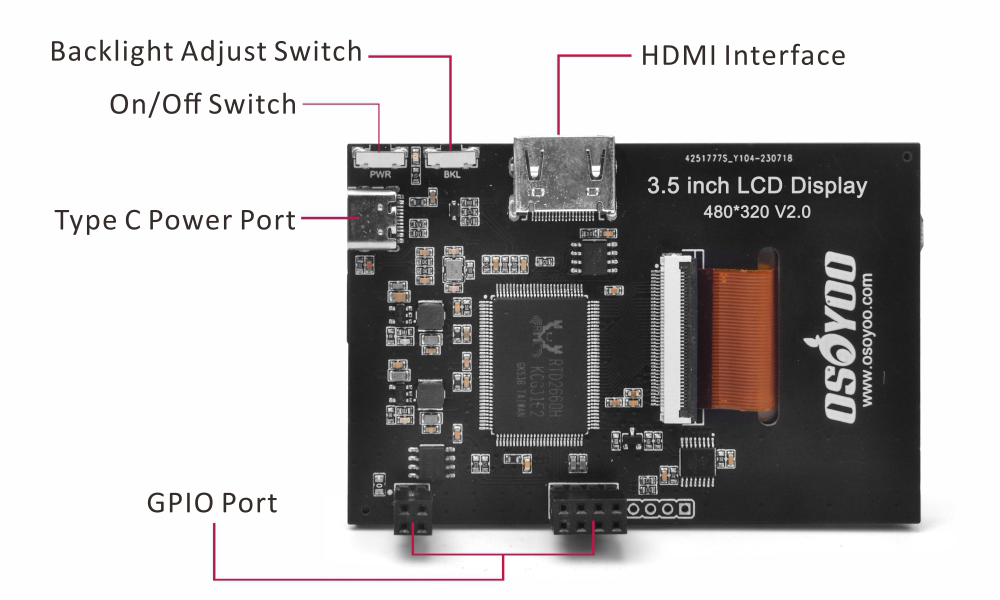
4Interface
- HDMI interface: HDMI signal input
- Backlight adjust switch: Short press = 10% change, long press 3s = close backlight
- On/Off switch: Turn on/off the backlight
- Type C power port: Provide power (5V 1A)
- GPIO Port: Gets power and returns touch data. Pins marked “NC” are not occupied by LCD.
Power Supply Note:
- The display can be powered from Raspberry Pi GPIO +5V pin, or from external power adapter. 5V/1A external power adapter is enough for power supplying to the display.
- If the display is plugged to the Raspberry Pi GPIO connector, and powered from external power adapter through USB type-C cable, the Raspberry Pi also can be powered from the GPIO +5V pin, and don’t need extra power supply.
- In this case, the external power adapter should be at least 5V/3A capable.
- The Raspberry Pi and HDMI35 display do not support USB PD, and the input voltage is always 5V.
GPIO Pin Assignment
| Pin |
ID |
Description |
| 1 |
NC |
Not Connected |
| 2 |
5V |
Power (5V input) |
| 3 |
NC |
Not Connected |
| 4 |
5V |
Power (5V input) |
| 19 |
TP_SI |
SPI data input of touch panel |
| 20 |
GND |
Ground |
| 21 |
TP_SO |
SPI data output of touch panel |
| 22 |
TP_IRQ |
Touch interrupt (Low when pressed) |
| 23 |
TP_SCK |
SPI clock signal of touch panel |
| 24 |
NC |
Not Connected |
| 25 |
GND |
Ground |
| 26 |
TP_CS |
Touch panel chip select (Active Low) |
5Getting Started
5.1 Hardware Connection
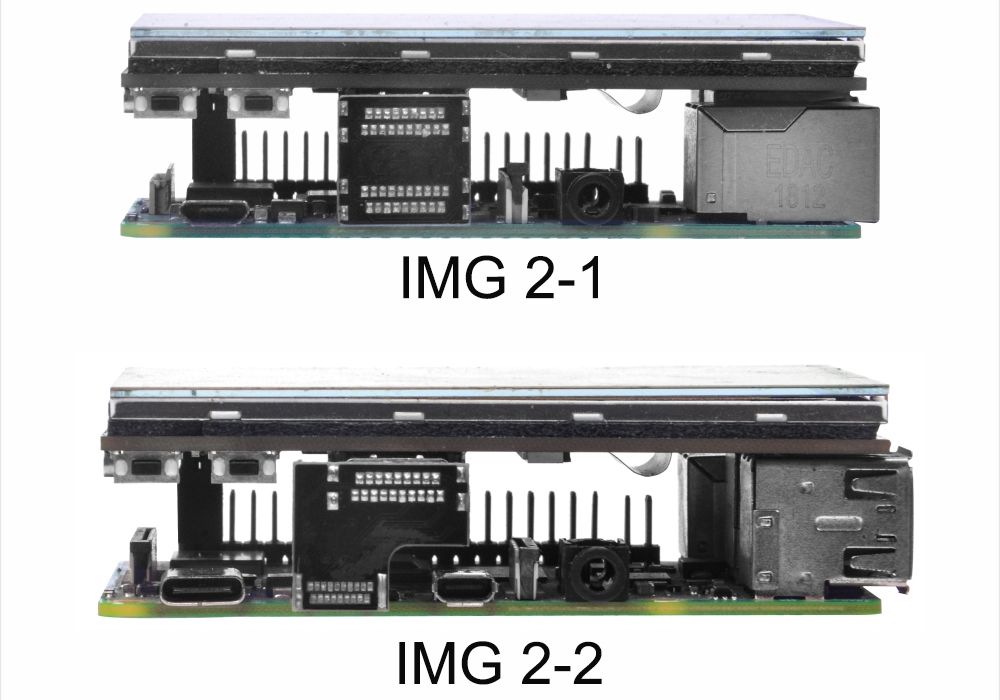
- Connect GPIO interface: Raspberry Pi has 40 GPIO pins, screen has 12 pins. Match corresponding pins.
- Connect HDMI: Use HDMI connector between screen and Pi.
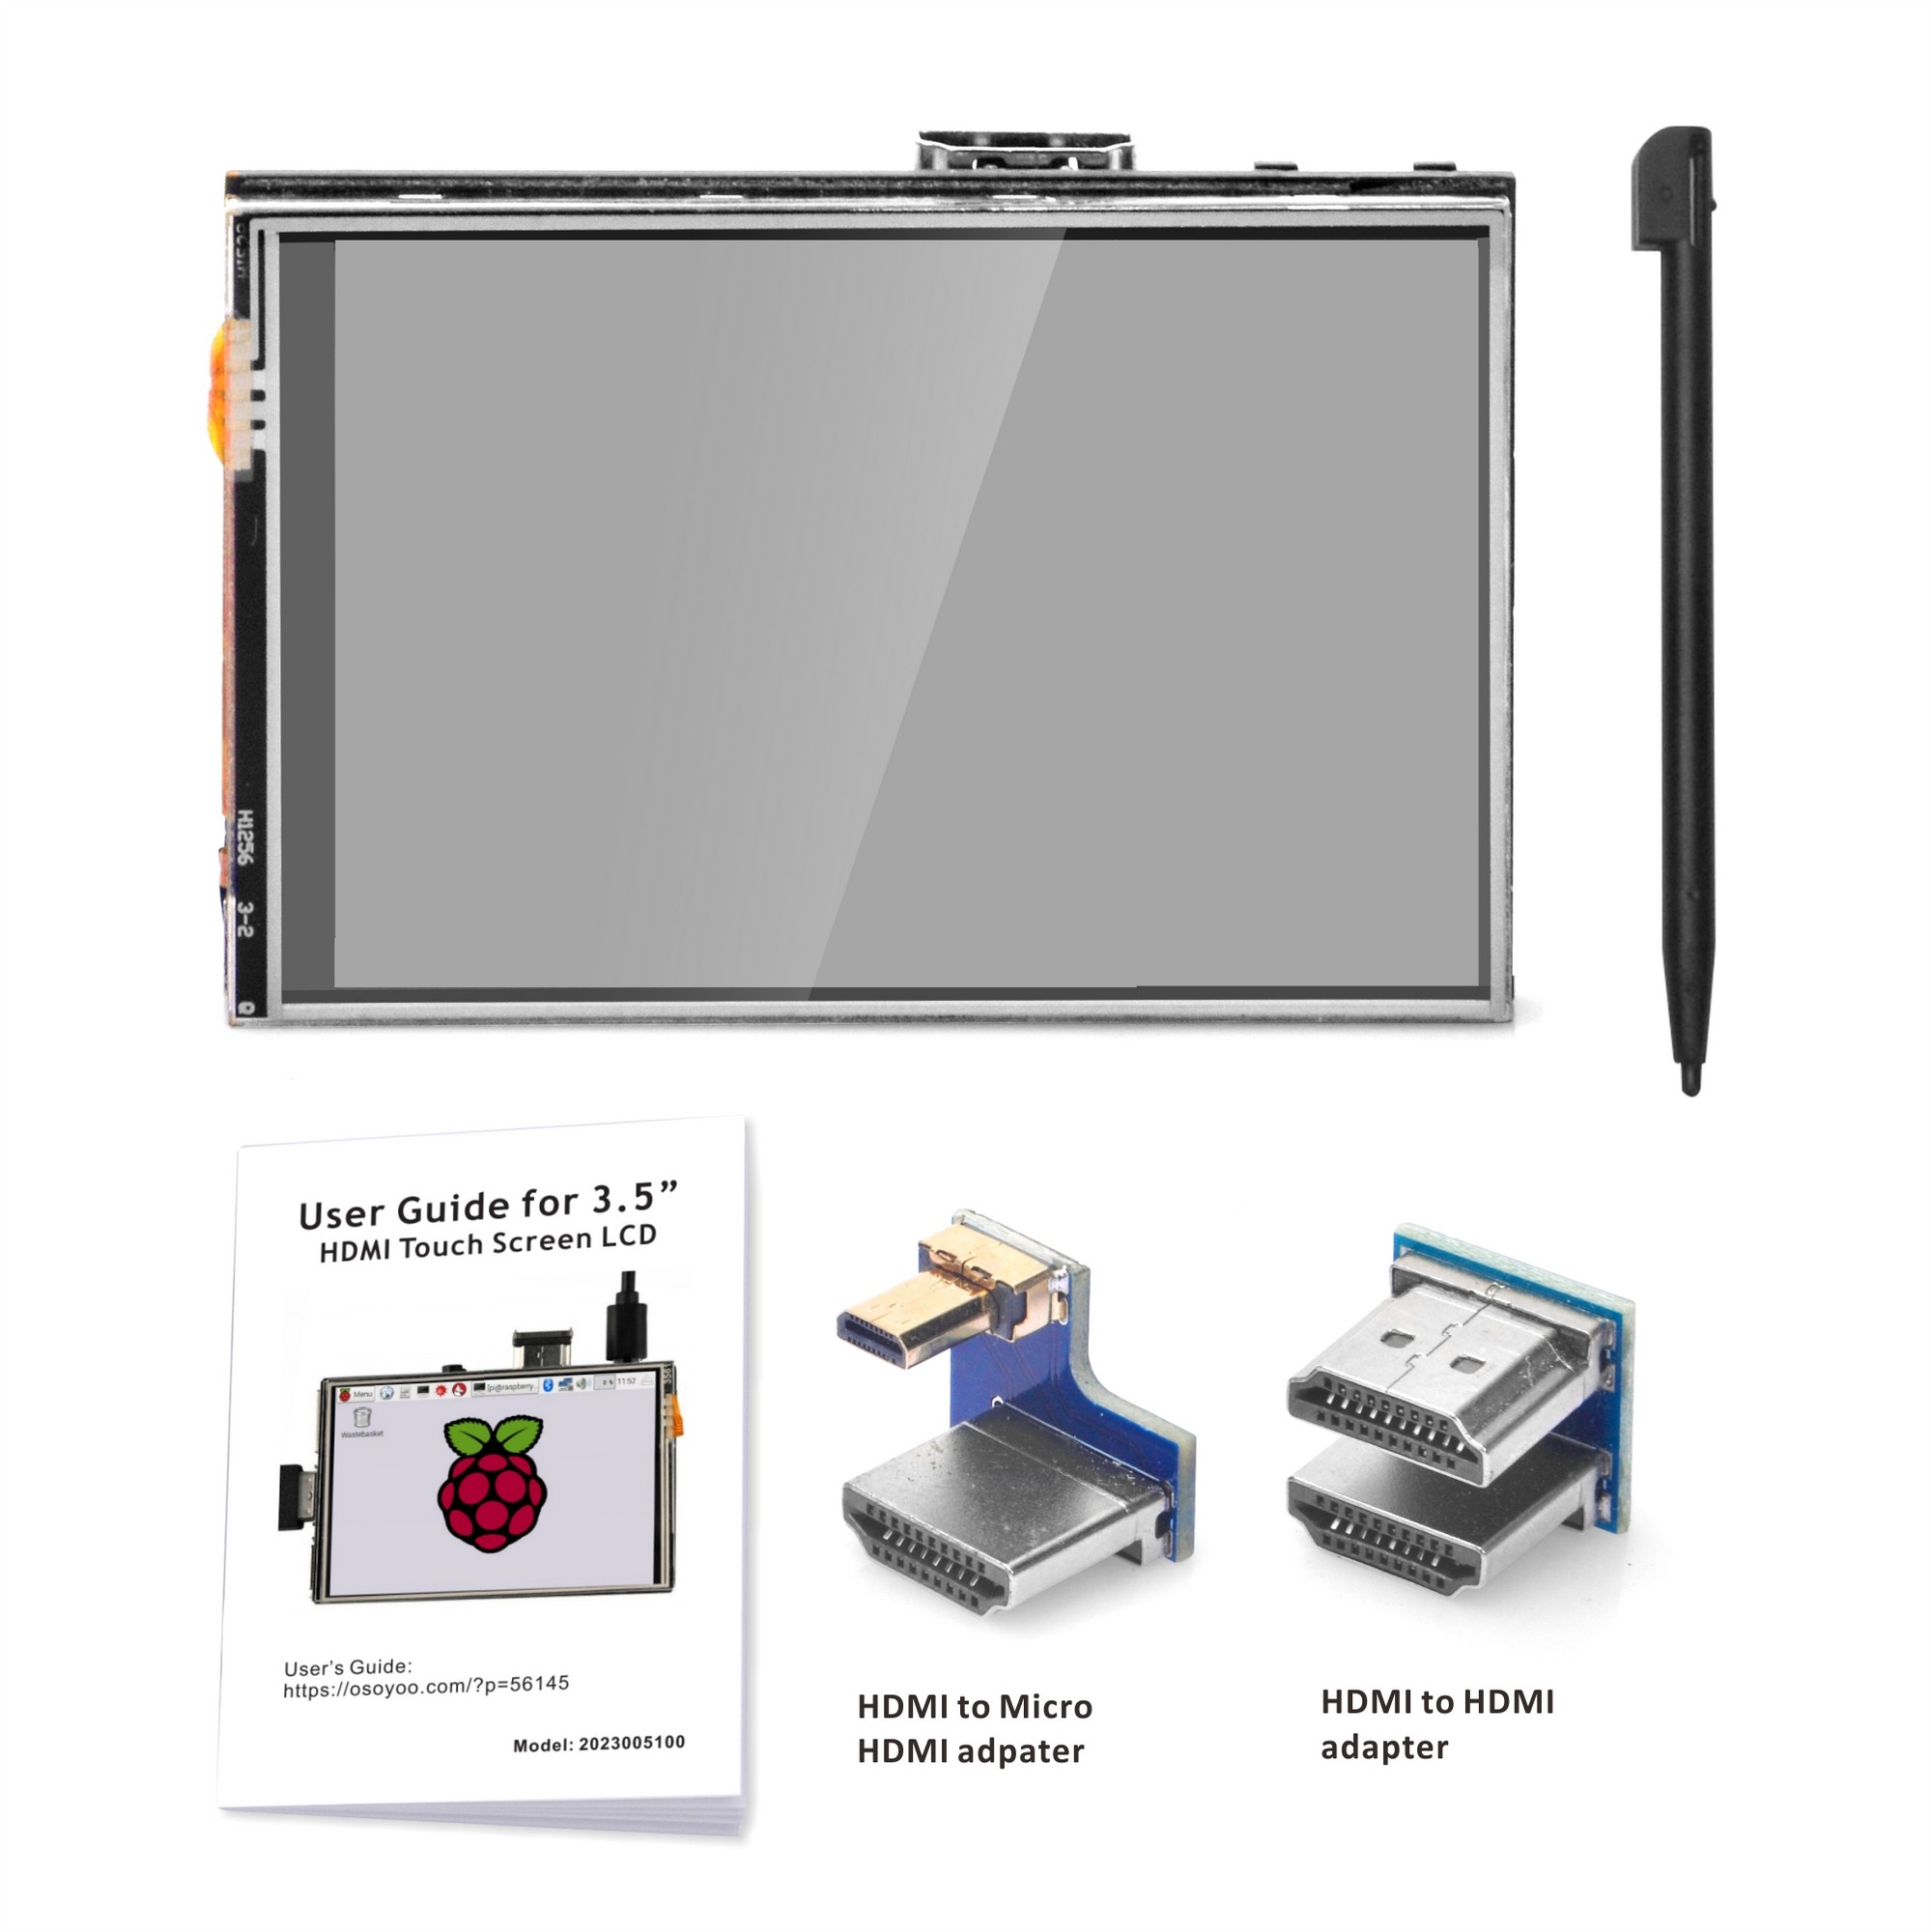
Note: Raspberry Pi Zero / Zero 2 W needs an additional HDMI adapter cable.
5.2 Installation for Configured Image
If you have difficulty installing the driver, try our pre-configured images. No driver installation needed!
- Connect touch screen LCD display to your Raspberry Pi
- Download image from the table below
- Unzip the downloaded image file
- Format Micro SD card (8G/16G/32G recommended). Use SDFormatter
- Use Raspberry Pi Imager to write image to SD card
- Expand filesystem:
sudo raspi-config → 6 Advanced Options → A1 Expand filesystem
| Image Name |
Version |
Support |
Password |
Download |
| Raspios-Bullseye-arm64 |
2024-3-12 |
Pi4/3B+/3/2 |
pi / raspberry |
Google Drive |
| Raspios-bookworm-arm64 |
2023-12-05 |
Pi5/4/3B+/3/2 |
pi / raspberry |
Google Drive |
| Raspios-bookworm-arm64 |
2024-03-15 |
Pi5/4/3B+/3/2 |
pi / raspberry |
Google Drive |
5.3 Manual Installation of Touch Driver
Select the driver that matches your Raspberry Pi OS version:
| Image Name |
Support Boards |
Note |
Links |
| Bookworm & Trixie OS |
RPi 3/4/5 |
Version: 2025-11-24 and later |
View Tutorial |
| Bookworm & Trixie OS |
RPi 3/4/5 |
Version 2025-10-01 and earlier |
View Tutorial |
| Buster & Bullseye OS |
RPi 3/4 |
/ |
View Tutorial |
5.4 Advanced Settings: Brightness & Color Adjustment
The display’s brightness, contrast, and colors can be updated by DDC/CI commands from the HDMI port DDC channel.
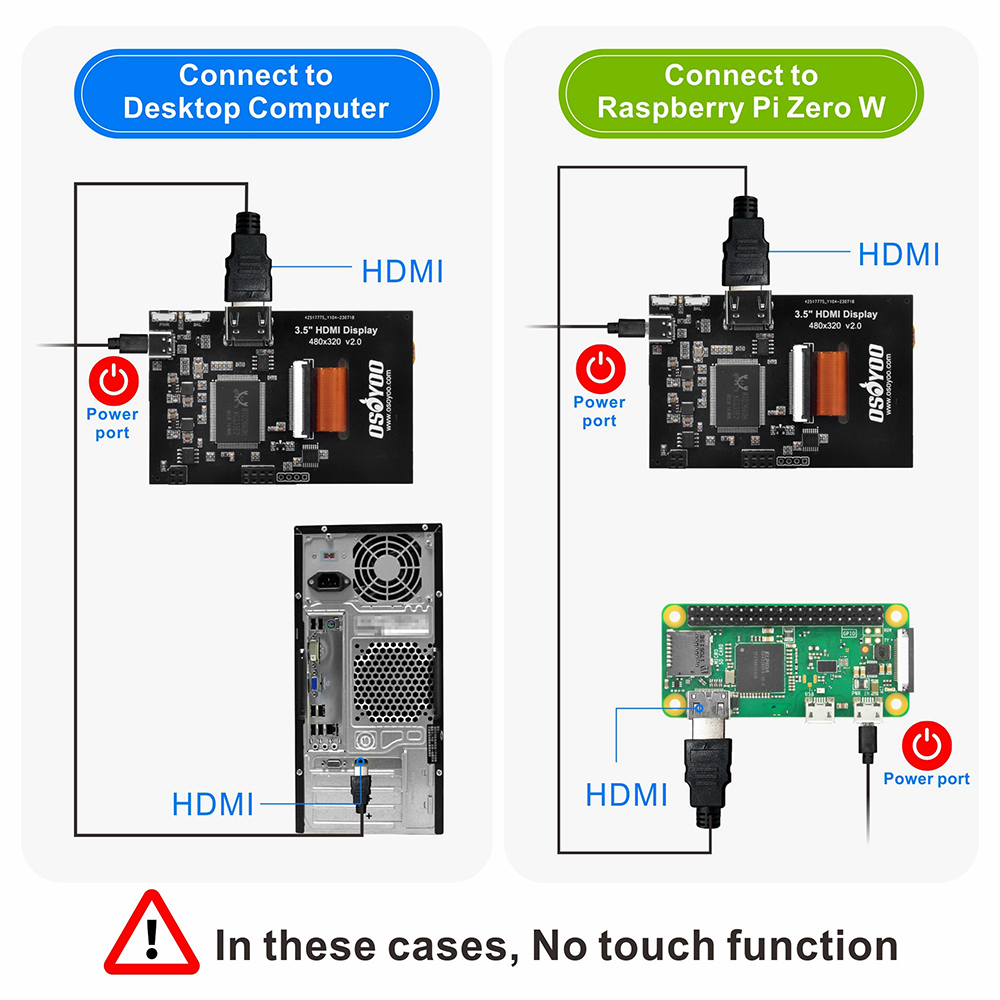
6How to Use as PC Monitor and Pi Zero
- Connect computer HDMI output to the LCD HDMI interface using HDMI cable
- Connect the LCD’s USB Power interface to the USB port of the device
- If there are several monitors, unplug other monitor connectors first, use LCD as the only monitor for testing
Note: Touch function can only be used for Raspberry Pi 2/3/4/5.
Auto Scaling Note:
- The display supports automatic video scaling (RTD2660), and can show any kind of resolution (up to 1920×1080) video to the physical 480×320 view area.
- When using on Win10/11 PC, the display sometimes does not fill the entire view area of the LCD, and could be shrunk due ratio mismatching.
- In this case, it can be fixed by adjusting [Settings] → [Display] → [Advanced Display Settings] → [Refresh Rate] value.
8Tech Support
Need help or have feedback? Submit a ticket and our team will get back to you within 1-2 working days.
Working Time: 9 AM – 6 PM GMT+8 (Monday – Friday)
Contact Us: [email protected]


Greetings, friends:
I recently purchased an OSOYOO 3.5 Inch HDMI Screen v2.0 through Amazon.
I would appreciate it if you could send me the information on the screen’s GPIO ports to take advantage of the touch screen function.
Thanks!
It is using the GPIO Physical Pin# 17,18,19,20,21,22 which provide SPI I port in Pi.