Note: ALL OSOYOO Products for Arduino are Third Party Board which is fully compatitable with Arduino
Authorized Online Retailers:
Content
- Introduction
- Preparations
- Connection
- Upload Sketch
- Program Running Result
Introduction
In this example, a potentiometer (or other sensor) on analog input 0 is used to control the rotational speed of a stepper motor using the Stepper Library. The stepper is controlled by with digital pins 8, 9, 10, and 11.

Preparations
Hardware
Software
Connection
Build the circuit as below:

At this step, we connect a 10k pot to power and ground, with it’s wiper outputting to analog pin 0.
Upload Sketch
After above operations are completed, connect the board to your computer using the USB cable. The green power LED (labelled PWR) should go on.
Code Program
Copy the example code below into an program.
#include <Stepper.h>

const int stepsPerRevolution = 200;  // change this to fit the number of steps per revolution
// for your motor

// initialize the stepper library on pins 8 through 11:
Stepper myStepper(stepsPerRevolution, 8, 9, 10, 11);

int stepCount = 0;  // number of steps the motor has taken

void setup() {
  // nothing to do inside the setup
}

void loop() {
  // read the sensor value:
  int sensorReading = analogRead(A0);
  // map it to a range from 0 to 100:
  int motorSpeed = map(sensorReading, 0, 1023, 0, 100);
  // set the motor speed:
  if (motorSpeed > 0) {
    myStepper.setSpeed(motorSpeed);
    // step 1/100 of a revolution:
    myStepper.step(stepsPerRevolution / 100);
  }
}
Compile and upload
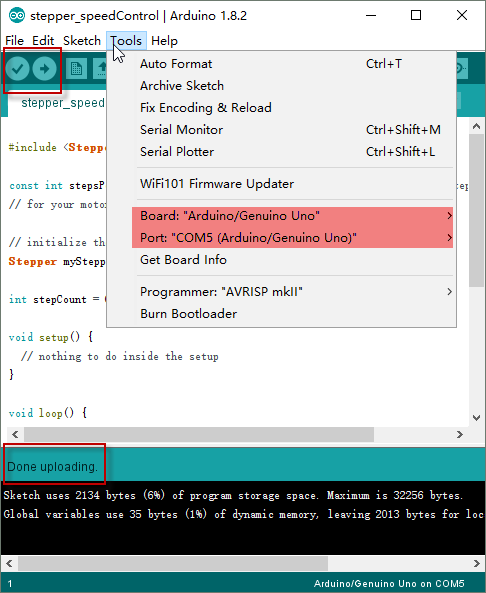
Open the Arduino IDE and select corresponding board type and port type for your board.

After compile this sketch, simply click the “Upload” button in the environment. Wait a few seconds – you should see the RX and TX leds on the board flashing. If the upload is successful, the message “Done uploading.” will appear in the status bar.
Running Result
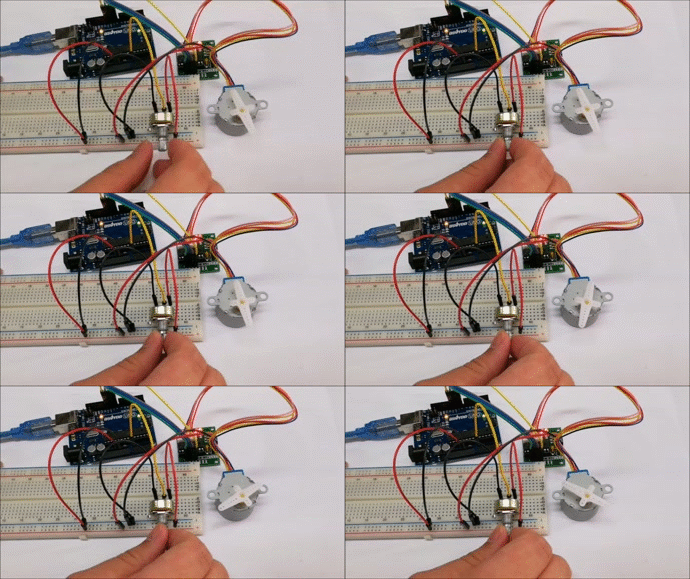
A few seconds after the upload finishes, turn the knob of a potentiometer, the motor will rotate in a clockwise direction. The higher the potentiometer value, the faster the motor speed. Because setSpeed() sets the delay between steps, you may notice the motor is less responsive to changes in the sensor value at low speeds.


why is it the stepper motor stops when the pot gets to approx. 50%?