INTRODUCTION
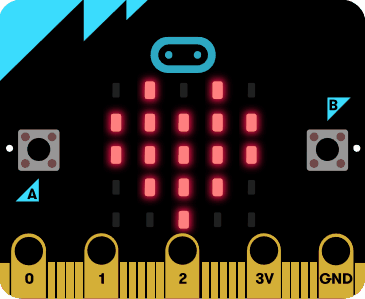
In the first part, we will learn how to use the LEDs and make a flashing heart!
COMPONENTS LIST:
- Micro:bit Mainboard
- USB cable
The following steps are based on Windows OS. It can be used as a reference for other operating systems.
STEP 1: Open MakeCode
Visit the MakeCode page from the following link: https://makecode.microbit.org/

STEP 2: Connect micro: bit to computer
Micro: bit connects to computer via the USB cable. The power indicator on the back side of the micro: bit will light up when connected.

Before programming, we should make sure that the mainboard is recognized by the computer.
When micro: bit is connected, a “MICROBIT” directory will show up in “My Computer.”

STEP 3: Start a New Project
Before starting a new project, we will need to first get familiar with the programming interface.

Simulation window: simulates the operating status of micro: bit. During the process of programming, you can always check how your program looks like the through the window.
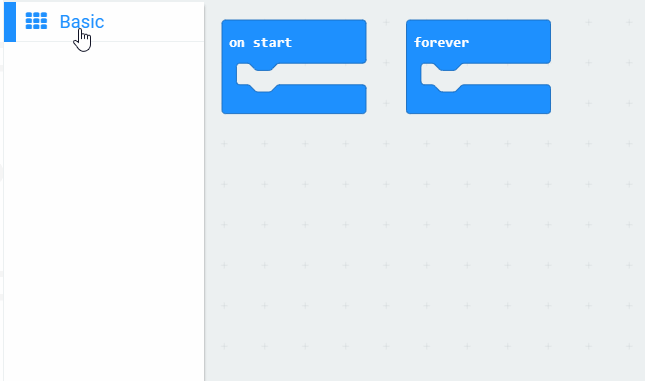
Function area: Where you can find all the function blocks, including input, output, loop, logic, etc..
Programming area: Dragged the blocks from “Function area”, stack them up and build your program here.
Click “Project” at the top of the simulation window

Then, click “New Project.”

Then you will see its editing interface as follows:
MAKECODE编辑界面图片
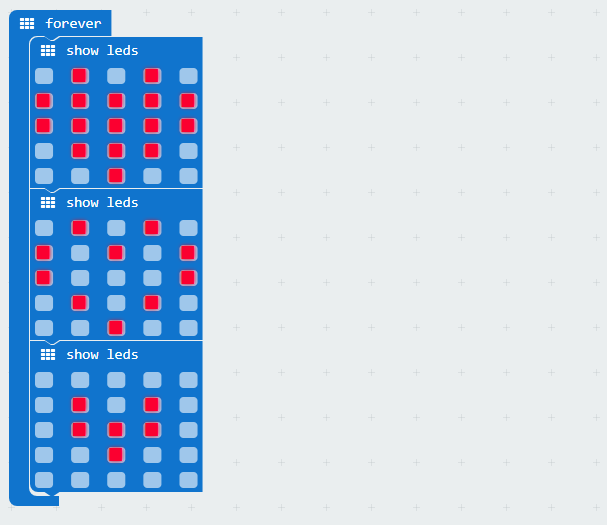
Place the show leds block in the forever block and draw a heart.
Place more show leds blocks to create your own animation.
STEP 4: Download the program and upload to micro: bit
When we have finished our program, we can now download it from the website and uploaded to micro: bit. We can also rename the project and save it in the browser. The project will stay in “my stuff ”.

Before downloading, we can check the simulated results in the simulation window. The buttons in the lower part of the simulation window can be used to control the analog micro:bit

Click “Download” in the lower part of the simulation window and select “Save As” in the pop-up dialog box.


Choose to save the “.hex” file to “MICROBIT Disk” and click “Save

During the process of downloading, the power indicator on the back of micro: bit will blink. When completed, it will stop flashing and keep on going.
Running Result
Look at the virtual micro:bit, you should see the heart and your drawing blink on the screen.

Now you are all good for basic setups. Remember to visit our website to check out more micro: bit projects. Please also leave a comment if there you have question or new idea to share.


