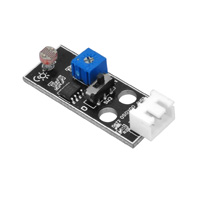
In this project, we use two IR tracking sensors to design a simple line tracking Robot car. A Line tracking Robot, as the name suggests, is an auto-driving vehicle which follows a black track line printed in white ground. Tracking sensors in the robot keeps checking if the current car location is out of the track. If yes, then the car will make a negative movement to draw the robot car back to track.
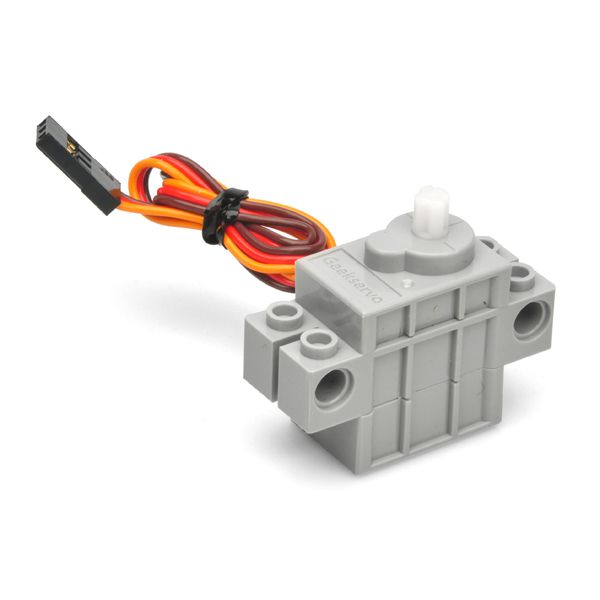
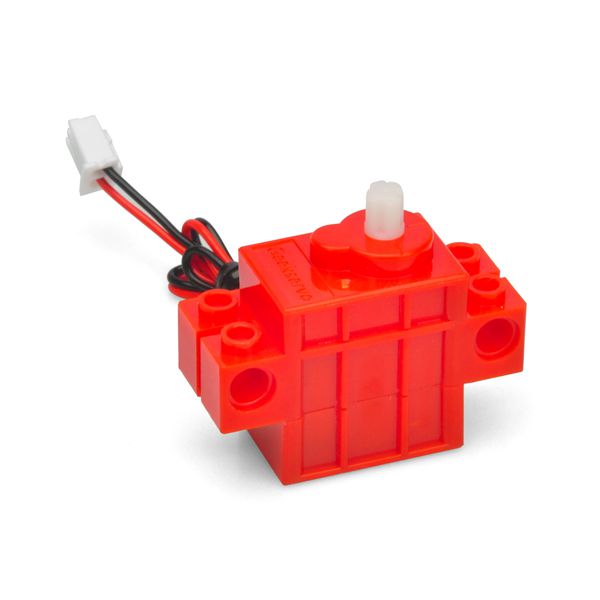
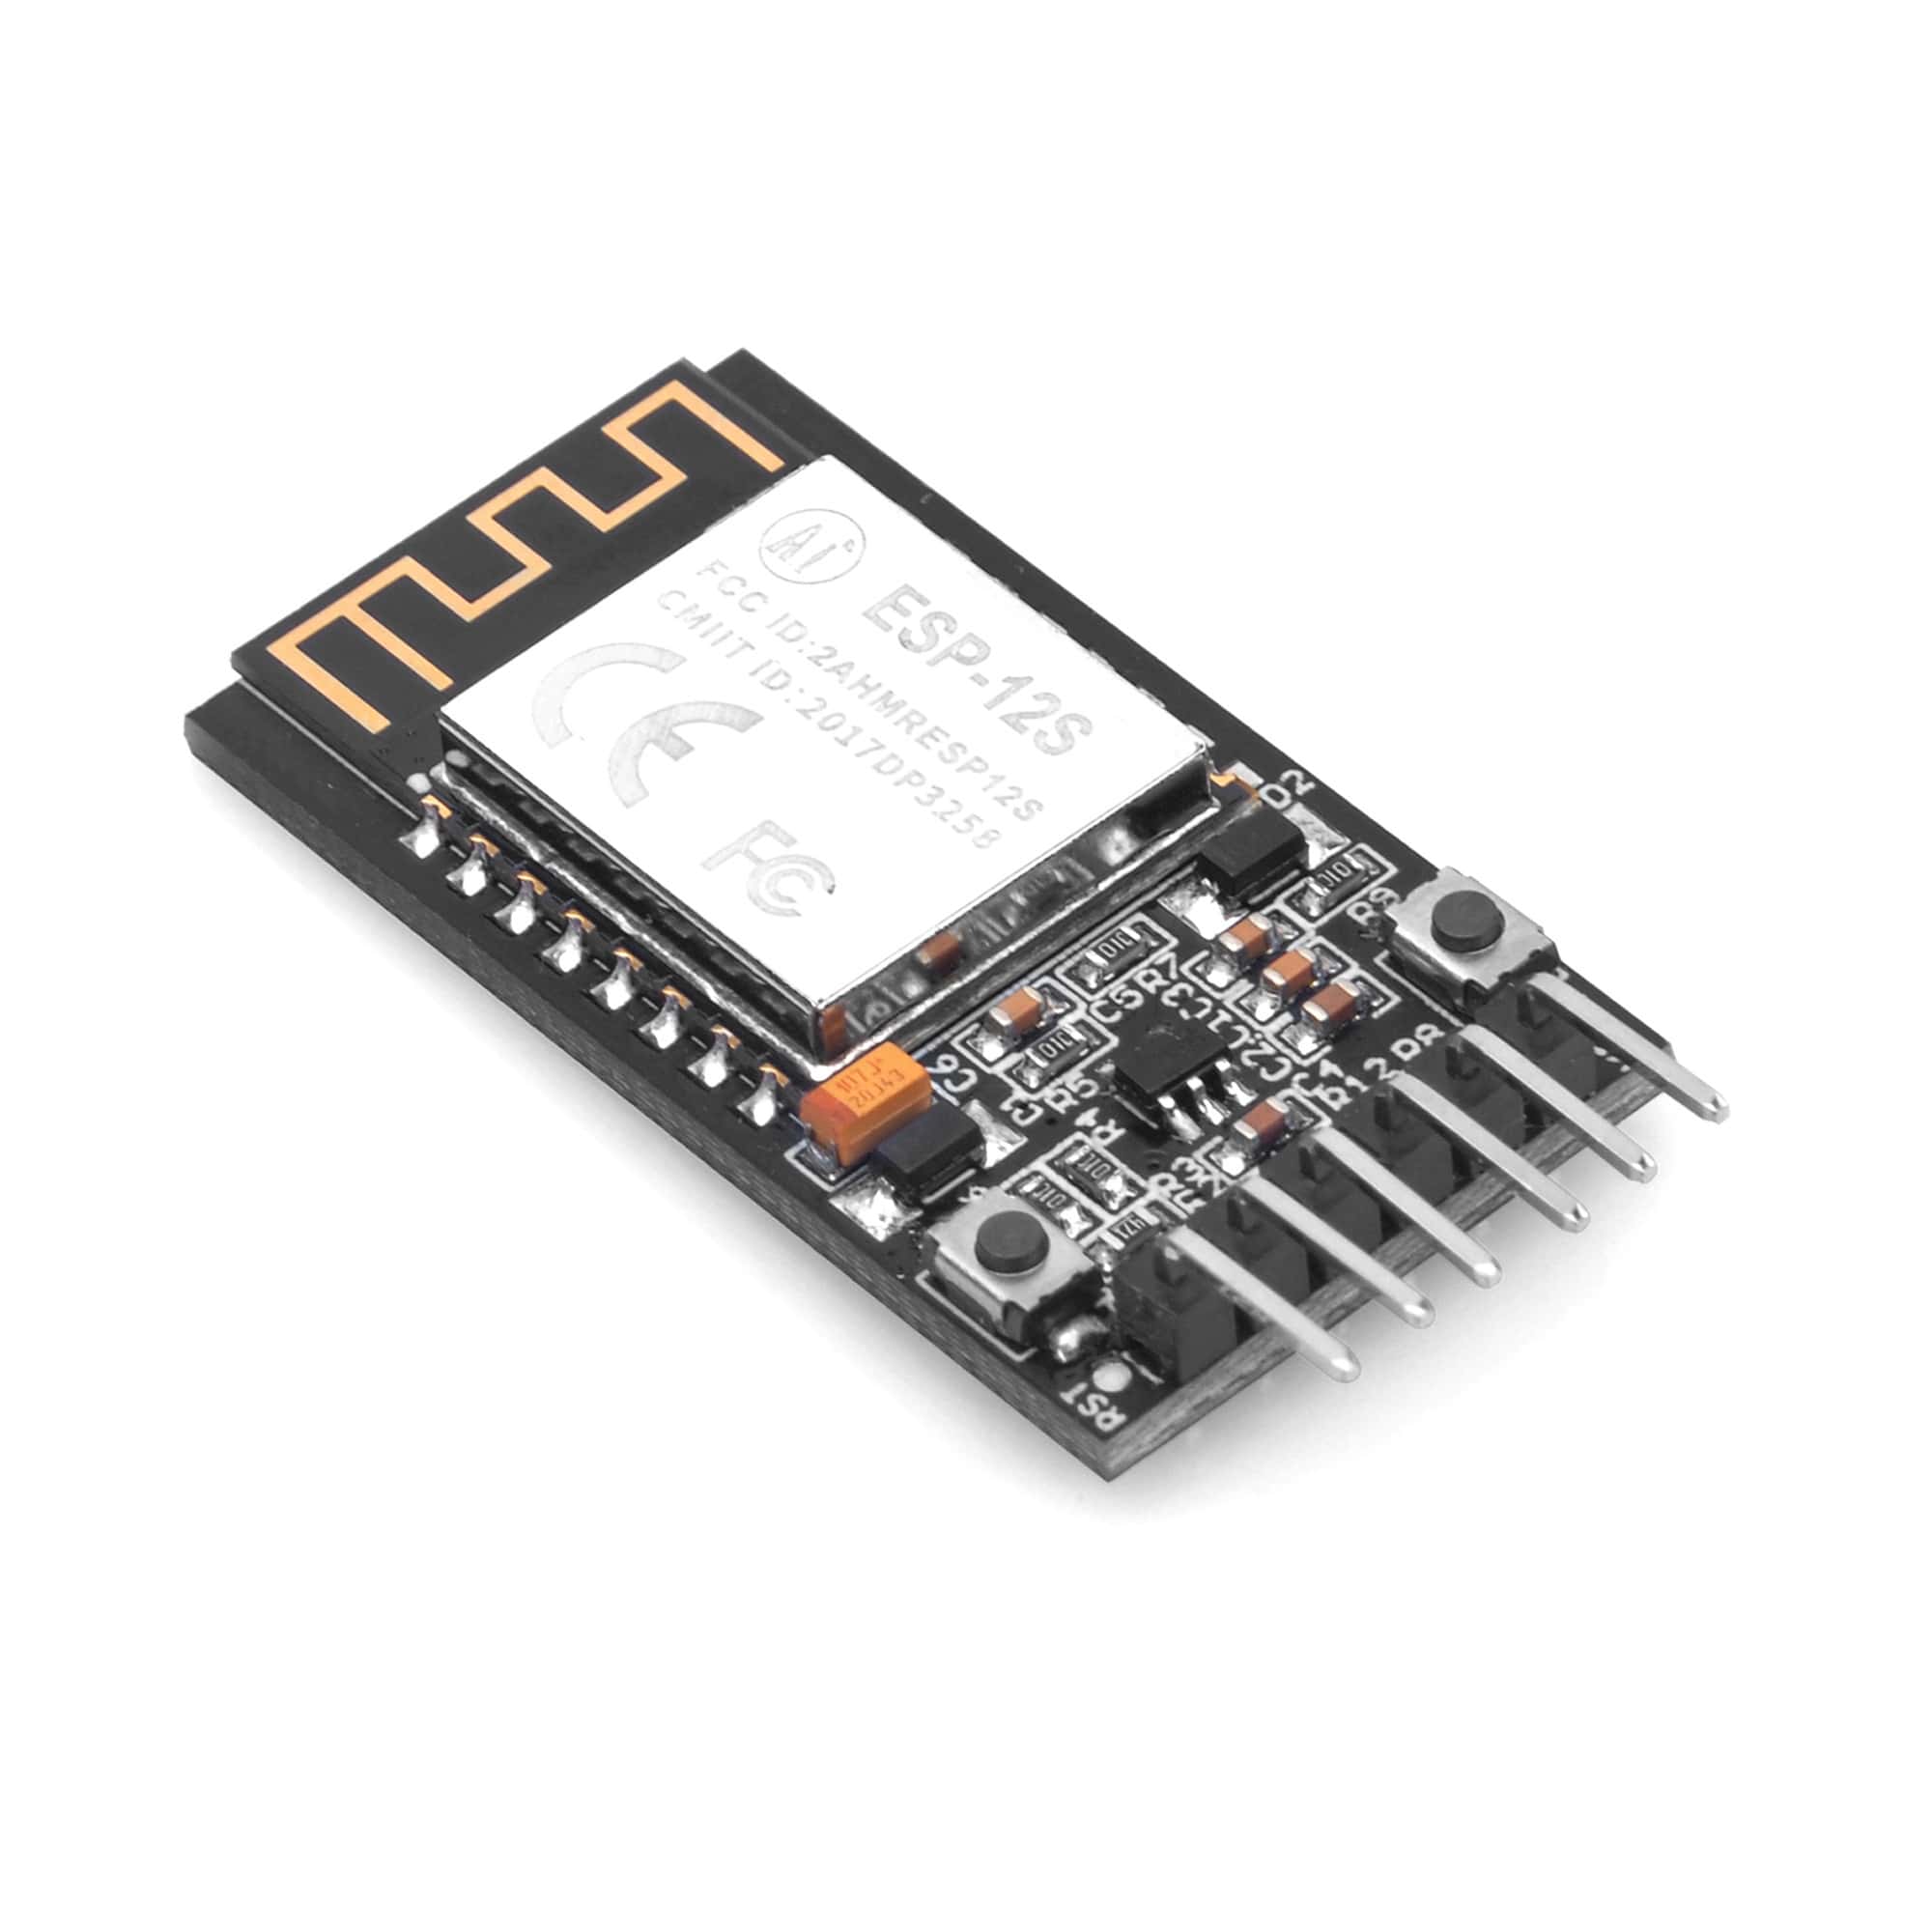
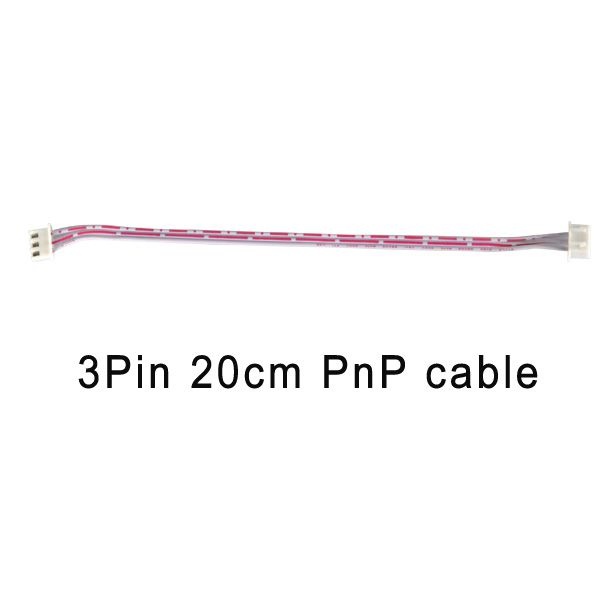
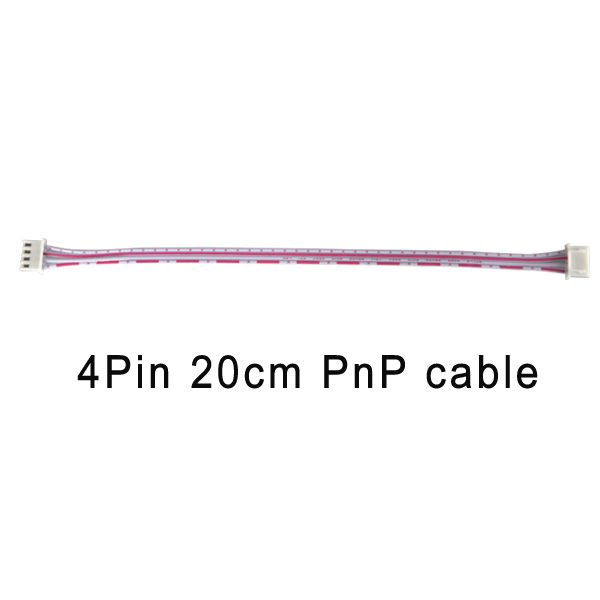
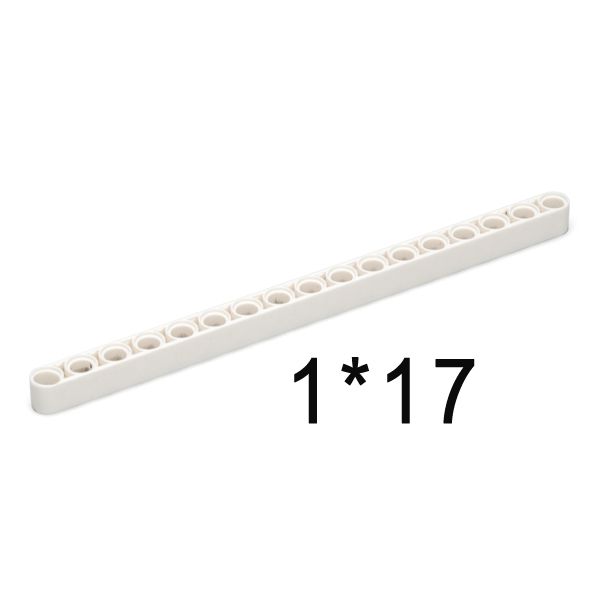
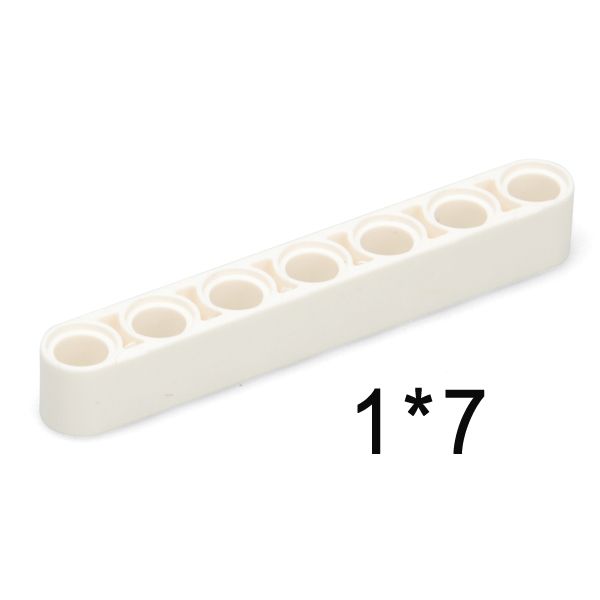
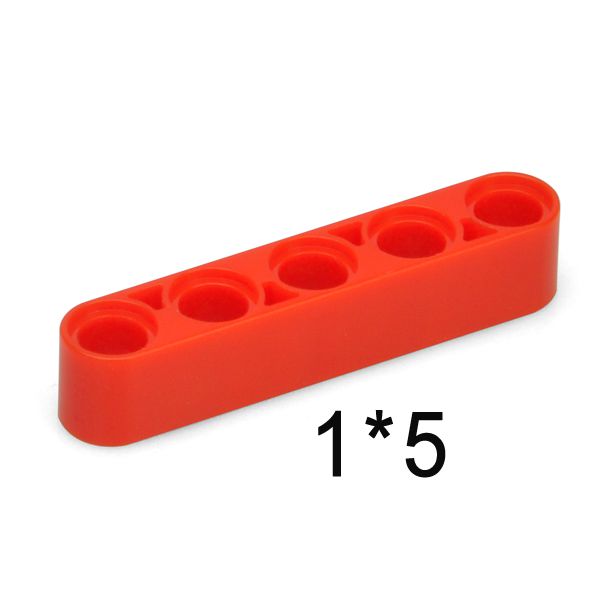
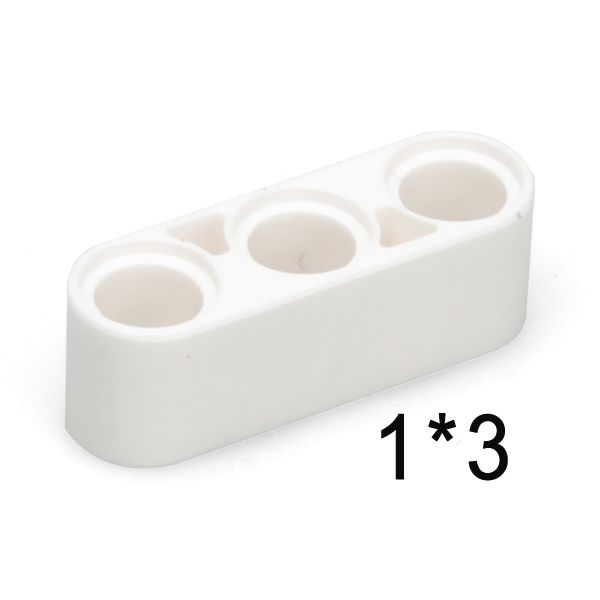
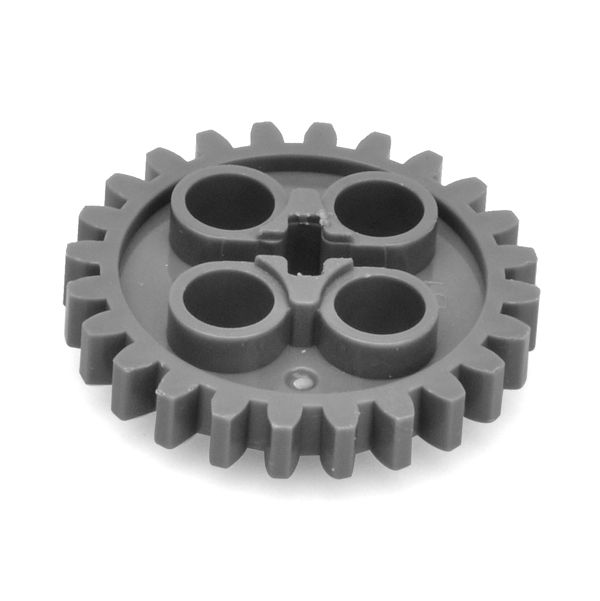
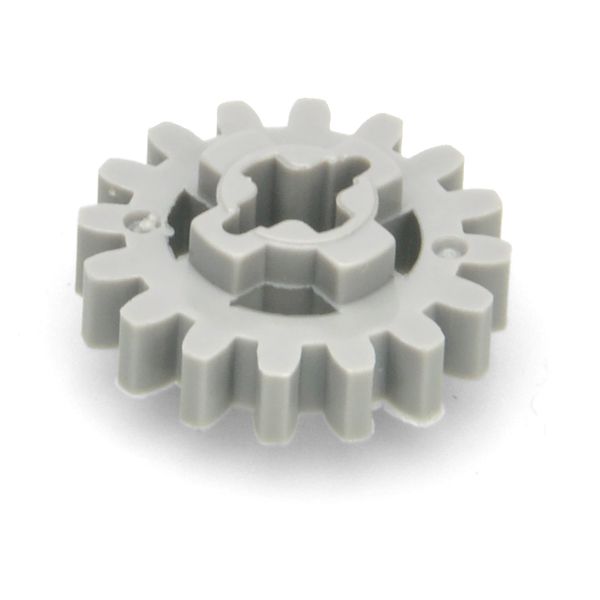
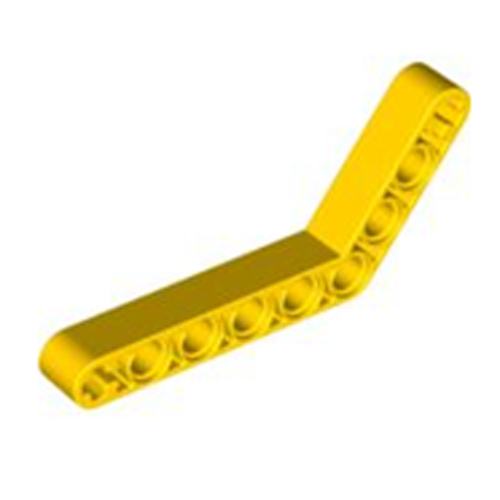
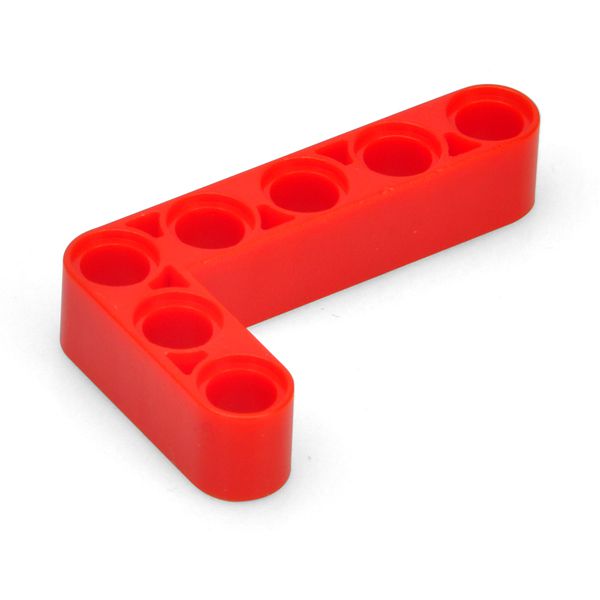
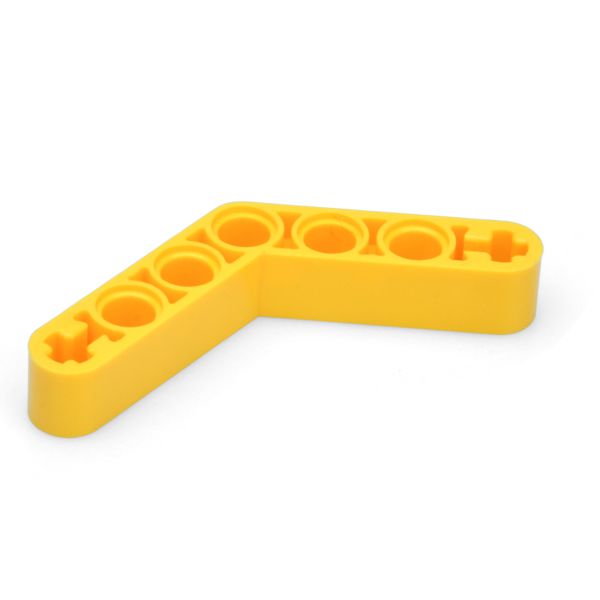
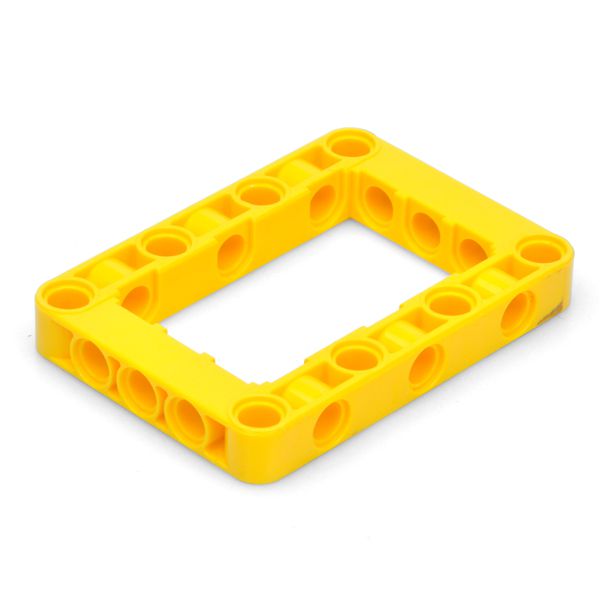
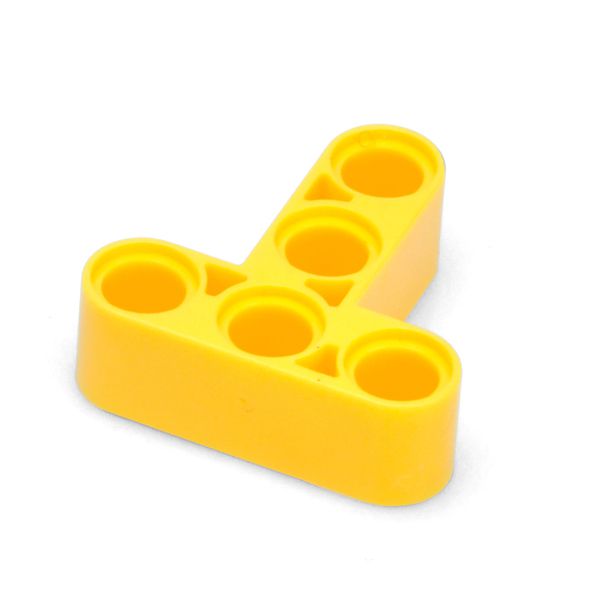
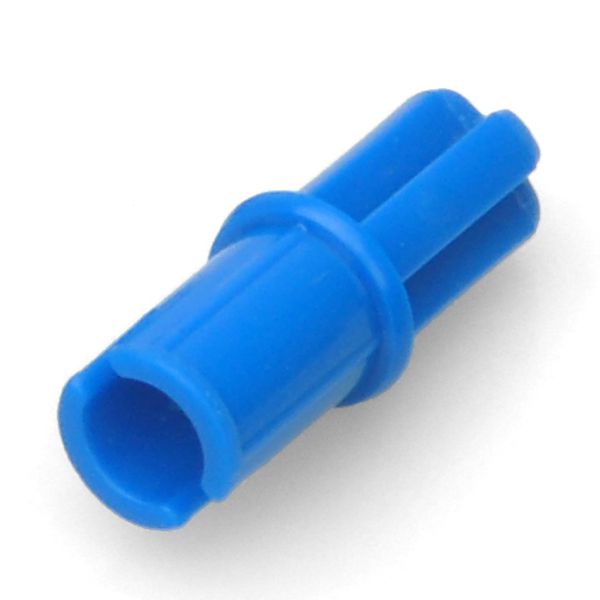
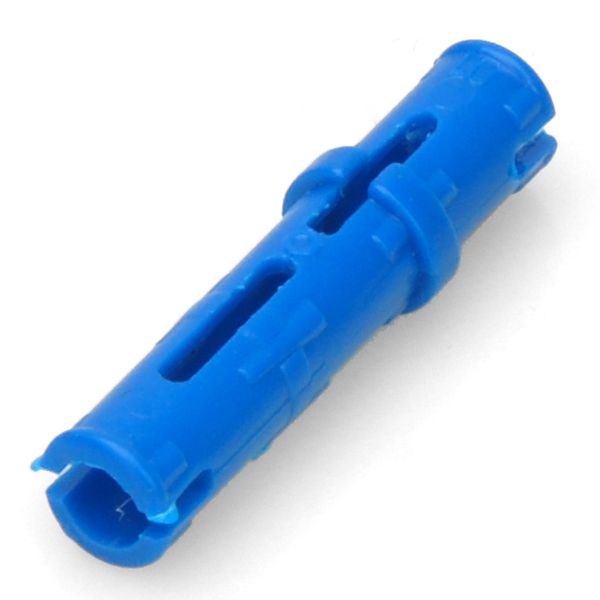
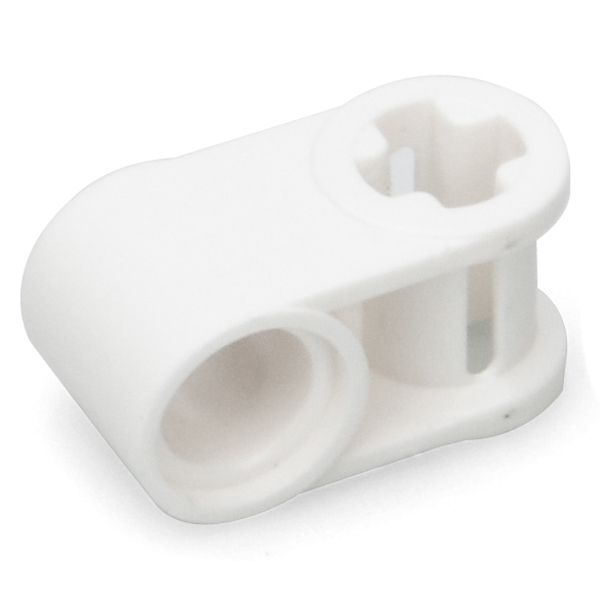
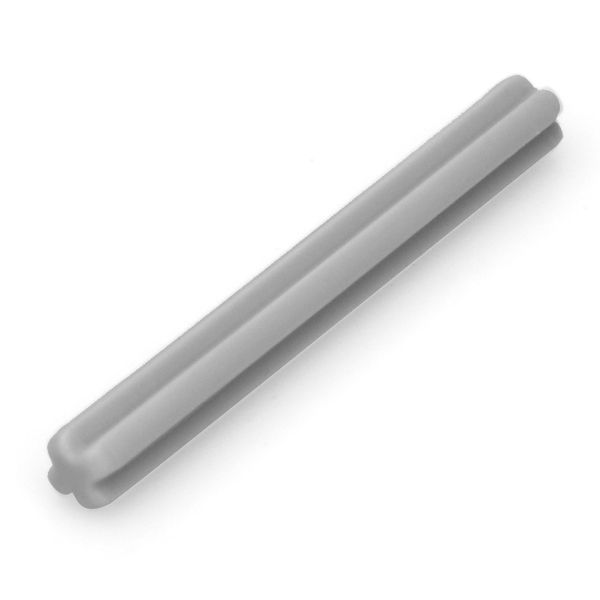
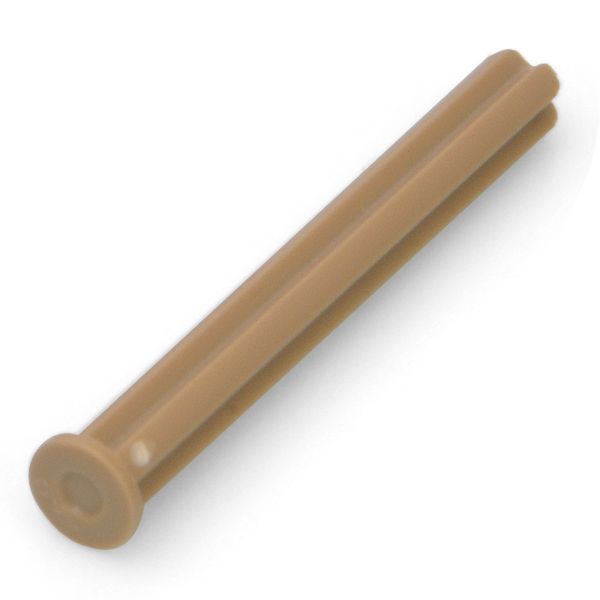
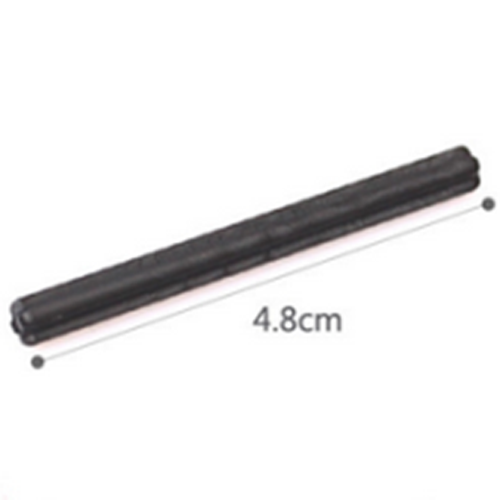
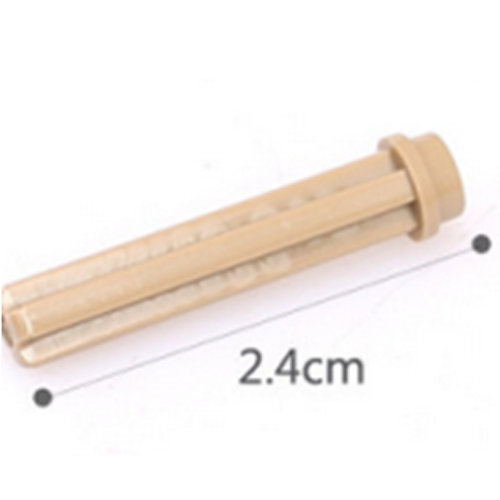
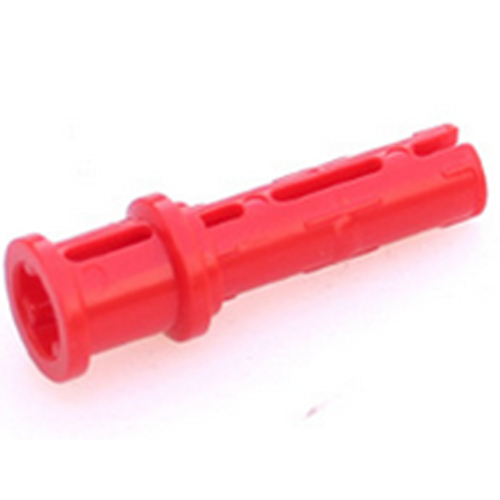
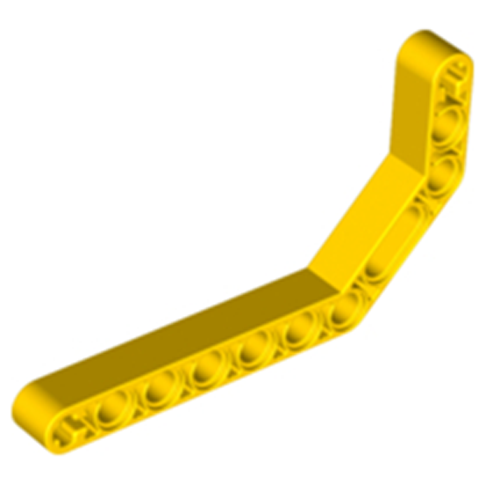
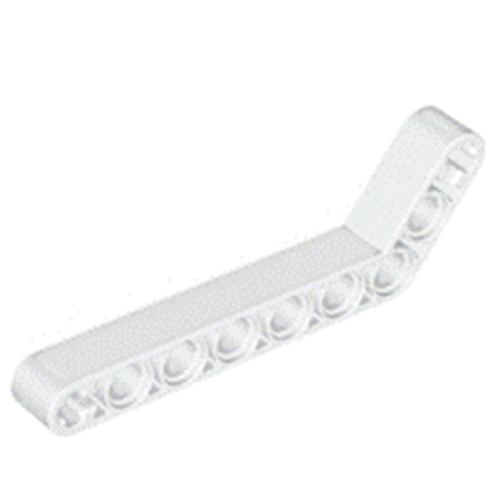
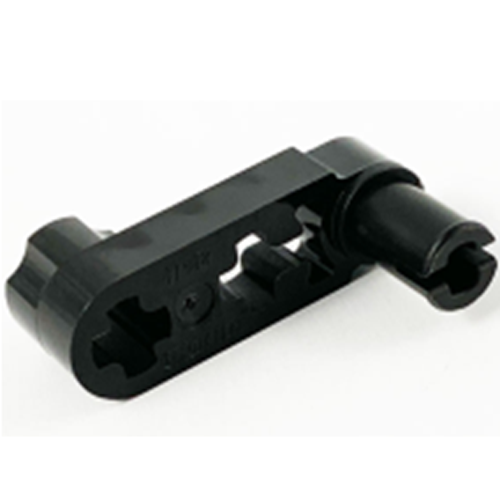
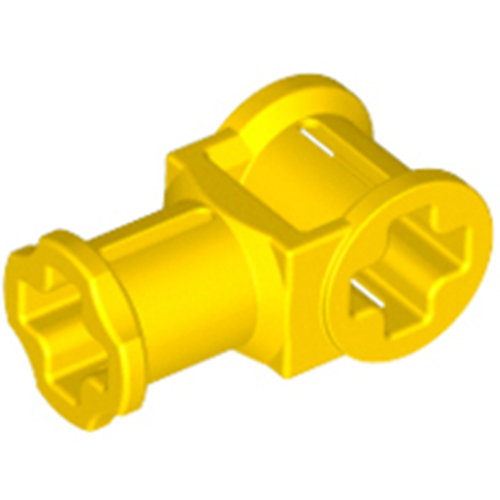
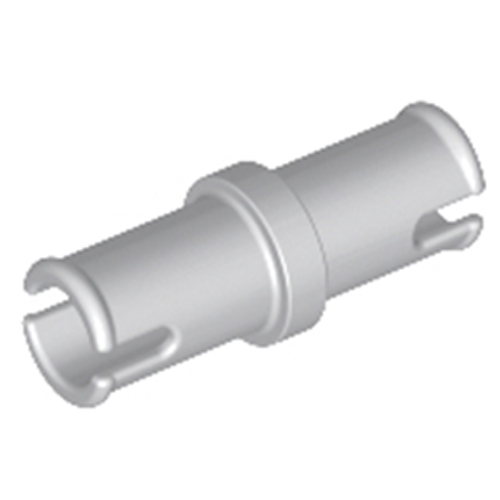
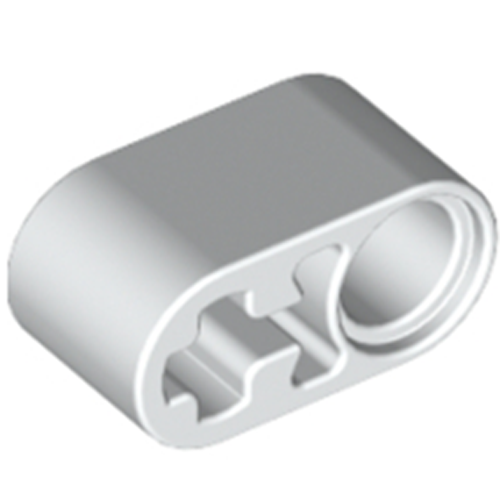
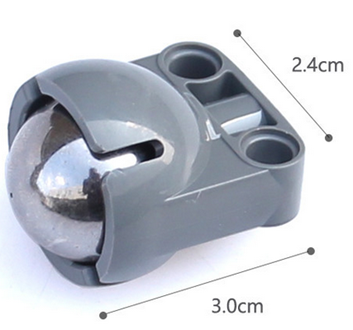
Please prepare the following parts to complete this project NOTE:
1.the color of the building block is subject to the actual product, which does not affect the use.
2. ALL OSOYOO PRODUCTS FOR ARDUINO ARE THIRD PARTY BOARD WHICH IS FULLY COMPATIBLE WITH ARDUINO
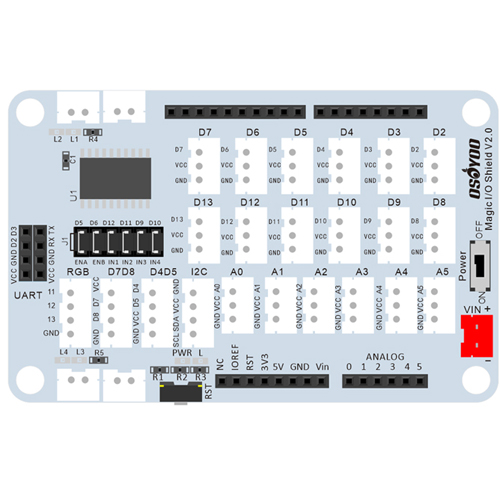
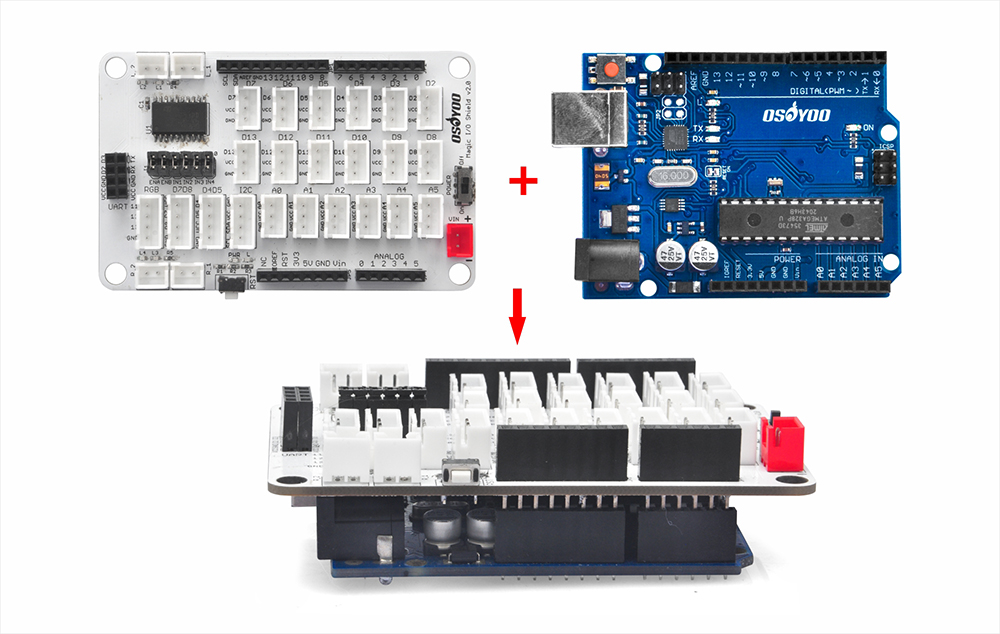
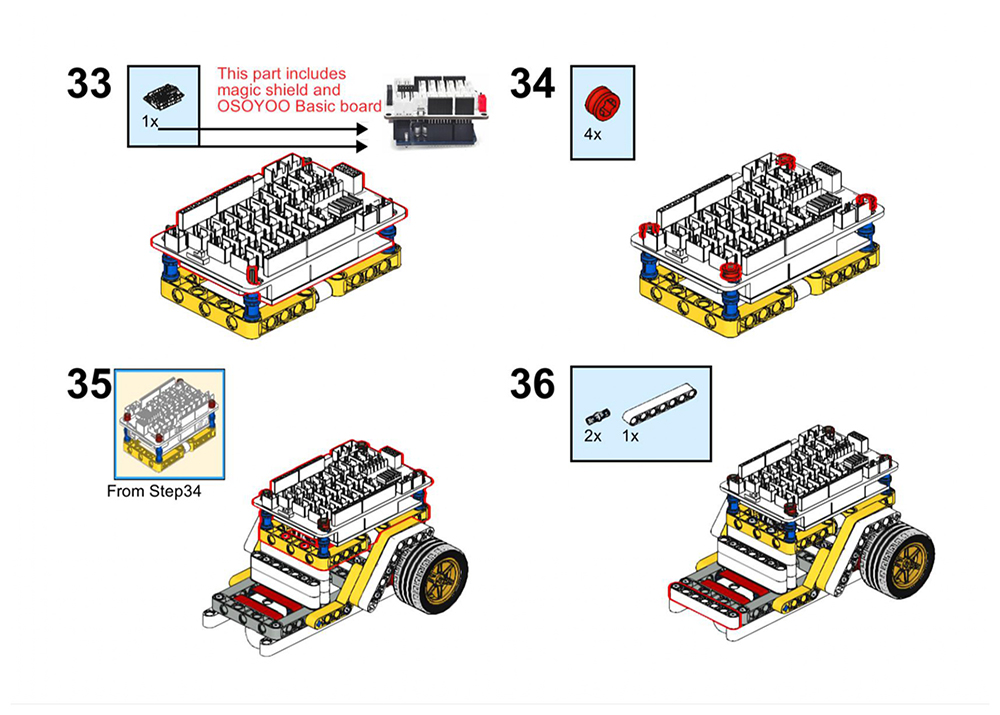
Before you build the robot with blocks, please install OSOYOO basic board for Arduino under OSOYOO Magic I/O shield as following (Attention please : the pins of I/O shield is aligned with the port of basic the board firstly, then press the shield tightly on the board.
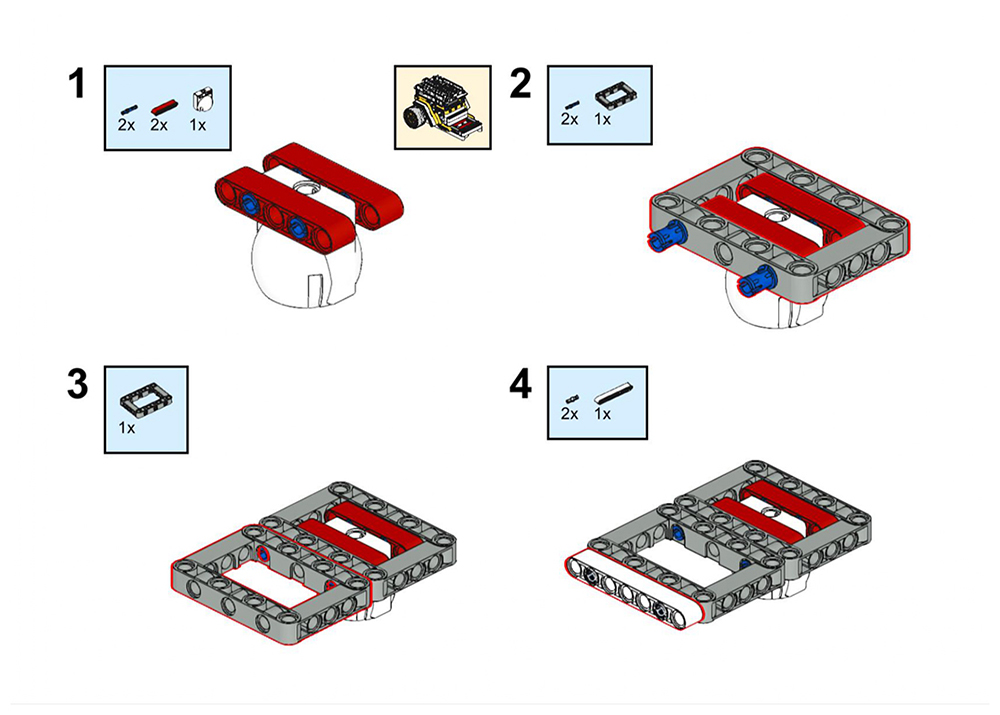
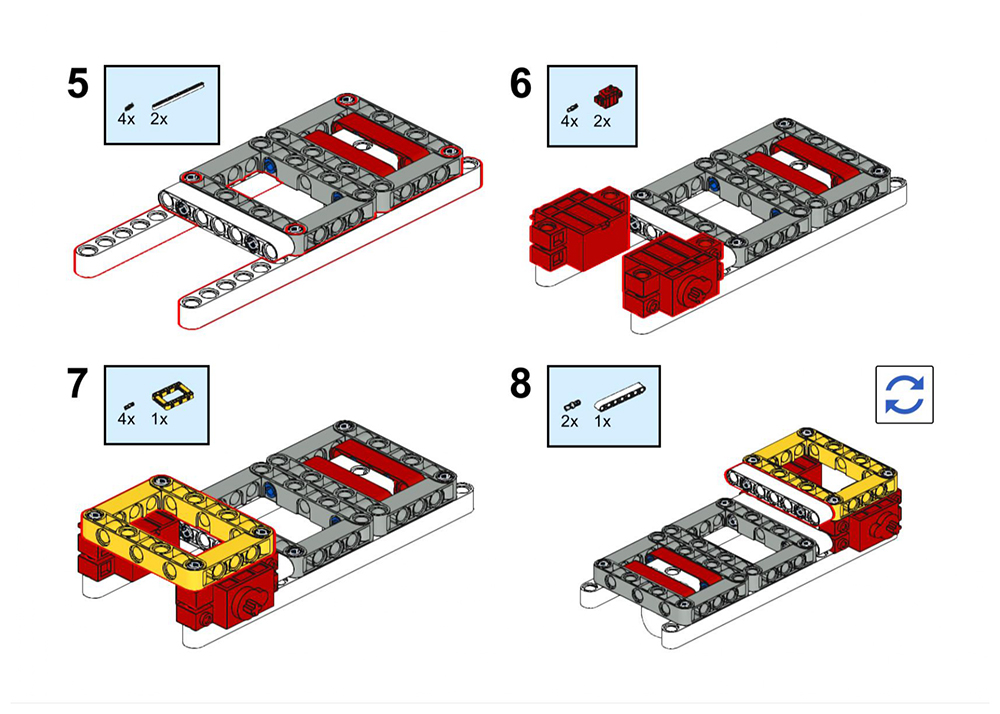
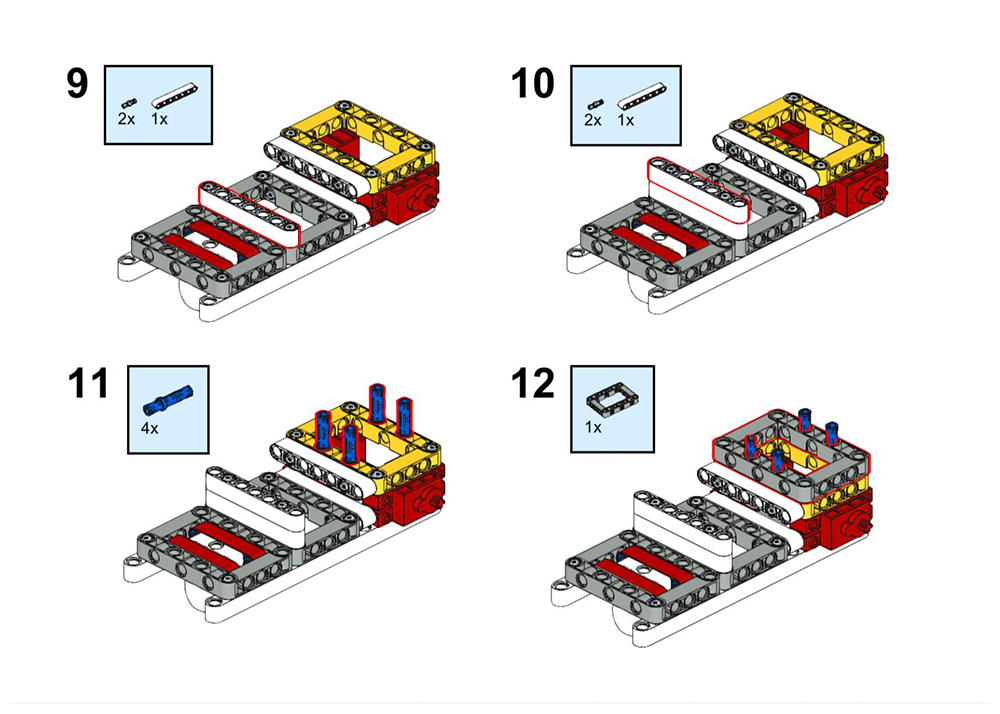
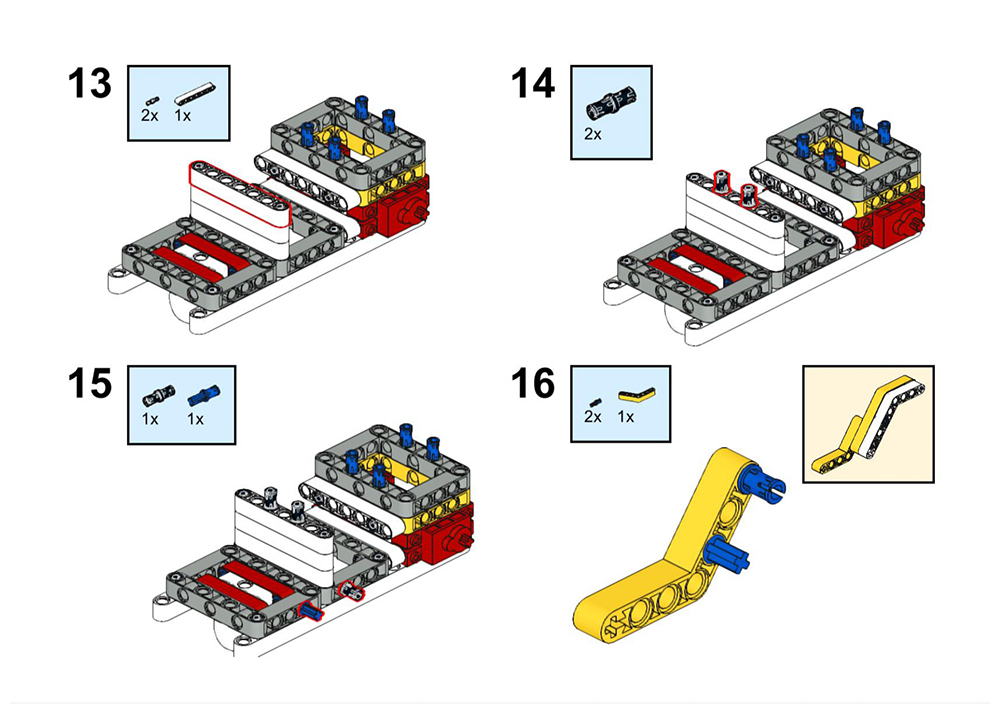
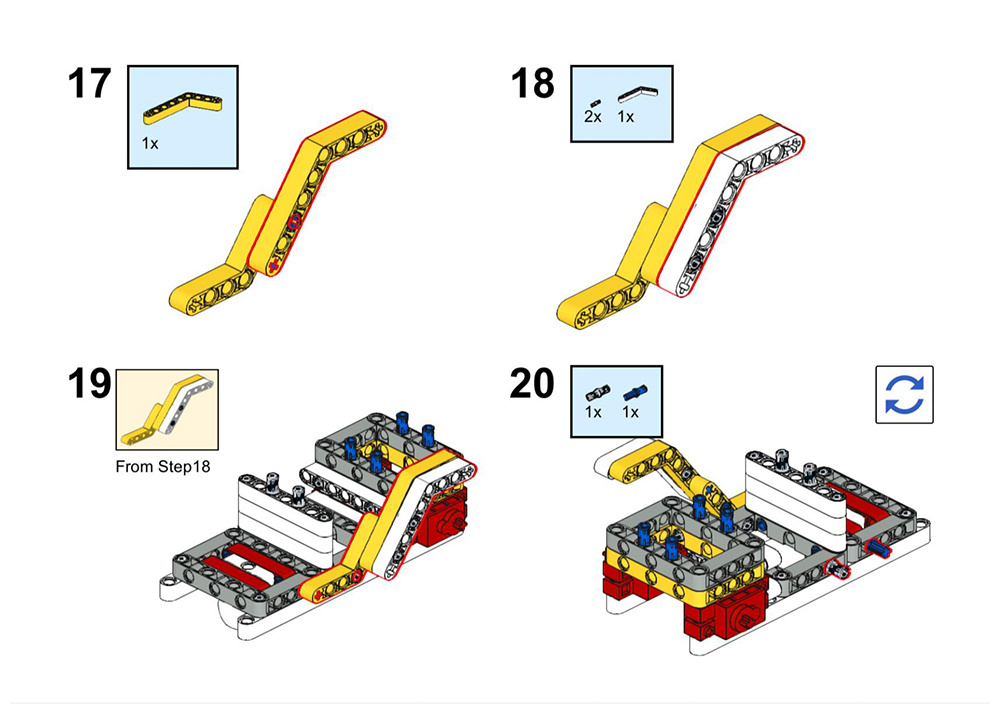
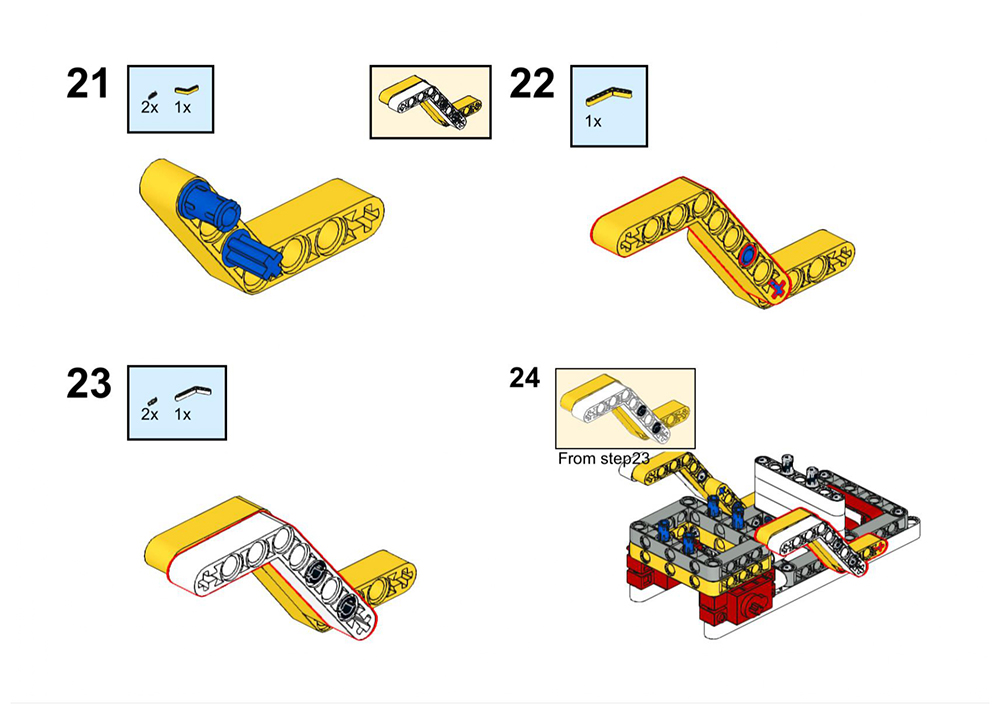
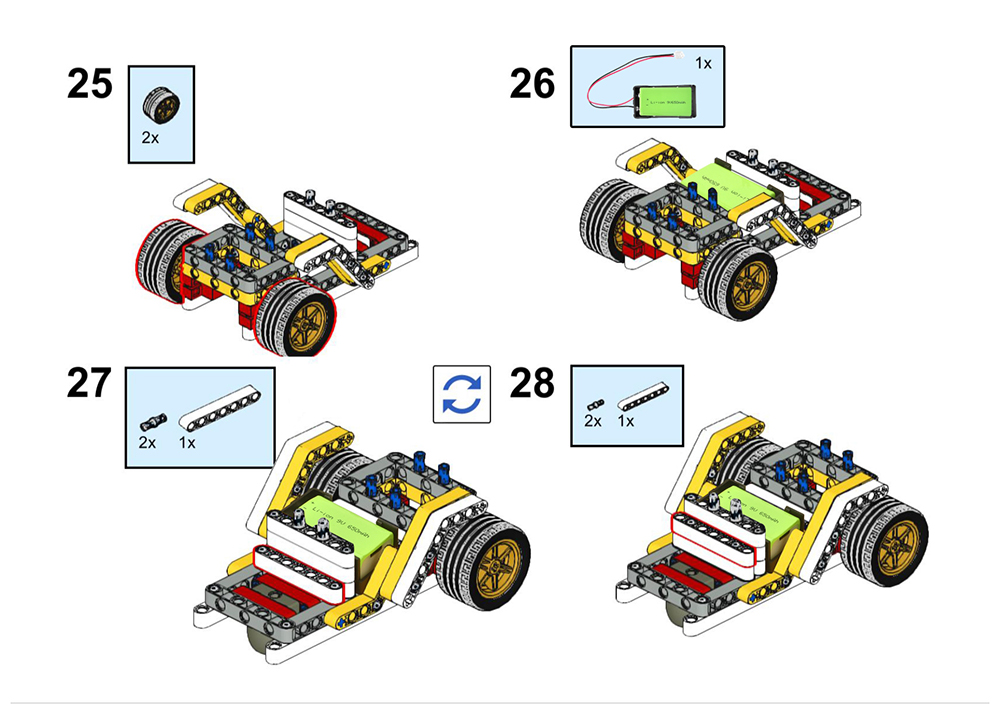
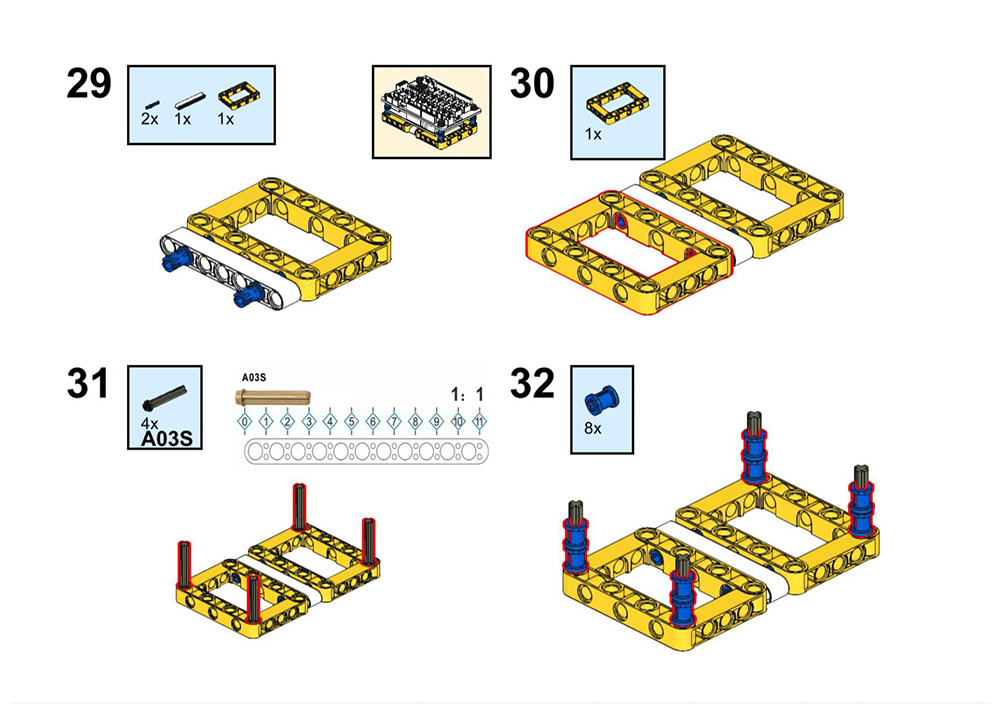
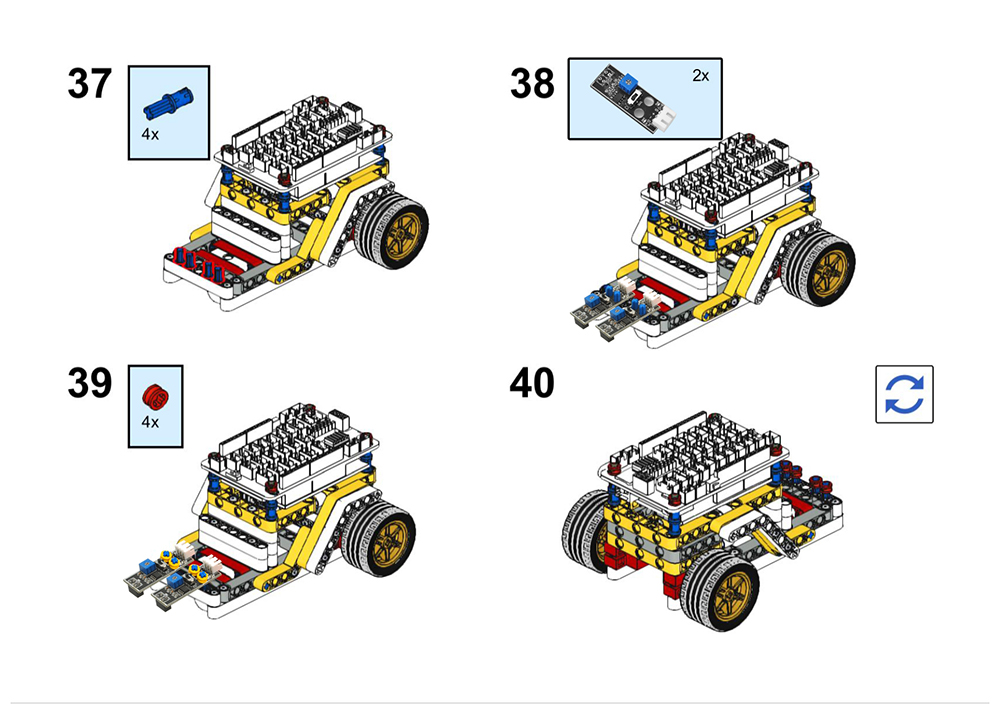
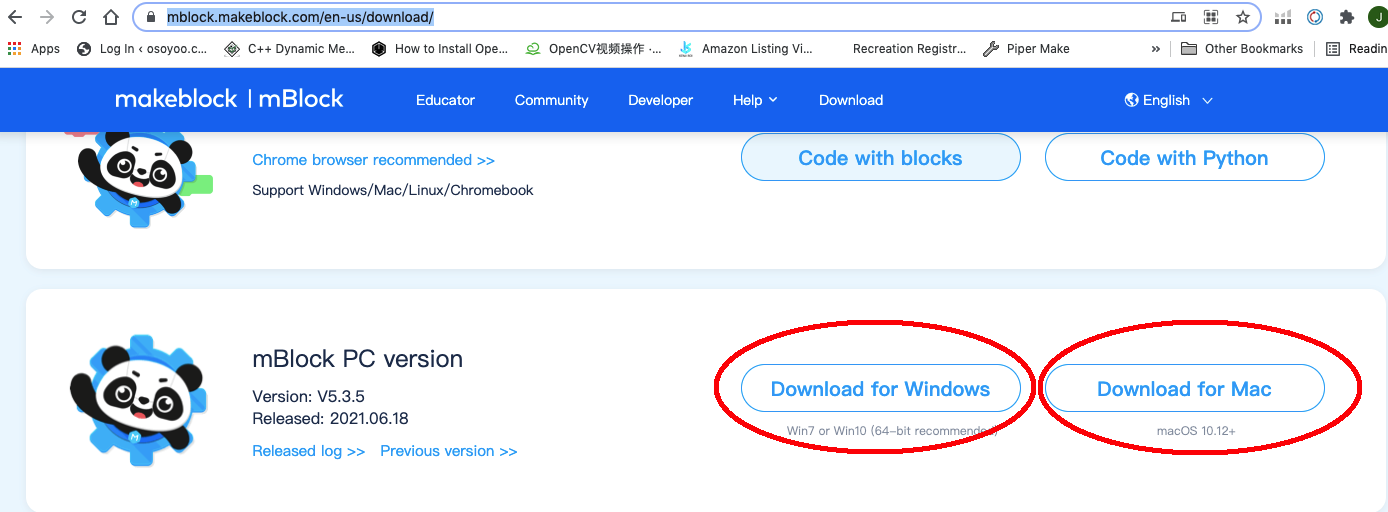
Please follow the building steps to build this robot car, If you want to get clear PDF building steps, please download from https://osoyoo.com/picture/Building_Robot_Car/lesson2/LESSON2.pdf Note: If you have built the robot car for lesson1, please skip to the step35 in this PDF.
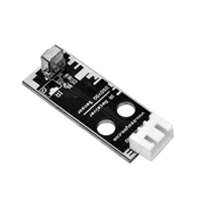
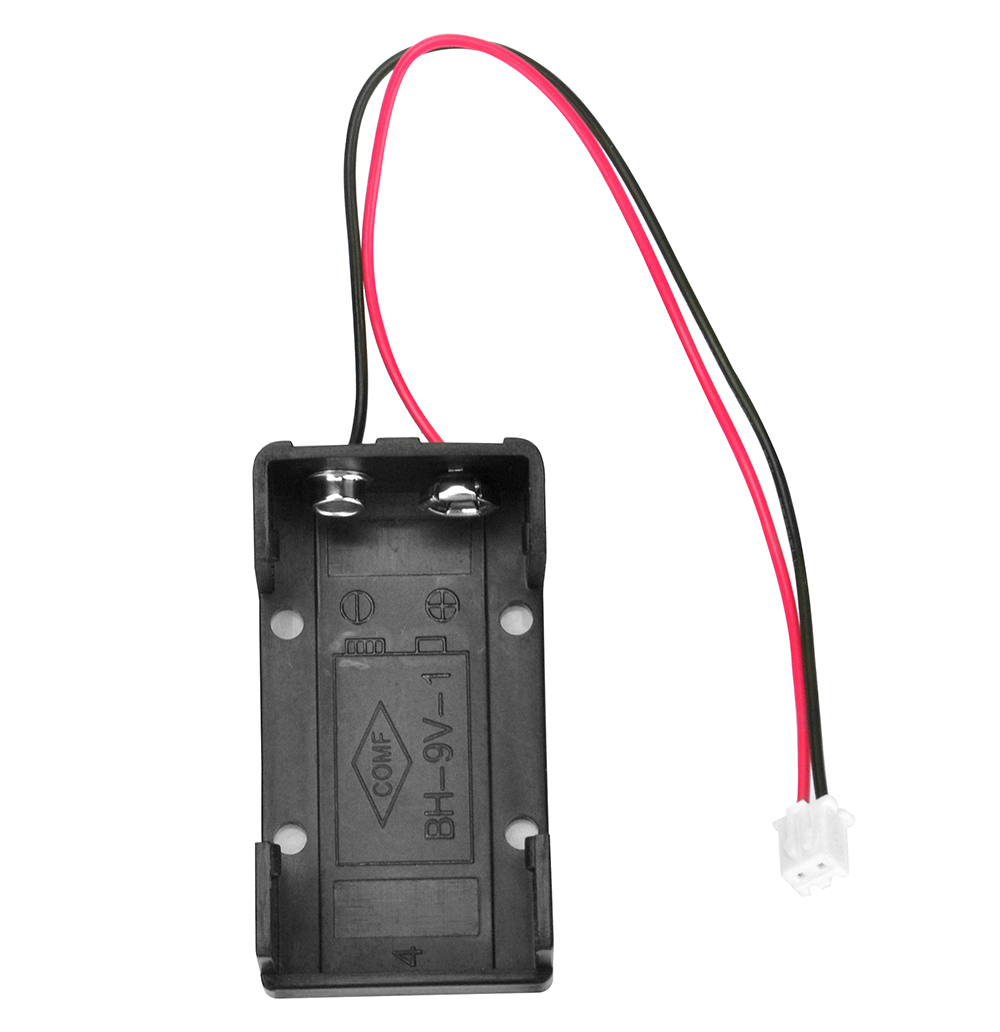
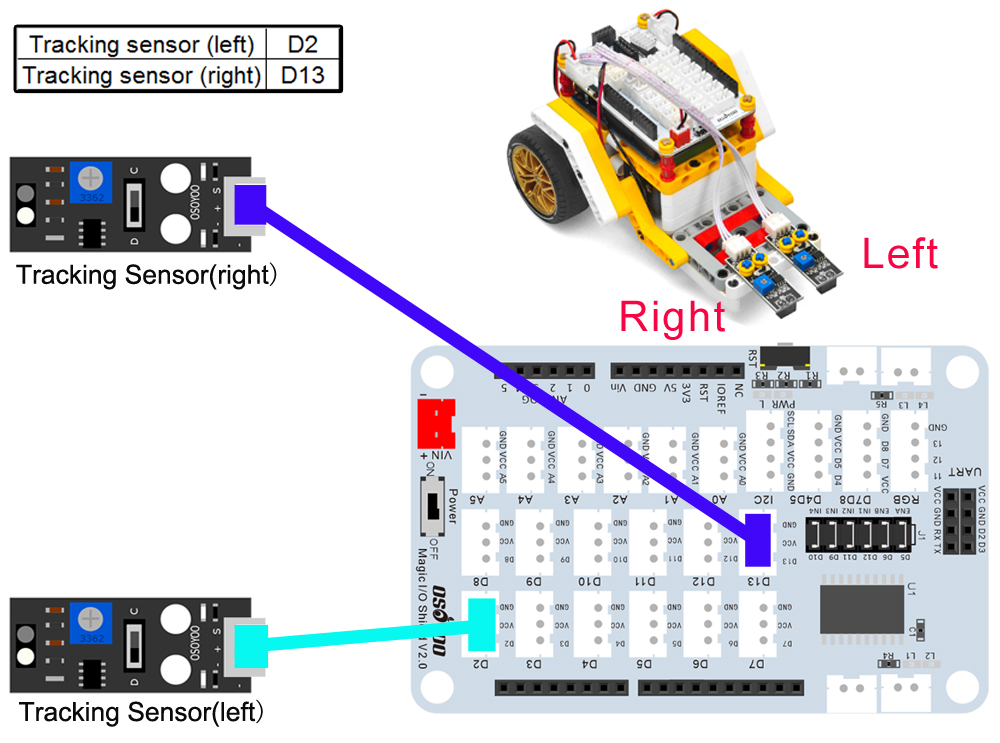
Please connect motors and 9V battery case as lesson1. Then connect left tracking sensor to D2 of the Magic I/O shield, right to D13 port with 3-pin PNP cables as below (Attention please: there are six jumper caps on ENA/ENB/IN1/IN2/IN3/IN4):
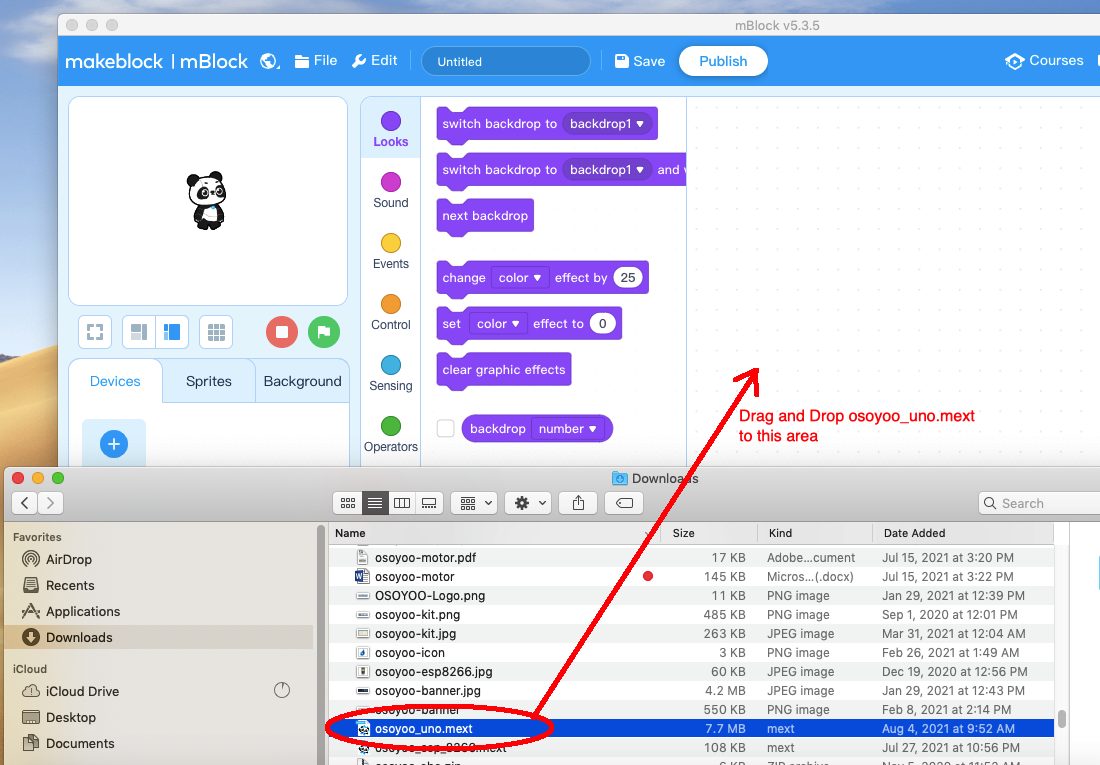
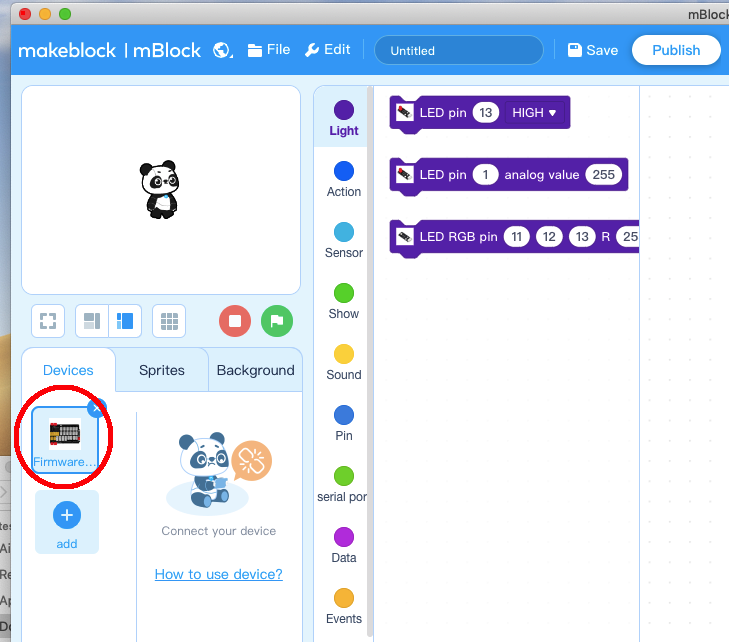
Step 3) Run the mBlock PC software by double-click the lovely Panda icon. You will seem Block UI as the following picture. Please delete the default device CyberPi by click the cross in the red circle.
Step 4) Drag and Drop osoyoo_uno_mext file(downloaded in Step 2) to mBlock software as following:
Now you will see a new device firmware in mBlock, see following picture:
Now, mBlock software and OSOYOO_UNO device firmware have been successfully installed in our PC!
Now we will show you how to use blocks to turn the above idea into reality.
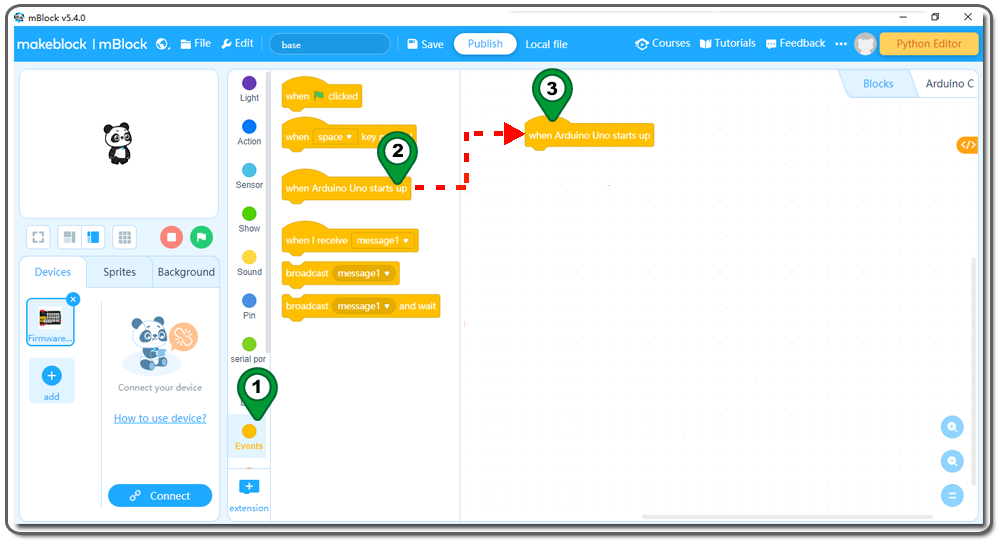
Step 5: Click Events, add when Arduino UNO starts upblock to the top:
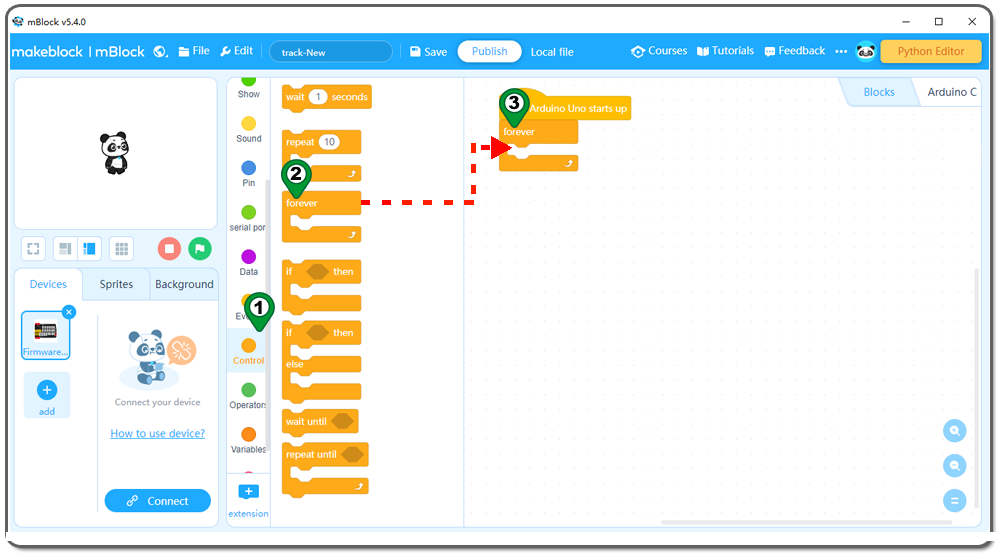
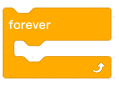
Step 6: Click Control, then drag and drop Forever block to programming area as the following:
Step 7: Click Control, add an if else block inside forever loop, then add another if else block inside the else area of the first if else block:
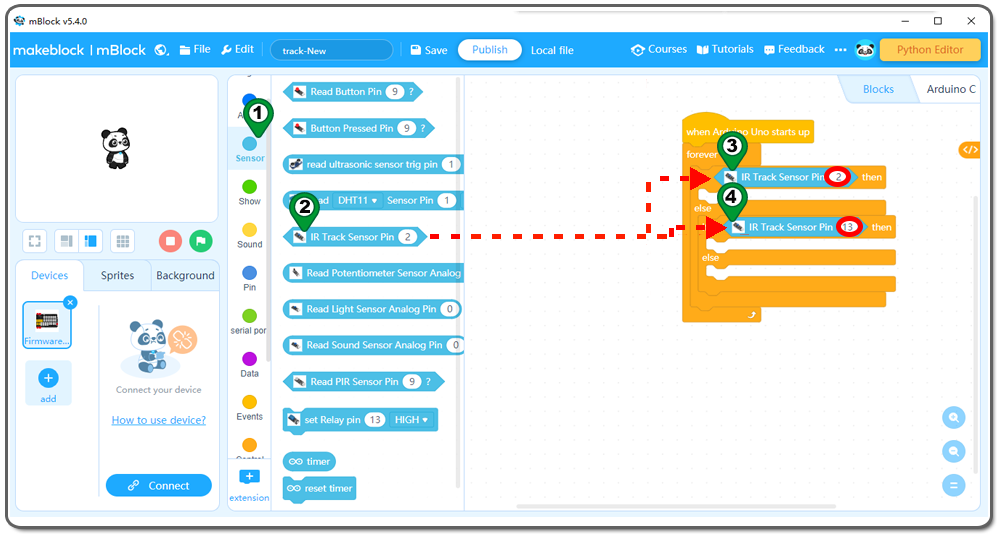
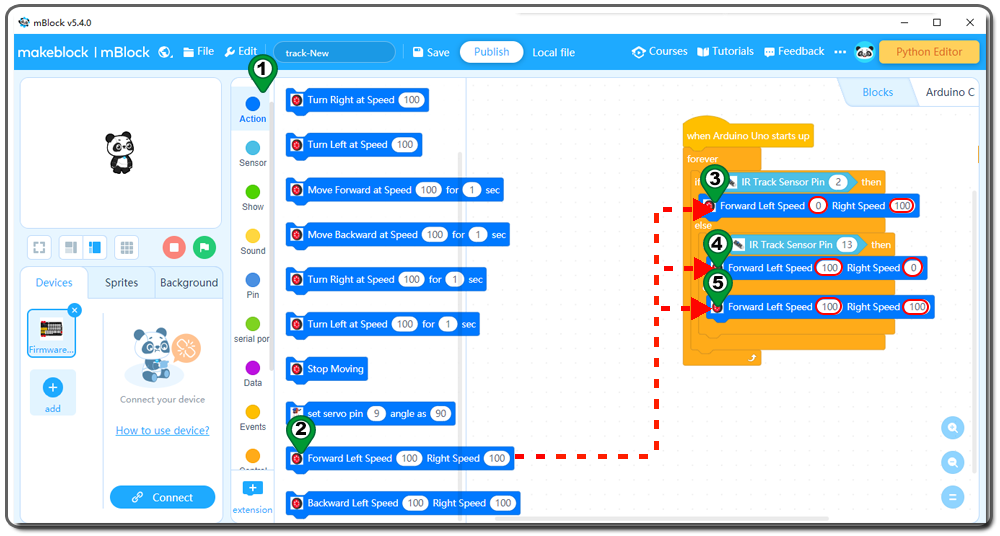
Step 8: Click Sensor, add 2 pcs of IR Tracking Sensor Pin 2blocks inside if condition area, change 2nd Pin from 2 to 13 as following:
Step 9: Click Action category, add 3 pcs Backward Left Speed 100 Right Speed 100block inside if else blocks, change first Right Speed from 100 to 0, change 2nd Left Speed from 100 to 0 :
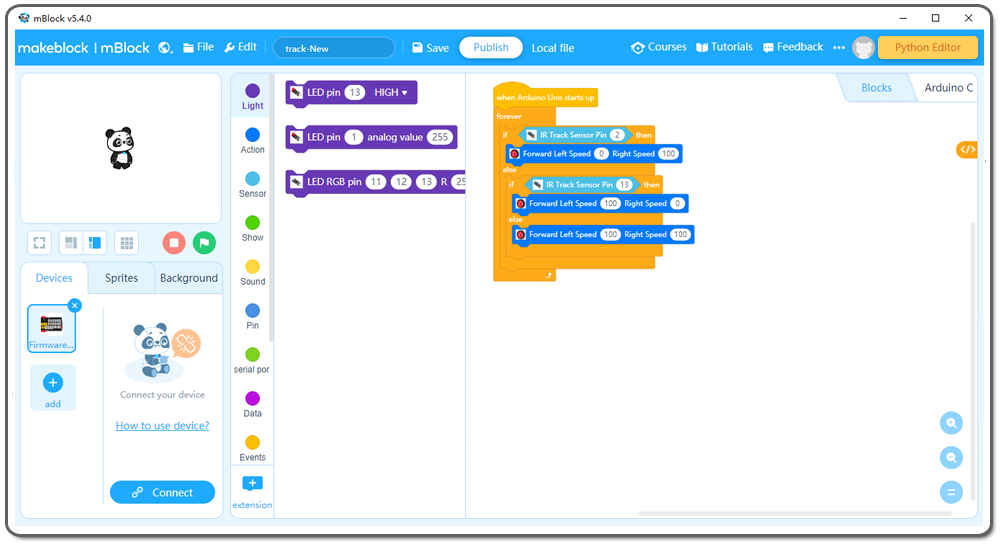
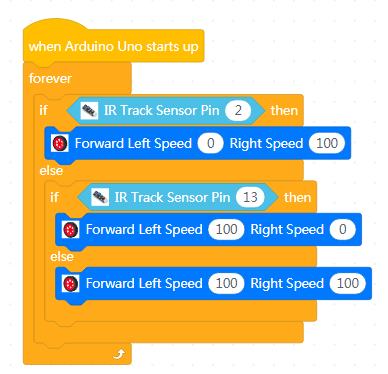
Now we have completed the block programming. The final blocks look like the following:
Step 10) Upload the program to OSOYOO basic board
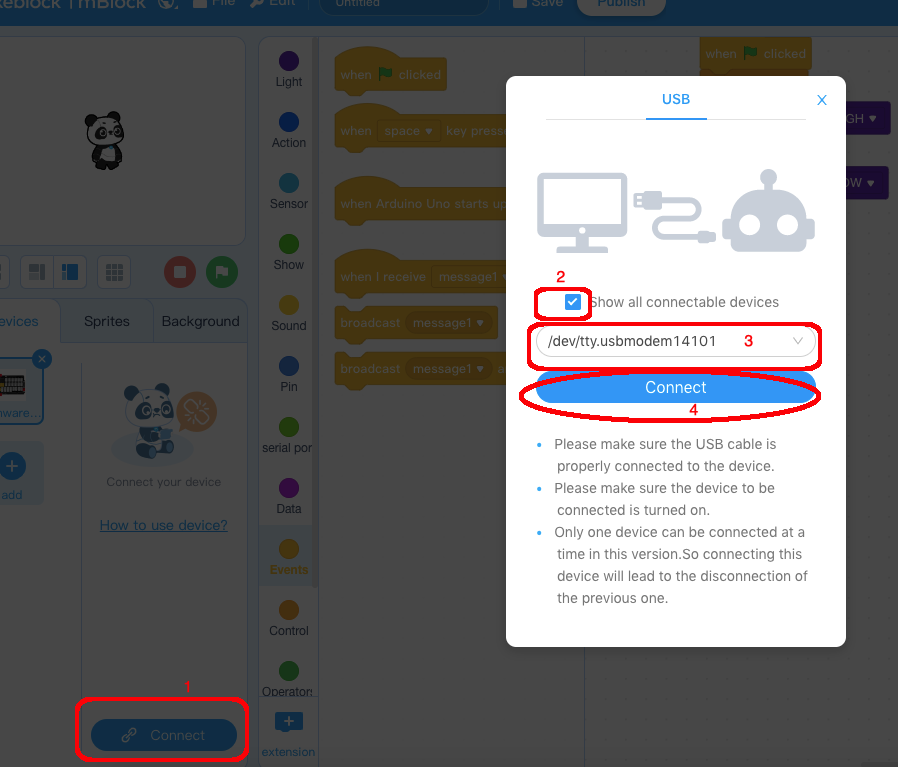
1) Please connect your OSOYOO basic board to your PC with USB cable firstly. Then click the Connect button in the bottom of the mBlock software, you will see a USB window pop up,
2) select Show all connectable device check box, then a device drop-down menu will show up,
3) select your port from device drop-down menu
4) click Connect button to connect your PC to OSOYOO basic board.
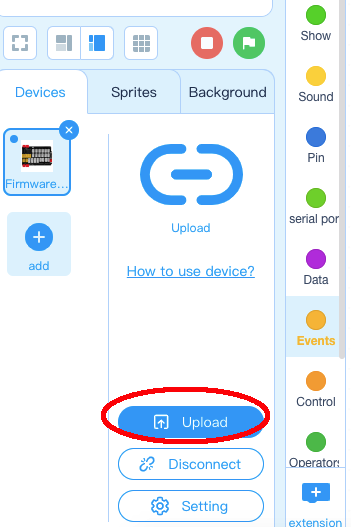
5)After your PC is connected to OSOYOO basic board, please click Upload button in the bottom of your software, then the code will be uploaded to OSOYOO basic board:
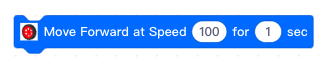
In Lesson 1, we have learned a Yellow Event Program block and Some Blue Action blocks
In this lesson, we will see some new program blocks from Control Category| i)Forever Loop
This block like a crocodile head which has some inside blocks its mouse. These inside blocks will be executed in order, after the last inside block is executed, it will go back to the first inside block and repeat the procedure again and again like a loop.
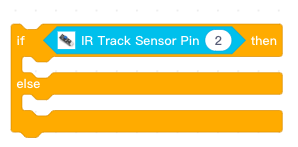
ii)A blue IR tracking sensor block from Sensor category
Above block is a hexagon block which means it will return True or False value to Control blocks
Take above block as example, this block will read tracking sensor in D2 pin(left sensor), if the sensor detects black, it will return TRUE, if detect white, it will return False
iii)If Else Block in Control category
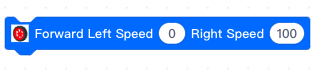
The above block has two mouses, it also has a condition block in the top. When condition block returns True, it will execute the blocks inside the if area(upper mouse), if condition block returns False, it will execute the blocks inside the else area (lower mouse). iv)Another action block which can control the left wheel and right wheel speed
above block can control the left wheel and right wheel running at different speed. In the above example, left speed is 0 and right speed is 100. This will make the car make a left turn. v) Now we can review the whole block’s functionality in this lesson:
Above program blocks are running as a forever loop which means it will never stop unless you turn off the power.
The program will first test the left sensor (D2 pin) and see if the left sensor detects any black line, if yes, it will make a left turn.
If left sensor detects white, then it will detect right sensor(D13), if right sensor returns True, it means the black line is on the right side and the car will make a right turn.
If both sensors don’t detect a black line, it means the black line is in the middle, the car will move forward.
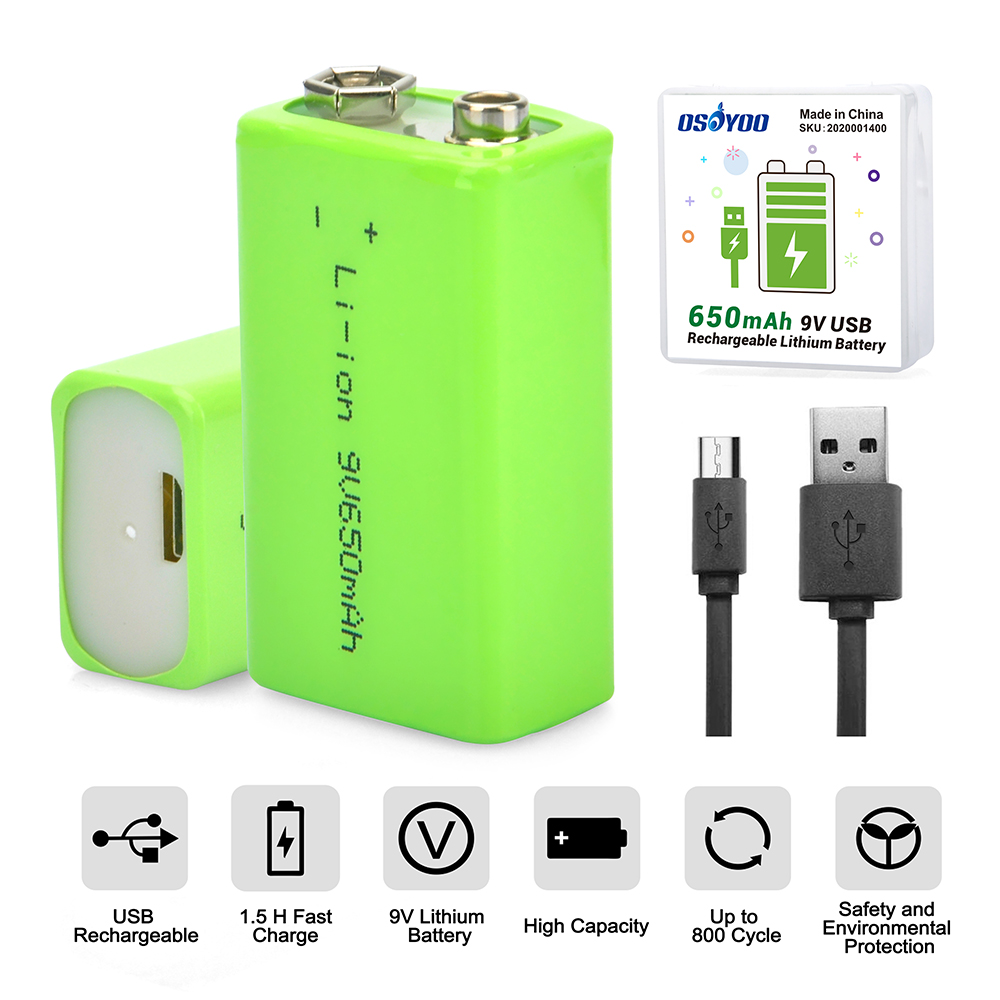
Disconnect Arduino from PC, put a 9V battery into battery pox (make sure polar direction is correct, otherwise it can destroy your device and cause fire hazard).
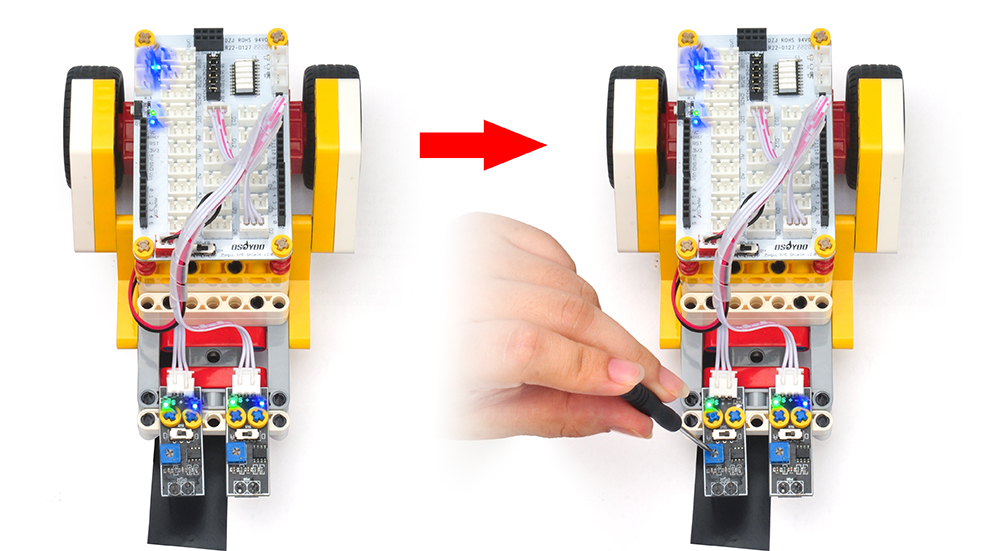
Adjust Tracking Sensor Sensitivity:
Turn on and hold the car and adjust the sensitivity screw on the tracking sensor with a screwdriver until you get the best sensitivity status: the signal indicates LED light will turn on when the sensor is above white ground, and the signal LED will turn off when the sensor is above black track.
Prepare a black track (the width of the black track is more than 30 mm and less than 60 mm) in white ground. Please note, the turning angle((bending curve) of track can’t be two sharp (larger than 90 degree). If the turning is too sharp, the car will move out of the track. Turn on the car and put the middle of the tracking sensor module facing over the black track, and then the car will move along the black track.


 Prepare a black track (the width of the black track is more than 30 mm and less than 60 mm) in white ground. Please note, the turning angle((bending curve) of track can’t be two sharp (larger than 90 degree). If the turning is too sharp, the car will move out of the track. Turn on the car and put the middle of the tracking sensor module facing over the black track, and then the car will move along the black track.