← Back to Product Introduction
Table of Contents
1. Supported Hardware & OS
| Item |
Details |
| Display Panels |
OSOYOO 7″ DSI Touchscreen (#2025001200) |
| Supported Boards |
Raspberry Pi 3,4, 5, Compute Module 3,4,5 |
| Operating System |
Ubuntu 24.04, Ubuntu 25.10 |
| Supported Kernels |
6.8.x, 6.17.x and newer |
Note: Make sure your hardware is connected correctly before proceeding. Refer to the Hardware Connection section in the product introduction if needed.
2. Driver Installation
Installation Ubuntu with Raspberry Pi imager
(skip this step if your SD card has pre-installed Ubuntu Image).
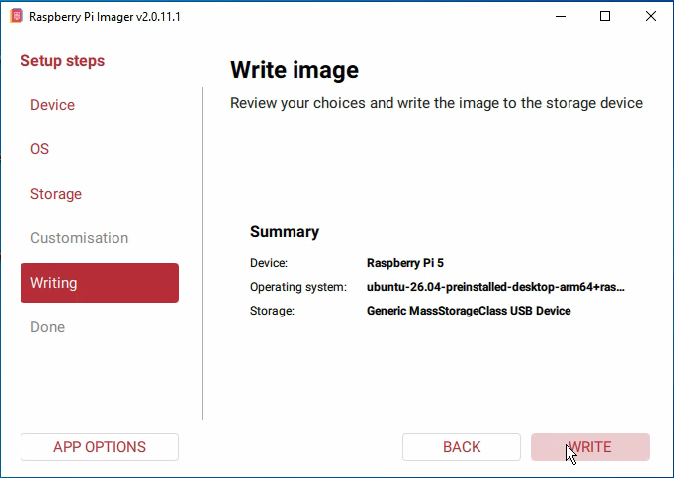
Note: here we take Raspberry Pi imager 1.9.6 as example to install image, and other version may have some differences. (Device: Raspberry Pi 5)
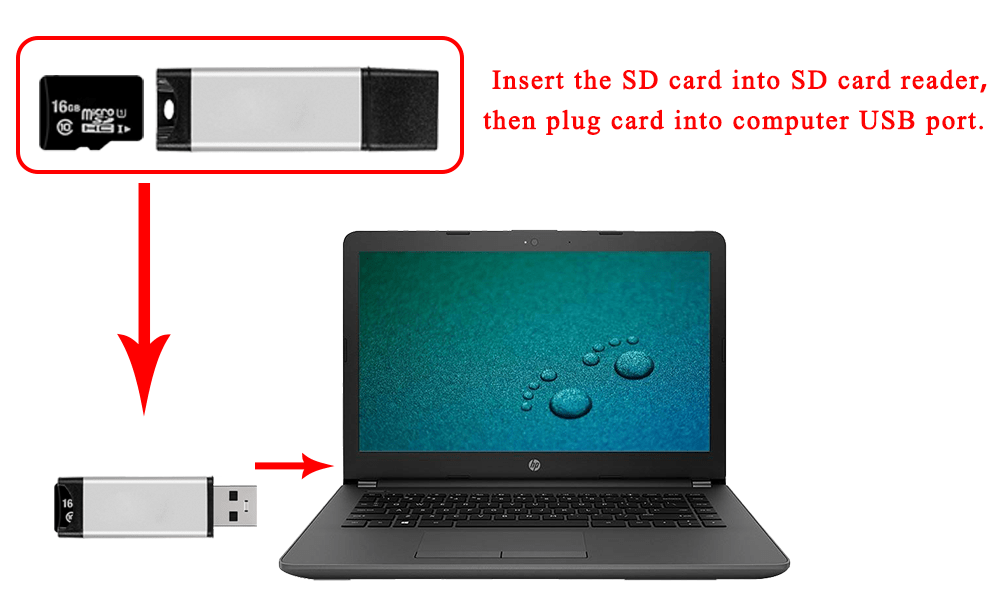
Step 1: Prepare a newly formatted micro SD memory card(TF card) with USB micro SD card reader, recommend sizes are 16G, 32G.
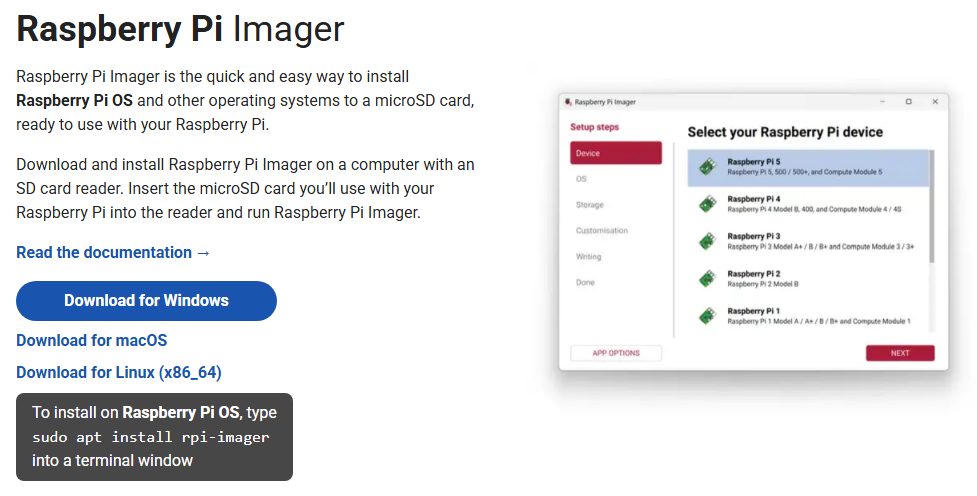
Step 2: Download the Raspberry Pi Imager from Raspberry Pi official website: https://www.raspberrypi.com/software/.
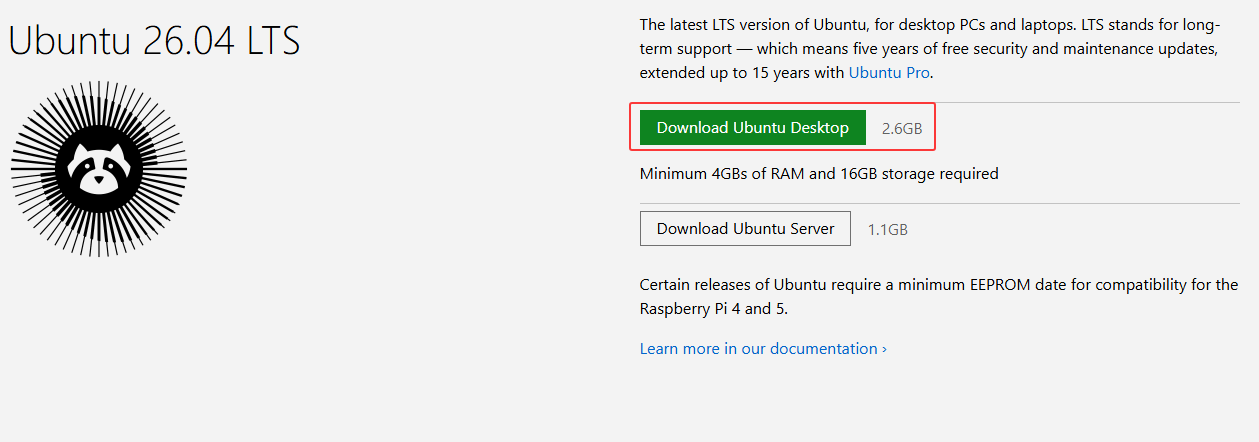
Step 3: Download the Imager from Ubuntu official website: https://ubuntu.com/download/raspberry-pi
Step 4: Format your micro SD card: Run Raspberry Pi Imager and select “Erase” in Operating System field, and “your micro SD card” in Storage field.
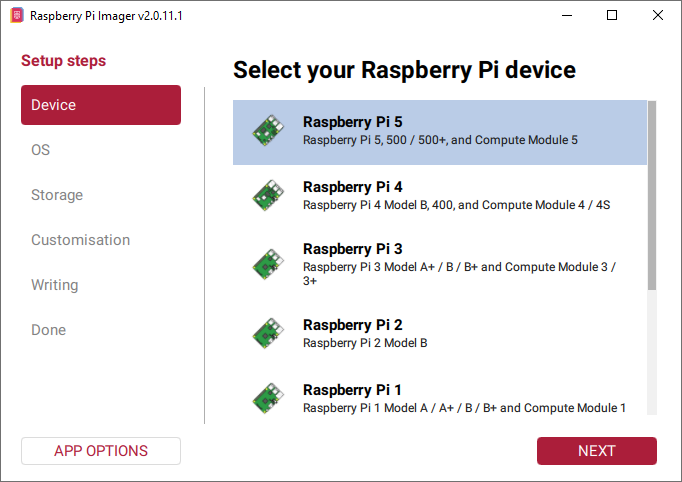
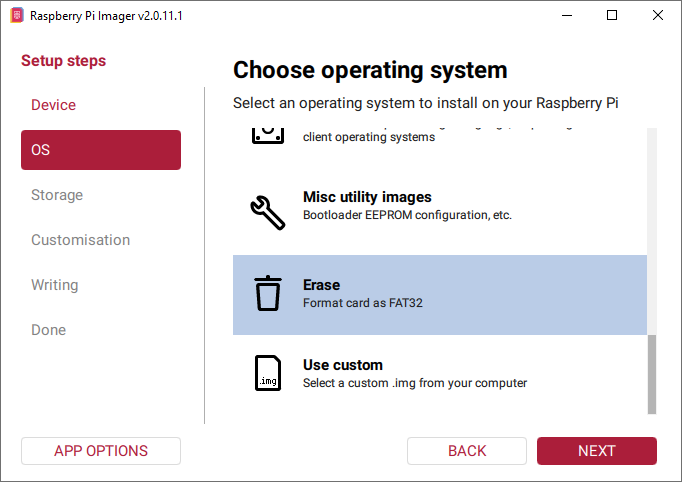
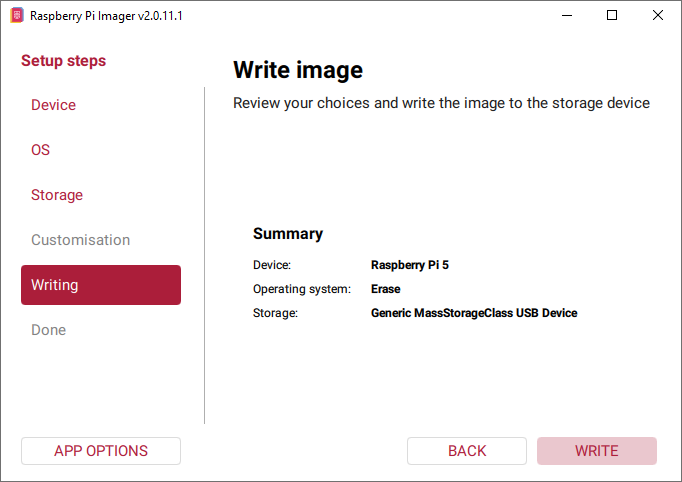
Step 5: Run Raspberry Pi Imager, select your Raspberry pi 5 in device, then select “Use custom” in Operating System field then browse “Ubuntu” you have downloaded, then select “your SD card” in Storage field. (If you have burnt Ubuntu in your SD card, please skip step 2-step 5).
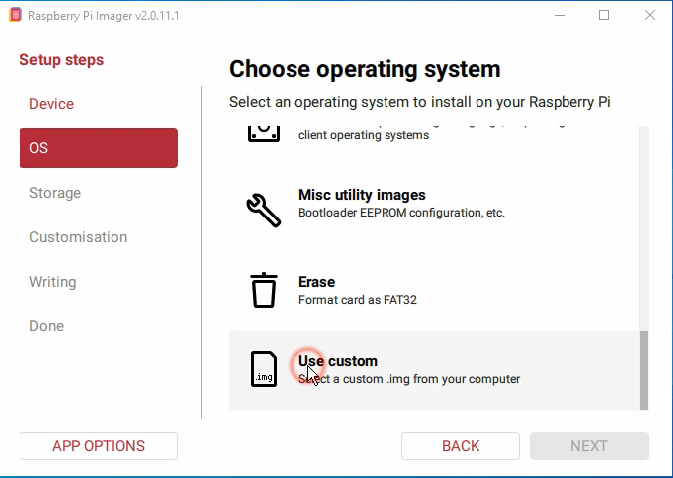
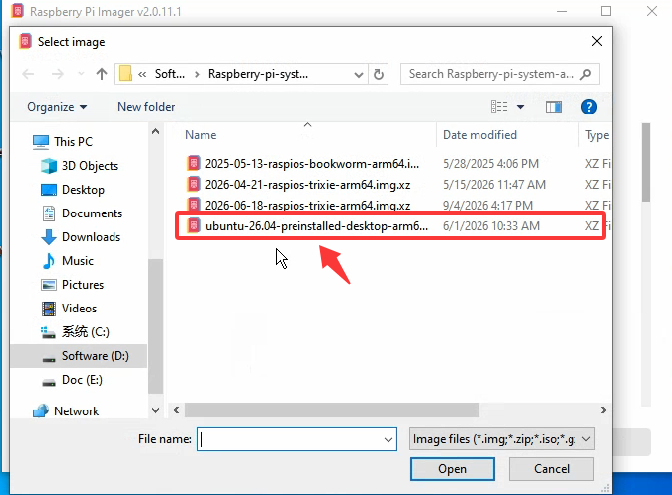
2.2 Use ssh tool to control Raspberry Pi remotely
Step1. Find out the IP address of the RPi
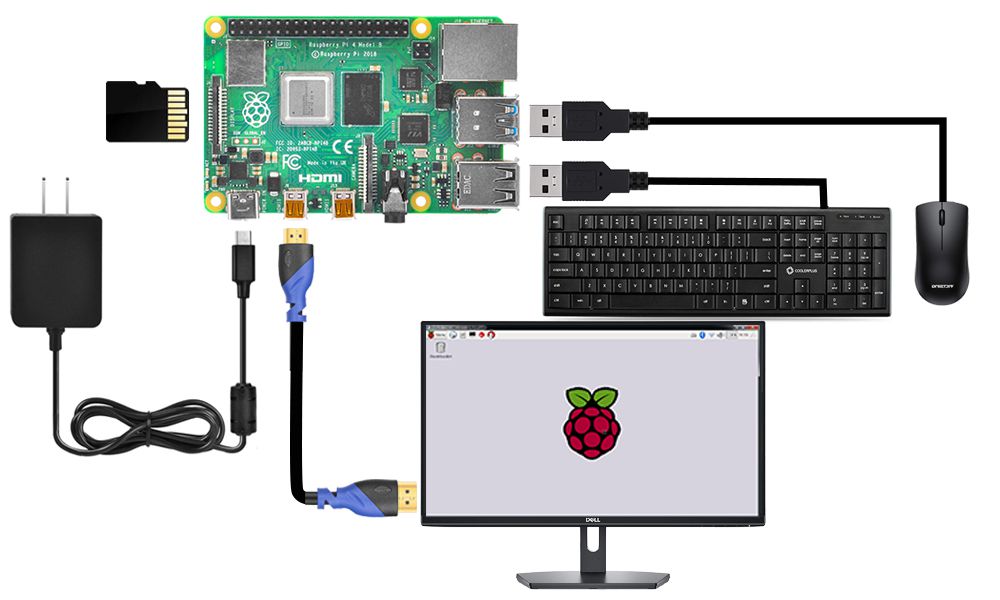
Step1: Connect Raspberry Pi to your HDMI monitor or TV. Put a keyboard and mouse into Raspberry Pi USB ports. Insert SD card which has installed OS into the slot on your Raspberry Pi (if you have intalled your raspberry pi robot car, please connect this Raspberry Pi with screen and know the IP address).
Step2: Get your IP address
Click the icon of Terminal on the screen,enter the following command in terminal window to get your IP address :
hostname -I

Step3: install and Open ssh server
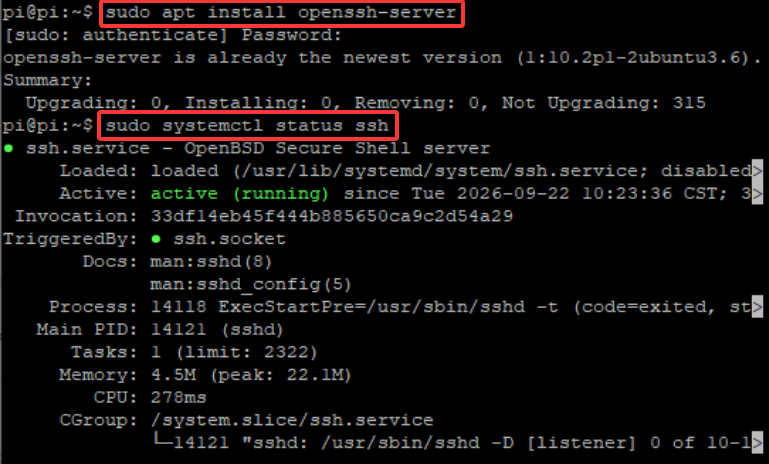
Enter the following command in terminal window to open ssh server :
sudo apt install openssh-server # Install the OpenSSH server
sudo systemctl status ssh # Check whether the SSH service is running properly
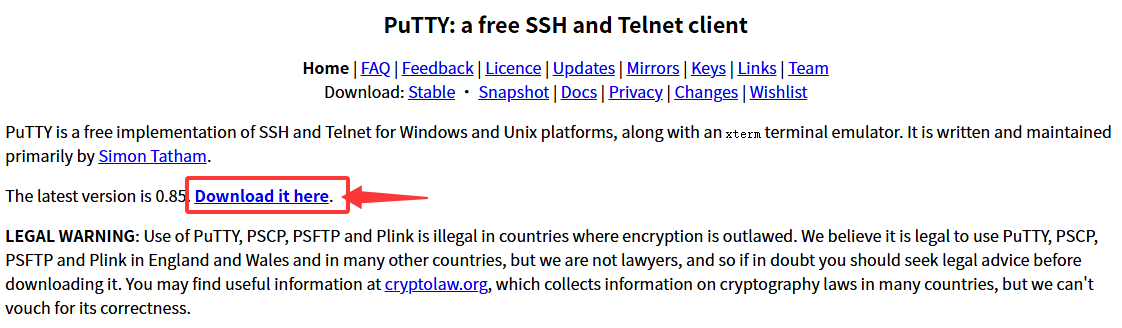
Step4: Download PuTTY from: https://www.chiark.greenend.org.uk/~sgtatham/putty/ and install this exe. in your Windows PC
Step 4.Open PuTTY and click Session on the left tree-alike structure (generally it’s collapsed upon PuTTY startup):
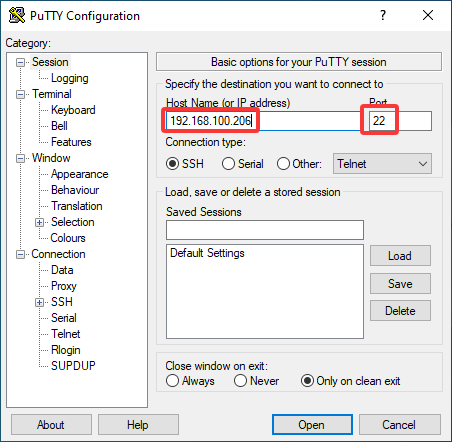
Step 5. Note that when you first log in to the Raspberry Pi with the IP address, you’ll be prompted with a security reminder. Just click Yes. When the PuTTY window prompts login as: type in the user name: pi, and password: raspberry (the default one, if you haven’t changed it).
Note: when you’re typing the password in, the window shows nothing just null, but you’re in fact is typing things in. So just focus on typing it right and press Enter. After you log in the RPi successfully, the window will display as follows:
Step 6. Run the following commands on your Raspberry Pi to install the driver:
cd ~
sudo apt update
sudo apt install git -y
git clone https://github.com/osoyoo/osoyoo_dsi_ubuntu.git
cd osoyoo_dsi_ubuntu
bash install-direct.sh display7inch
note: if you are using OSOYOO 10.1 inch screen or 3.5″ DSI screen, you can change the parameter display7inch to display10inch or display3.5inch
Wait for the installation to complete before proceeding to the configuration step.
4. Reboot & Verify
Reboot the system:
sudo reboot
After rebooting, verify that the driver is loaded:
lsmod | grep osoyoo
If the driver is loaded correctly, the display should be active and showing the Ubuntu desktop.
5. Troubleshooting
| Issue |
Possible Cause |
Solution |
| Display does not turn on after reboot |
Overlay missing or incorrect |
Verify the overlay line in /boot/firmware/config.txt; ensure display_auto_detect=0 is set |
lsmod | grep osoyoo returns nothing |
Driver not loaded |
Re-run sudo ./install-direct.sh and check for errors during installation |
| Installation script fails |
Missing build tools or kernel headers |
Run sudo apt install build-essential linux-headers-$(uname -r) and retry |
| Touch not working |
I2C baudrate not configured |
Ensure dtparam=i2c_arm_baudrate=100000 is present in config.txt |
| Board not detected |
Unsupported board or OS version |
This driver supports Raspberry Pi 5 and CM5 only with Ubuntu 24.04 / 25.10 |
6. Support
← Back to Product Introduction



