In last Lesson, we’ve learned how how to control the LEDs, in this article will make a breakthough: making a light LED “breathing” using Raspberry Pi. The light intensity will start from zero and gradually will increase up to maximum and then will decrease back to zero as if the LED is breathing
Hareware Preparation
1 * Raspberry Pi
1 * Breadboard
1 * LED
1 * Resistor (200Ω)
Some Jumper wires
1 * T-Extension Board
1 * 40-Pin Cable
Use PWM signal to change LED brightness
To Control and change LED brightness, we will use PWM signal om this lesson. The PWM(Pulse Width Modulation) is a very very important signal which we will use very often in other lessons.
In simple words, PWM is a digital signal which can change its power amount as per software instruction. So if we want to program the power of a device, such as brightness of LED, speed of motor etc, we need to use PWM signal to power and control these devices.
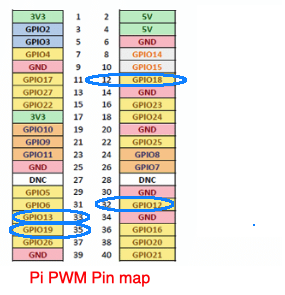
In Raspberry Pi Official website , we are told that Pi board has GPIO12, GPIO13, GPIO18, GPIO19 four pins which can generate programmable Hardware PWM signal. Remember, Raspberrypi.org use BCM system. So these four PWM pins’ physical pin# are 32,33,12,35 showed in following picture:
For more information about PWM, Please visit here.
In this lesson, we will connect LED to BCM GPIO pin 18 to make PWM test.
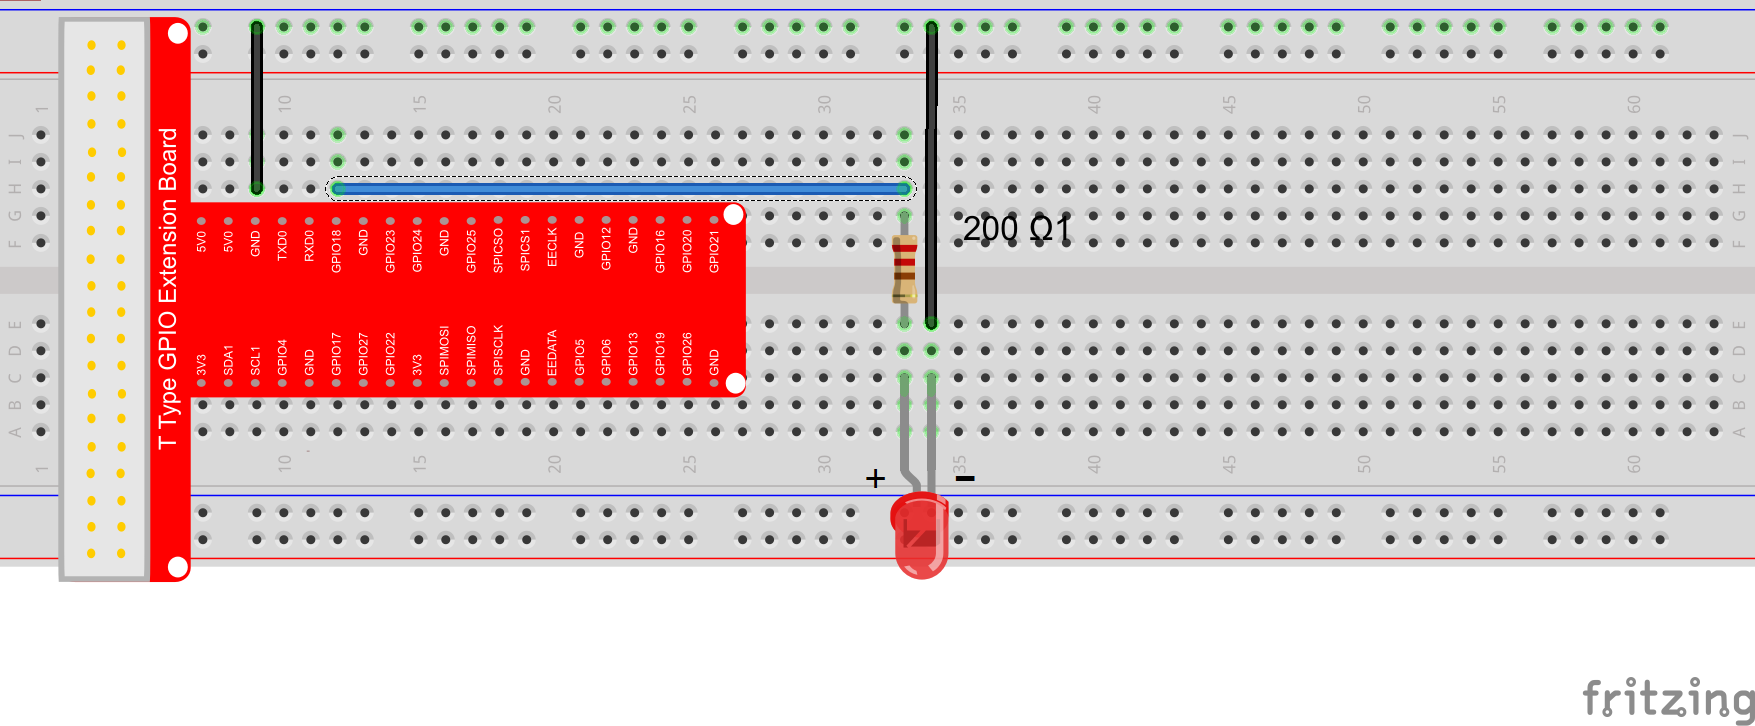
Circuit Graph:
Step 1: Hardware Connection
Step 2: Code
we’ll provide two kinds of codes for C language users and Python language users.
For C Language users, please follow the next step:
Firstly, Please make sure the wiringPi library is installed, if you don’t know how to install it, please visit: www.https://osoyoo.com/2017/06/22/intall-wiringpi/
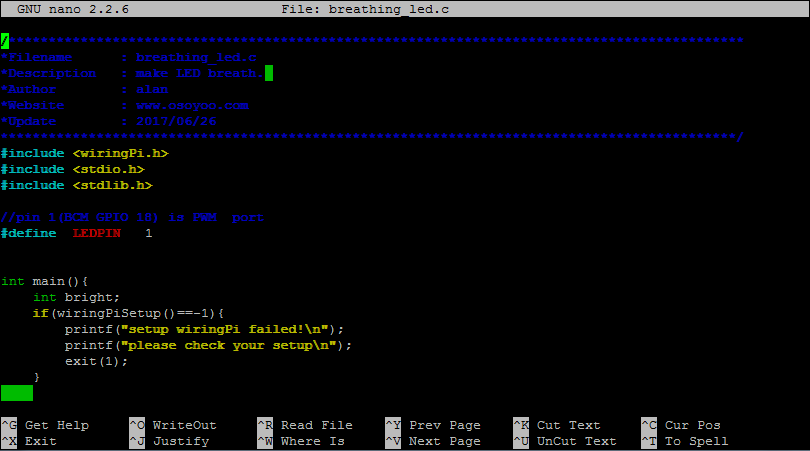
1 ) Create a new .c file named breathing_led.c by typing following command
2) Compile Code
C language is high level language. Before running the project, the code need to compile as an executable file. Please enter the following command: gcc -Wall -o breathing_led breathing_led.c -lwiringPi Note: gcc: is GNU Compiler Collection. If you want to write your own C code and compile to run it, you need to master gcc. for more information about gcc, please visit here -Wall: to get more error when compile the code -o: to name the compiled file. You can name the file as your like. here we name as breathing_led flow_led.c: means the original file which is compiled -lwiringPi: is to load the library wiringPi (l is short for library)
3)Run the Program Enter the following command and press “enter” to run the project:
sudo ./breathing_led
Note: Because use PWM function in this project, we must use sudo(superuser do) command with the root privileges. otherwise the pi will crash.
4) Running Result
Once run the program, you should see the LED light “breathing”. If you want to stop the program, please go to terminal and type command: Ctrl + C, press “Enter” to end it. As we mentioned you can use nano to edit the code, so next we give details explanation about the code as following so that you can understand the code fully and try to modify the above code to personalize it.
C language Code Analysis
a)#include header file(.h file) which is used in this project at the beginning of the code.
#include < wiringPi.h>
#include < stdio.h>
#include < stdlib.h>

//pin 1(BCM GPIO 18) is PWM  port
#define  LEDPIN   1
Before using the wiringPiGPIO library, you need to include its header file in your programs.
WiringPi is a GPIO interface library for the Raspberry Pi, it includes a command-line utility gpio which can be used to program and setup the GPIO pins. You can use this to read and write the pins and even use it to control them from shell scripts. Stdio is an O/I library for C, In C/C++ we use some functions like printf(), scanf(), cout,cin.
#define LEDPIN 1
Above statement defined wiringPi pin 1(BCM GPIO 18) as PWM port.
*Please noted that BMW 18 is the only Raspberry Pi pin which has hardware PWM feature. If you change LEDPIN definition from pin 1 to other pin number, the brightness function pwmWrite(LEDPIN,bright) wouldn’t work and your LED can not breath(change brightness).
If you do want to use other pin instead of BCM 18 to output PWM, you might need software PWM library instead, the brightness function will be no more pwmWrite(LEDPIN,bright) . For more information about Software PWM Library, please visit: http://wiringpi.com/reference/software-pwm-library/
 int main(){
    int bright;
    if(wiringPiSetup()==-1){
        printf("setup wiringPi failed!\n");
        printf("please check your setup\n");
        exit(1);
    }

    pinMode(LEDPIN,PWM_OUTPUT);

    printf("\n");
    printf("\n");
    printf("********************************|\n");
    printf("|         Breath LED            |\n");
    printf("|   ------------------------    |\n");
    printf("|                               |\n");
    printf("|   LED_R1 connect to GPIO1     |\n");
    printf("|                               |\n");
    printf("|                               |\n");
    printf("|                         OSOYOO|\n");
    printf("********************************|\n");
    for(;;){
         printf("|*****************|\n");
         printf("|   breatf off    |\n");
         printf("|*****************|\n");
         for(bright=0;bright<1024;++bright){ pwmWrite(LEDPIN,bright); delay(2); } printf("|*****************|\n"); printf("| breath on |\n"); printf("|*****************|\n"); for(bright=1023;bright>=0;--bright){
            //USE pwmWrite function defined in wiringPito control LED brightness

            pwmWrite(LEDPIN,bright);
            delay(2);
            }
        }
    return 0;
 }
Explanation about two import functions in above codes: pinMode(LEDPIN,PWM_OUTPUT) set BCM 18 pin to output mode which allow it to output PWM signal.
pwmWrite(LEDPIN,bright); to set PWM signal value as per variable bright, so that the brightness can change accordingly.
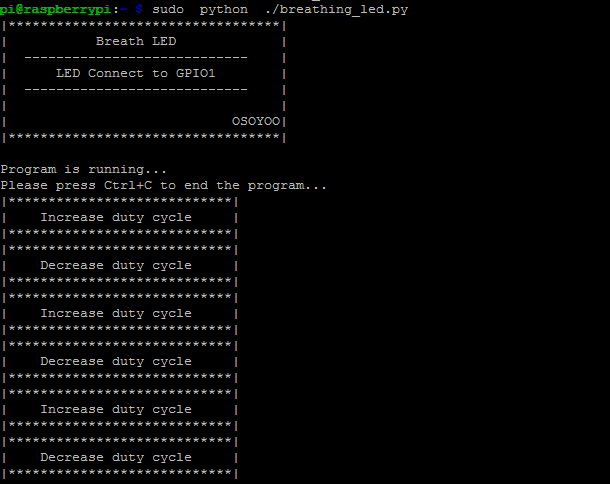
3)Run the Program Enter the following command and press “enter” to run the project: sudo python ./breathing_led.py
4) Running Result
Once run the program, you should see the LED light “breathing”. If you want to stop the program, please go to terminal and type command: Ctrl + C, press “Enter” to end it. As we mentioned you can use nano to edit the code, so next we give details explanation about the code as following so that you can understand the code fully and try to modify the above code to personalize it.
Python Launguage Analysis
a)Import Python GPIO Library and time library. The GPIO library is the library for interacting with the GPIO in Python. It does the job of simplifying the process. The time library is there so we can put a delay in, otherwise the blink might be too fast to notice.
import RPi.GPIO as GPIO
import time

#set BCM_GPIO 18(GPIO1) as LED pin
LEDPIN = 18
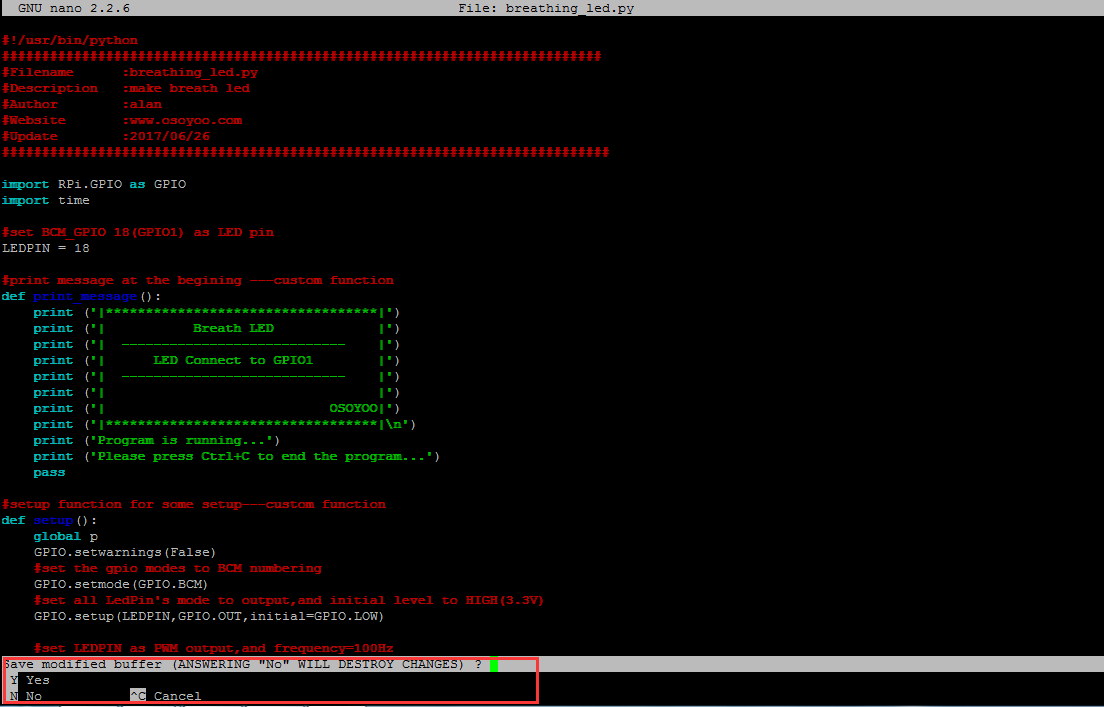
b)Define a function to print the LED and GPIO connection.
#print message at the begining ---custom function
def print_message():
    print ('|**********************************|')
    print ('|           Breath LED             |')
    print ('|  ----------------------------    |')
    print ('|      LED Connect to GPIO1        |')
    print ('|  ----------------------------    |')
    print ('|                                  |')
    print ('|                            OSOYOO|')
    print ('|**********************************|\n')
    print ('Program is running...')
    print ('Please press Ctrl+C to end the program...')
    pass
c)setup() fucntion to set the LEDPIN to be PWM output, set innitial level as LOW LEVEL(0V) and the PWM frequence is 100hz, for more information about RPI.GPIO function, please visi here。
#setup function for some setup---custom function
def setup():
    global p
    GPIO.setwarnings(False)
    #set the gpio modes to BCM numbering
    GPIO.setmode(GPIO.BCM)
    #set all LedPin's mode to output,and initial level to HIGH(3.3V)
    GPIO.setup(LEDPIN,GPIO.OUT,initial=GPIO.LOW)

    #set LEDPIN as PWM output,and frequency=100Hz
    p = GPIO.PWM(LEDPIN,100)
    #set p begin with ualue 0
    p.start(0)
    pass
d) in while loop use The for statement to set the LED light intensity start from zero to 100 by increase 4 every time , then from 100 to zero by decrease 4 everytime.
 def main():
    #print info
    print_message()
    while True:
        print("|****************************|")
        print("|    Increase duty cycle     |")
        print("|****************************|")
        #increase duty cycle from 0 to 100
        for dc in range(0,101,4):
            #chang duty cycle to dc
            p.ChangeDutyCycle(dc)
            time.sleep(0.1)
            pass
        print("|****************************|")
        print("|    Decrease duty cycle     |")
        print("|****************************|")
        #decrease duty cycle from 100 to 0
        for dc in range(100,-1,-4):
            #change duty cycle to dc
            p.ChangeDutyCycle(dc)
            time.sleep(0.1)
            pass
        pass
    pass
A Simpler solution with Python gpiozero library
Python gpiozero library has simple LEDPWM function to generate PWM signal for LED. If you are interested in this solution, follow these steps:
1)Install gpiozero python library if you don’t have it.
gpiozero normally comes with latest Raspberry Pi python. However, if you don’t have it in your OS, please simply run following command to install it:
sudo apt update
sudo apt install python3-gpiozero
2)Download and run the python code by following commands:
The result will be same as the original python code, the simple code of about program are here:
from gpiozero import PWMLED
from time import sleep

led = PWMLED(18)


while True:

    print("|****************************|")
    print("|    Increase duty cycle     |")
    print("|****************************|")
    #increase duty cycle from 0 to 100
    for dc in range(0,101,4):
    	#chang duty cycle to dc *0.01
        led.value = dc *0.01
        sleep(0.1)
        pass
    print("|****************************|")
    print("|    Decrease duty cycle     |")
    print("|****************************|")
    #decrease duty cycle from 100 to 0
    for dc in range(100,-1,-4):
        #change duty cycle to dc*0.01
        led.value = dc *0.01
        sleep(0.1)
        pass
    pass
pass