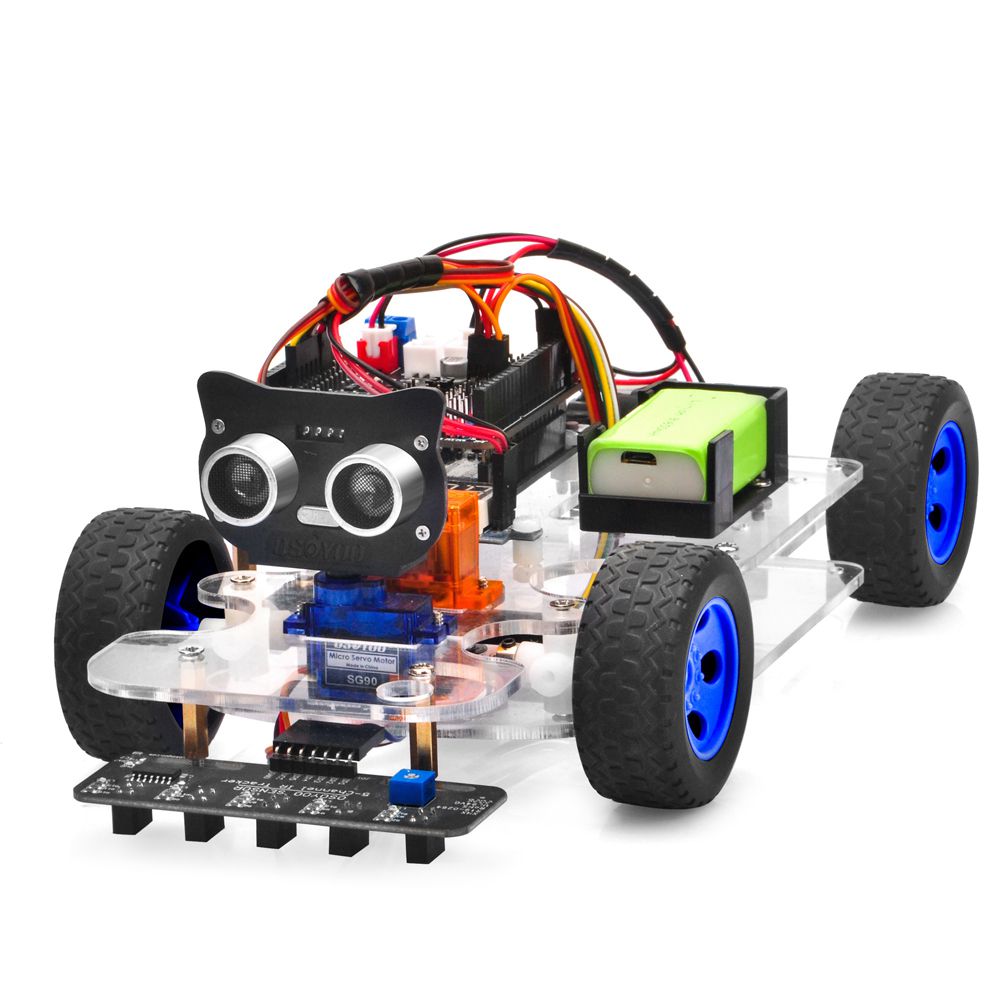
In this tutorial, we will use the ultrasonic module to “see” the obstacle and measure the distance. If the distance is less than a predefined threshold value, the sport car will turn around from the obstacle automatically.
If you don’t complete the frame of car, please review lesson 1
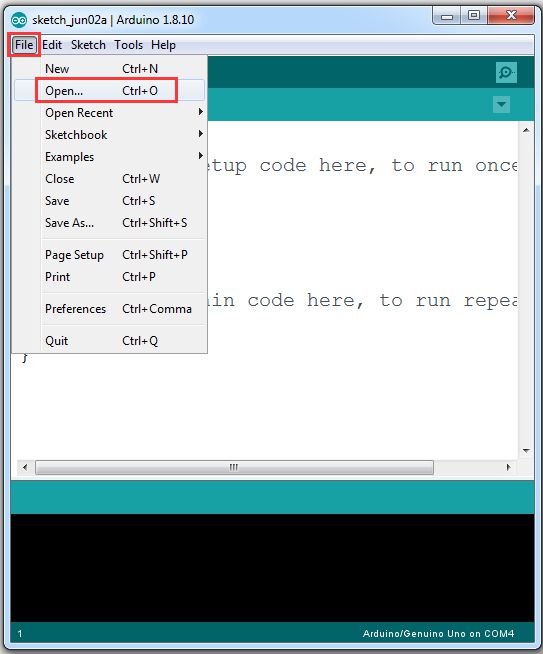
Step 1: Please download PWMServo library from https://osoyoo.com/driver/sg90car/PWMServo.zip, then import the library into Arduino IDE. If you completed lesson 2, please skip this step. Step 2: Download Lesson 4 sample code, unzip the download zip file sg90car-lesson4.zip, you will see a folder called sg90car-lesson4. Step 3: Connect UNO R3 board to PC with USB cable, Open Arduino IDE → click file → click Open → choose code “sg90car-lesson4.ino” in sg90car-lesson4 folder, load the code into OSOYOO Basic Board for Arduino. Notice: Shut off your battery or unplug your power adapter when upload sketch code to OSOYOO Basic Board for Arduino.
Step 4: Please change the default value 90 in line 19 as the FRONT value in lesson 1. If you align the wheel direction manually as the option 1 in Step 5 of lesson 1, please skip this step.
#define FRONT 90 //degree when steering facing straight forward
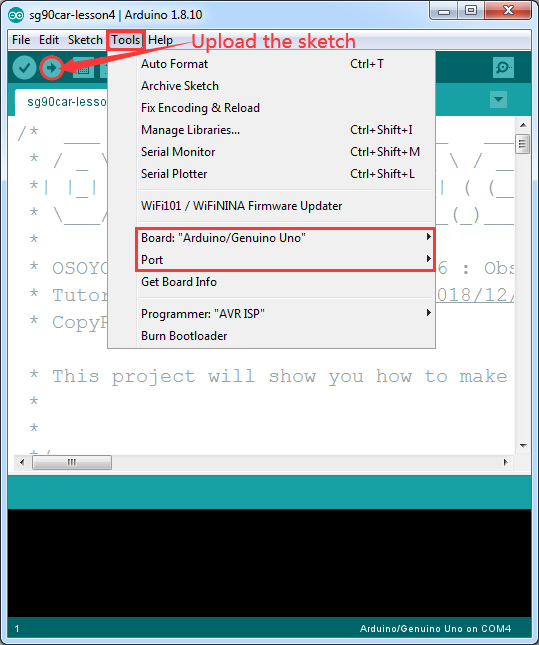
Step 5: Choose corresponding board/port for your project, upload the sketch to the board.
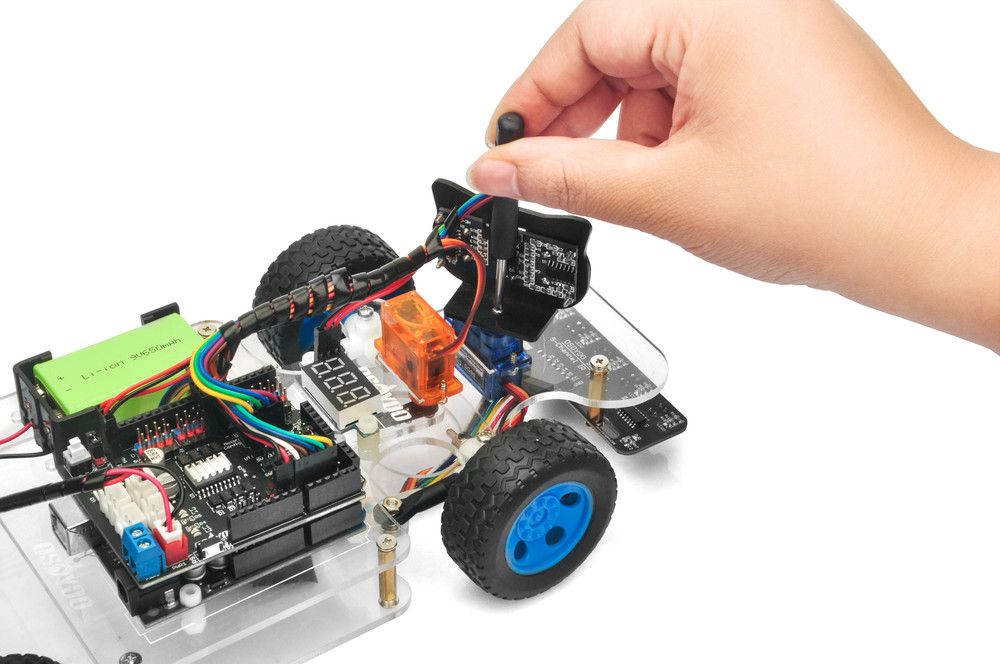
Step 6: Ultrasonic sensor servo initial direction alignment
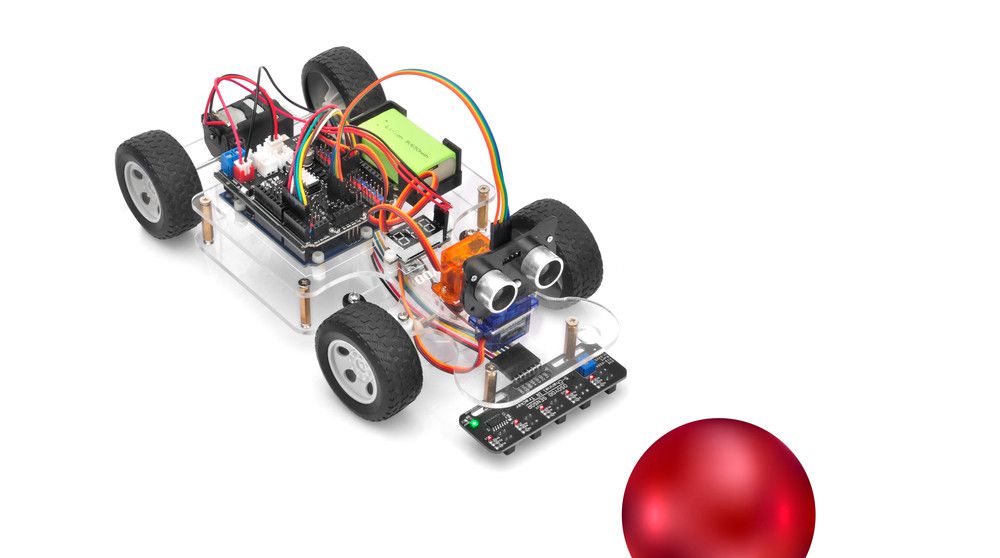
After power on the car, Ultrasonic sensor will move and finally stops at a direction for 2 seconds. During this first 2 seconds, you must make sure the Ultrasonic sensor (two eyes) is facing straight forward. If it is not straight forward, you should turn off the car immediately and remove the sensor from the servo, reinstall it and make it facing straight forward direction as following picture. Otherwise, the obstacle avoidance program will not work properly.
Final Testing
1. Disconnect OSOYOO Basic Board for Arduino from PC and confirm that the power switch of the OSOYOO Motor Shield is off, then put a 9V battery into battery box. (Note: make sure polar direction is correct, otherwise it can destroy your device and cause fire hazard).
2. Put the car on the ground, and turn on the switch of OSOYOO Motor Shield. If no obstacle is detected, the car will go forward. If any obstacles are detected, the car will stop, the ultrasonic module will turn from right to left to detect surrounding obstacle. The robot car will decide to make left turn, right turn or backward according to obstacle sensor data and our obstacle avoidance algorithm.
Sometimes your car might have collision and make your Ultrasonic sensor position change, you must remember to do sensor direction alignment again as per link Step 6. Note: If the car does not move as per above-mentioned result, you should check your wire connection of tracking sensor, battery voltage (must over 7.2v).
4. If you want to change the angel of the right or left, please edit the line 20 to 23 of the code and upload the sketch again: (Note: the angel can’t be set more than 35)
int SHARP_RIGHT=FRONT+33;
int SHARP_LEFT=FRONT-33;
int  RIGHT=FRONT+20;
int  LEFT=FRONT-20;
5. If you want to change the speed of the car, please revise the following code of the sketch (Note: the max value is 255)
I have a problem with my ultrasonic sensor not facing straight forward like it used to. I tried to reinstall it and it did not work… I need help with this. I need a solution. I tried changing codes, and redoing the code all over again but did not work. I’m new to this so any answer to my problem is greatly appreciated. Thank you.


I have a problem with my ultrasonic sensor not facing straight forward like it used to. I tried to reinstall it and it did not work… I need help with this. I need a solution. I tried changing codes, and redoing the code all over again but did not work. I’m new to this so any answer to my problem is greatly appreciated. Thank you.
-TheNewBeggining